Magic Theme Kids Birthday Party Created by My Digital Studio {MDS}

magic party-001

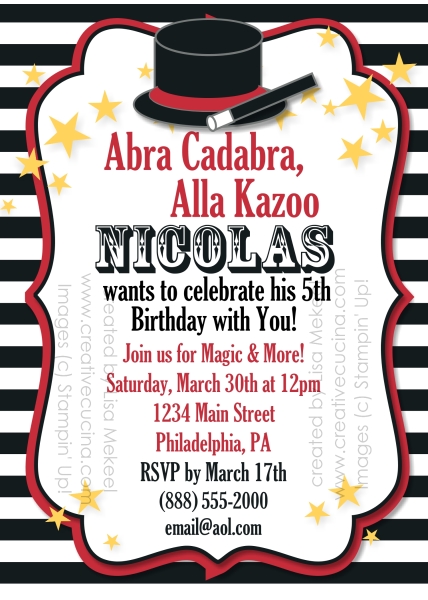
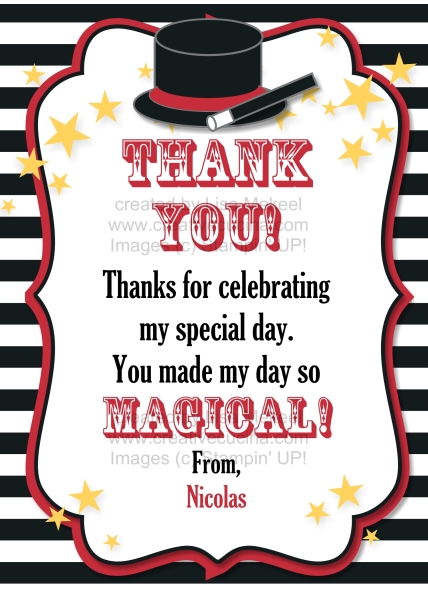
Magic theme birthday invitation. Custom printing/Digital download available. Coordinating cupcake toppers, banner, and personalized signs also available! See the matching Thank You card below.

magic party_thanks-001

This is an invitation for a little boy’s Magic themed birthday party. My sister sent me a picture she found on Pinterest and I recreated the invitation using My Digital Studio. Here is a link to the original picture. She was surprised I was able to make it look almost exactly like the original. There really isn’t anything you can’t do with MDS!

Everything except for the hat and wand were ready to go images. I had to make the top hat and magic wand using Punch Shapes such as the square, oval, circle, etc.

The stars are from July Fourth Stamp set. The background is part of the Essentials Designer Series Paper.
Little Boy 1st Birthday Card {Punch Art Red Car}

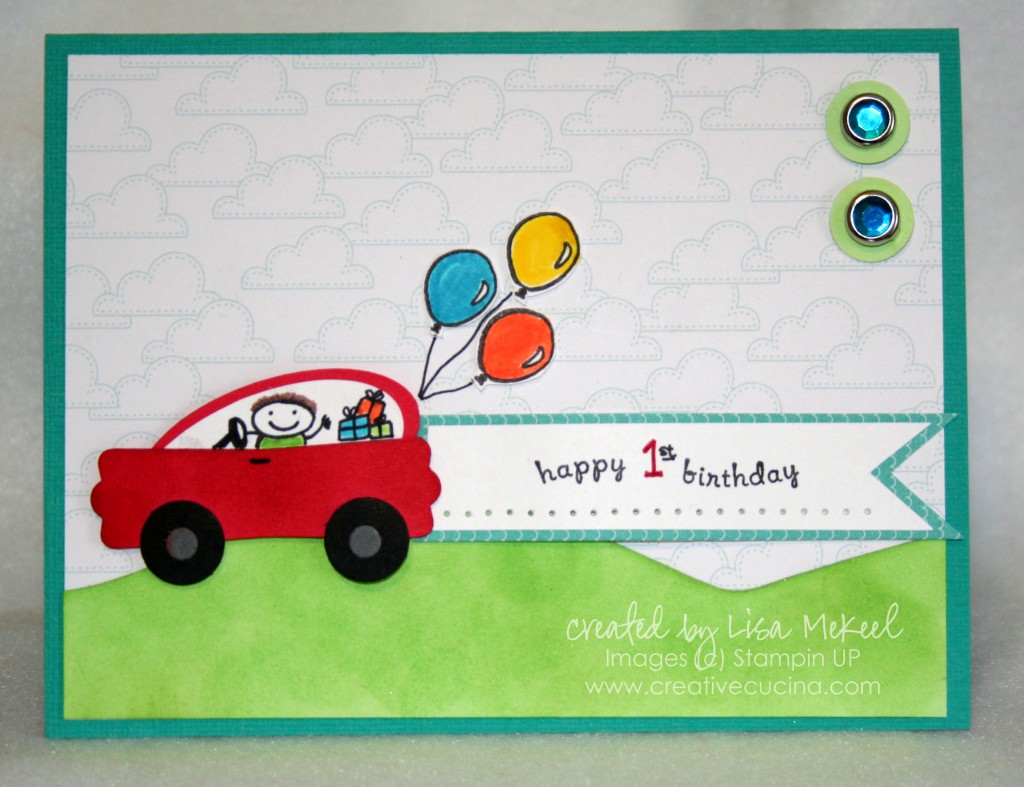
This card is for my nephew’s 1st Birthday, and although it’s not very babyish, it does fit the theme of his party (and the cake I’m making for him).

The card base is Bemuda Bay textured card stock, layered with the cloud patterned paper from Welcome Neighbor.  (Yes, I know, I use this paper on almost everything I make, but it’s so varied and I love the colors so much that I find myself reaching for it time and time again.)

I made the hills by freehand cutting Gable Green card stock, and then sponged them all over using Gable Green ink and a Sponge Dauber.

The sentiment is from On Your Birthday, which I inked up using the Basic Black Marker (leaving out the “o” in this “Happy O’ Birthday”–I’m not even sure what that means anyway!) I drew in “1st” using Real Red Marker and Basic Black Marker. The Whisper White card stock is layered on yet another piece of Welcome Neighbor DSP, and I notched the edges to make it look like a flag or banner. I also Paper Pierced along the bottom edge of the sentiment and attached it to the card using Stampin Dimensionals.

As for the little red Punch Art Car, I made it using the Modern Label Punch for the body of the car and the Large Oval Punch for the window/hood.

  1. First, I punched out Real Red card stock with the Modern Label Punch and sponged it with Real Red ink.
  2. Then, I punched two Large Ovals–one from Real Red, one from Whisper White. I layered the White on top of the Red, leaving a Red border, and then trimmed the bottoms so they would not stick out past the bottom of the “car”. Adhere the White Oval to the Red Oval.
  3. Using SNAIL adhesive, attach the hood of the car to the back of the Modern Label Punch out, positioning it as shown.
  4. Draw or stamp a little person driving the car. I also drew some gifts in the back seat and added a door handle.
  5. Make tires for the car using the 1/4″ Circle Punch (in Basic Black) and the Cropadile’s larger hole punch (in Basic Gray). Attach the tires to the car with SNAIL Adhesive.

That was pretty easy! Now, I adhered the car to the base using Stampin Dimensionals and stamped some balloons from the All in the Family Accessories set onto Whisper White. I colored them in with Markers, cut them out, and attached them to the card base with Mini Glue Dots. Then, I used the Basic Black Marker to draw strings from the balloons to the back of the car.

Finally, in the upper right corner, I added 1/4″ Circles of Gable Green card stock with Ice Circle Rhinestone Brads in the darker blue to tie all the colors together.

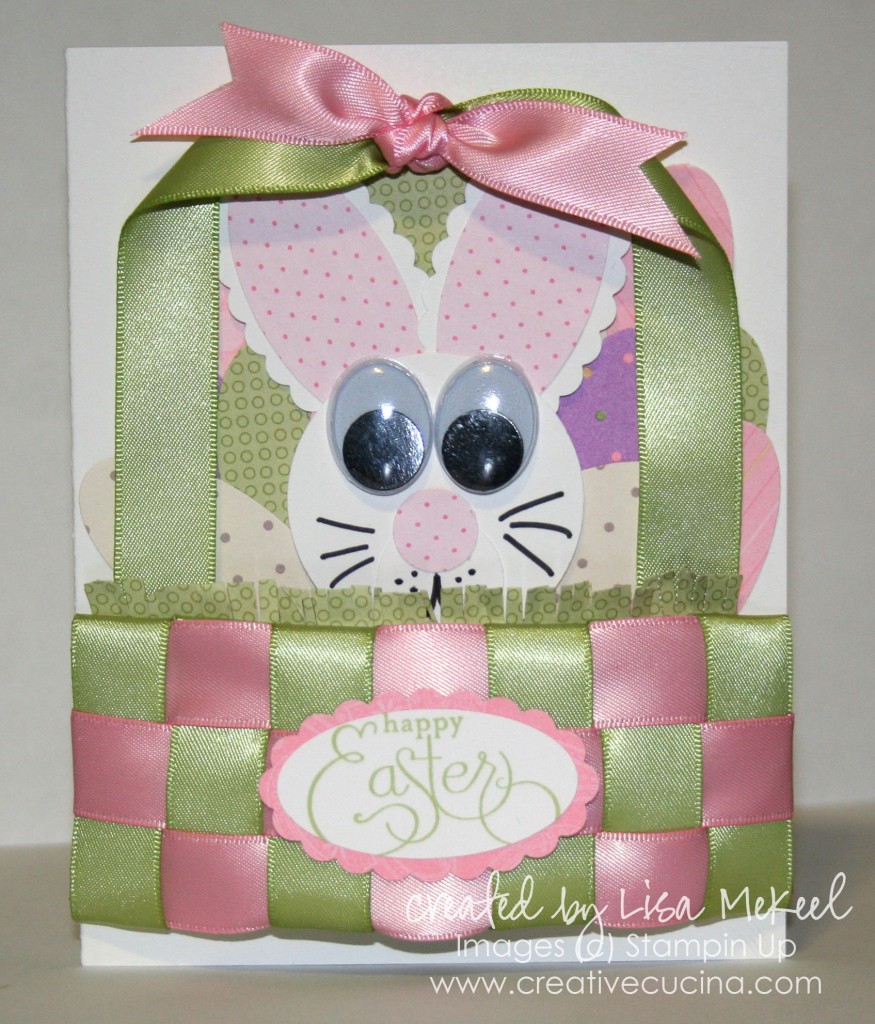
Woven Ribbon Easter Basket Bunny Card

Ribbon weaving is addicting! Once I start I want to use it on everything I make. Here are some other examples of cards I made using the ribbon weaving technique.

I’ll go through what I used to make the card, and for those of you who would like detailed instructions, keep reading below. The card base is Gina K Luxury Base weight card stock. I punched various DSP with the Large Oval Punch to make eggs. I adhered them to the card base using SNAIL.

The bunny was made using the Large Oval Punch & Scallop Oval Punch (for the ears),  1 3/4″ Circle Punch (f0r the face), 1/4″ Circle Punch (for the nose). I drew on the mouth and whiskers, then glued on some googly eyes.

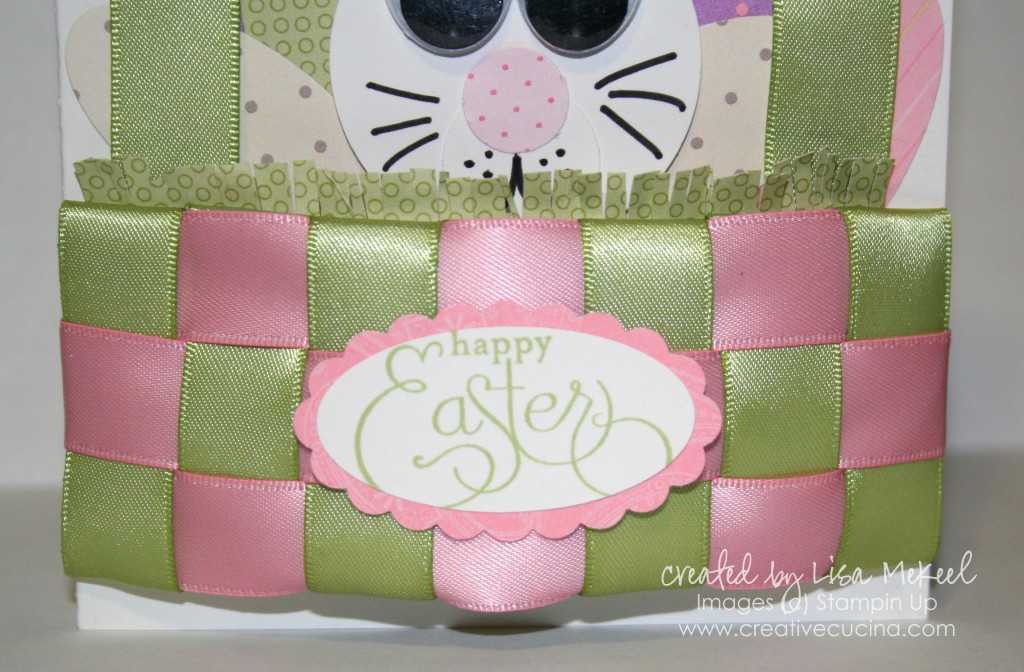
The basket is made with Pretty in Pink Satin Ribbon and Certainly Celery Satin Ribbon. The sentiment is from Well Scripted, stamped in Certainly Celery ink on Whisper White. I punched it out with the Large Oval Punch and layered it onto Pretty in Pink Patterned Paper, punched out with the Scallop Oval Punch.

——————————————————————————————————————–

How to make the Easter Basket using the Ribbon Weaving Technique (with 5/8″ Satin Ribbon)

Step 1: Cut a piece of card stock to 4 3/8″ x 1 7/8″. This is the card stock you will wrap the ribbon around for the basket portion. It won’t be visible so feel free to use any color. The measurements are weird because we’re using 5/8″ ribbon and your card stock has to be a multiple of 5/8″.

Step 2: Cut 3 strips of 5/8″ PINK satin ribbon about 5″ long and 7 strips of 5/8″ GREEN satin ribbon about 3″ long.

Step 3: Using SNAIL adhesive, run a line of adhesive on the RIGHT short side and along the TOP edge of your card stock. Carefully attach your GREEN ribbon strips along the TOP EDGE, being careful to keep the ribbon pieces just touching each other (not overlapping and not leaving a gap between them). There should be about 1/2″ of ribbon attached to the card stock and the rest of the ribbon should hang off the top, away from the card stock. Do the same with your PINK ribbon along the RIGHT EDGE, with the strips of ribbon hanging off toward the right.

Step 4: Turn your card stock over so that the adhered edges of ribbon are on the back side. Your PINK ribbon should be on the LEFT side now and the GREEN ribbon should be on the TOP edge.

Step 5: Start weaving your ribbon like you would do a lattice pie crust. Pull the strips tight as you weave, making sure you keep them straight. I start by folding the PINK across the front of the card stock and then weaving the short GREEN ribbon over and under. When you get to the bottom, fold the GREEN ribbon over and adhere it to the back of the card stock with SNAIL. Repeat with the rest of the ribbon strips.

Step 6: Cut a piece of green card stock or DSP (here I used Tall Tales) to 4″ x 2 1/2″. Adhere it to the back of your card stock to hide all the edges of ribbon. Leave about 1/2″ extending at the top to make the grass. I cut the paper with paper snips, then bent some pieces forward and back to make the “grass”.

Step 7: Put 2 pieces of Sticky Strip on the back of the basket piece (one along each SHORT SIDE). Attach the basket to the card base by sticking down the left side first, then gently bend the card stock slightly and stick the other side down so the basket edges line up with the edges of the card.

Step 8: Adhere all your eggs and bunny face to the card so they’re peeking out of the basket.

Step 9: Cut a long piece of Certainly Celery Satin Ribbon for the handle. I attached it to the back/inside of the basket using Glue Dots. I also added Glue Dots at the top of the handle, where the ribbon folds over, on both sides. Tie a piece of Pretty in Pink Satin Ribbon at the top and snip with Craft & Paper Scissors. Secure the pink ribbon knot to the card by placing a glue dot on the back.

Bad Behavior has blocked 284 access attempts in the last 7 days.

css.php