Valentine’s Day Cake Pops

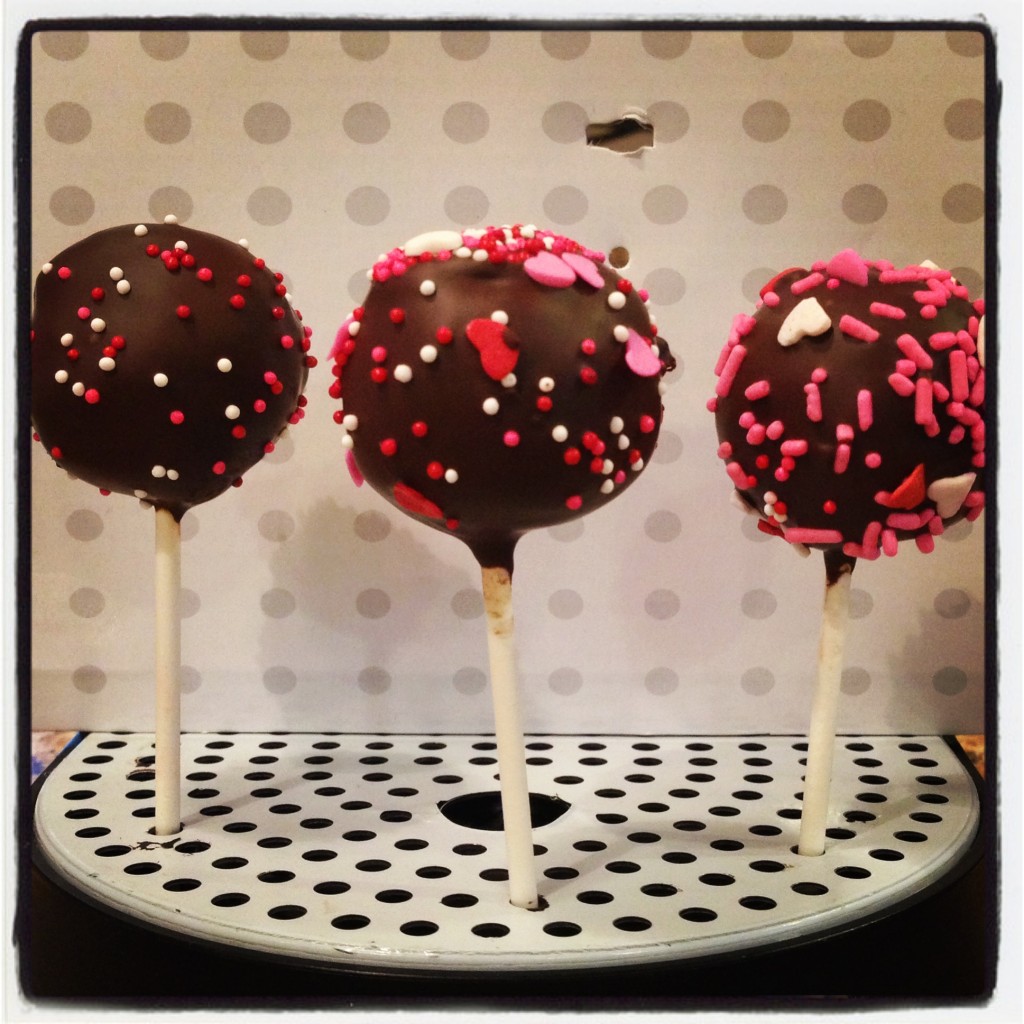
I have made cake pops before, for my daughter’s birthday and other occasions. Monday, I made some just for fun after getting the Williams Sonoma catalog in the mail and seeing their Valentine’s Day treats. They have some really cute heart-shaped cake pops and I got inspired to make some of my own!

Making cake pops is very simple. Bakerella is the queen of cake pops and has lots of examples and step by step instructions on her site. Normally, you crumble up your baked, cooled cake into a bowl, add some frosting, mix it up, and roll the cake into balls with your hands. I decided to do it a little differently this time.

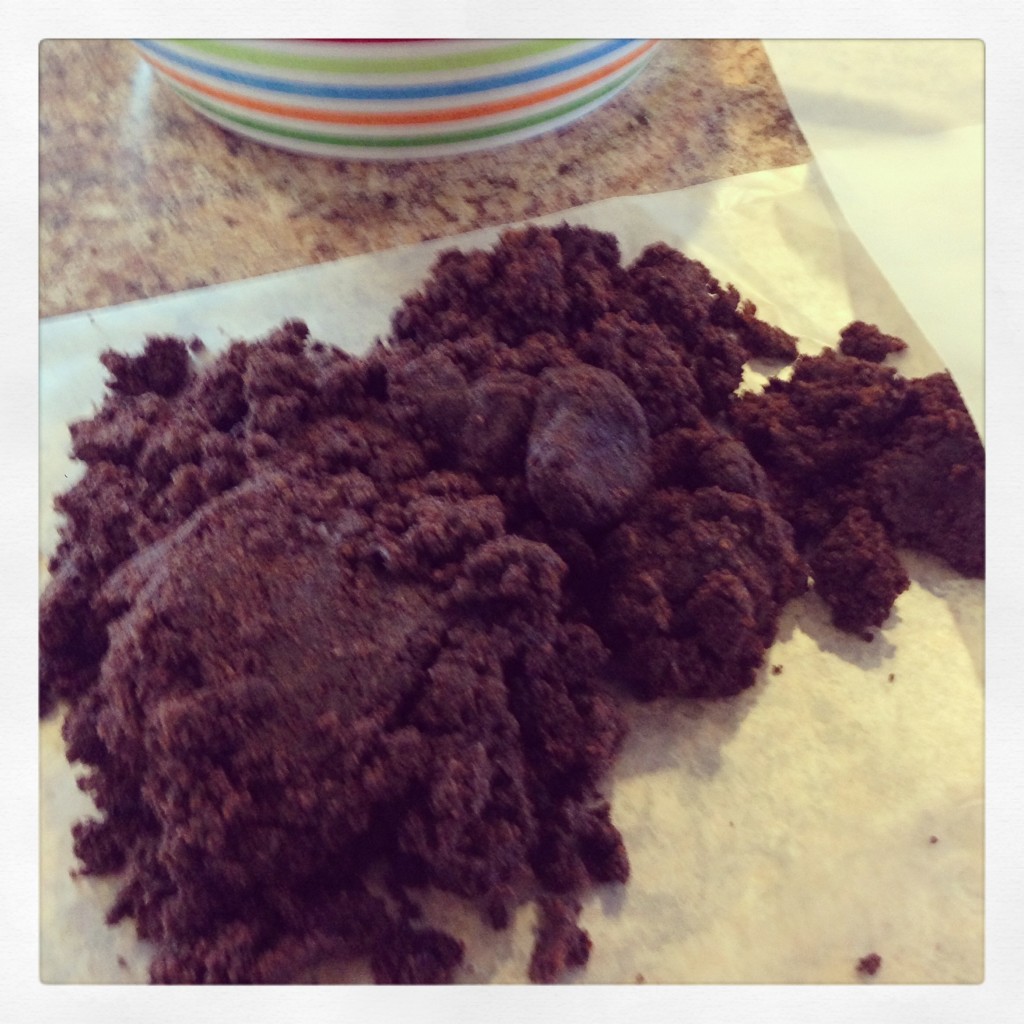
Step 1: Prepare your cake/frosting mixture and turn it out onto a sheet of waxed paper.

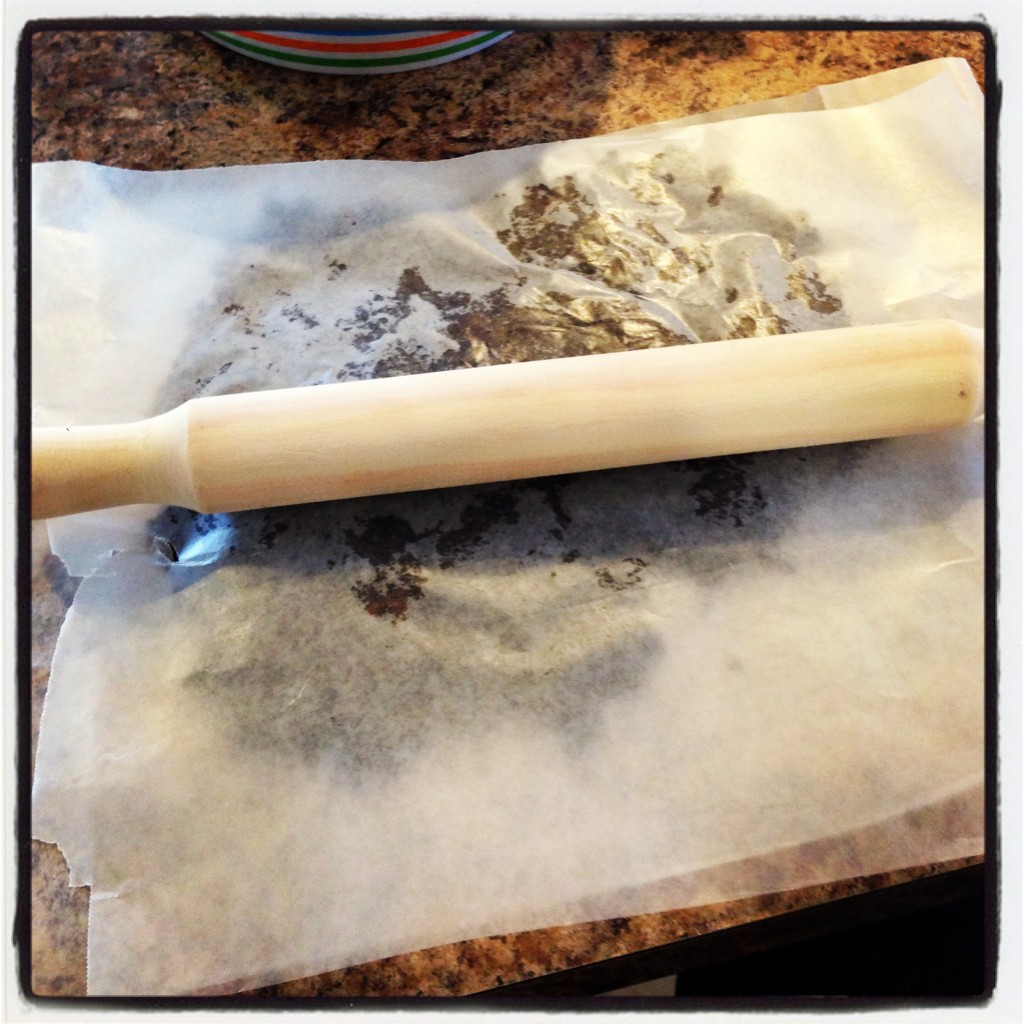
Step 2: Cover with another sheet of waxed paper and roll it to about 1″-1 1/4″ thick with a rolling pin

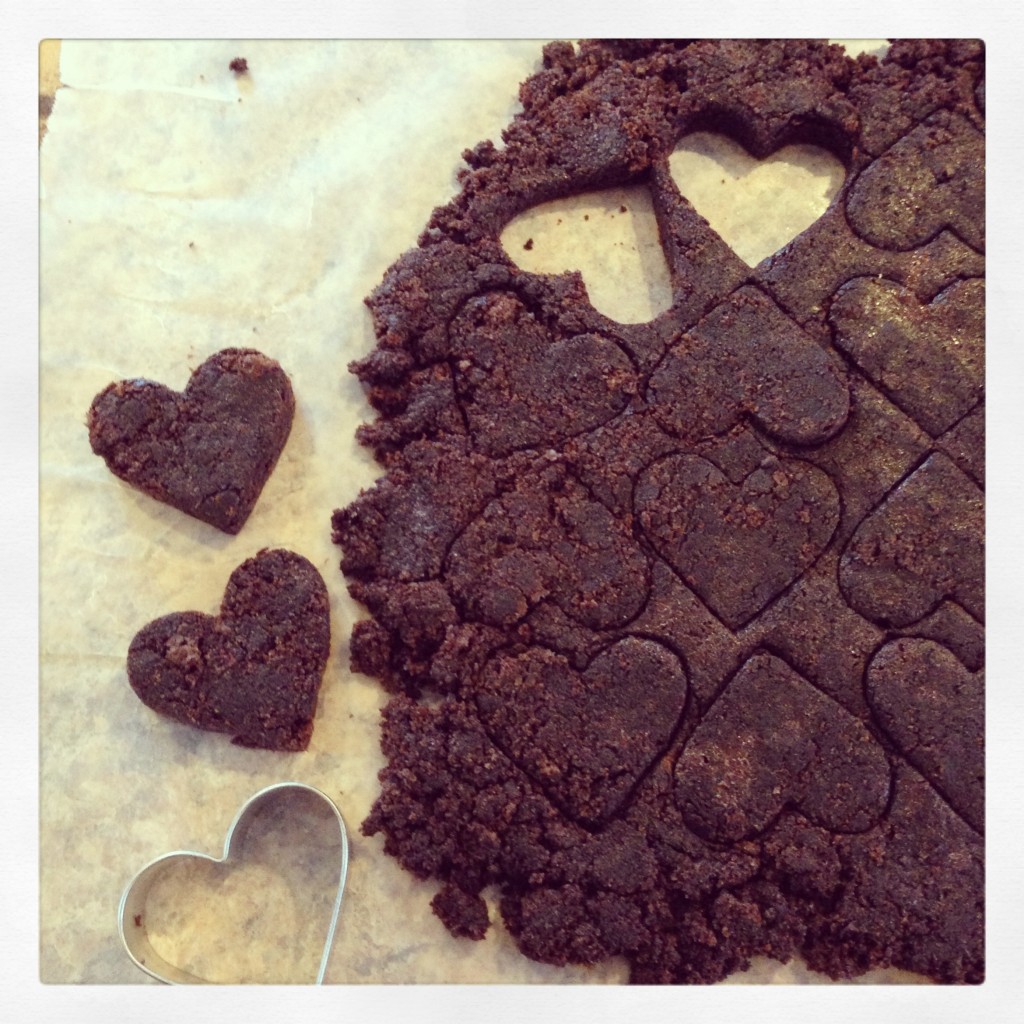
Step 3: Using a heart-shaped cookie cutter (approximately 1 1/2″-2″ across) cut out shapes from your “dough”. Use an offset spatula to lift the hearts out if they don’t come out with the cookie cutter.

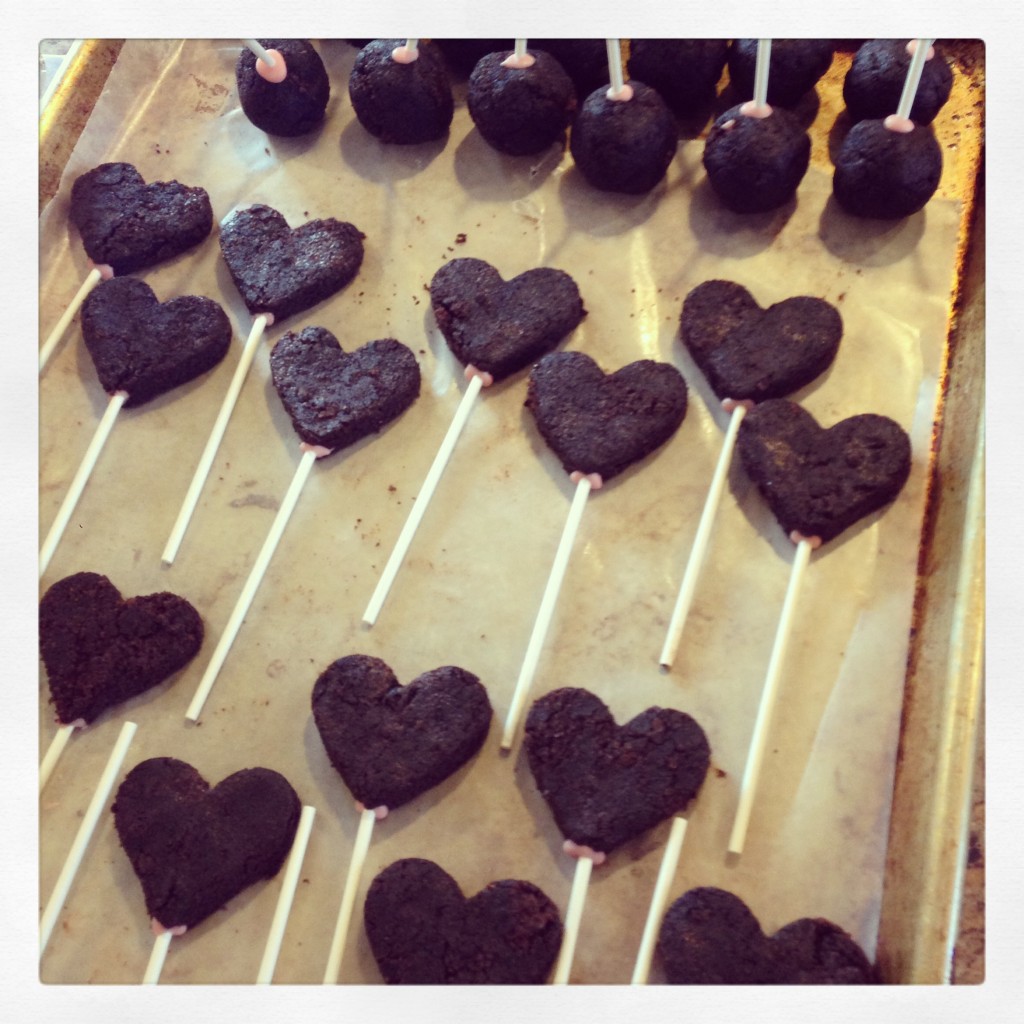
Step 4: Take your lollipop stick and poke a hole into the bottom of your heart, going in approximately 1/4 of the way up. Using the same end of the lollipop stick, dip it into melted candy coating/melted chocolate and put it back into the hole. This will help “glue” your heart onto your stick.

At this point, put your cake pops into the refrigerator or freezer to firm up, 15-20 minutes in the freezer, in the refrigerator they can stay for a day covered with plastic wrap.

As for the dipping process, I like to melt my chocolate in a 1 cup pyrex measuring cup in the microwave, then keep it nestled in a 2 cup pyrex measuring cup filled 1/2 full of hot water. Be sure not to get any water in your chocolate or it will seize.
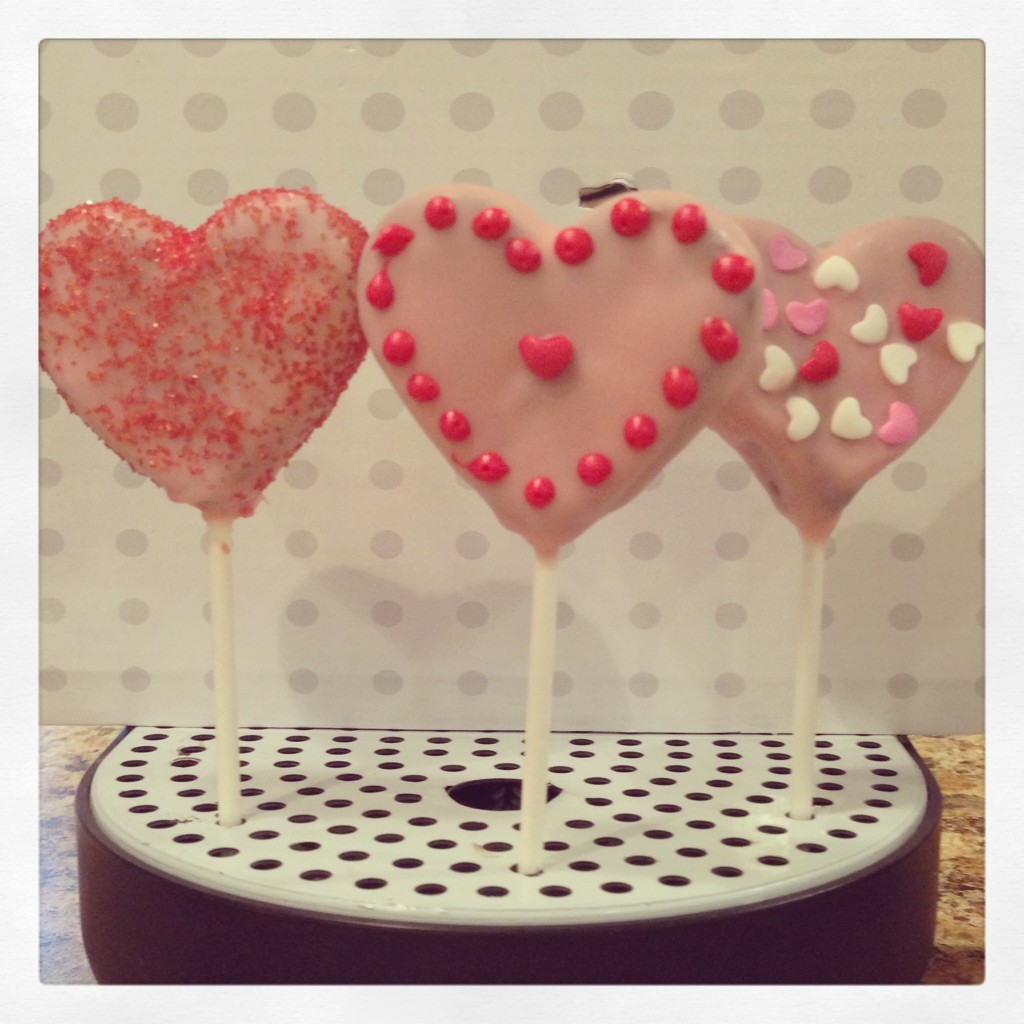
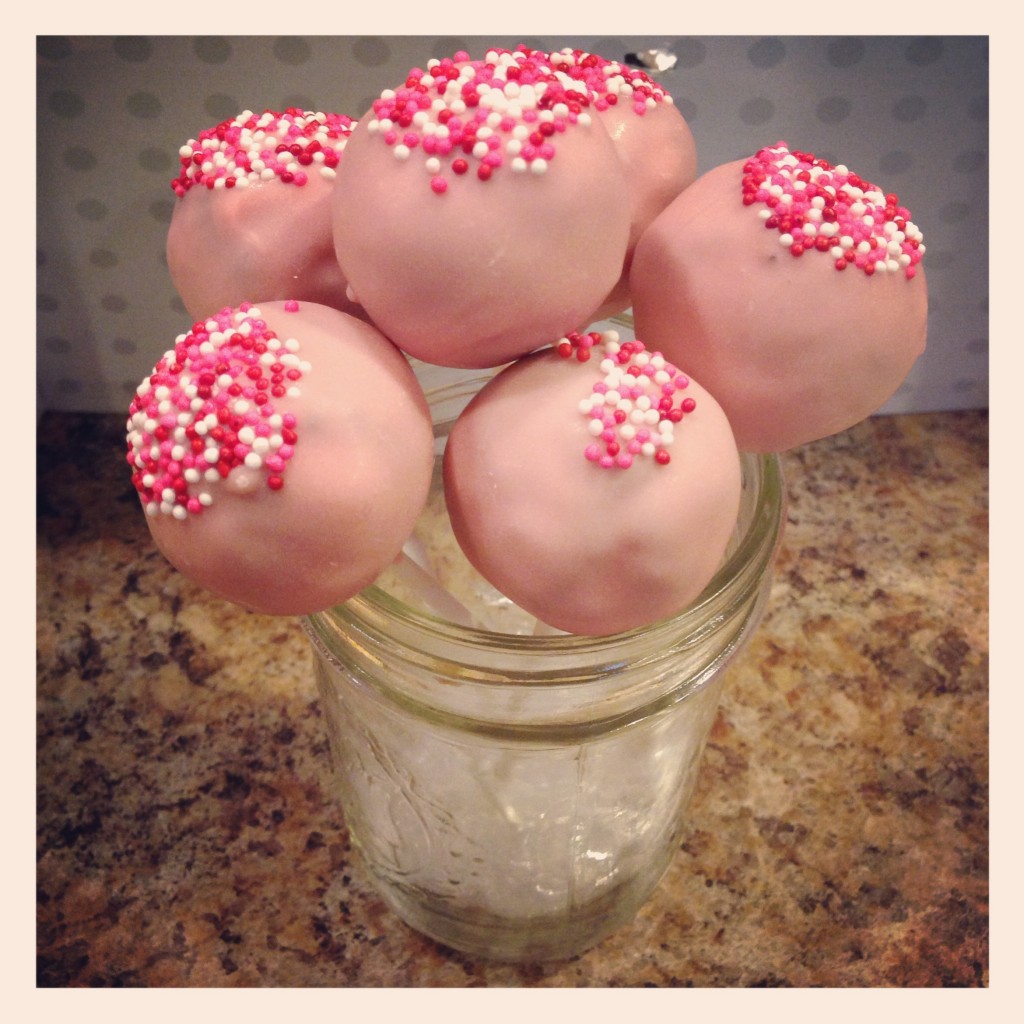
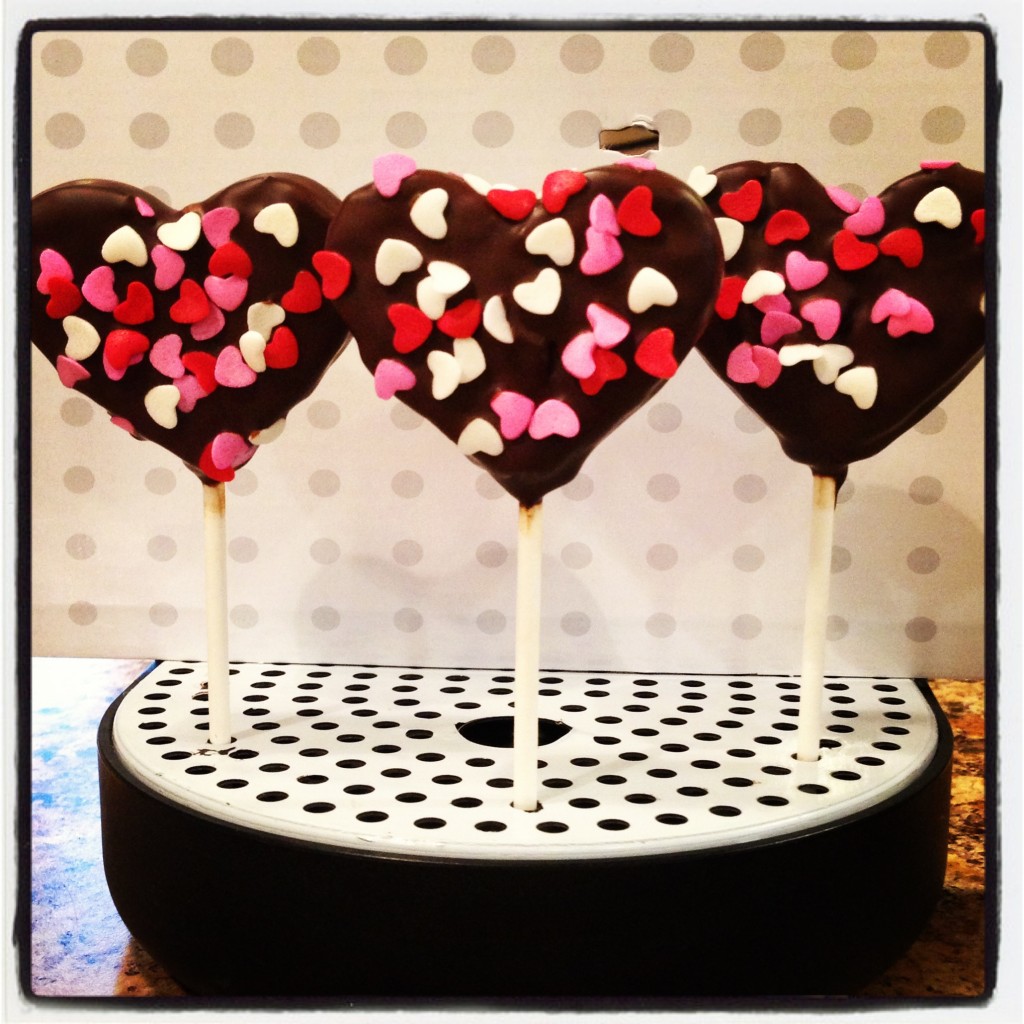
I used Wilton’s pink candy melts with a  teaspoon of crisco to thin it out for easier dipping. I also used Ghirardelli semi-sweet chocolate chips for the Dark Chocolate pops.

For another option, I mixed some Wilton White Candy Melts with the semi-sweet chips. It was delicious! I find the Wilton Milk Chocolate candy melts too sweet for my taste. This was the perfect combination! The only thing with using chocolate chips is that they take longer to set, so just keep that in mind.

I like to store these in ziploc bags in the refrigerator. They taste good cold, but you can also keep them out at room temperature just before serving.

It’s also a good idea to get a block of styrofoam to keep your pops in while they set. I forgot to pick some up, so I had to improvise–used the drip tray to my espresso machine!
Candy Land Birthday Party

Candy Land was the theme for my daughter’s 5th birthday party. She chose it based on both the board game and her extreme love of candy!

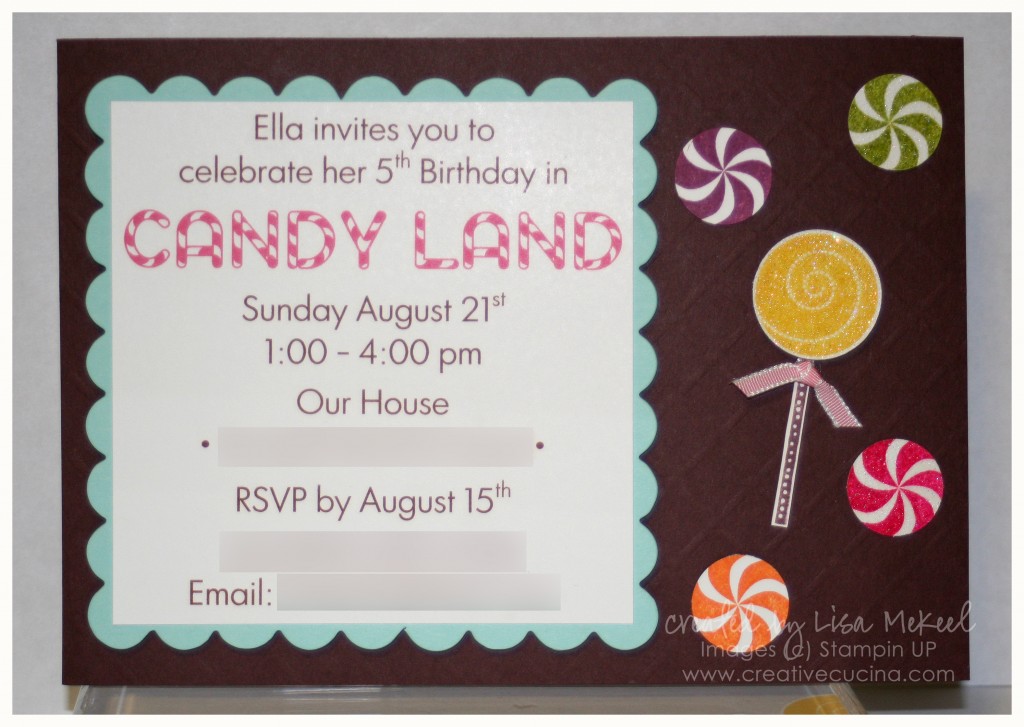
First up, the invitation: I used the stamp set Sweets for the Sweet to make the lollipop and candies. The base is 5″x7″ chocolate chip card stock that I gave some texture to using the Big Shot and the Perfect Details Texturz Plate.

The candies were stamped in Pumpkin Pie, Melon Mambo, Rich Razzleberry, and Lucky Limeade. I used Iridescent Ice Embossing Powder and Versamark to make some of them sparkle. I wanted them a bit smaller than the lollipop so I used the 3/4″ Circle Punch to cut them down a bit.

As for the lollipop, I stamped it with Daffodil Delight ink and used the Iridescent Ice Embossing Powder on it. A little 1/8″ Taffeta Pretty in Pink Ribbon is knotted and attached with a mini glue dot.

The information was printed on Whisper White card stock. The Candy Land type font is called “Candy Cane” and I downloaded it for free online. Behind the printed information is Pool Party card stock that was die cut using the Big Shot and Scallop Square Bigz Die. It’s attached to the base with stampin dimensionals.

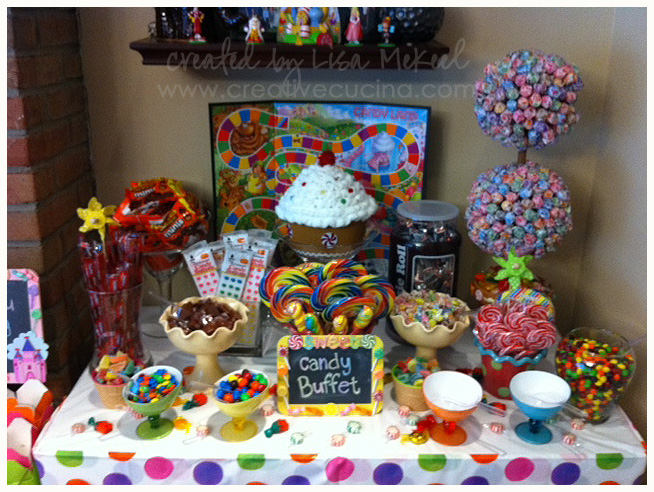
I didn’t have much time to take pictures during the party, but I did manage to take a picture of the candy buffet. I took it with my phone so the picture is not the best quality, but you can see what I did. The little chalk board sign was painted and decorated using various stickers and little lollipop Christmas ornaments.

The lollipop topiary was made using a topiary form (from the floral section of the craft store) and Dum Dum lollipops. Almost 400 lollipops were used to cover the topiary!

Various vases, jars, and containers I had around the house or borrowed from my sister held all the candy. The gingerbread cupcake box was found at Hobby Lobby. I used it for a raffle–the prize being a brand new Candy Land board game. Inside the box, I put slips of paper with the childrens’ names and my daughter pulled the winner.

We still have a lot of candy left over! I’m going to leave the buffet up for a few more days because it makes me smile when I look at it. I suppose a candy buffet in my living room would come in pretty handy with company stopping by, and my daughter certainly won’t complain!

Fall/Autumn DIY Wedding Ideas

I’ve been pretty quiet the past week or so, because THIS is what I’ve been up to!

Wedding cake, invitations, decorations, etc. Not MY wedding–my brother in law and my new sister in law got married over the weekend in a beautiful, rustic, perfect fall wedding.

I offered to help with invitations, cake, and anything else they needed. Here are the results!

Save the Dates:

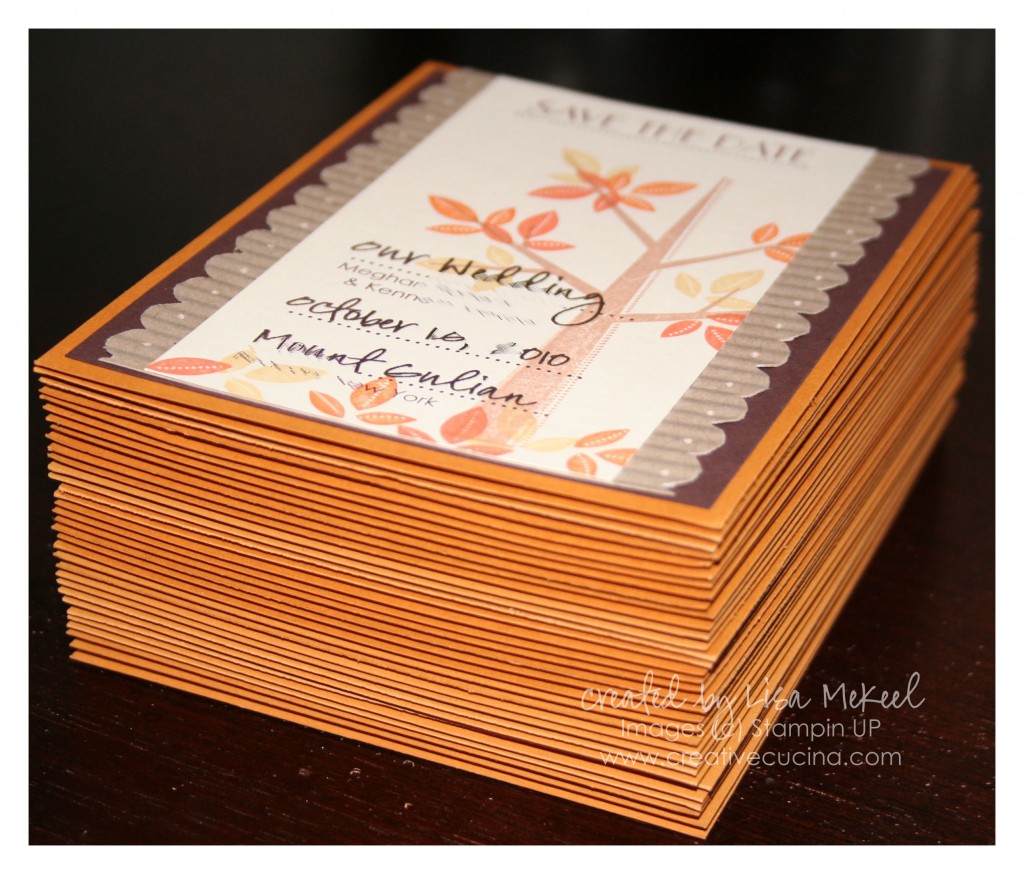
Fall Save the Dates

For more info on these Save the Date cards, click here.

Invitations:

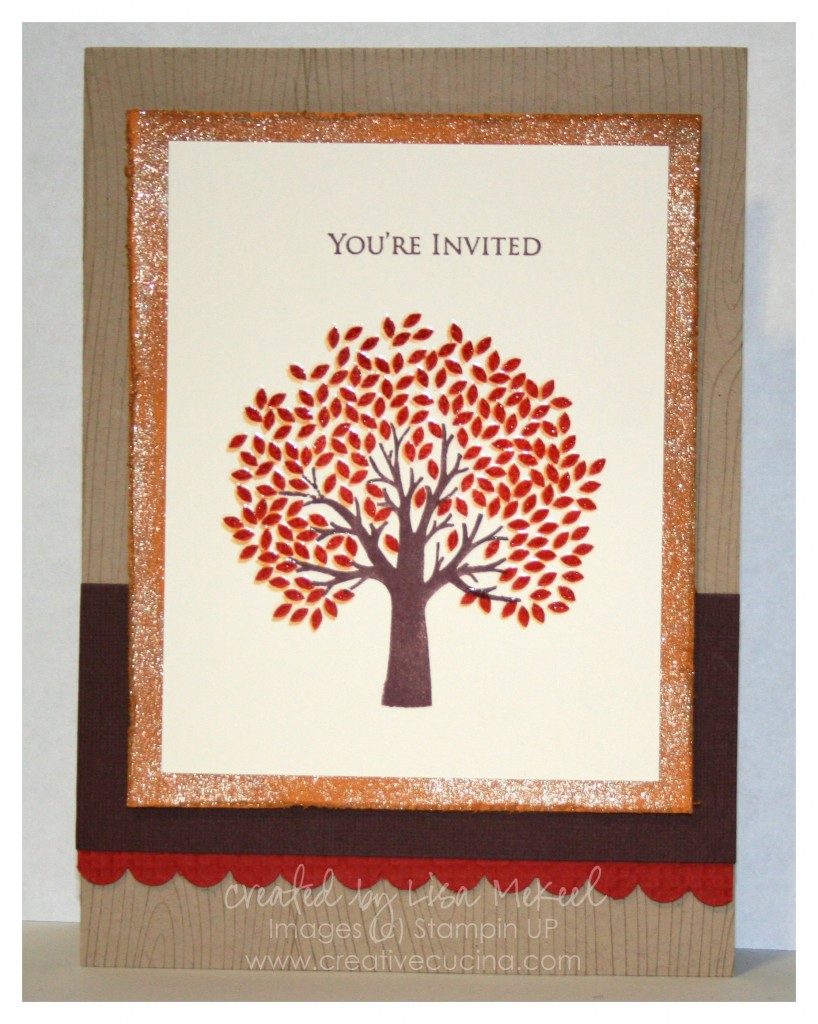
Wedding Invitation

5×7″ Invitation Supplies:

  • Card Stock: Crumb Cake, Cajun Craze, More Mustard, Very Vanilla, Chocolate Chip;
  • Stamps: Papertrey Ink Through the Trees, Woodgrain, For the Bride;
  • Accessories: Versamark, Clear Embossing Powder, Scallop Border Punch, Square Lattice Embossing Folder, Big Shot, Champagne Shimmer Paint, So Saffron Reinker, Cutter Kit (distressing), Cajun Craze Ink, So Saffron Ink, Chocolate Chip Ink, Crumb Cake Ink.

Cake:

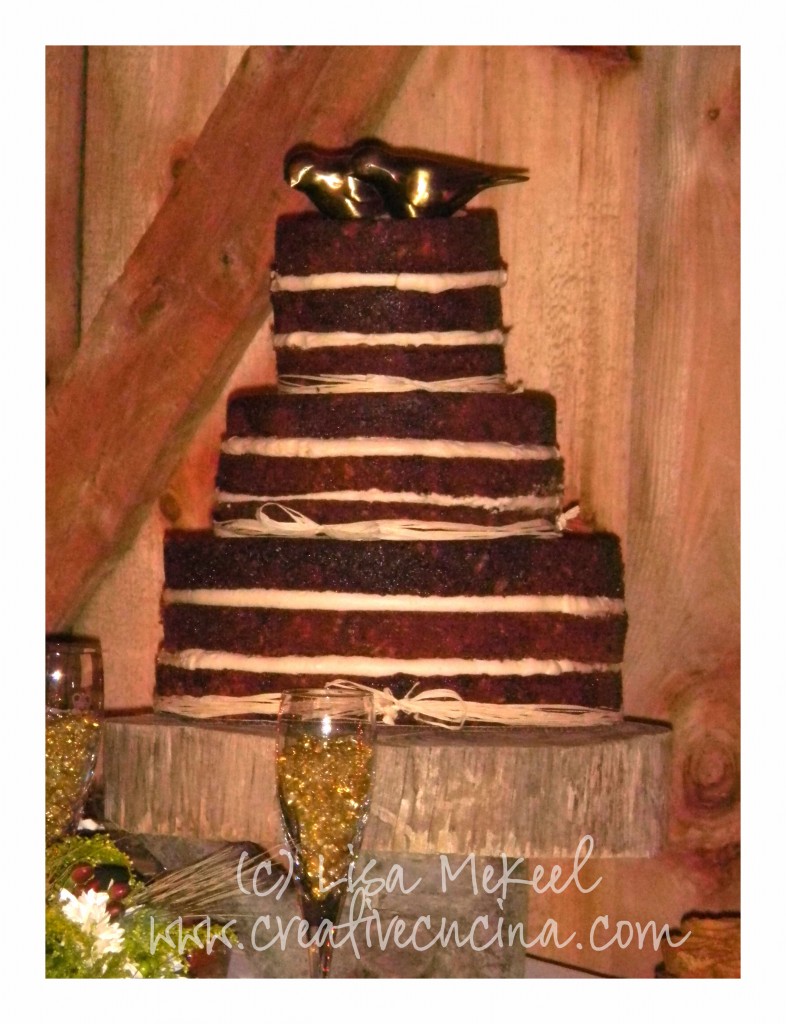
Carrot Cake

Wedding Cake is a rustic 3 tier (12″, 9″, 6″) Carrot Cake with Cream Cheese Frosting. I added some cinnamon and honey to the frosting, which gave it a nice flavor and slightly tan color, which matched the Raffia tied around the bottom of each tier.

Miscellaneous:

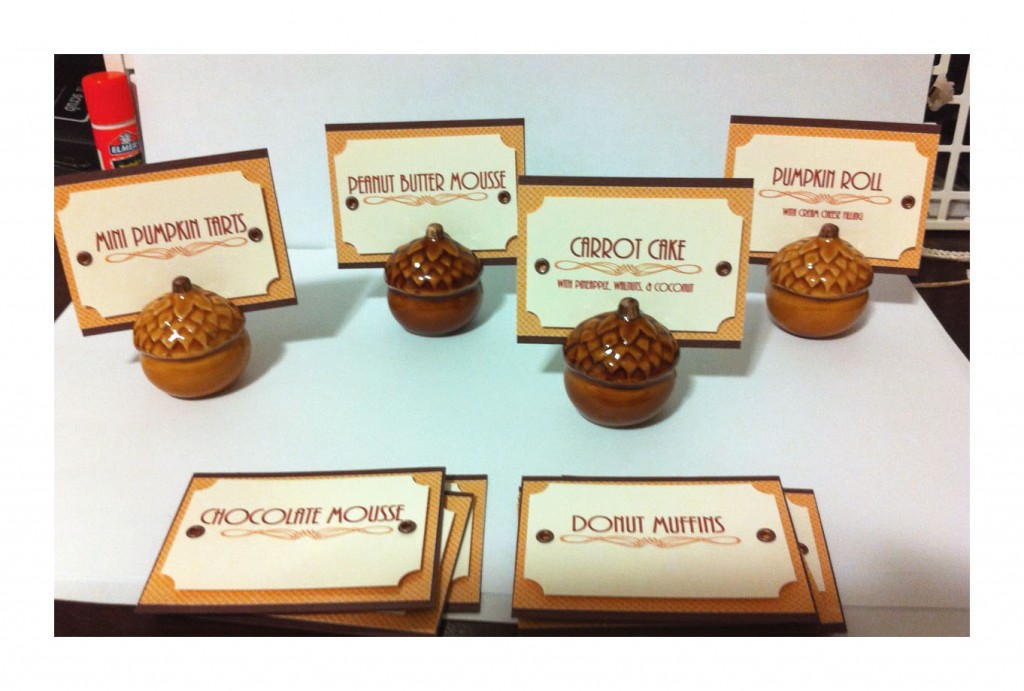
Dessert Labels

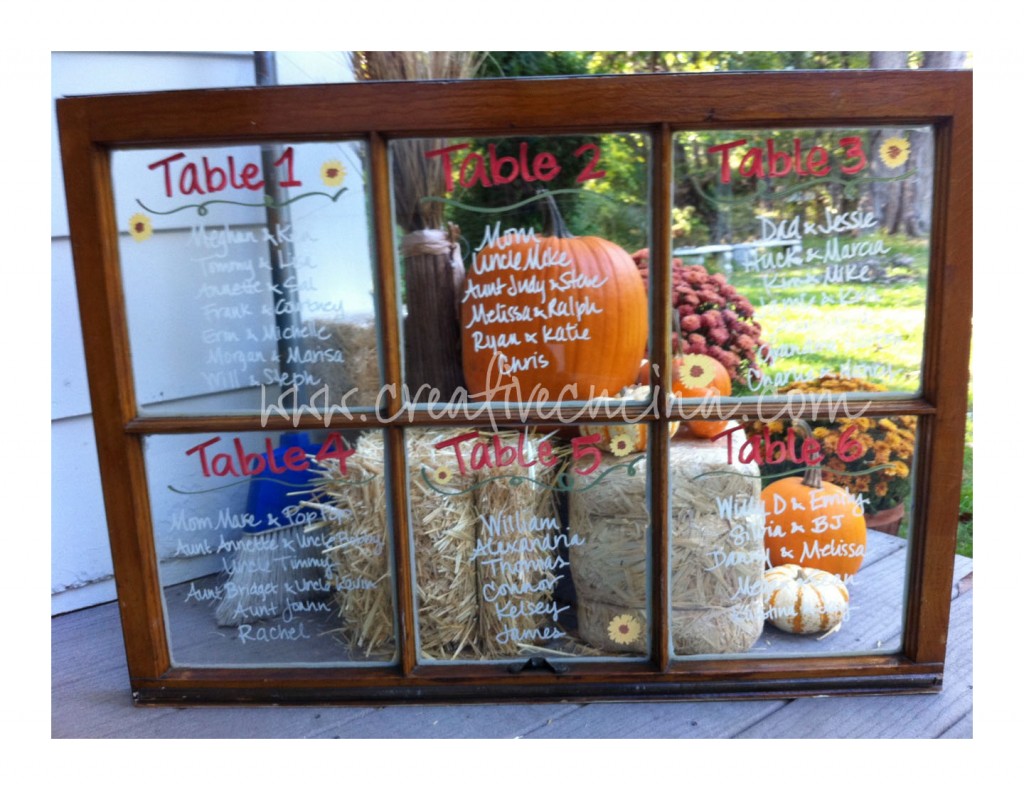
Seating Chart

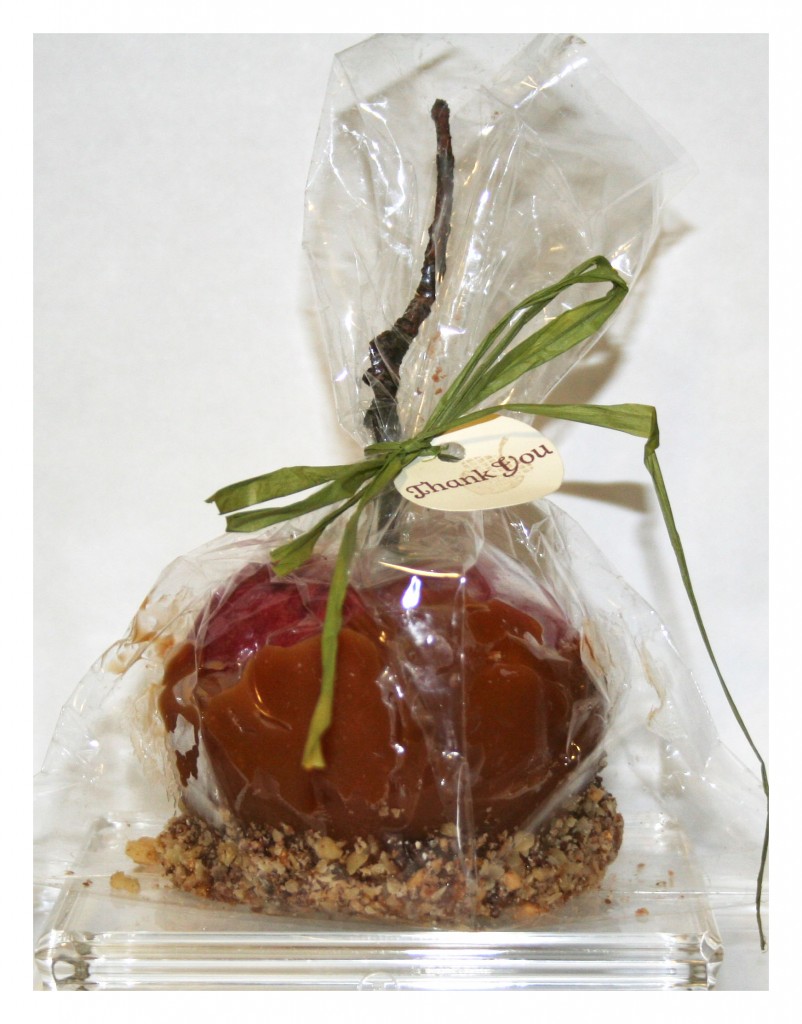
Caramel Apple Favors

The apples were dipped in melted caramel (Kraft caramels worked the best!), chopped walnuts & heath bar bits. We used twigs from my yard as a stick and tied the bags closed with various colors of raffia. I made the thank you tag with the Day of Gratitude stamp set, Very Vanilla card stock, and punched them out with a 1 1/8″ Circle Punch.

Bad Behavior has blocked 385 access attempts in the last 7 days.

css.php