Breaking Out the Red Glimmer Paper!

valentines2013

I am in LOVE with the Red Glimmer Paper, so I hoard it. I use it sparingly because I have 1 sheet left and if for some reason it’s ever discontinued, I will be sure to have ONE SHEET LEFT! I suppose Valentine’s Day is a great excuse to use something I love to make a special card for someone I love.

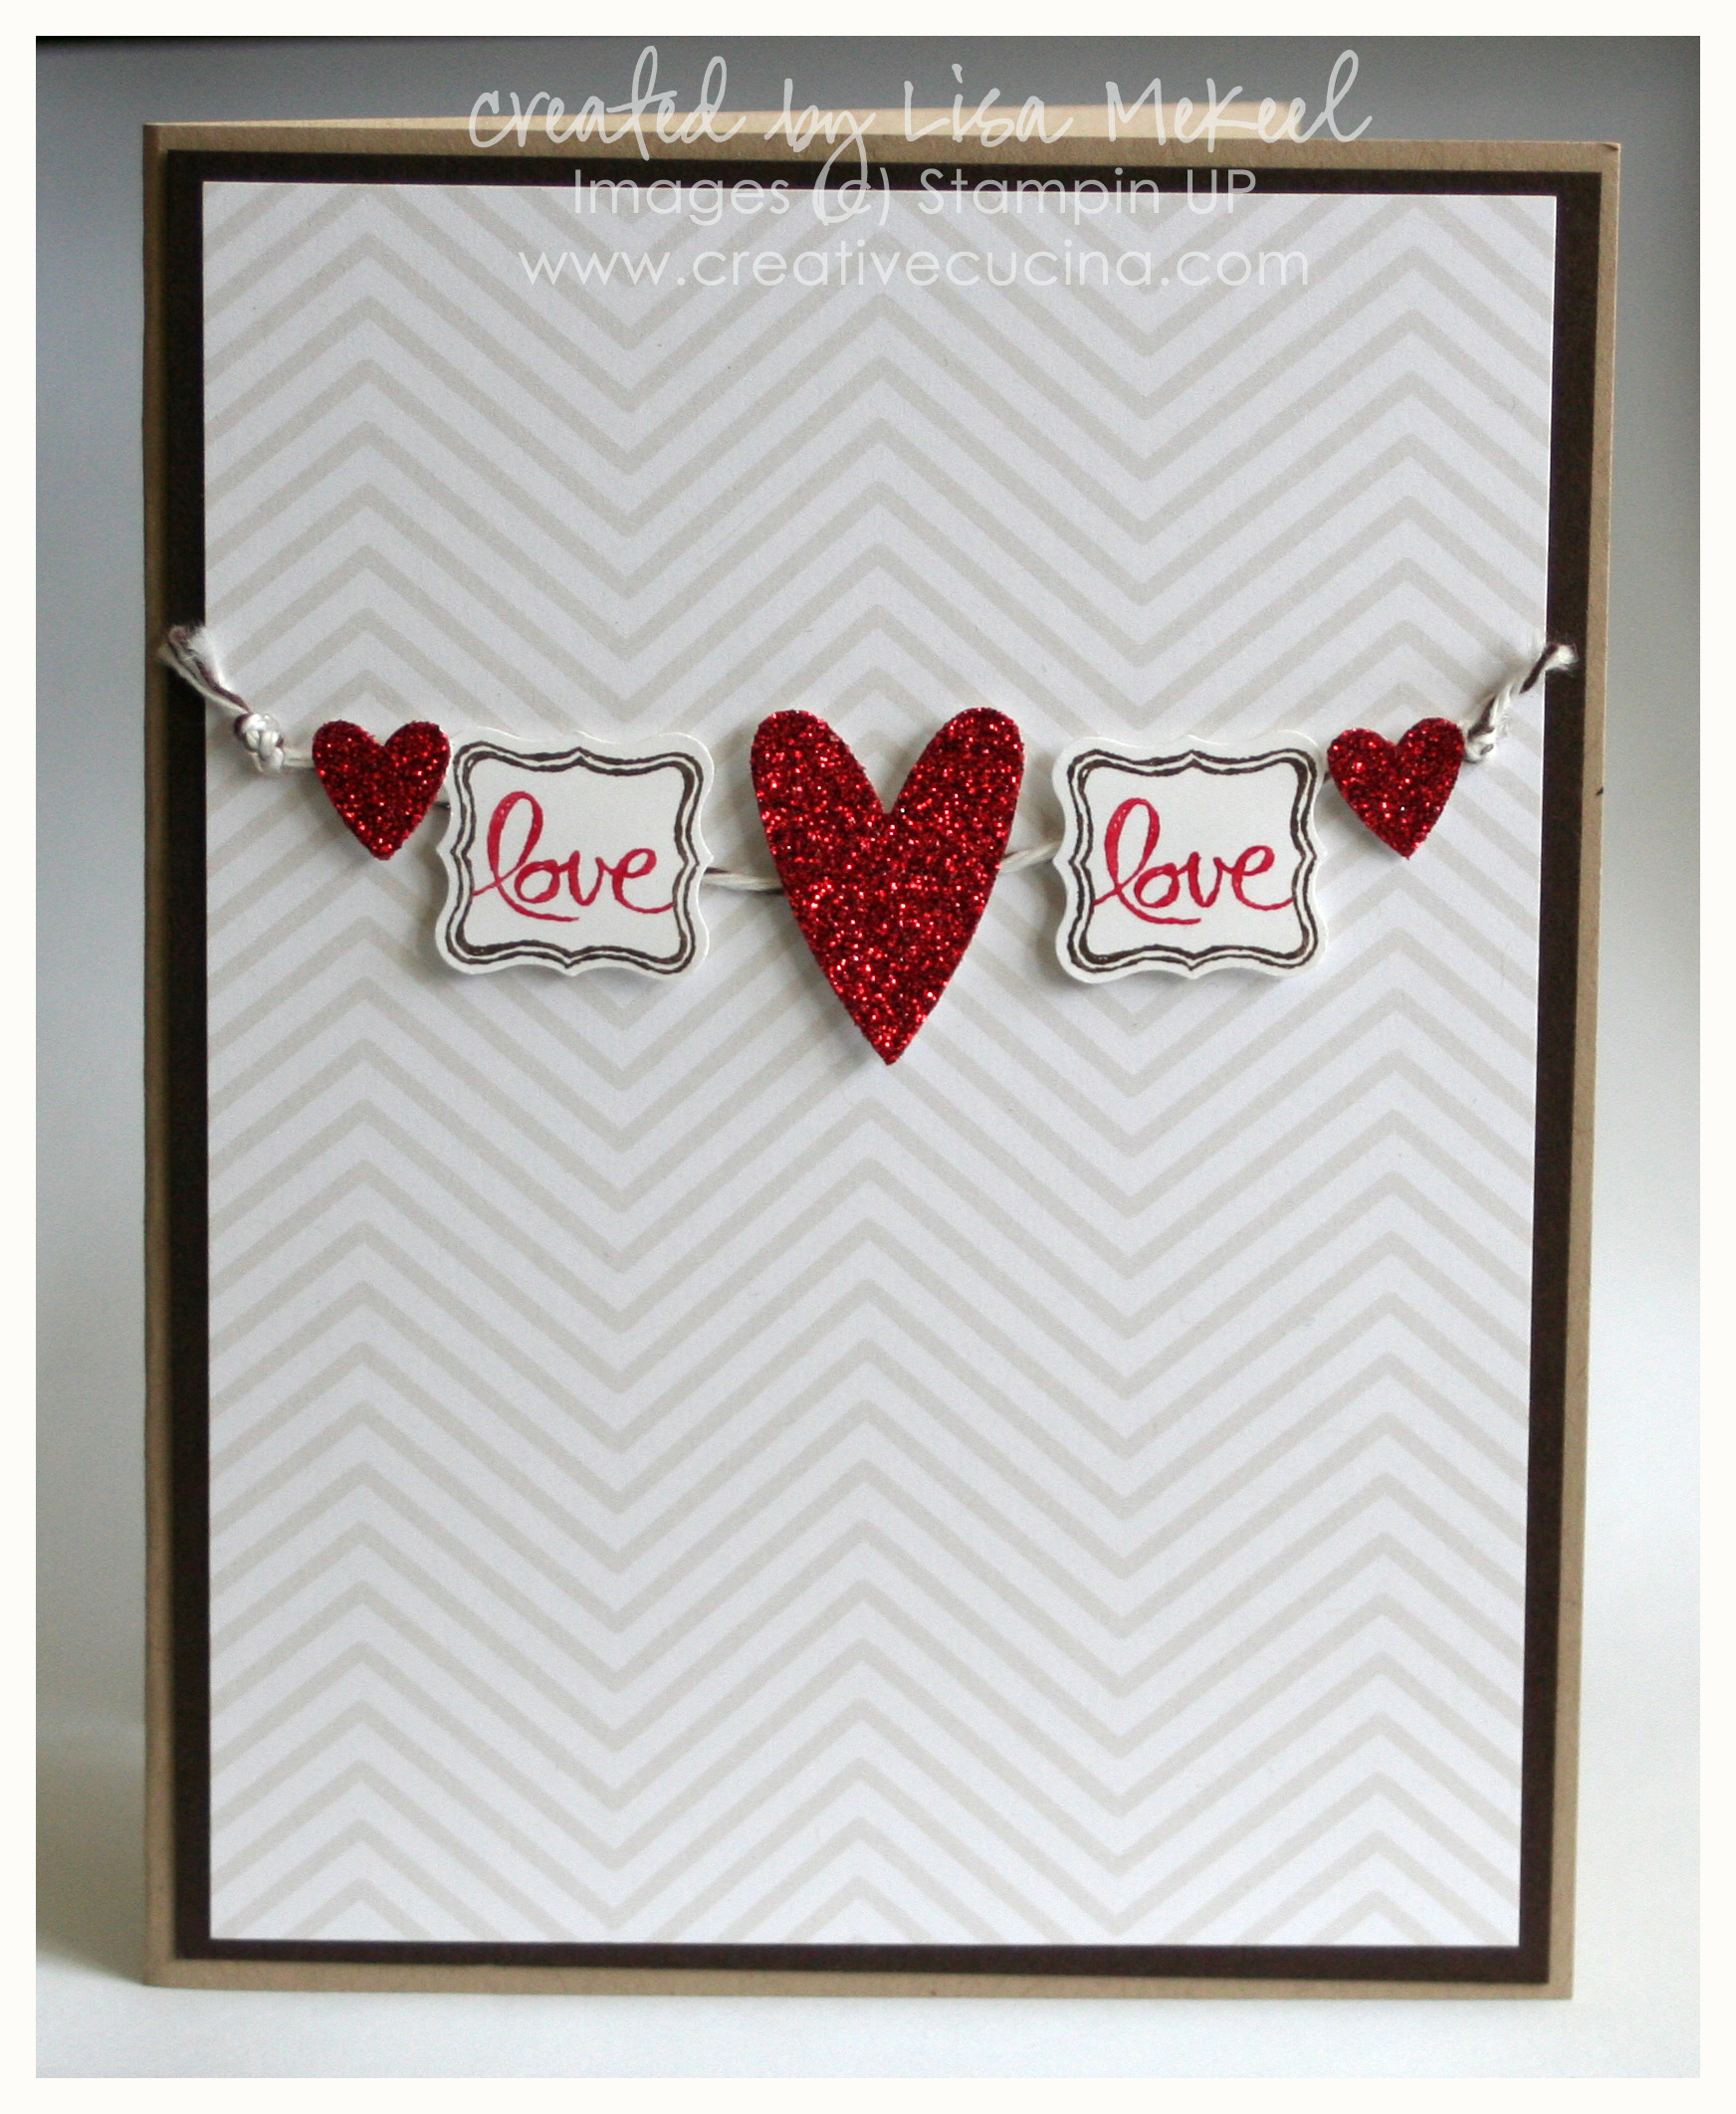
This is a clean and simple card that I made using the Ciao Baby stamp set from the Spring 2013 catalog. It coordinates with the Petite Curly Label Punch, which was FREE with a $50 purchase during Sale-A-Bration. I also got the Pretty Petites stamp free from SAB to coordinate with the punch.

The base is Crumb Cake card stock, layered with Early Espresso and Urban Oasis Designer Series Paper (retired). That pack of paper is one of my all time top 10 favorites–it’s beautiful. Good thing it’s a Digital Download available for My Digital Studio now!

valentines2013a

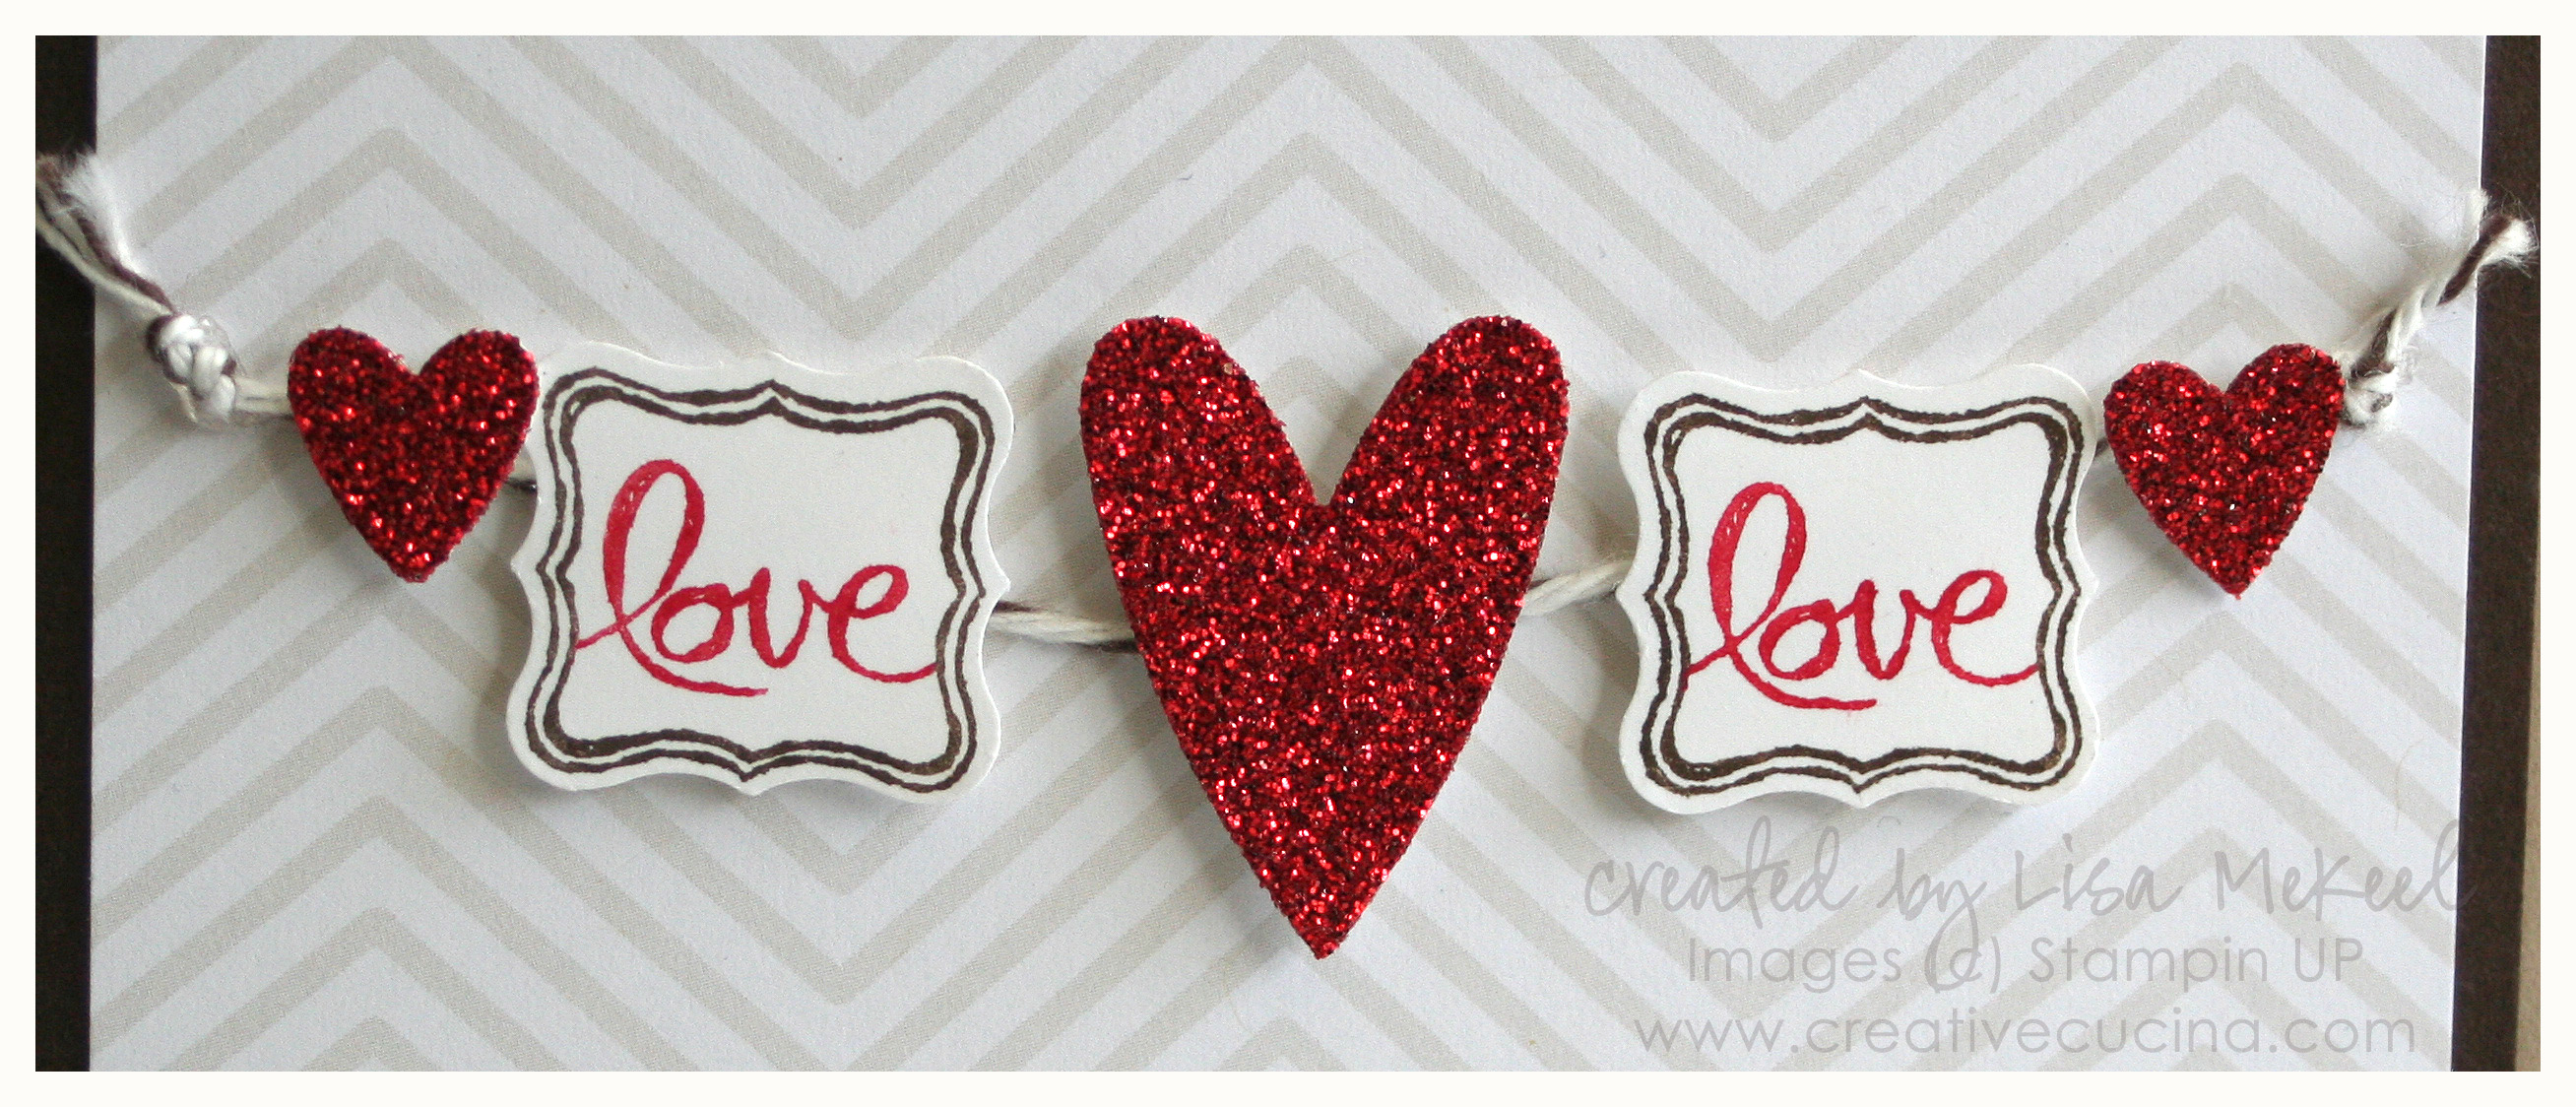
For the focal point, I used Early Espresso Baker’s Twine and knotted both ends in a double knot, attaching it to the card with mini glue dots. Then, I colored direct to stamp with Early Espresso and Real Red Markers, and stamped on Whisper White card stock. I punched them out with the Petite Curly Punch.

The hearts are punched from the Red Glimmer Paper using the Heart to Heart Punch. I attached everything to the card on top of the Baker’s Twine with stampin dimensionals.

Valentine’s Day Cake Pops

I have made cake pops before, for my daughter’s birthday and other occasions. Monday, I made some just for fun after getting the Williams Sonoma catalog in the mail and seeing their Valentine’s Day treats. They have some really cute heart-shaped cake pops and I got inspired to make some of my own!

Making cake pops is very simple. Bakerella is the queen of cake pops and has lots of examples and step by step instructions on her site. Normally, you crumble up your baked, cooled cake into a bowl, add some frosting, mix it up, and roll the cake into balls with your hands. I decided to do it a little differently this time.

Step 1: Prepare your cake/frosting mixture and turn it out onto a sheet of waxed paper.

Step 2: Cover with another sheet of waxed paper and roll it to about 1″-1 1/4″ thick with a rolling pin

Step 3: Using a heart-shaped cookie cutter (approximately 1 1/2″-2″ across) cut out shapes from your “dough”. Use an offset spatula to lift the hearts out if they don’t come out with the cookie cutter.

Step 4: Take your lollipop stick and poke a hole into the bottom of your heart, going in approximately 1/4 of the way up. Using the same end of the lollipop stick, dip it into melted candy coating/melted chocolate and put it back into the hole. This will help “glue” your heart onto your stick.

At this point, put your cake pops into the refrigerator or freezer to firm up, 15-20 minutes in the freezer, in the refrigerator they can stay for a day covered with plastic wrap.

As for the dipping process, I like to melt my chocolate in a 1 cup pyrex measuring cup in the microwave, then keep it nestled in a 2 cup pyrex measuring cup filled 1/2 full of hot water. Be sure not to get any water in your chocolate or it will seize.

I used Wilton’s pink candy melts with a  teaspoon of crisco to thin it out for easier dipping. I also used Ghirardelli semi-sweet chocolate chips for the Dark Chocolate pops.

For another option, I mixed some Wilton White Candy Melts with the semi-sweet chips. It was delicious! I find the Wilton Milk Chocolate candy melts too sweet for my taste. This was the perfect combination! The only thing with using chocolate chips is that they take longer to set, so just keep that in mind.

I like to store these in ziploc bags in the refrigerator. They taste good cold, but you can also keep them out at room temperature just before serving.

It’s also a good idea to get a block of styrofoam to keep your pops in while they set. I forgot to pick some up, so I had to improvise–used the drip tray to my espresso machine!

Valentine’s Day Greeting

I made this Valentine’s Day card for a swap, using the Greeting Card Kids stamp set. If you recognize the image, I used it not too long ago to make Valentine card treats for my daughter’s classmates.

I decided to take off the hearts since it was hiding all the work I did to layer the ribbon! The ribbon is White 3/8″ Taffeta layered with Pretty in Pink 1/8″ Taffeta Ribbon. I wrapped it around a layer of Love Patterns DSP, on a Whisper White base.

At the bottom of the DSP, I stamped “LOVE” from Filled with Love stamp set in Real Red Craft ink, then heat embossed with Clear Embossing Powder.

I forgot to take a picture, but inside, I lined the card with Pretty in Pink card stock and added a red heart made with the Small Heart Punch.

Bad Behavior has blocked 1570 access attempts in the last 7 days.

css.php