Spice Cake Birthday Card with Twisted Ribbon Medallion

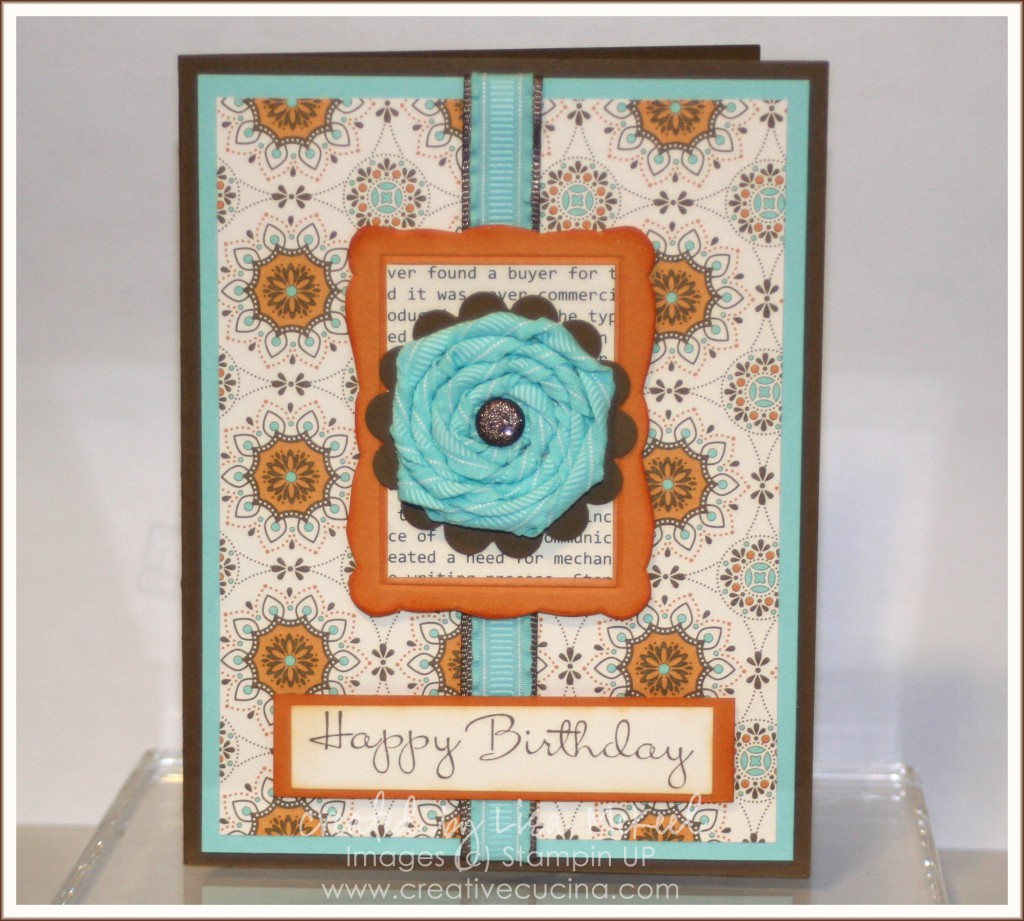
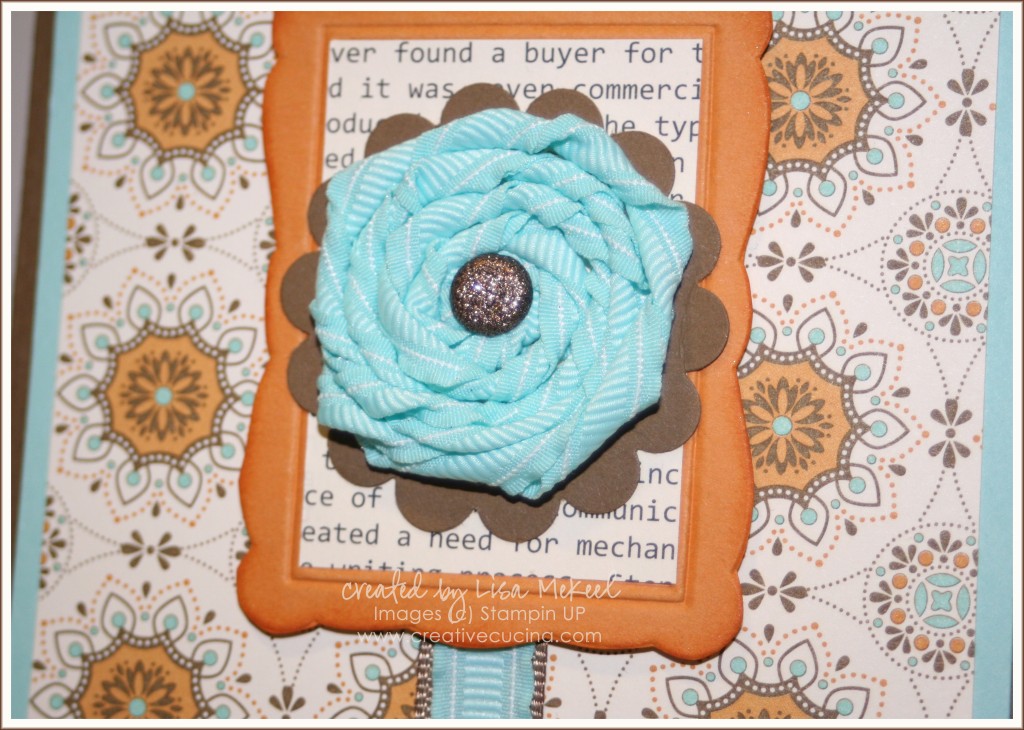
Fall is my favorite season, so it wasn’t a surprise when I fell in love with the new Spice Cake Designer Series Paper, from the Holiday Mini Catalog. The colors in the paper are Pool Party, More Mustard, Pear Pizazz, River Rock, Soft Suede, and Very Vanilla. Other than the great colors and patterns, the paper gives me an excuse to use Pool Party 3/8″ Ruffled Ribbon! Scroll down for directions on how to make the Twisted Ribbon Medallion shown on this card.

The base is Soft Suede card stock, layered with Pool Party and a layer of Spice Cake DSP. Down the front, I added Pool Party 3/8″ Ruffled Ribbon layered with 1/2″ Polka Dot Soft Suede Grosgrain (retired).

In the center, I made a little frame by using the Designer Frames Textured Impressions folder in the Big Shot with More Mustard card stock. I cut the frame out and then sponged More Mustard ink around the edges to add depth. The patterned paper inside the frame is from First Edition Specialty DSP.

As for the Twisted Ribbon Medallion (that’s what I’m calling it anyway), it’s very simple to make.

  1. Punch out a circle from card stock using the 1 3/8″ Circle Punch (you can make it any size you want but that is what I used here)
  2. Cover the front of your circle with Sticky Strip.
  3. Leave your ribbon on the roll and start in the center of the circle. Stick the end of your ribbon down in the middle of the card stock and start twisting the roll until your ribbon starts to twist as well.
  4. Keep twisting and spiraling the ribbon around the circle until you get all of the card stock covered.
  5. To finish, cut your ribbon off the roll, fold the end over the back of the circle, and adhere it with Sticky Strip.
  6. To add a brad in the center, use the cropadile. If your circle is too large for the cropadile to reach the center, you can use your paper piercer as well.

For this card, I used a gorgeous Glimmer Brad (I think this is a Soft Suede one) in the center of the medallion. Then, I layered the medallion onto a Soft Suede scallop circle made with the Scallop Circle Punch.

The sentiment is from Happiest Birthday Wishes, stamped with Soft Suede ink on Very Vanilla card stock. I sponged the edges with More Mustard ink and a sponge dauber, then matted it on More Mustard card stock. It’s attached to the card with stampin dimensionals.
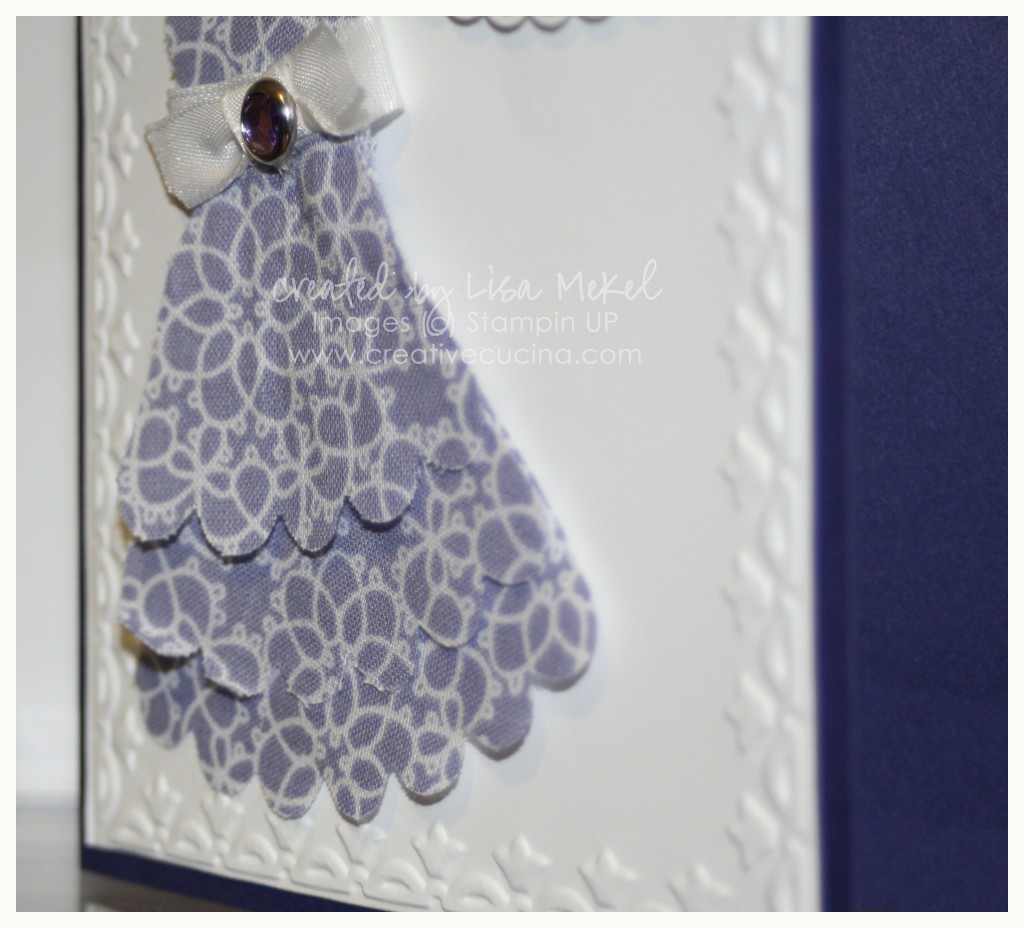
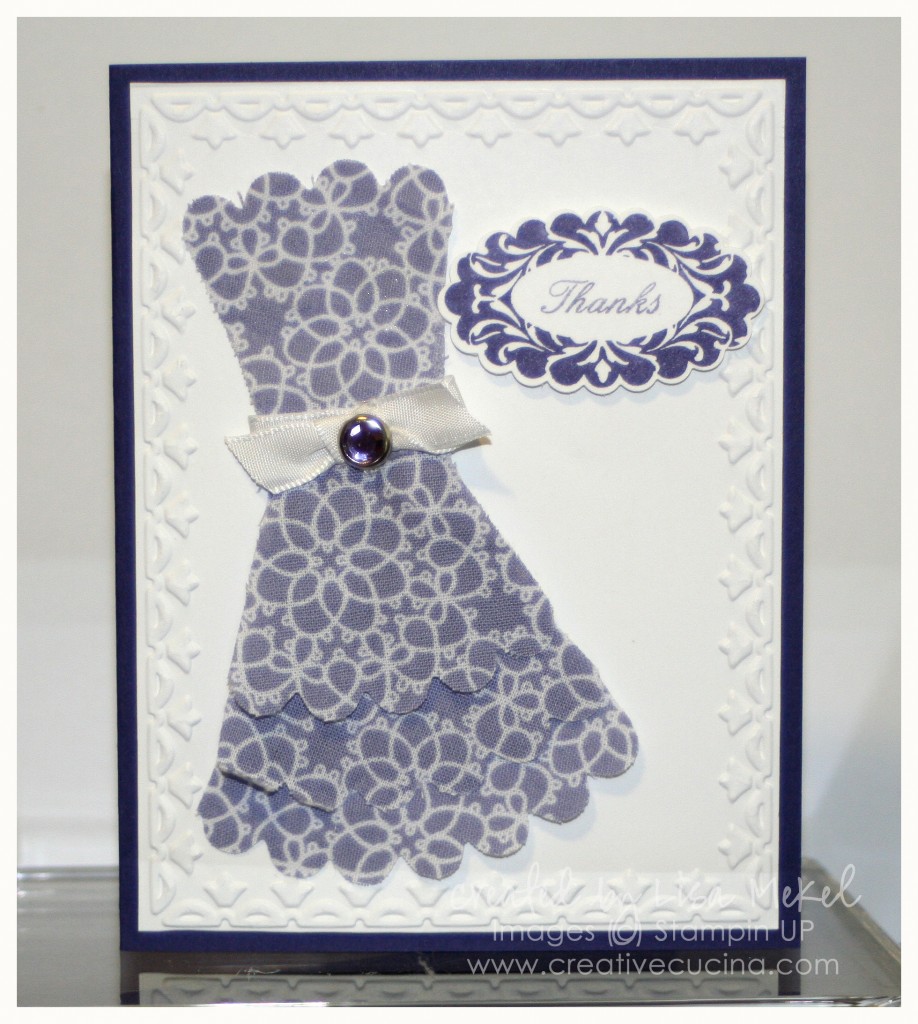
Flirtatious Fabric {Scalloped Tiered Dress}

This is a twist on the scallop circle dress, usually made with paper and the Bigz Scallop Circle Die for the Big Shot. Here, I switched out the paper for Flirtatious Designer Fabric in the Wisteria Wonder/White pattern.

Directions: Cut the fabric using the Bigz Scallop Circle Die just as you would paper. Cut off scallops from each side, making sure you have 4 scallops on the top and 7 scallops at the bottom. Using the left over pieces, layer them on the dress where you would like the tiers to be, then trim off any excess scallops. I ended up with 5 scallops for one tier and 6 scallops for the second tier. Glue them to the dress with Glue Dots.

To make a belt, I took some 3/8″ White Taffeta Ribbon and tied it around the dress. Using the cropadile, I punched a hole through the ribbon and added a Ice Circle Rhinestone Brad. The dress is adhered to the base with SNAIL.

As for the rest of the card, I used Concord Crush for the base and Whisper White for the main layer. I used the Framed Tulips Embossing Folder to emboss the white layer.

The sentiment is from Perfect Punches, colored with Concord Crush Marker (outside) and Wisteria Wonder Marker (inside). I attached it to the card with stampin dimensionals.
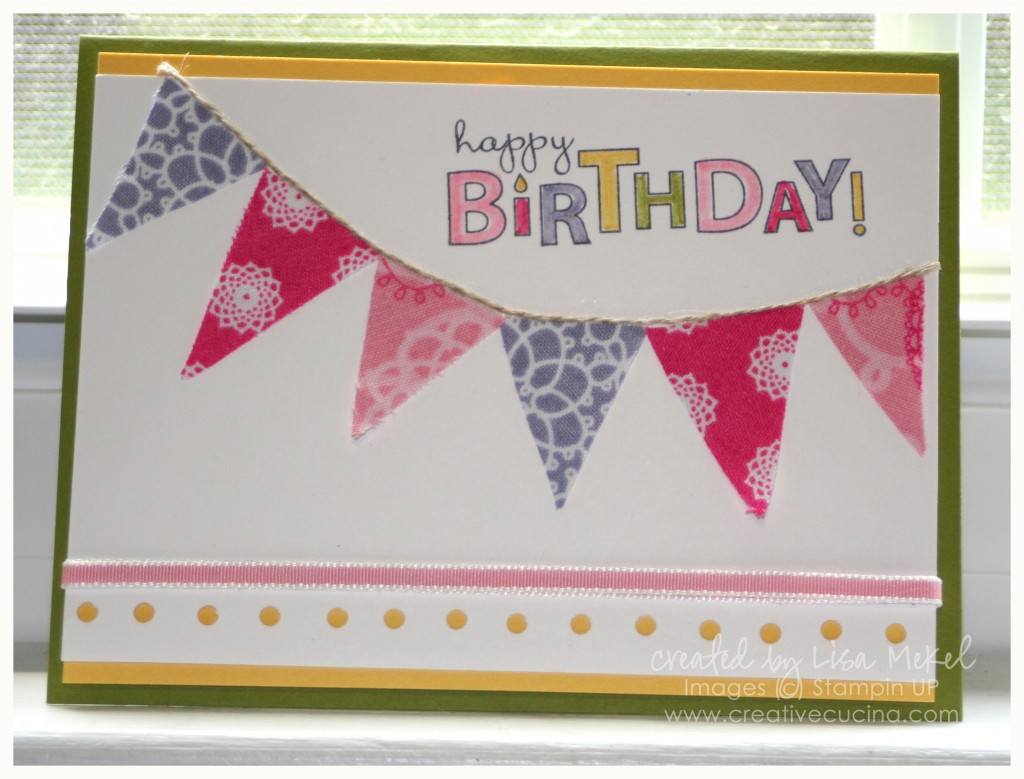
Flirtatious Fabric {Birthday Pennant}

Pennants are everywhere lately. Stampin UP has several birthday stamp sets using pennants, a pennant punch, and I’ve even seen decorating ideas using pennants as cake toppers.

Using the Flirtatious Designer Series Fabric, I came up with several projects using Stampin UP fabric on cards. Being that I’m not into sewing (I can sew a button or fix a hole in a sock, but that’s about it), the cards I made are relatively simple. I treated the fabric as paper, cutting it and adhering it just like card stock.

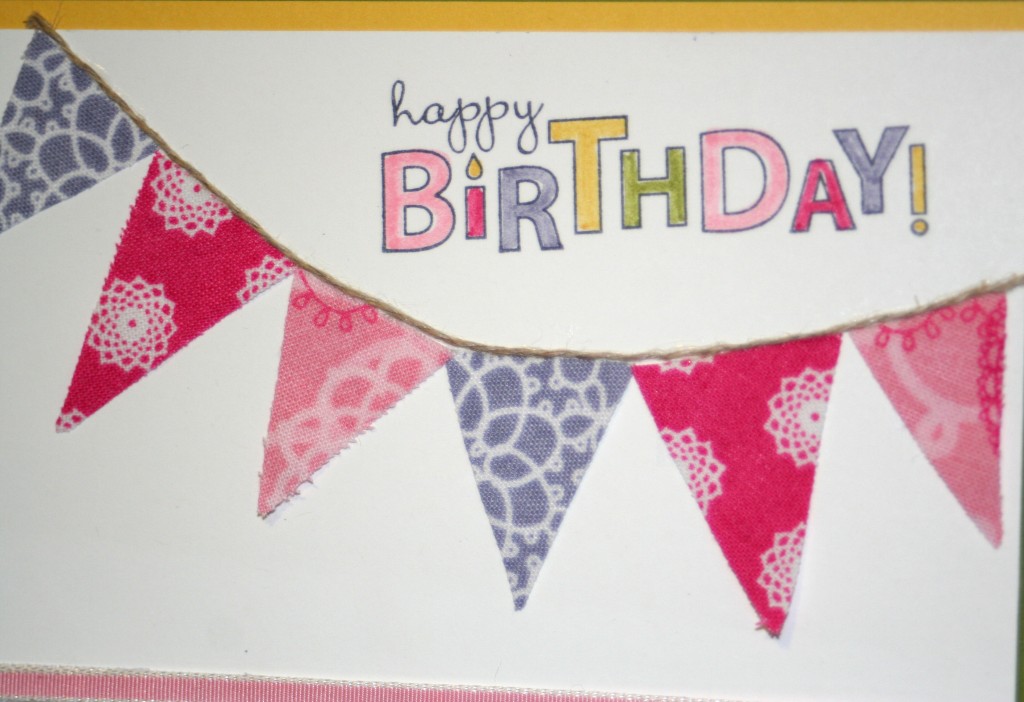
The above card uses pieces of fabric cut into triangles to create a pennant. I used SNAIL adhesive behind the fabric. It’s easier to put the SNAIL onto the card stock first, then adhere the fabric down. After putting the pennants in place, I glued Linen Thread along the tops of the pennants using Mono Multi Adhesive.

The stamp is from Bring on the Cake, stamped in Basic Black and colored in with coordinating SU Markers. The base is Old Olive, layered with Daffodil Delight and Whisper White. The ribbon along the bottom is Pretty in Pink 1/8″ Taffeta. Below the ribbon, I punched holes using the cropadile to expose the yellow card stock underneath.

I’ll be posting more projects using the Flirtatious Designer Fabric so stay tuned…

Bad Behavior has blocked 945 access attempts in the last 7 days.

css.php