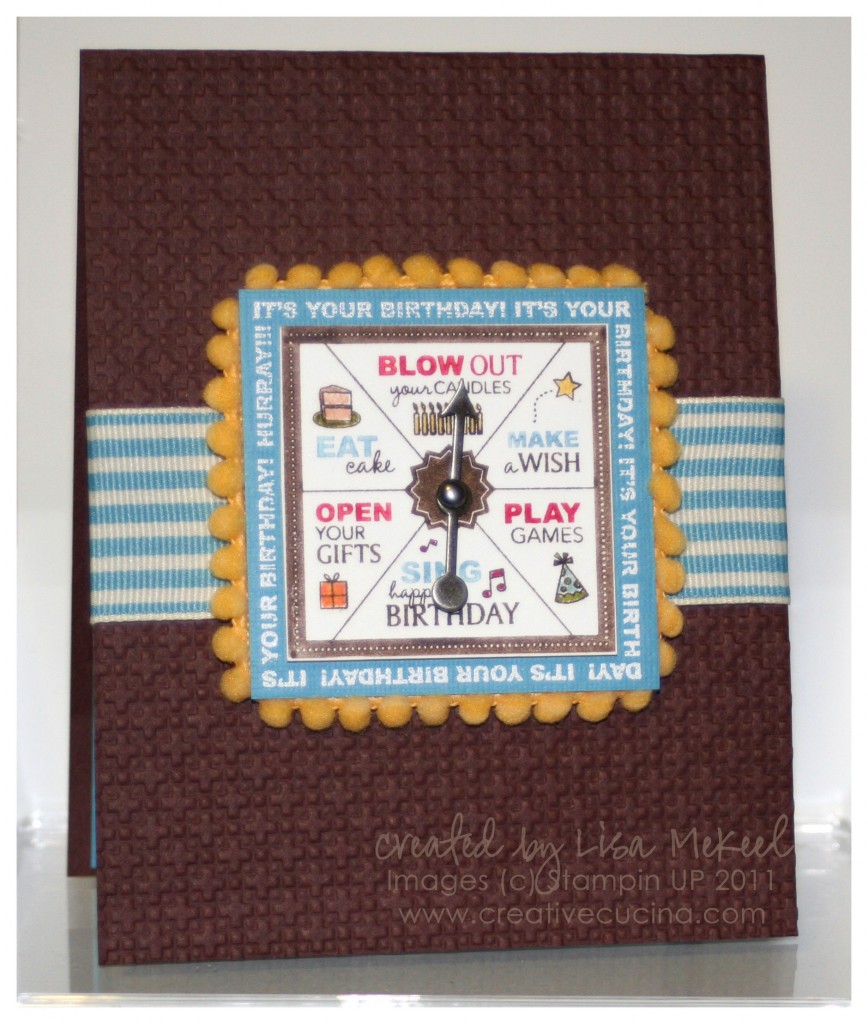
Take a Spin {Fun Birthday Spinner Card}

Well, Birthday season in my family has officially begun. It starts off slowly in February, then gets CRAZY in March (8 birthdays in the month of March alone) and then every month thereafter. I guess I”ll be making a lot of birthday cards!

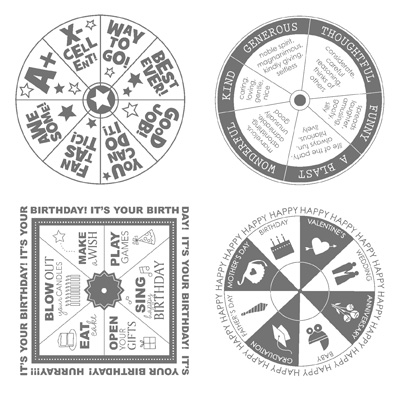
This Take a Spin stamp set is a lot of fun. I went to town coloring in all the images with my SU Markers, both directly onto the stamp and then filling in some of the images after it was stamped.

There are 4 different stamps in the set, and the Game Spinner Hands are sold separately in a set of 12.

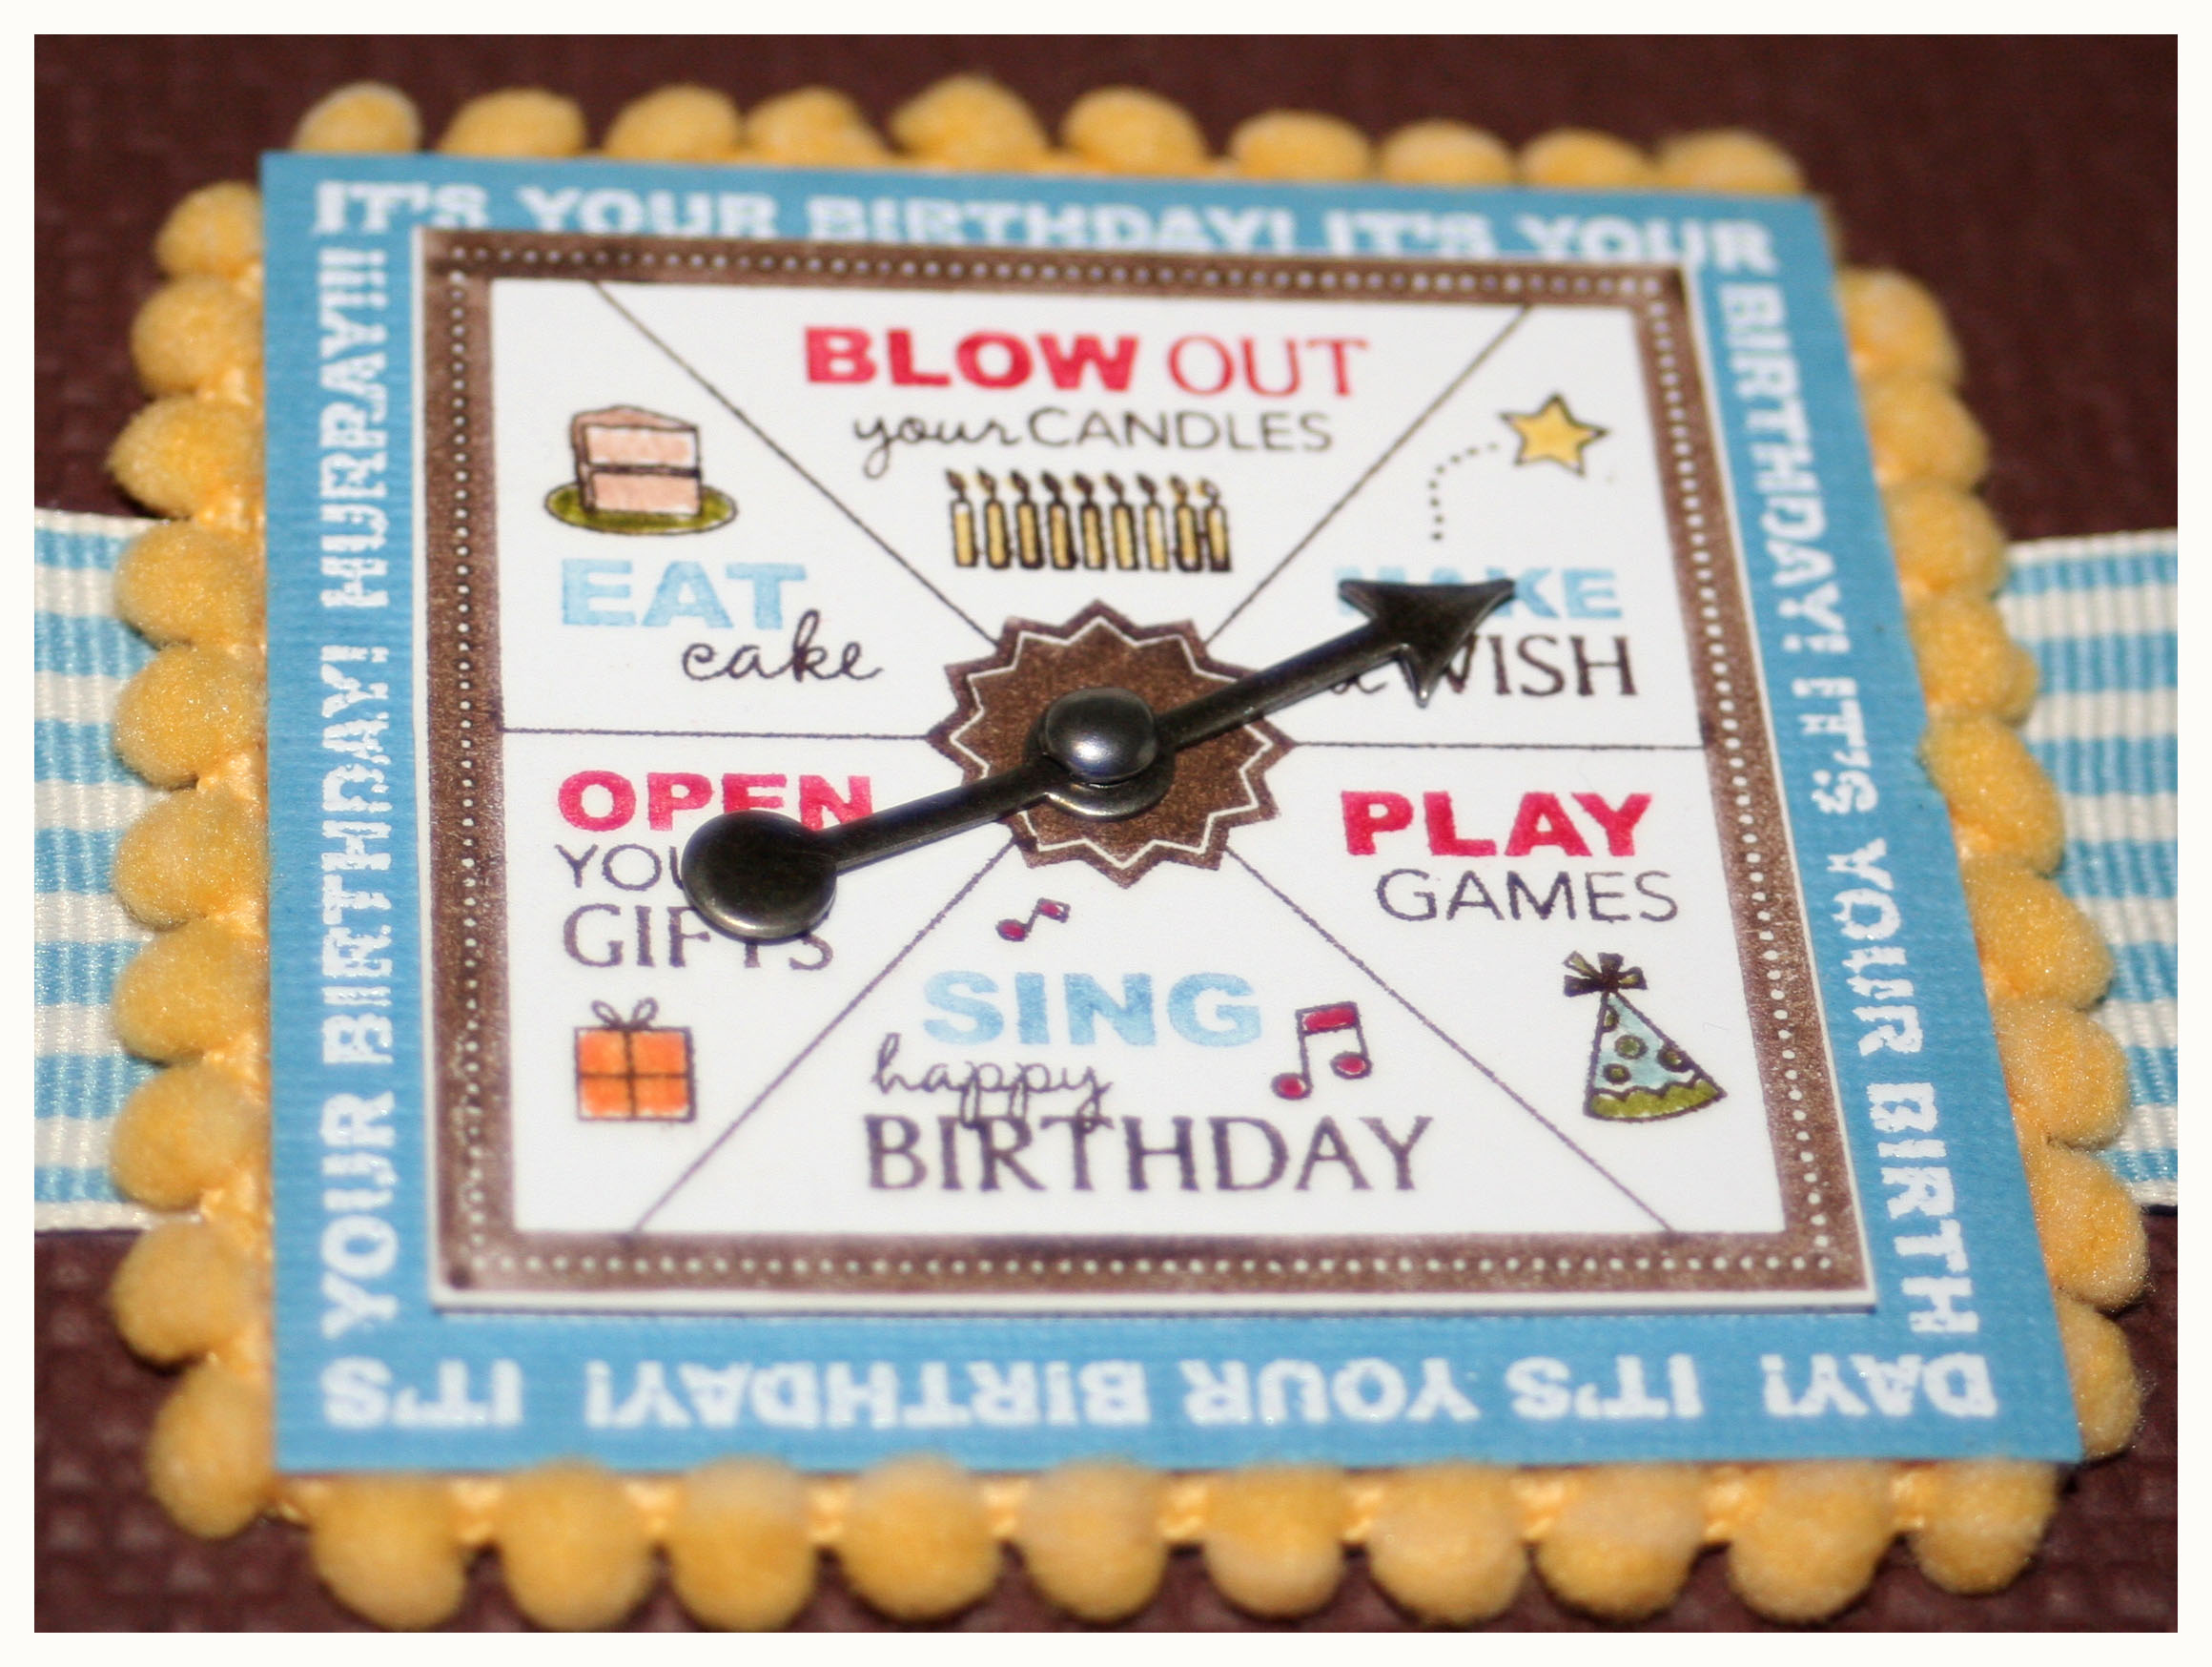
As you can see from the close up above, I colored the majority of the stamp with Chocolate Chip Marker, (direct to stamp)  using Real Red, Daffodil Delight, Pumpkin Pie, and Marina Mist as accent colors. Then, I stamped onto Whisper White card stock and trimmed around the game board.

Next, I stamped the image a second time, with White Craft ink onto Marina Mist card stock, heat embossing with White Embossing Powder.

Using the cropadile, I punched a hole in the center of the game board and attached the Game Spinner Hand.  Then, I adhered that piece to the Marina Mist card stock using stampin dimensionals. TIP: If you just slightly bend the ends of the Spinner Hands upward it will spin easily.

My new favorite thing, Daffodil Delight Pom Pom Trim, was glued around the Marina Mist card stock with Tombow Mono Multi. I added a square of card stock behind this piece with stampin dimensionals for added stability so the game board wouldn’t cave in when you touch the spinner.

The card base is Chocolate Chip, which I ran through the Big Shot with the Square Lattice Embossing Folder. The ribbon is 1 1/4″ Striped Grosgrain in Marina Mist.

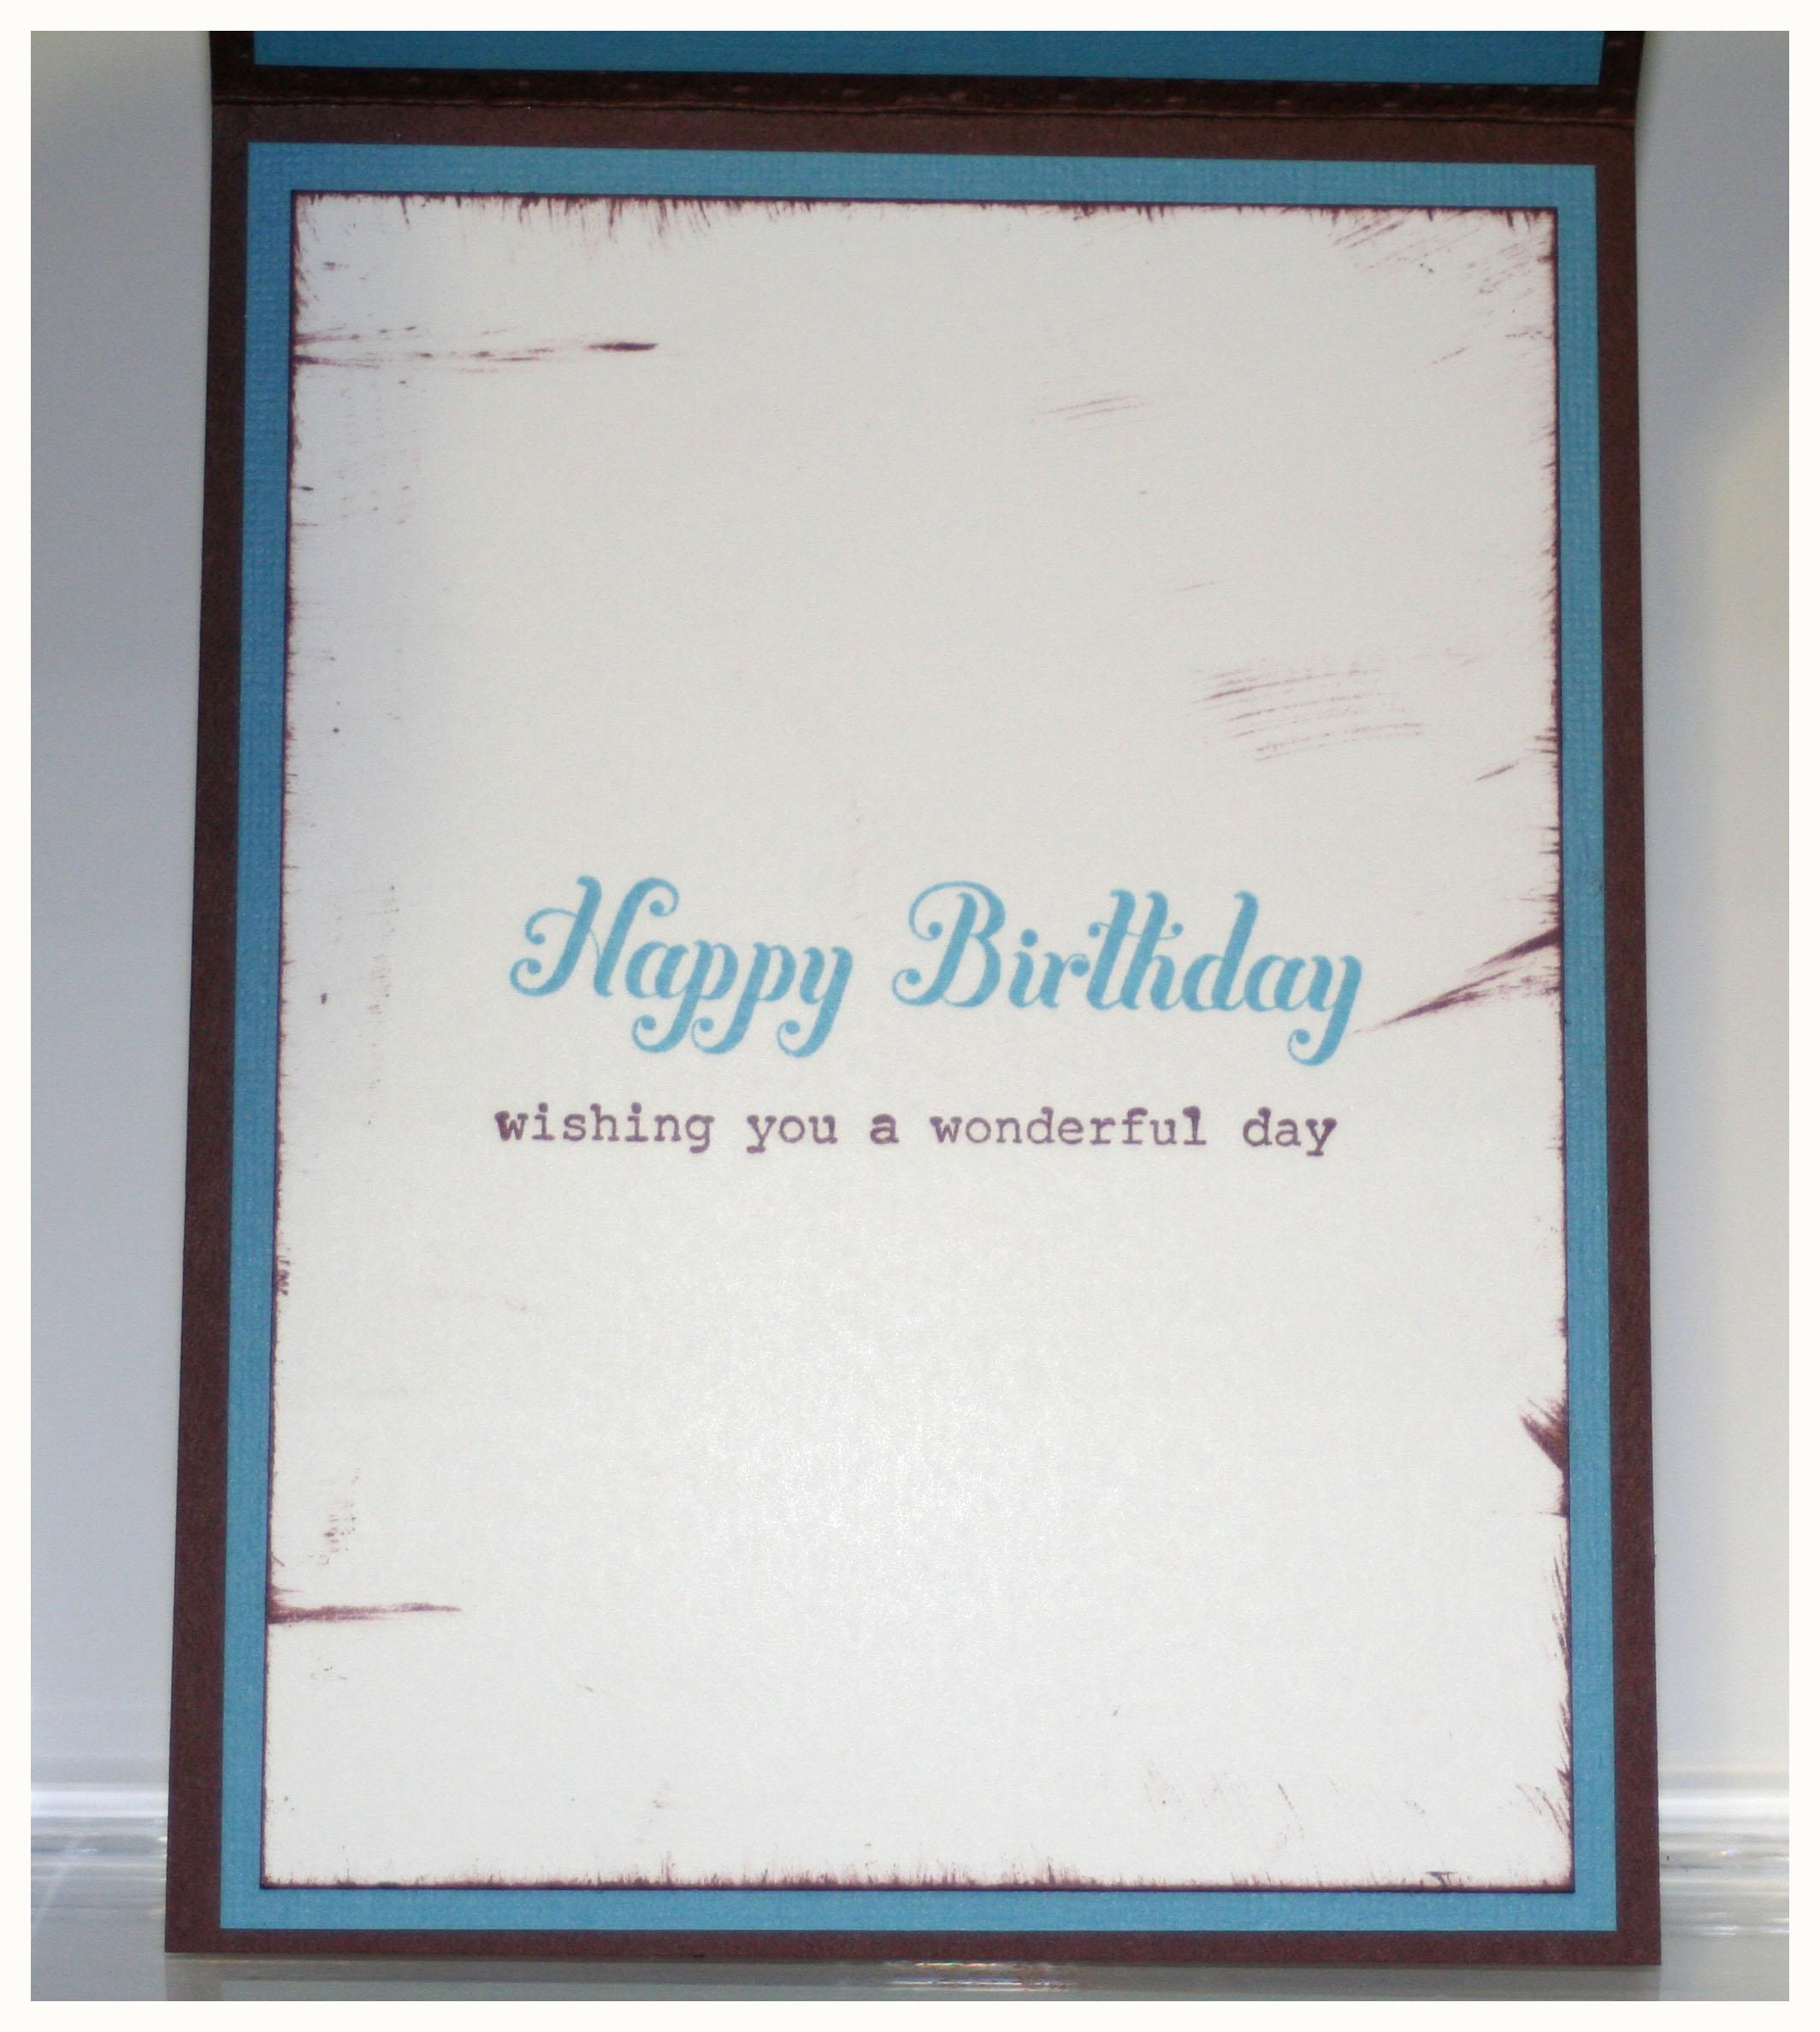
Inside, I lined the card with Marina Mist and Whisper White card stock. I swiped the edges of the White in Chocolate Chip ink and stamped 2 sentiments from Bring on the Cake.
Merry Crittermas Cute Christmas Card

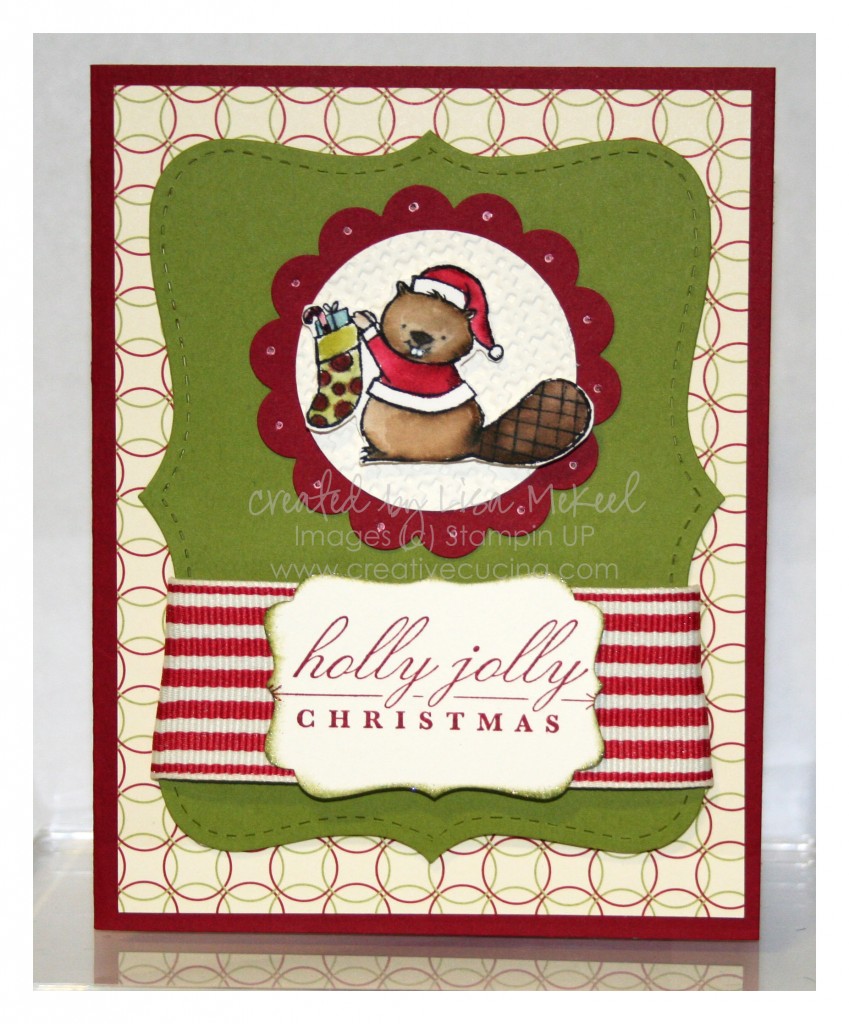
I don’t know what I like best about this little guy, but he is just too cute! I think it’s his little teeth that get me. This is a simple enough holiday card to make in bulk, with enough interest to keep me from getting bored. Each element can be prepped in advance and I can assemble them quickly if I plan ahead.

The card base is Cherry Cobbler, layered with Jolly Holiday DSP. I cut Old Olive card stock with the Top Note Die in the Big Shot, and wrapped some 1 1/4″ Riding Hood Red Striped Grosgrain Ribbon (from the clearance rack) around the front.

Next, I stamped the sentiment from Bright Christmas (Holiday Mini) in Cherry Cobbler ink on Very Vanilla card stock, punched out with the Decorative Label Punch. I sponged some Old Olive Craft ink around the edges, sprinkled on some Iridescent Ice Embossing Powder, and heated it to give a glittery effect without the glitter.

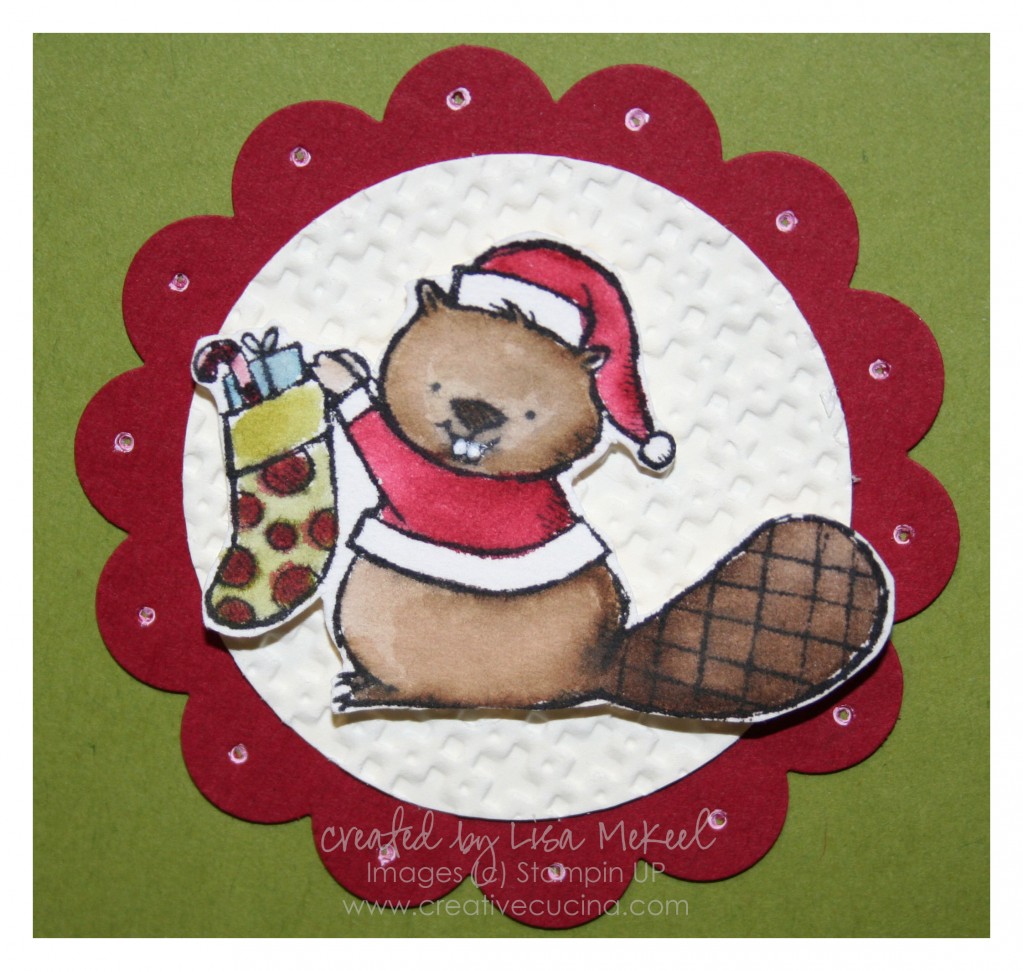
For the main image, I stamped this adorable little beaver from Merry Crittermas onto Watercolor Paper with Black Stazon ink and colored it in using SU Markers and the Aquapainter.I use this technique for easy watercoloring.

To make his teeth extra white, I used the Signo White Gel Pen. Then, I trimmed the image out and attached it with stampin’ dimensionals to a Very Vanilla 1 3/4″ Circle that I embossed with the Square Lattice Embossing Folder and Big Shot. That is layered onto a Cherry Cobbler 2 3/8″ Scallop Circle, dotted with the Signo White Gel Pen and Paper Piercer.

Greeting Card Kids Halloween Pumpkin Card

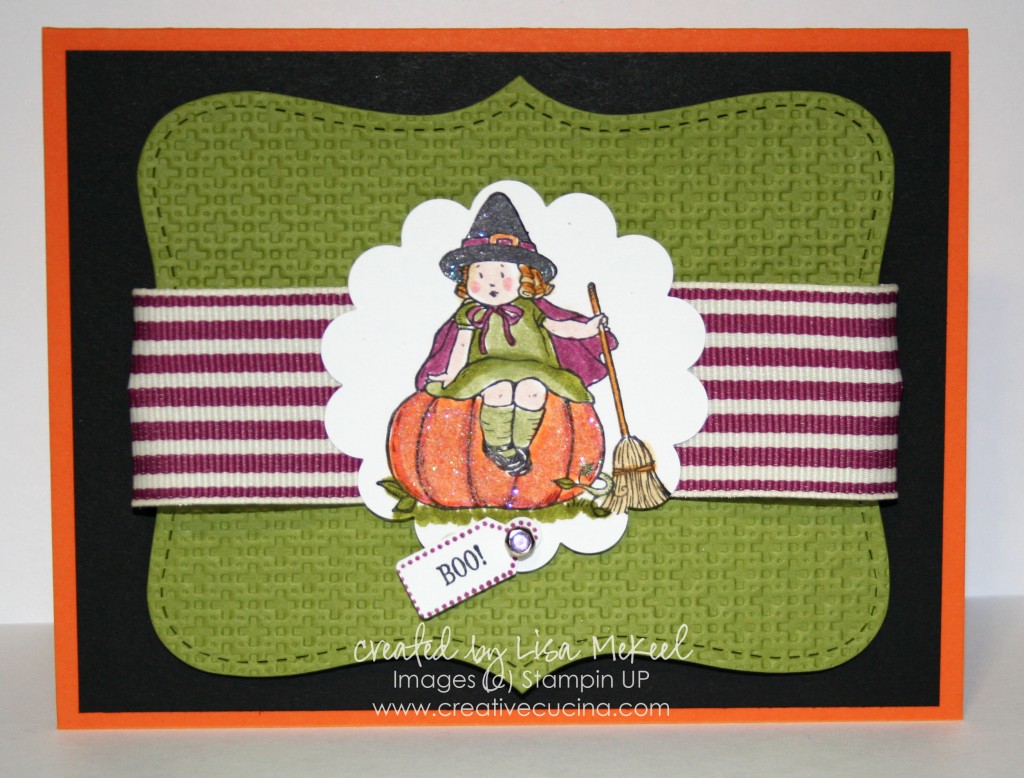
I made this card for a swap. I normally don’t do Halloween cards but this little girl was too cute to resist.

The card base is Pumpkin Pie, layered with Basic Black. Then, I used Old Olive card stock, embossed with the Big Shot and Square Lattice Embossing Folder, and die cut with the Top Note Bigz Die. The ribbon is Rich Razzleberry 1 1/4″ Striped Grosgrain, wrapped around the top note layer.

For the main image, I stamped the pumpkin girl from Greeting Card Kids in Basic Black ink on Whisper White card stock. I colored in the image with SU Markers (Dusty Durango, Pumpkin Pie, Old Olive, Pear Pizzazz, So Saffron, More Mustard, Rich Razzleberry, Blush Blossom, Blushing Bride, and Basic Black and Copic Black).

After coloring, I used 2 Way Glue and Dazzling Diamonds on the pumpkin. The Black Copic Marker must have been wet still because the glitter stuck to the hat as well. It was an unintended but welcome effect.

Then, I used the 2 3/8″ Scallop Circle Punch to punch out the image and attached a little “Boo” tag with a Circle Rhinestone Brad. The “boo” is from Tiny Tags and the punch I used is the Tiny Tag Punch.

Bad Behavior has blocked 1024 access attempts in the last 7 days.

css.php