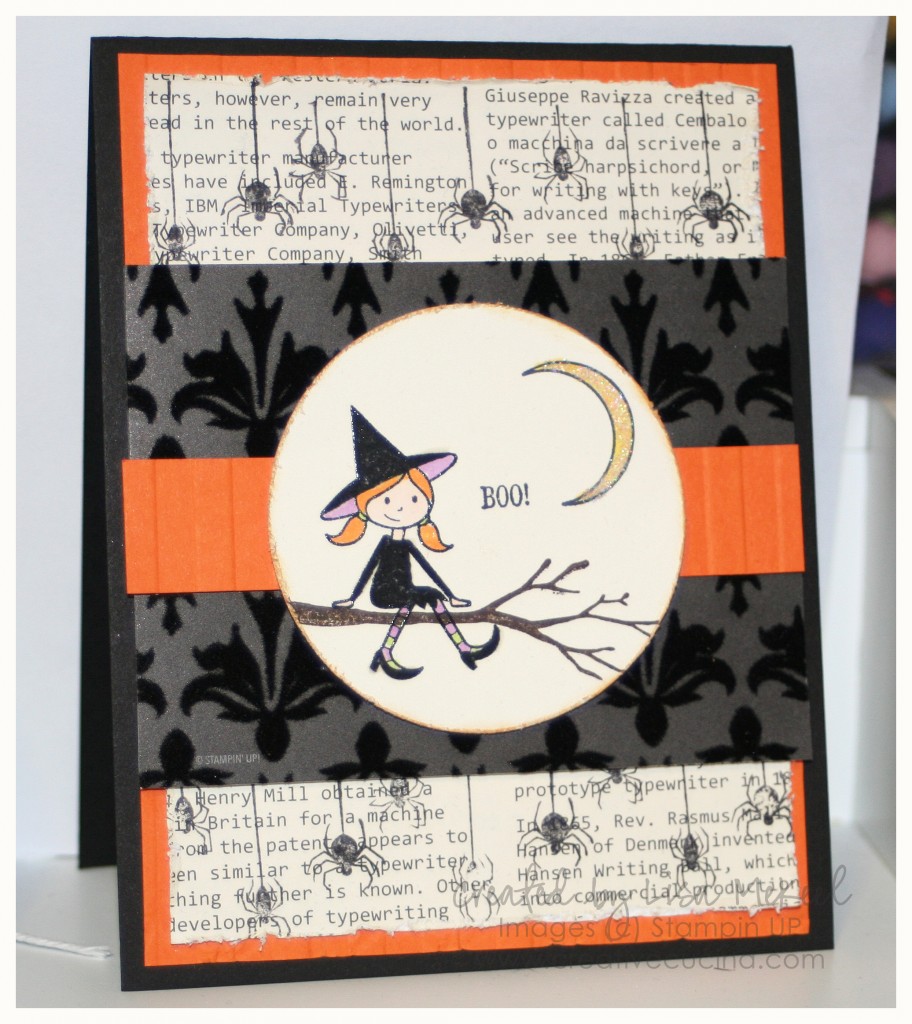
 I made this card for a Halloween swap. It features the Out on a Limb stamp set from the Holiday Mini Catalog. The card base Basic Black, layered with Pumpkin Pie card stock textured with the Stripes Textured Embossing Folder for the Big Shot.
Next, I opted to stamp the hanging spiders (also from Out on a Limb) in Black ink over top of First Edition Specialty DSP. To give it more texture, I distressed the edges with the Distressing tool in the Cutter Kit.
The black flocked paper is from Mocha Morning Specialty DSP. The package contains, among other designs, 2 styles of flocked paper. It’s really pretty and elegant. This is cut to 3″ x 4″.
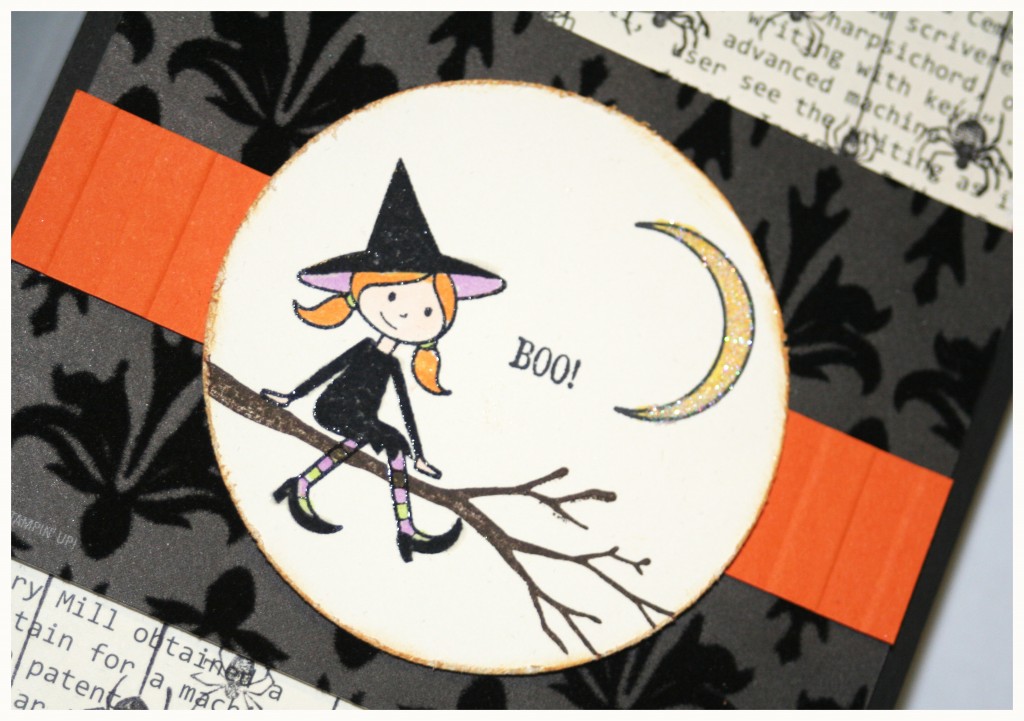
 I stamped the branch on Very Vanilla card stock with Early Espresso ink. Then, using the stampamajig, I stamped the witch in Black craft ink and heat embossed it with clear embossing powder. I colored in the witch and the moon with Copic Markers, then added dazzling diamonds glitter to the moon with 2-way glue pen. The “Boo” sentiment is from Tiny Tags.
Using the 2 1/2″ Circle Punch, I punched out the stamped image and distressed the edges with the Cutter Kit, then sponged So Saffron ink around the edges with a sponge dauber. To give a little more sparkle, I sprayed the card stock with shimmer spray (made with shimmer paint and 70% rubbing alcohol).
I added another strip of Pumpkin Pie card stock embossed with the Stripes Textured Embossing Folder across the front behind the focal image to finish off the card.

