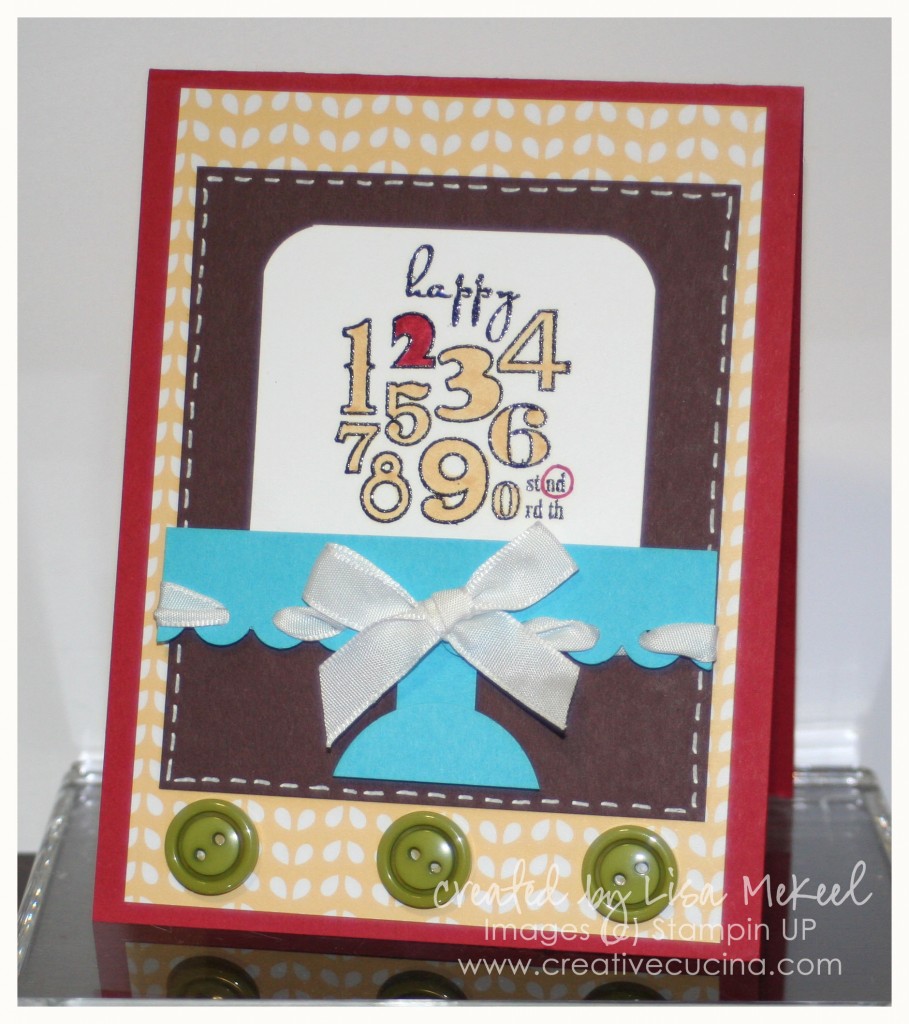
Bring on the “Number Cake” Birthday Card

My nephew turned 2 today, so I made him this card. I really like this number stamp from Bring on the Cake, and I especially like to emboss it before coloring in the numbers.

The card base is Riding Hood Red, layered with Nursery Suite DSP. I stamped the numbers onto whisper white and then heat embossed with Black Embossing Powder. I colored in the numbers with So Saffron Marker and the number 2 with Riding Hood Red Marker. Then, I used the Corner Rounder Punch on the top corners to make it look like a cake.

The “cake stand” is a strip of Tempting Turquoise punched with the Scallop Edge Border Punch. I used the cropadile to add holes to each scallop and then threaded White Taffeta Ribbon through the holes.

I used chocolate chip card stock behind the cake to frame it. White Gel Pen around the edges makes it pop and coordinates with the white details in the DSP. At the bottom, I added 3 old olive buttons from the Designer Buttons Brights Collection.
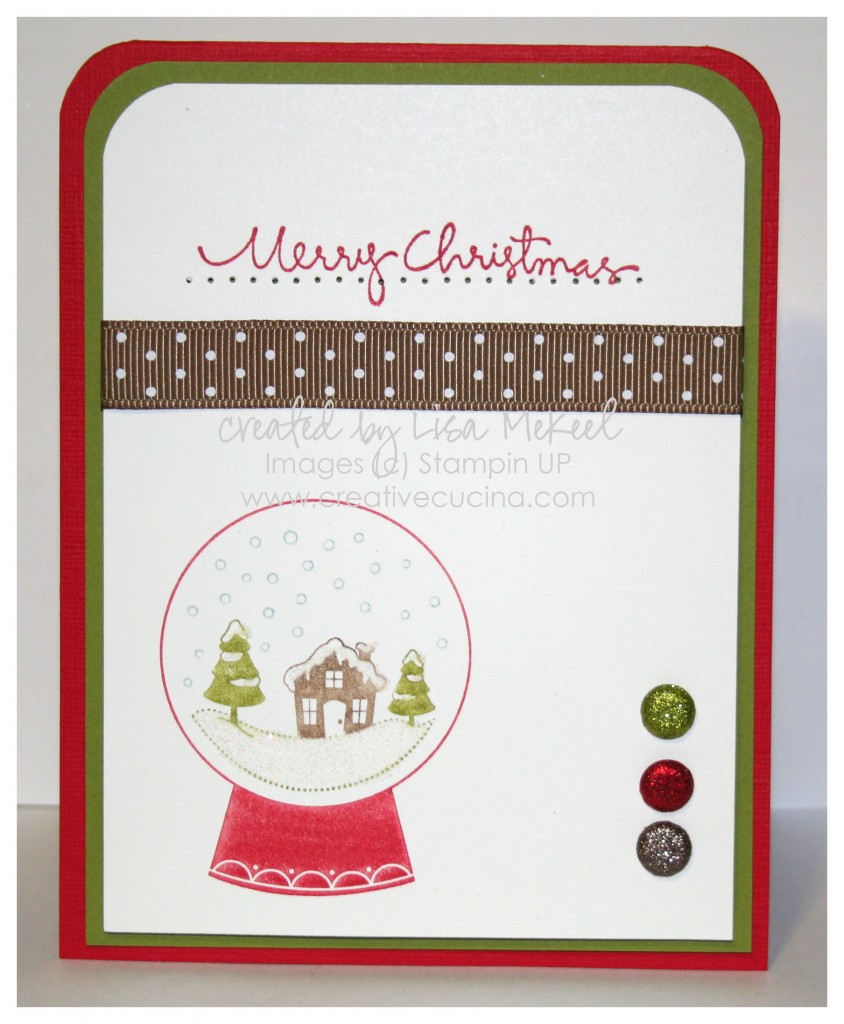
Simple and Sweet Snowglobe Christmas Card


This is a sample Christmas card I made for my sister using Sweet Snowglobe from the Holiday Mini Catalog. It’s a single stamp, offered for $8.95 and it coordinates with the Sweet Treat Cups. Since this is going to be mailed, I decided not to use the cups (postage for 40+ cards would be crazy!)

For the base, I used Real Red Textured Card stock, layered with Old Olive and Whisper White. The top corners of each layer were rounded with the Corner Chomper, but you could also use the Corner Rounder Punch on the two single layers.

I used the SU Markers to color the snowglobe (Real Red, Soft Suede, Baja Breeze and Old Olive). Then, I added some Dazzling Diamonds to the snowy parts with the 2 Way Glue Pen.

To continue the glittery theme, I added 3 Glimmer Brads (in Real Red, Old Olive, and Soft Suede–Brights and Neutrals collection). By using the cropadile, I made sure each brad would be lined up.

Across the top, I stamped “Merry Christmas” from Christmas Greetings in Real Red ink, paper pierced below it and added some Soft Suede Polka Dot Grosgrain Ribbon.

The White layer is adhered with stampin dimensionals to the base.

And yes, I know it’s September and I just made a Christmas card. It’s a sickness!

🙂

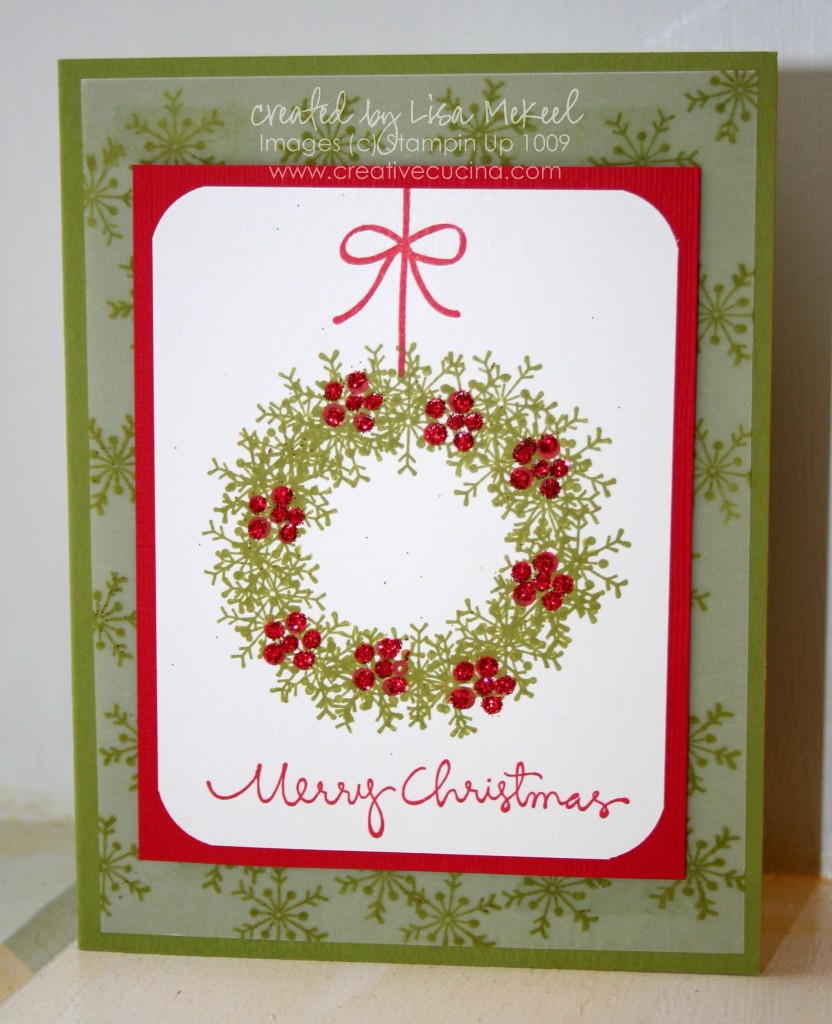
Christmas Card Idea: Making a Wreath with a Snowflake Stamp

11_18 003 copy

I’m sure you’ve seen the cards with wreaths made using snowflake stamps. I decided to try it using the snowflake from Season of Friendship.

On Whisper White card stock, I stamped the snowflake in Old Olive ink repeatedly around in a circle until I was happy with the fullness and shape of my wreath. Then, I stamped the berries from Berry Christmas in Real Red ink randomly around the wreath. With my glue pen, I dotted some glue on the berries and sprinkled on Romantic Red Glitter.

The wreath is hanging by the bow stamp from Berry Christmas in Real Red ink. Below it, I stamped “Merry Christmas” from Christmas Greetings in Real Red ink.

Using the corner rounder punch, I rounded the corners of the whisper white and layered it onto a piece of Real Red textured card stock.  As for the base, I layered Old Olive with a 4″ x 5 1/4″ piece of vellum, which I stamped using the snowflake stamp from Season of Friendship in Old Olive ink.

Bad Behavior has blocked 387 access attempts in the last 7 days.

css.php