For Dads

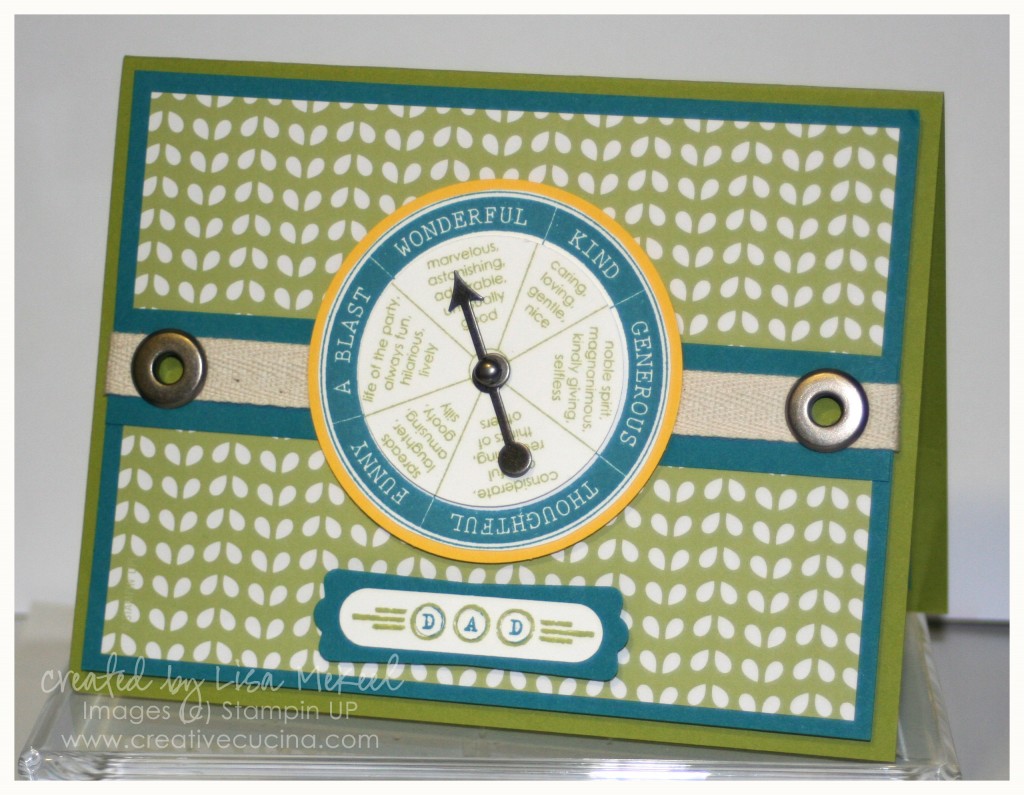
Although this card was for Father’s Day, it can be used for Dad’s Birthday or any other special occasion. Since it was for my husband, I went with his favorite colors: Green and Blue (well he really likes green, but I added some Indigo in there for good measure).

The card base is new In Color Lucky Limeade (available July 1st), layered with Island Indigo (another new In Color) and Nursery Suite DSP in the Old Olive/White combo.

Across the front, I took a strip of Island Indigo and wrapped Twill Tape around it. Then, using the cropadile, I added some pewter colored Jumbo Eyelets to either side.

In the center, I used Take a Spin and inked up the stamp once with Lucky Limeade and another time with Island Indigo ink. Then I stamped it each time onto Whisper White and punched out the Limeade image’s inner circle with the 1 3/4″ Circle Punch and hand cut the Indigo image’s outer circle very close to the stamped image with scissors. I added in a Game Spinner Hand and then popped up the smaller circle with stampin dimensionals. Finally, it was all layered onto Daffodil Delight card stock, punched with the 2 1/2″ Circle Punch.

The sentiment at the bottom is from To a Classic, stamped with Lucky Limeade and Island Indigo Markers. I punched it out with the Word Window Punch and then layered it onto Island Indigo Modern Label Punch. That is also up on stampin dimensionals.
Vintage Wallpaper Embossing & Brayer Cards

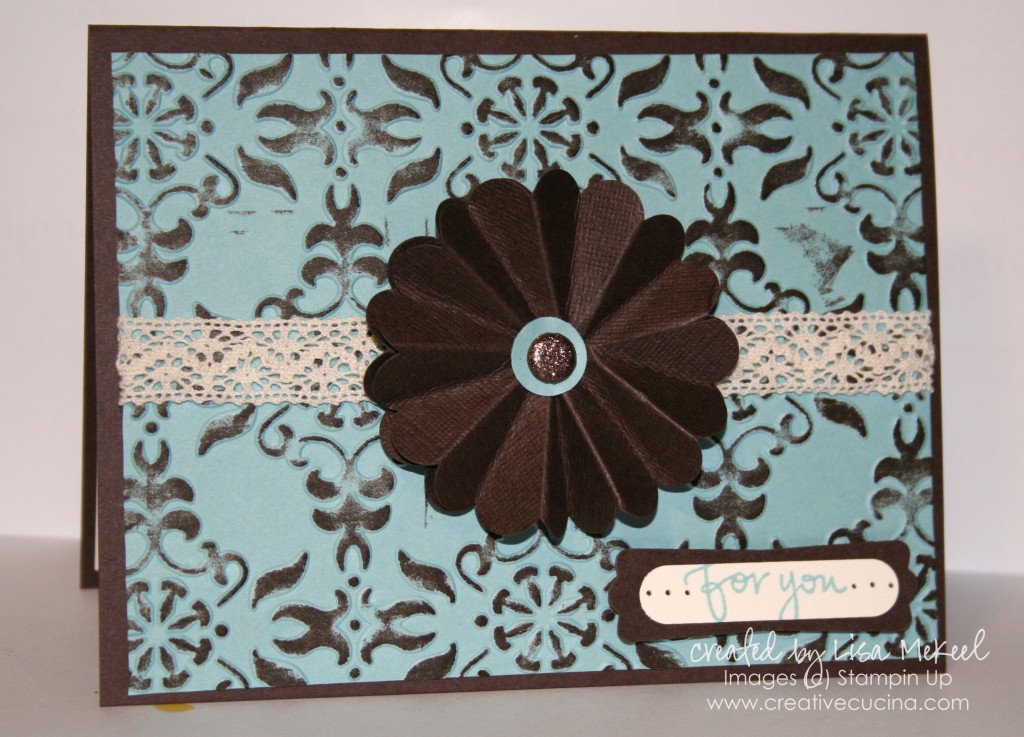
I was trying to come up with ways to use the brayer. The obvious choice is to use glossy card stock and different colors of ink to create a scenery type background, like a sunset or a sky. To show its versatility and some newer techniques, I opted to use the brayer as a tool for highlighting embossed images.

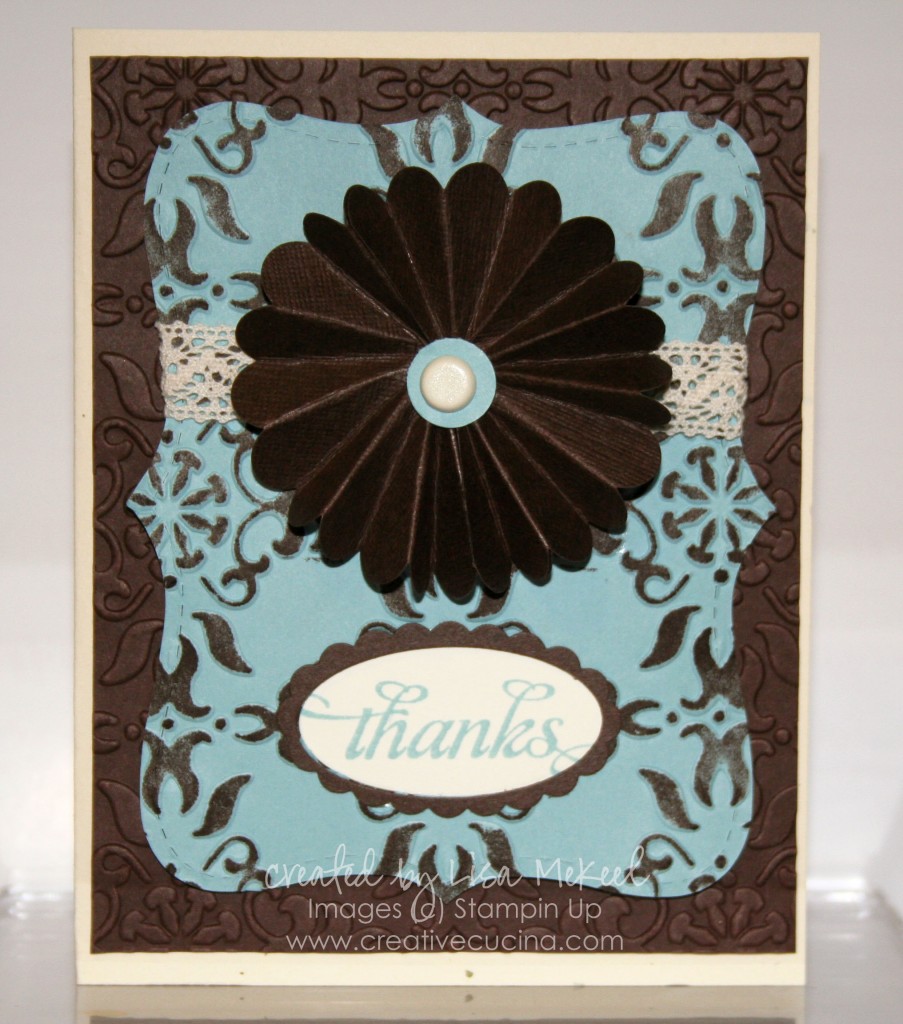
For this card, I used Early Espresso for the base and Baja Breeze card stock for the embossed layer. The Vintage Wallpaper Embossing Folder and the Big Shot was used to emboss the Baja Breeze layer, then I used the brayer inked up with Early Espresso ink to highlight the raised image.

The scallop circle medallion was made using the 2 3/8″ Scallop Circle Punch. I found a good video tutorial here. The trick is to punch out 2 scallop circles, cut between one set of scallops to the center of the circle, then fold between each scallop in an accordian fashion. Attach the two scallops together to get a complete circle.

I used the 1/2″ Circle Punch to make a Baja Breeze center and added a Glimmer Brad from the neutrals collection. Attach the medallion to the card with stampin dimensionals.

Victoria Crochet Trim complements the vintage style of the card. The sentiment is from Great Friends stamped in Baja Breeze ink on Very Vanilla, punched out with the Word Window Punch and layered onto Early Espresso Modern Label Punch. Paper piercing highlights the sentiment.


Here is similar card, stepped up version. The base is Naturals Confetti, layered with Early Espresso (embossed with Vintage Wallpaper Embossing Folder). The top layer is Baja Breeze (embossed and brayered) then cut with the Top Note Die.

Using the Large Oval Punch, I made a window in the Top Note layer, then stamped the sentiment from Thank You Kindly on Very Vanilla scrap in Baja Breeze ink. I layered the card stock behind the window in the Top Note, then added an Early Espresso scallop oval frame around it. To make the frame, punch a large oval out of early espresso card stock, then line up the scallop oval punch around the hole and punch.

I added a Very Vanilla basic brad and Victoria Crochet Trim to finish the card. The medallion is adhered to the base with a stampin dimensional.

Elegant Soiree Card Trio

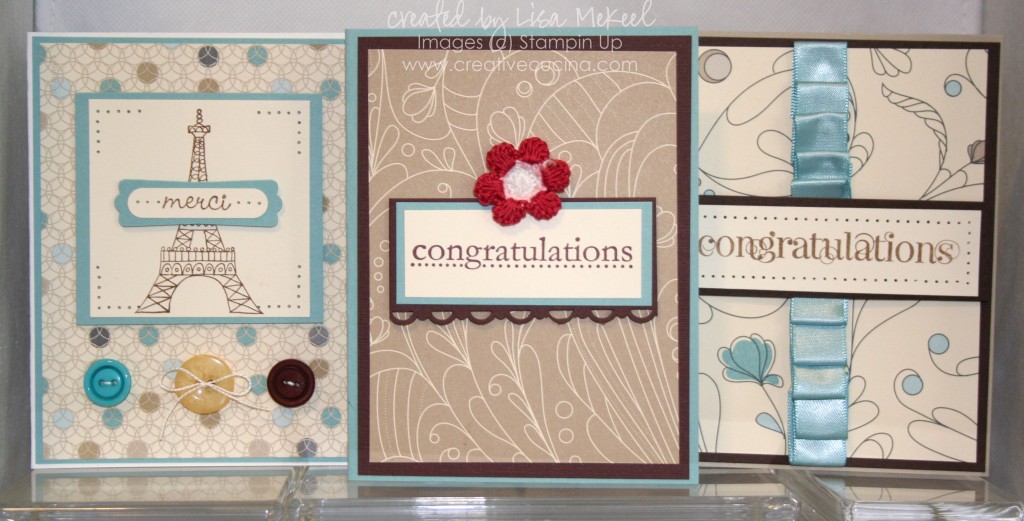
OK I am officially in love with this Elegant Soiree Designer Series Paper. I knew I was going to like it from looking at the new catalog but having it in my hands and using it–WOW! The colors are great: Crumb Cake, Baja Breeze, Very Vanilla, Soft Suede, and Basic Gray.

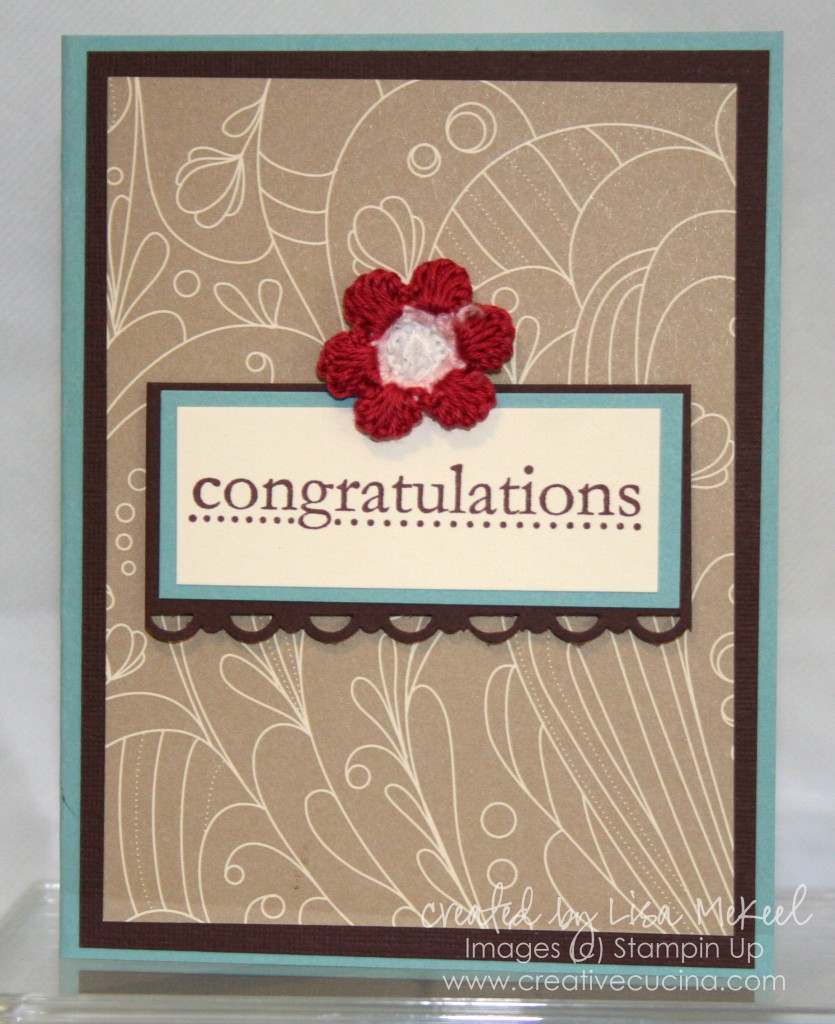
Card number 1 is a simple congratulations card, and uses a few retired items. I have to use up the old to make room for the new, right?

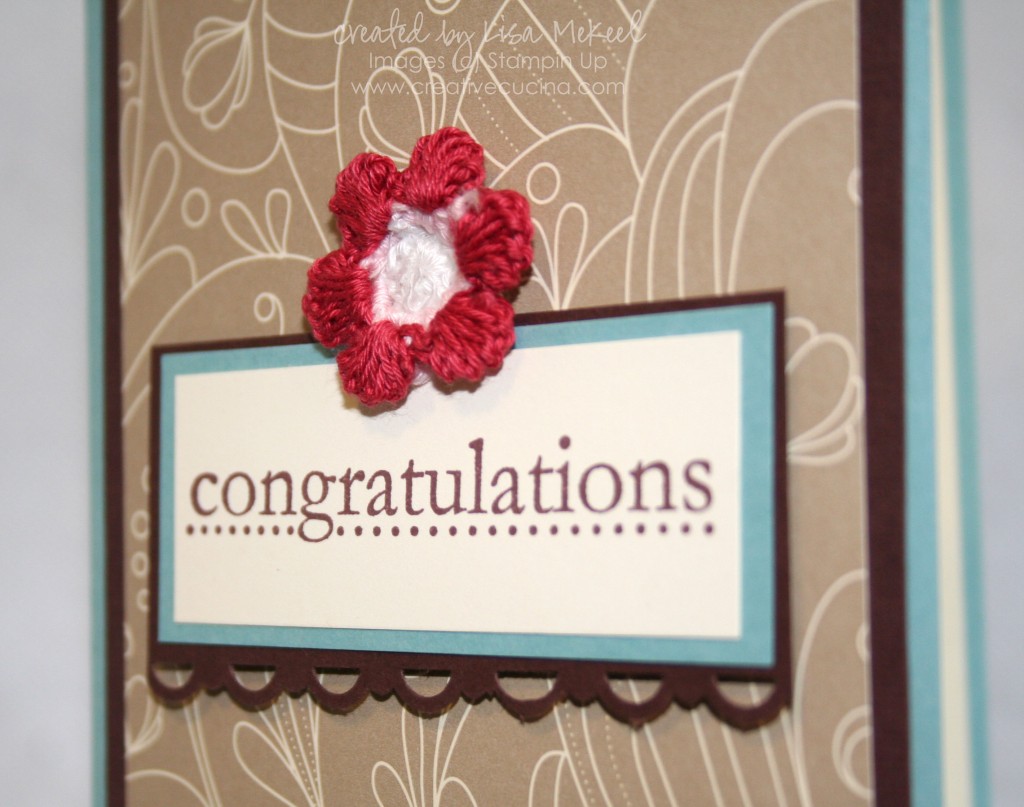
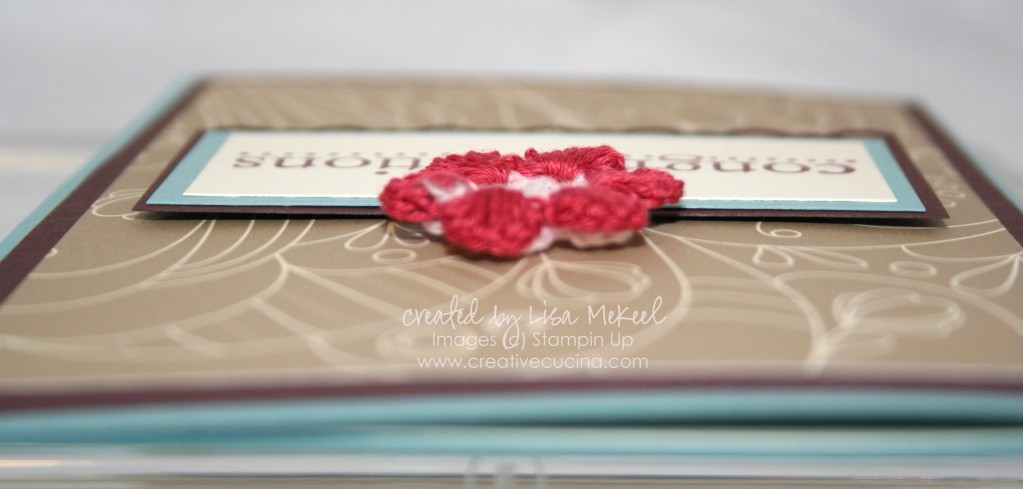
For the base, I used Baja Breeze, layered with Chocolate Chip and Elegant Soiree Designer Series Paper. The sentiment is from  Congrats (retird SAB set) stamped with Chocolate chip ink on Very Vanilla. I layered the Vanilla on Baja Breeze and Chocolate Chip, scalloped with the Scallop Trim Border Punch.

I attached the sentiment layer to the base with stampin dimensionals and added a Crochet Flower (Fleurette) with a stampin dimensional as well.

The Fleurette is actually on backwards, but I didn’t want the pink to show so I used the reverse side. I think the pop of red works on the card because everything is so neutral.

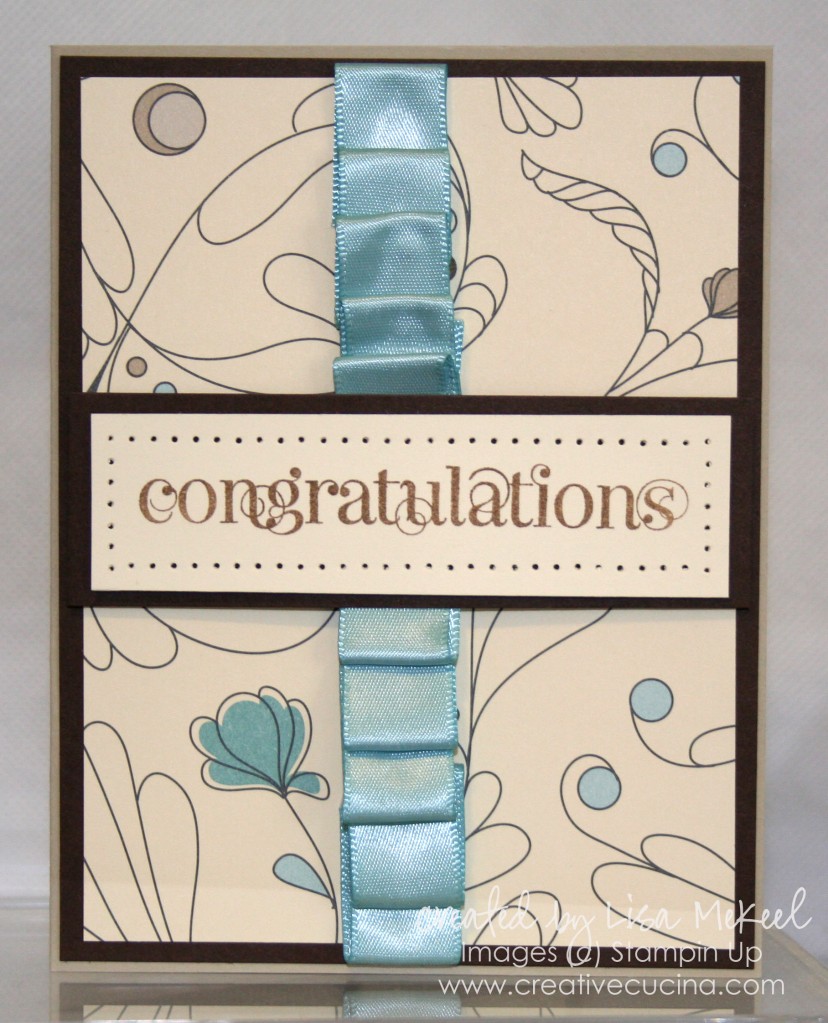
It’s hard to pick a favorite, but I think this might be it. Even though I used up the last of my Valet Ribbon Originals Baja Breeze Satin Ribbon (it was so worth it).

The base is Sahara Sand, layered with Early Espresso and this awesome Elegant Soiree DSP pattern. I folded the ribbon and used mini glue dots to secure each fold. Then, I adhered the ribbon to the card with some more glue dots.

Across the front, I stamped “congratulations” from Curly Cute in Soft Suede ink on Very Vanilla card stock. I paper pierced around the sentiment and framed it with a layer of Early Espresso. I added two stampin dimensionals to the ends and attached it over the ribbon, adhering it to the base.

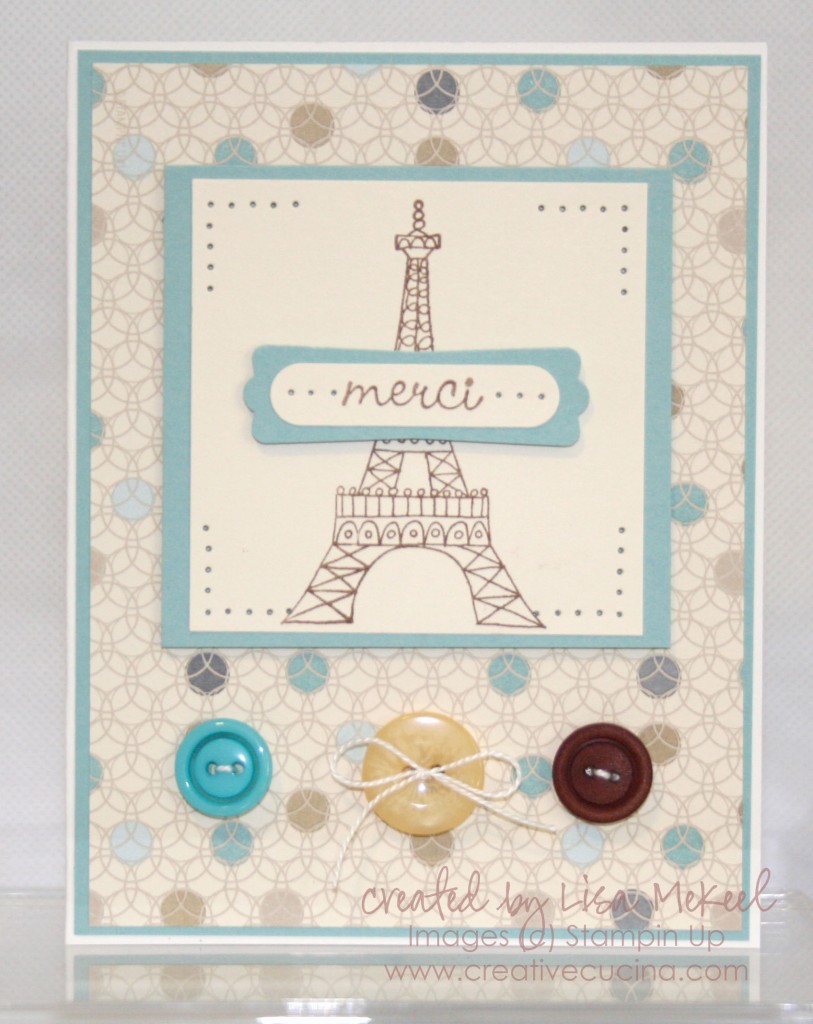
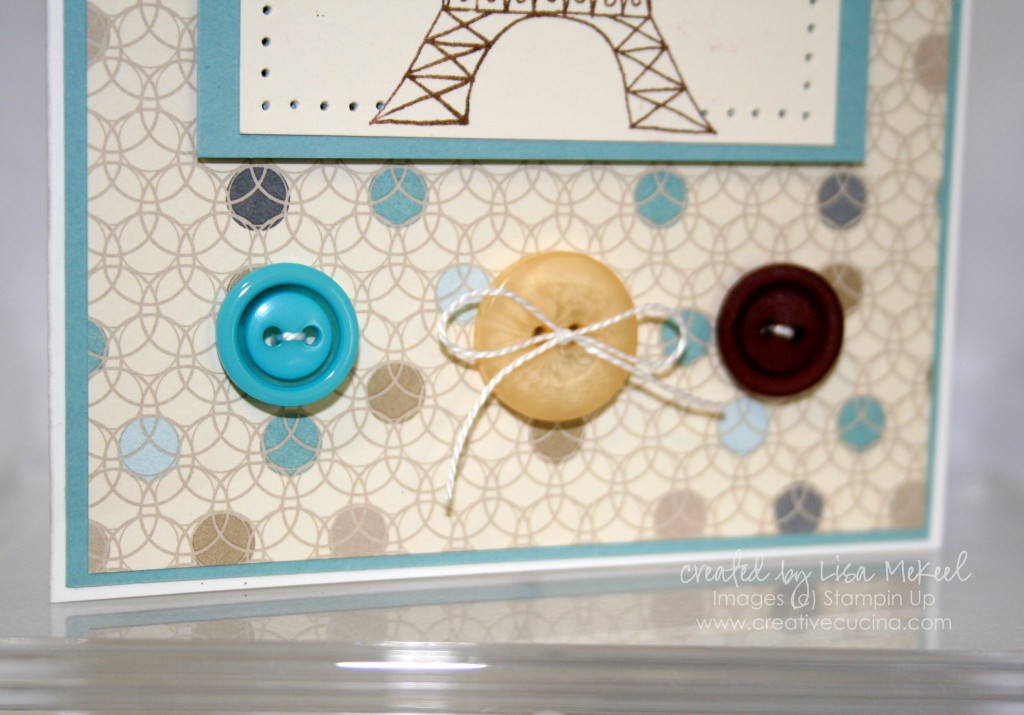
Finally, card number 3 turned out even cuter than I imagined. The base is Gina K Luxury White base weight, layered with Baja Breeze and yet another pattern from Elegant Soiree DSP.

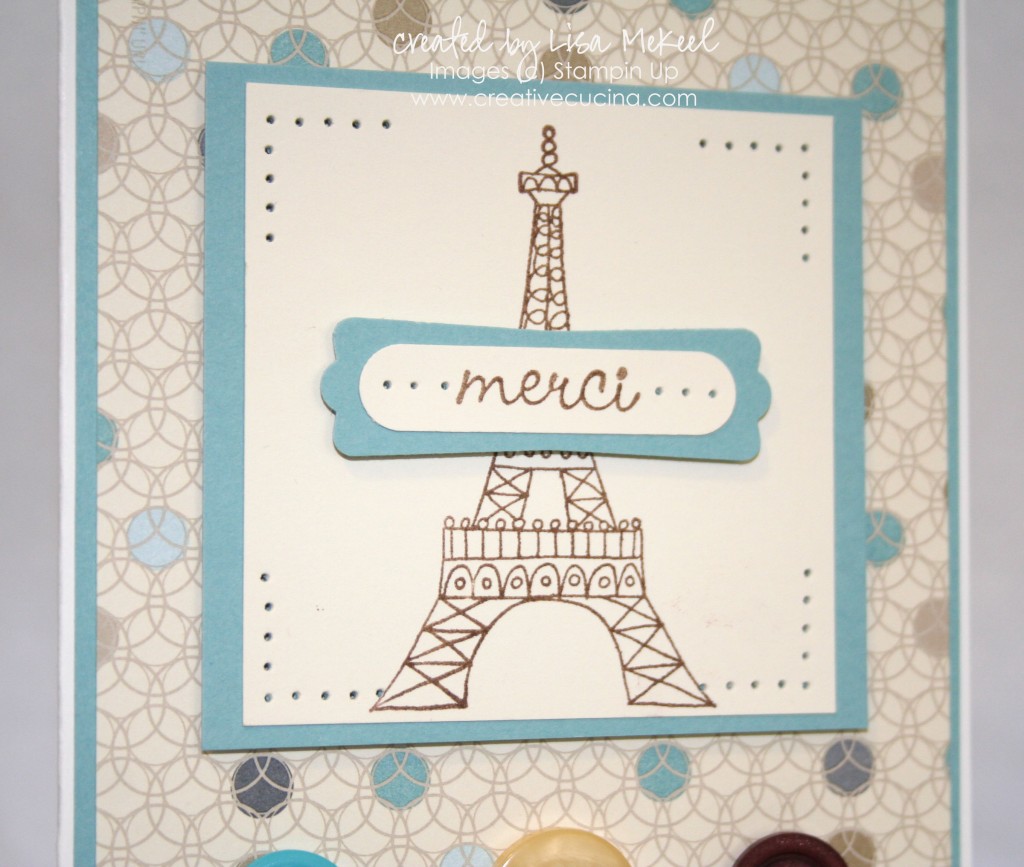
In keeping with the french theme, I stamped the Eiffel Tower image and “merci” from Chic Boutique with Soft Suede ink on Very Vanilla card stock. I paper pierced just the corners of the main image and matted it on Baja Breeze. The sentiment is punched out with the Word Window Punch and layered on Baja Breeze Modern Label Punch. I paper pierced on either side of the sentiment as well. That was attached to the base with stampin dimensionals.


And since I turned into a button freak, I had to add three buttons to the bottom. Even though the colors are not exact, I think they work. Buttons are from Button Latte and Brights Collection. I tied some white string through them, and knotted the one in the center to make a bow. I think it makes the card!

Bad Behavior has blocked 475 access attempts in the last 7 days.

css.php