Hearted Thanks

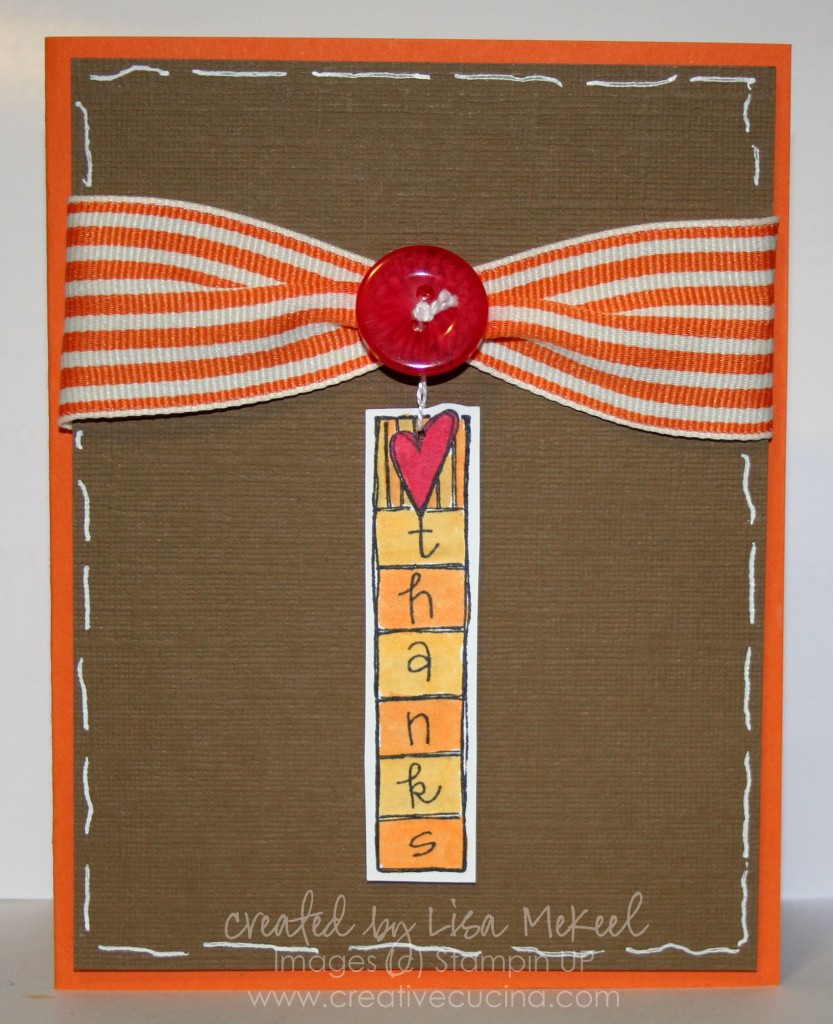
This is a non-SU stamp that I bought years ago called Hearted Thanks. The label on the stamp is colored exactly like this, which inspired my colors for the rest of the card. I used Copic Markers to color in the stamped image, then cut it out.

The card base is Pumpkin Pie, layered with Soft Suede textured card stock. I used the Signo White Gel Pen to make some squiggles along the sides.

Across the front, I used 1 1/4″ Striped Pumpkin Pie Grosgrain Ribbon and tied it in the center with white string. Then, I looped the string through the Designer Buttons-Brights Collection and tied a double knot. A mini glue dot behind the ribbon and one behind the button keeps everything tight.

Finally, I took the white string and looped it through a hole I punched in the stamped image (the paper piercer makes a nice hole for this size string). I tied the ends around the button and cut off any excess. Two stampin dimensionals behind the stamped image keep it in place, but you could also leave it hanging freely.

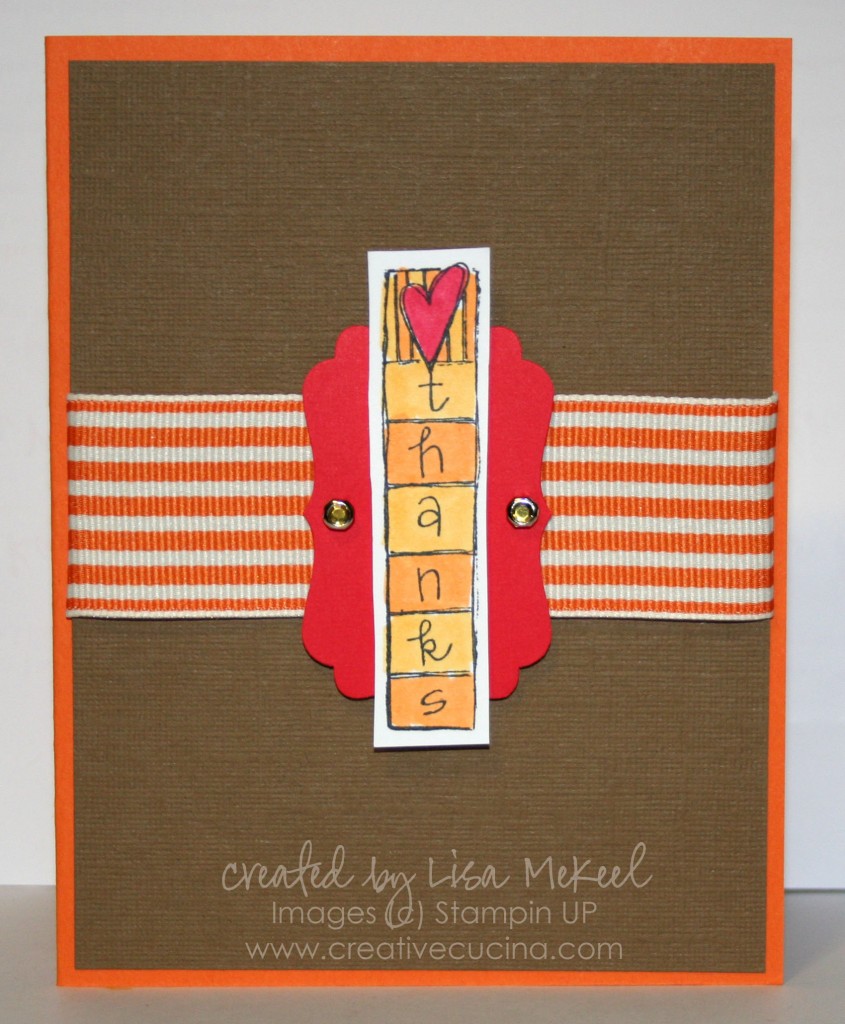
Another version I did uses the Decorative Label Punch. I layered the stamped image onto Poppy Parade card stock punched out with the Decorative Label Punch. Then, I added two Rhinestone Brads to the sides.

1 1/4″ Pumpkin Pie Striped Grosgrain Ribbon was wrapped around the soft suede card stock and I attached the label to the ribbon with glue dots.
Simple and Sweet Snowglobe Christmas Card


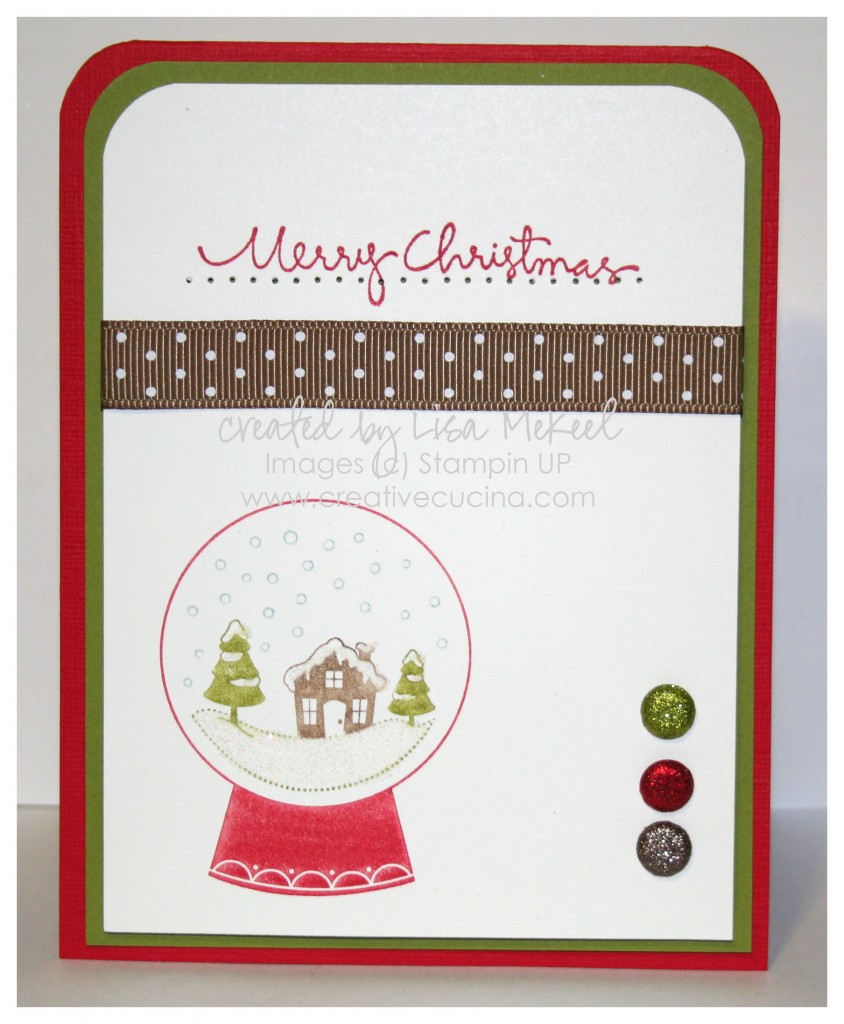
This is a sample Christmas card I made for my sister using Sweet Snowglobe from the Holiday Mini Catalog. It’s a single stamp, offered for $8.95 and it coordinates with the Sweet Treat Cups. Since this is going to be mailed, I decided not to use the cups (postage for 40+ cards would be crazy!)

For the base, I used Real Red Textured Card stock, layered with Old Olive and Whisper White. The top corners of each layer were rounded with the Corner Chomper, but you could also use the Corner Rounder Punch on the two single layers.

I used the SU Markers to color the snowglobe (Real Red, Soft Suede, Baja Breeze and Old Olive). Then, I added some Dazzling Diamonds to the snowy parts with the 2 Way Glue Pen.

To continue the glittery theme, I added 3 Glimmer Brads (in Real Red, Old Olive, and Soft Suede–Brights and Neutrals collection). By using the cropadile, I made sure each brad would be lined up.

Across the top, I stamped “Merry Christmas” from Christmas Greetings in Real Red ink, paper pierced below it and added some Soft Suede Polka Dot Grosgrain Ribbon.

The White layer is adhered with stampin dimensionals to the base.

And yes, I know it’s September and I just made a Christmas card. It’s a sickness!

🙂

Clean & Simple (CAS) Thank You Card

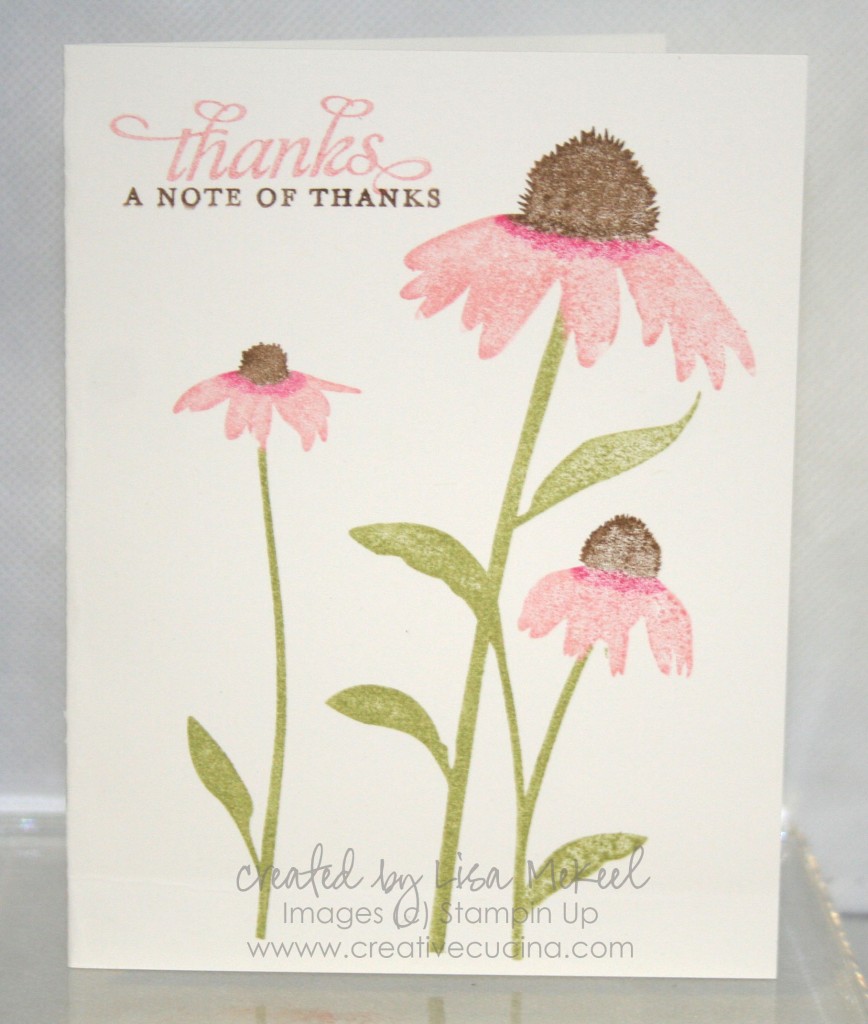
Normally, I’m not one for clean and simple. I like a lot of fluff on my cards 🙂 Furthermore, I’m late to the Inspired by Nature party because while I’ve had this set for a while, I’ve never used it. We planted some pink coneflowers in our garden over the summer, so I decided now would be a good time to put some ink to that stamp.

I used Gina K Luxury Base Weight White card stock. It’s great for a one layer card because it’s super thick and sturdy. I inked the stamp using my Stampin Up Markers–the stems with Pear Pizzaz, the flowers with Blushing Bride and a little bit of Melon Mambo, plus Soft Suede for the flowers’ centers.

The sentiment is actually 2 separate stamps from Thank You Kindly. I stamped “thanks” with Blushing Bride ink and the other with Soft Suede ink.

I wish there was more to say, but that’s it! The thing that took the longest was coloring on the stamp with the markers. The rest of the card was done in just a few minutes .

Bad Behavior has blocked 319 access attempts in the last 7 days.

css.php