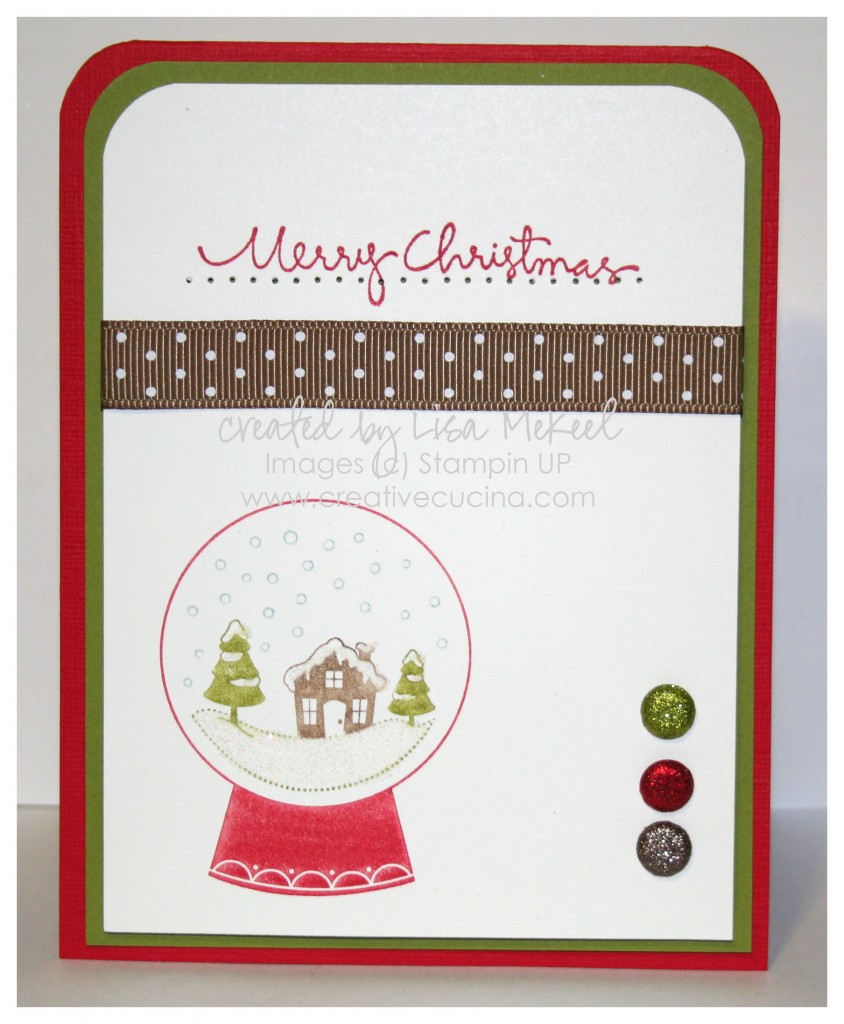
Simple and Sweet Snowglobe Christmas Card


This is a sample Christmas card I made for my sister using Sweet Snowglobe from the Holiday Mini Catalog. It’s a single stamp, offered for $8.95 and it coordinates with the Sweet Treat Cups. Since this is going to be mailed, I decided not to use the cups (postage for 40+ cards would be crazy!)

For the base, I used Real Red Textured Card stock, layered with Old Olive and Whisper White. The top corners of each layer were rounded with the Corner Chomper, but you could also use the Corner Rounder Punch on the two single layers.

I used the SU Markers to color the snowglobe (Real Red, Soft Suede, Baja Breeze and Old Olive). Then, I added some Dazzling Diamonds to the snowy parts with the 2 Way Glue Pen.

To continue the glittery theme, I added 3 Glimmer Brads (in Real Red, Old Olive, and Soft Suede–Brights and Neutrals collection). By using the cropadile, I made sure each brad would be lined up.

Across the top, I stamped “Merry Christmas” from Christmas Greetings in Real Red ink, paper pierced below it and added some Soft Suede Polka Dot Grosgrain Ribbon.

The White layer is adhered with stampin dimensionals to the base.

And yes, I know it’s September and I just made a Christmas card. It’s a sickness!

🙂
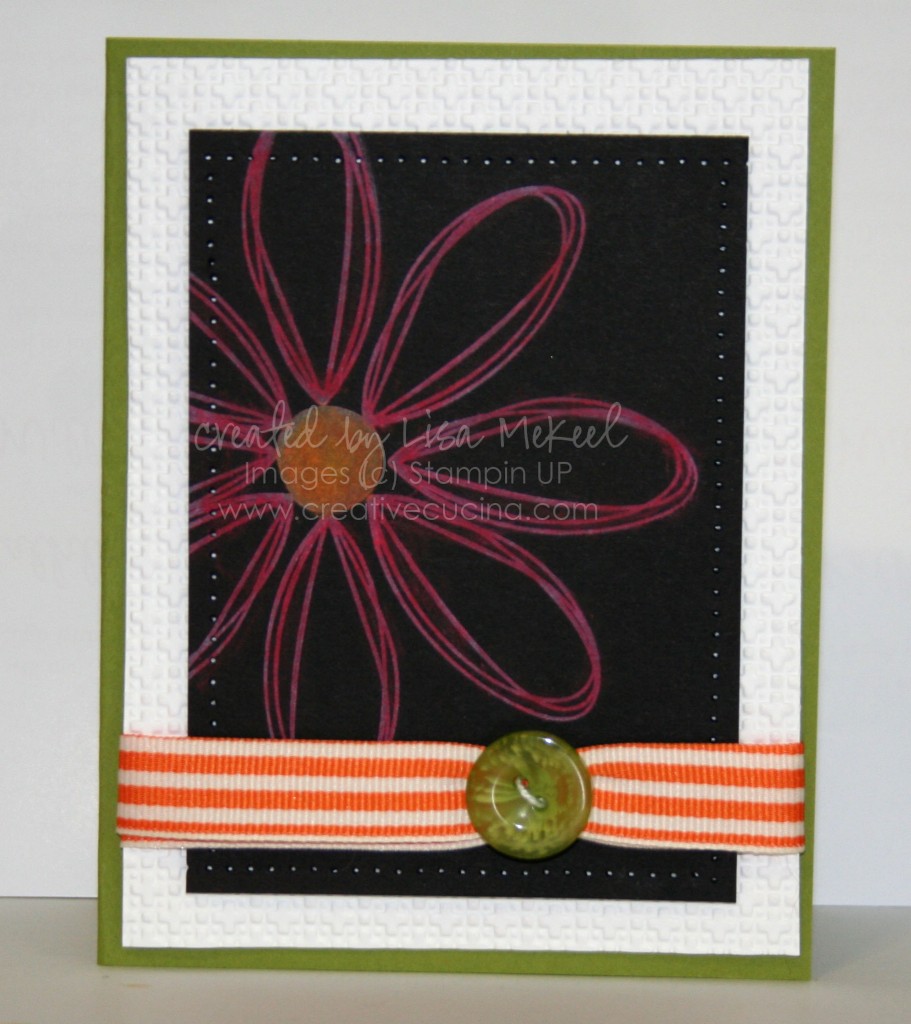
Pick a Petal Chalkboard Technique Card

The chalkboard technique, by nature of having to use dark card stock, sometimes results in a drab card. The chalk colors certainly help to brighten it up, but something about stamping on a black background is just counter-intuitive! So, I decided to use bright colors paired with the black to liven up the card a bit.

Card base is Old Olive, layered with Whisper white embossed with the Square Lattice Embossing Folder and the Big Shot. I stamped the flower from Pick a Petal on Basic Black card stock with White Craft ink. Then, I used the Stampin Up Pastels to color in the image with Rose Red and Pumpkin Pie chalk.

Here is a tip when using this stamp set: I like to start with the center of the flower first, then stamp my petals at 12, 3, 6, and 9 o’clock. Go back and stamp between each petal for an evenly spaced flower!

After rubbing the excess chalk off the card stock with a dry tissue, I paper pierced around the edges. Adhere the Basic Black layer to the embossed White layer with stampin dimensionals.

The ribbon along the bottom of the card is 1 1/4″ Pumpkin Pie Striped Grosgrain Ribbon, folded in half. I used some white string to loop through the button holes, then tied it around the folded ribbon, cinching it with a knot. The button is a large Old Olive button from the Bold Brights Buttons. A tiny glue dot on the back of the button helps it stay flat on the card. Adhere the ribbon edges to the back of the Whisper White layer with SNAIL or other adhesive.

For the last step of assembly, use stampin dimensionals to adhere the white and black layers to the Old Olive base.

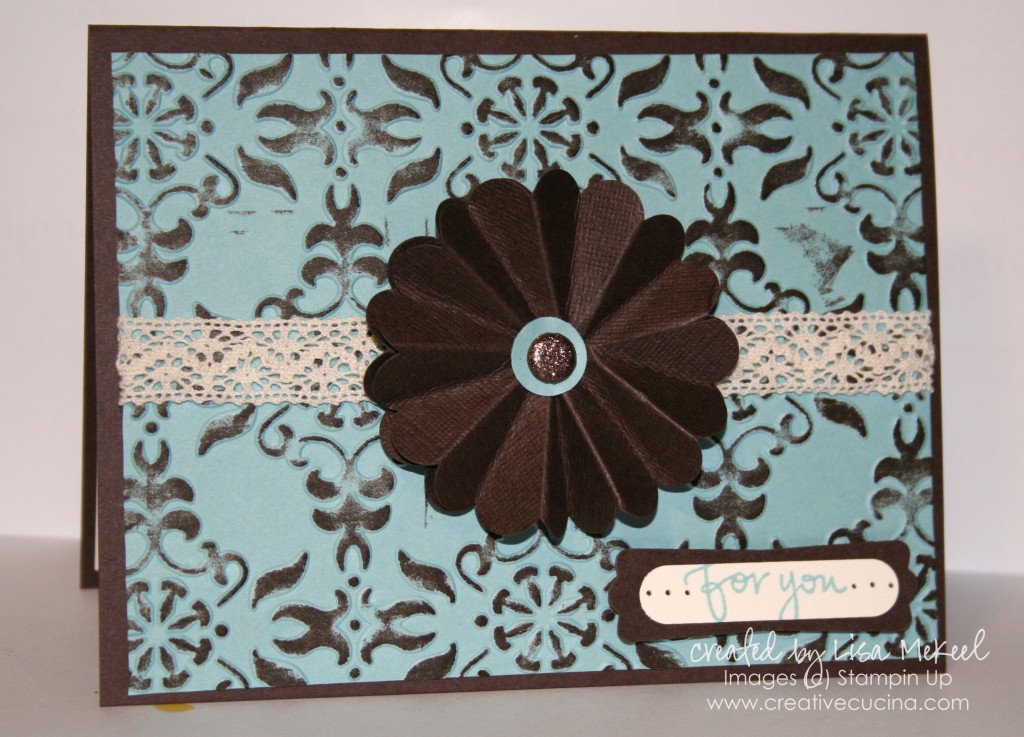
Vintage Wallpaper Embossing & Brayer Cards

I was trying to come up with ways to use the brayer. The obvious choice is to use glossy card stock and different colors of ink to create a scenery type background, like a sunset or a sky. To show its versatility and some newer techniques, I opted to use the brayer as a tool for highlighting embossed images.

For this card, I used Early Espresso for the base and Baja Breeze card stock for the embossed layer. The Vintage Wallpaper Embossing Folder and the Big Shot was used to emboss the Baja Breeze layer, then I used the brayer inked up with Early Espresso ink to highlight the raised image.

The scallop circle medallion was made using the 2 3/8″ Scallop Circle Punch. I found a good video tutorial here. The trick is to punch out 2 scallop circles, cut between one set of scallops to the center of the circle, then fold between each scallop in an accordian fashion. Attach the two scallops together to get a complete circle.

I used the 1/2″ Circle Punch to make a Baja Breeze center and added a Glimmer Brad from the neutrals collection. Attach the medallion to the card with stampin dimensionals.

Victoria Crochet Trim complements the vintage style of the card. The sentiment is from Great Friends stamped in Baja Breeze ink on Very Vanilla, punched out with the Word Window Punch and layered onto Early Espresso Modern Label Punch. Paper piercing highlights the sentiment.


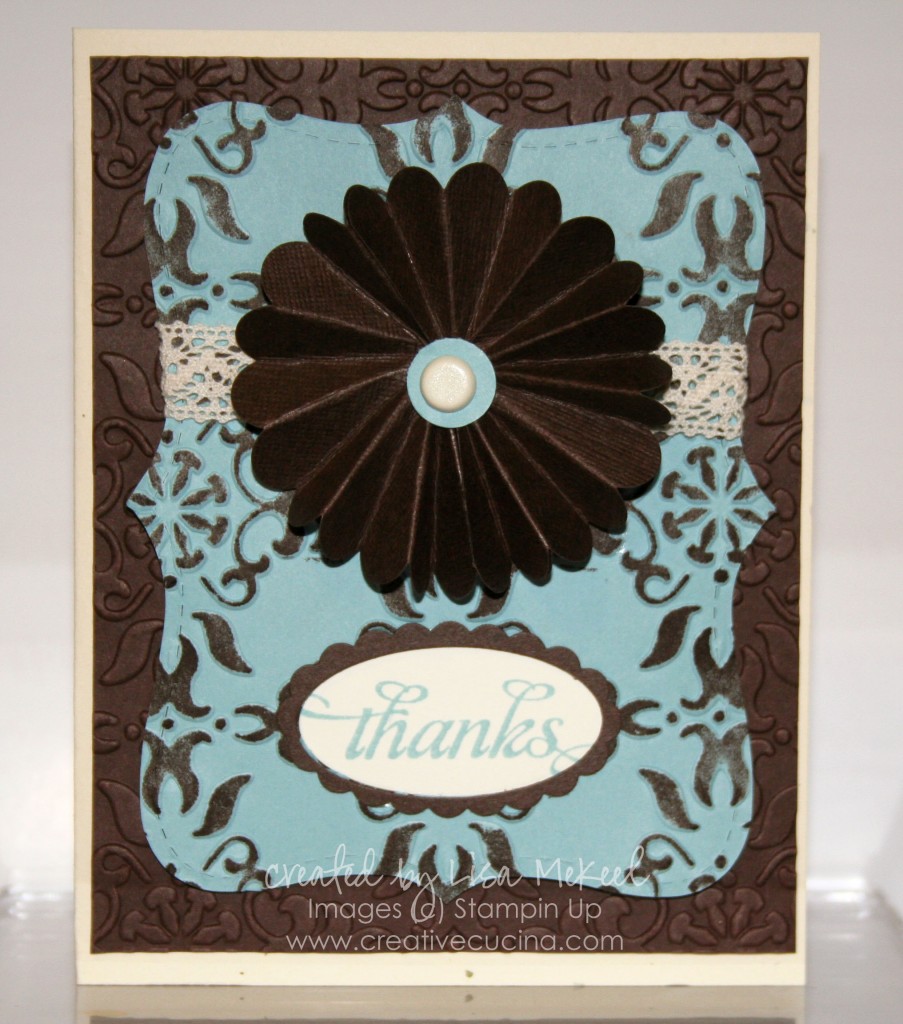
Here is similar card, stepped up version. The base is Naturals Confetti, layered with Early Espresso (embossed with Vintage Wallpaper Embossing Folder). The top layer is Baja Breeze (embossed and brayered) then cut with the Top Note Die.

Using the Large Oval Punch, I made a window in the Top Note layer, then stamped the sentiment from Thank You Kindly on Very Vanilla scrap in Baja Breeze ink. I layered the card stock behind the window in the Top Note, then added an Early Espresso scallop oval frame around it. To make the frame, punch a large oval out of early espresso card stock, then line up the scallop oval punch around the hole and punch.

I added a Very Vanilla basic brad and Victoria Crochet Trim to finish the card. The medallion is adhered to the base with a stampin dimensional.

Bad Behavior has blocked 391 access attempts in the last 7 days.

css.php