Greeting Card Kids Halloween Pumpkin Card

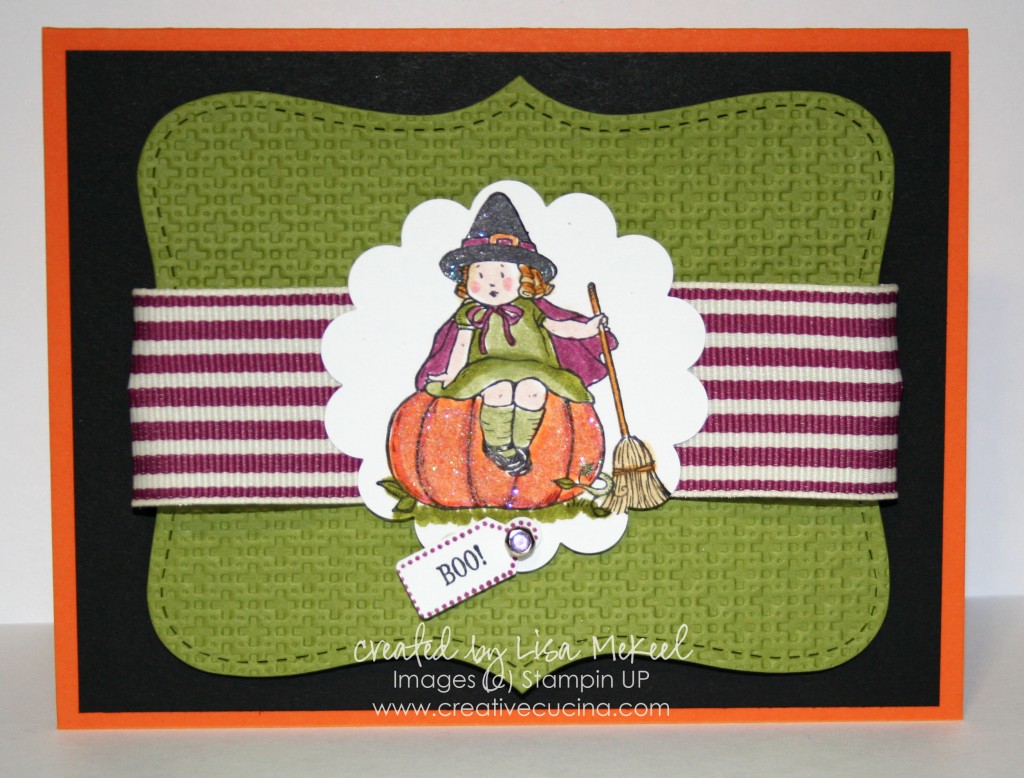
I made this card for a swap. I normally don’t do Halloween cards but this little girl was too cute to resist.

The card base is Pumpkin Pie, layered with Basic Black. Then, I used Old Olive card stock, embossed with the Big Shot and Square Lattice Embossing Folder, and die cut with the Top Note Bigz Die. The ribbon is Rich Razzleberry 1 1/4″ Striped Grosgrain, wrapped around the top note layer.

For the main image, I stamped the pumpkin girl from Greeting Card Kids in Basic Black ink on Whisper White card stock. I colored in the image with SU Markers (Dusty Durango, Pumpkin Pie, Old Olive, Pear Pizzazz, So Saffron, More Mustard, Rich Razzleberry, Blush Blossom, Blushing Bride, and Basic Black and Copic Black).

After coloring, I used 2 Way Glue and Dazzling Diamonds on the pumpkin. The Black Copic Marker must have been wet still because the glitter stuck to the hat as well. It was an unintended but welcome effect.

Then, I used the 2 3/8″ Scallop Circle Punch to punch out the image and attached a little “Boo” tag with a Circle Rhinestone Brad. The “boo” is from Tiny Tags and the punch I used is the Tiny Tag Punch.
Simple and Sweet Snowglobe Christmas Card


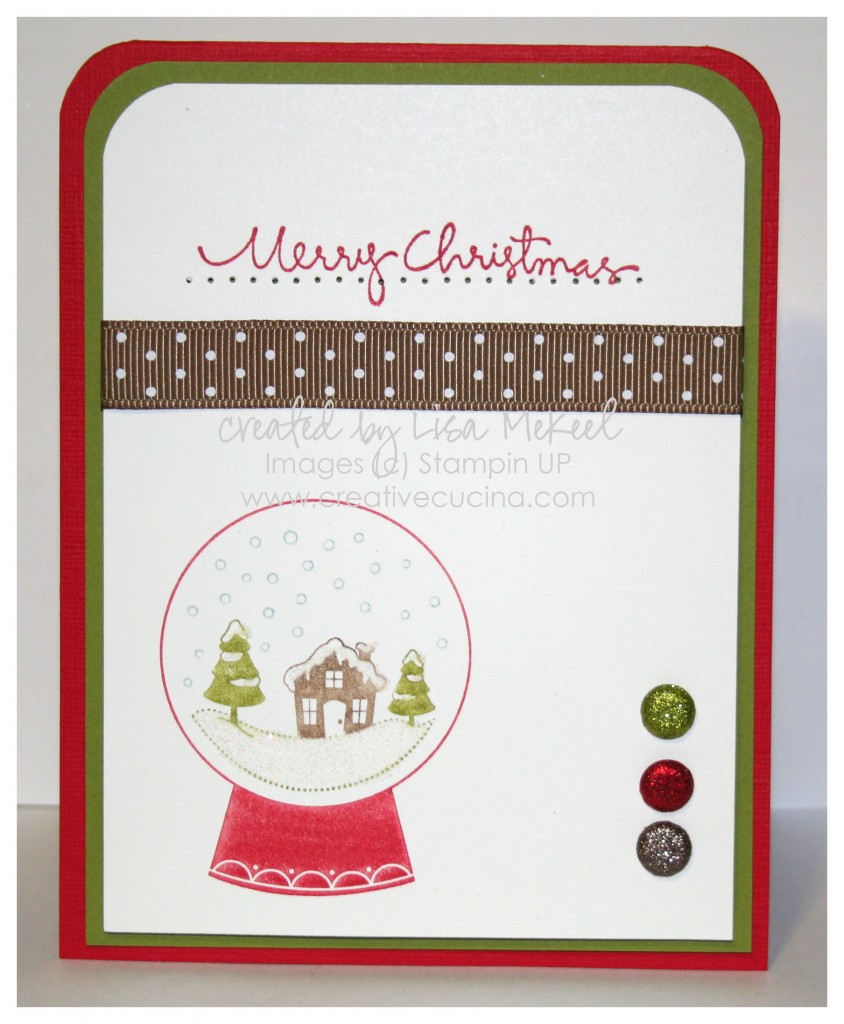
This is a sample Christmas card I made for my sister using Sweet Snowglobe from the Holiday Mini Catalog. It’s a single stamp, offered for $8.95 and it coordinates with the Sweet Treat Cups. Since this is going to be mailed, I decided not to use the cups (postage for 40+ cards would be crazy!)

For the base, I used Real Red Textured Card stock, layered with Old Olive and Whisper White. The top corners of each layer were rounded with the Corner Chomper, but you could also use the Corner Rounder Punch on the two single layers.

I used the SU Markers to color the snowglobe (Real Red, Soft Suede, Baja Breeze and Old Olive). Then, I added some Dazzling Diamonds to the snowy parts with the 2 Way Glue Pen.

To continue the glittery theme, I added 3 Glimmer Brads (in Real Red, Old Olive, and Soft Suede–Brights and Neutrals collection). By using the cropadile, I made sure each brad would be lined up.

Across the top, I stamped “Merry Christmas” from Christmas Greetings in Real Red ink, paper pierced below it and added some Soft Suede Polka Dot Grosgrain Ribbon.

The White layer is adhered with stampin dimensionals to the base.

And yes, I know it’s September and I just made a Christmas card. It’s a sickness!

🙂

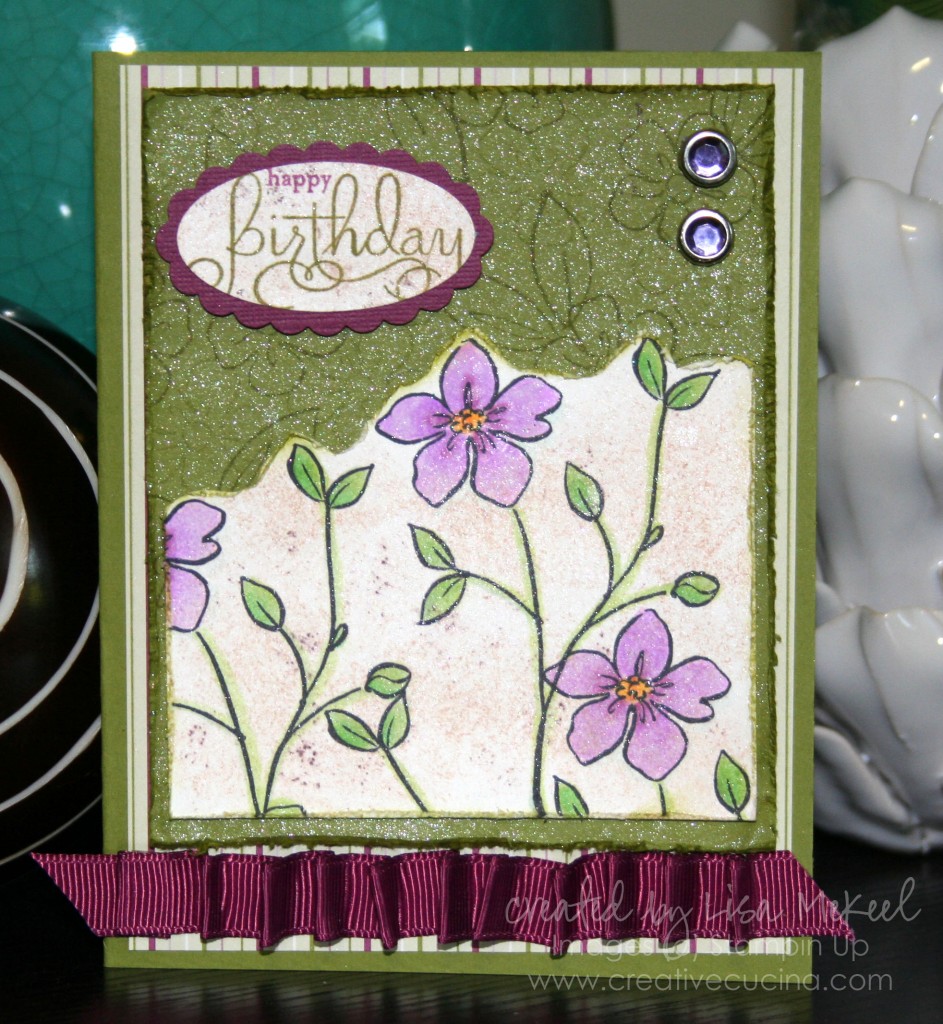
Flower Fancy {Distressed Look}

This style is not my strong suit, but there is so much of the vintage/distressed look going on lately that I figured now is probably the best time to try it.

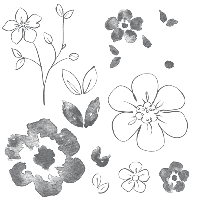
I had my eye on this Fancy Flowers stamp set for a while, and when it went on sale last month, I had a chance to buy it for 20% off!

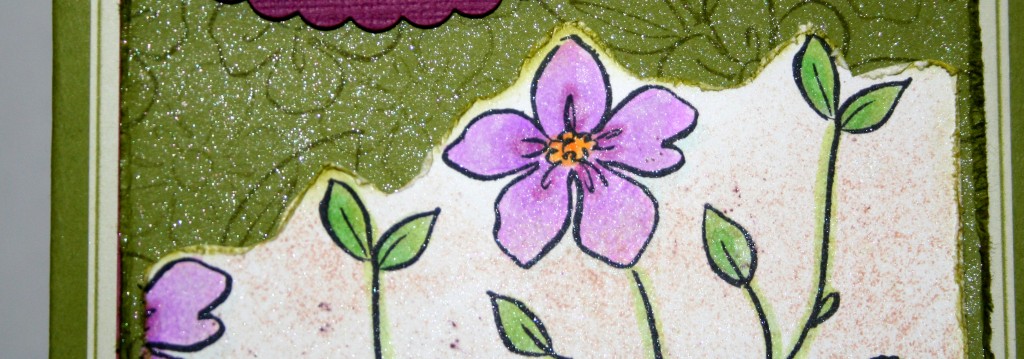
While I originally was drawn to the large flower image, I decided to try the flower and stem image first. I stamped it a few times on Gina K Luxury White card stock in Memento Black ink and colored it in with Copic Markers.

Next, I cut along the top of the flowers, just following along the image, with my scissors. Since this is a “distressed style” card, I used the Distressing Tool along all the card stock edges, going back over the distressed edges with Old Olive ink and a Sponge Dauber. Then, I sponged some Creamy Caramel ink all over the White card stock using a sponge that happened to have some old Chocolate Chip Reinker/Champagne Shimmer Paint on it. The darker brown spots were just a happy accident as a result. Finally, I spritzed some Frost Shimmer Mist (Frost Shimmer Paint mixed with 70% Rubbing Alcohol) all over the card stock.

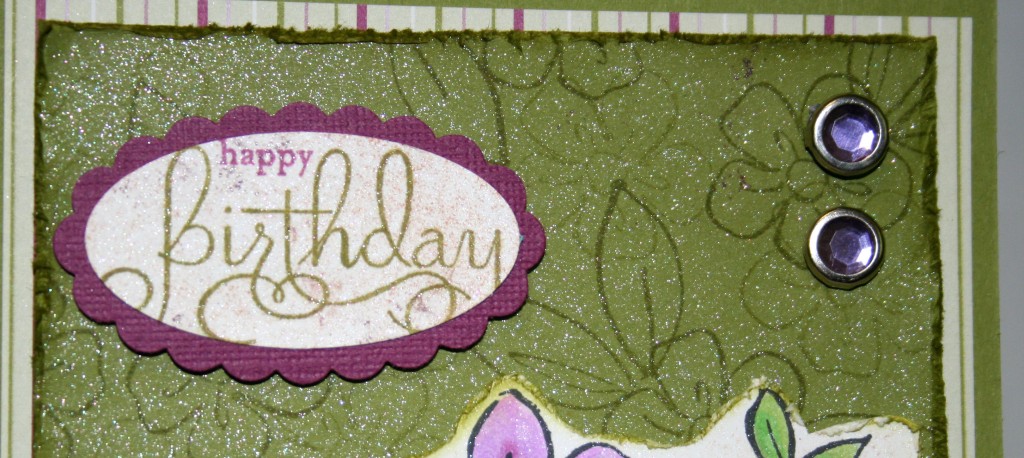
Behind that, I randomly stamped the small flower and leaves in Old Olive ink (stamping off first) on Old Olive card stock. That was also distressed using the same method described above, minus the creamy caramel. I also sprayed it with Frost Shimmer Mist. In the upper corner, I added 2 Circle Rhinestone Brads in purple, and the sentiment is from Well Scripted, stamped in Rich Razzleberry and Old Olive Marker on Whisper white that I “distressed” with sponges and Shimmer Mist. Then, I punched out the “Happy Birthday” with the Large Oval Punch and layered it onto Rich Razzleberry textured card stock, punched with the Scallop Oval Punch. I adhered it to the base with Stampin dimensionals.

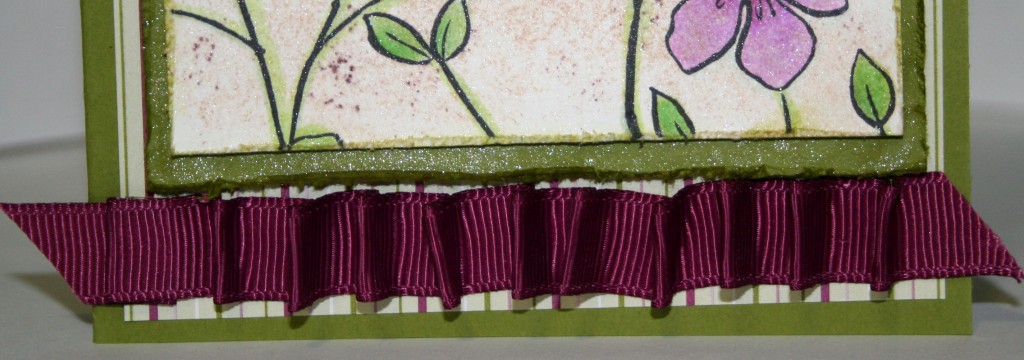
The striped paper is from Cottage Wall DSP, which I layered over the Old Olive card base. At the bottom of the card, I added a little Rich Razzleberry Grosgrain Ribbon. The “pleated” look was easy to do, simply by putting Sticky Strip along the length of the ribbon and then folding it into pleats.

Bad Behavior has blocked 392 access attempts in the last 7 days.

css.php