Make Your Own Bronze Ink: Thanksgiving Place Cards

112609 015

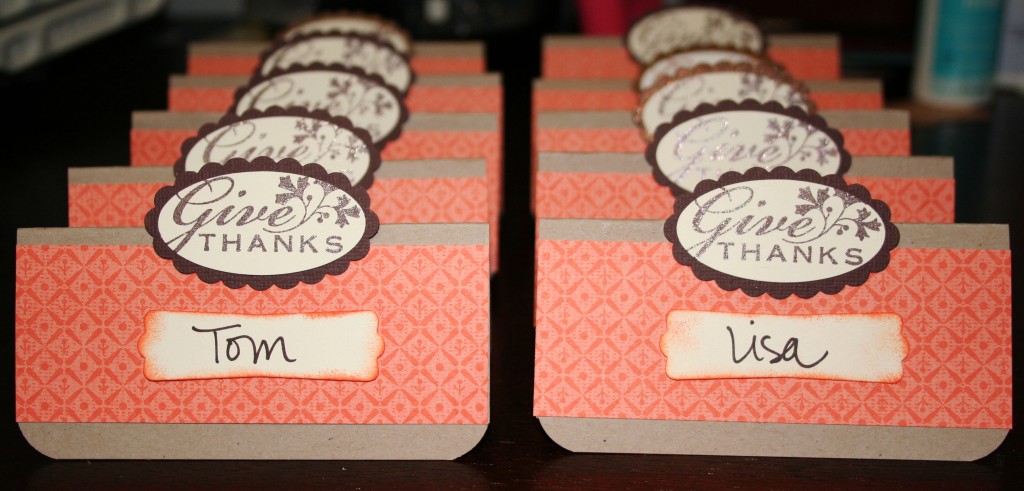
I made these quick and simple place cards last night. The base is a 4″x4″ square of kraft card stock, the corners trimmed with the Corner Rounder Punch. Then, I folded them in half and glued on a 4″ x 1 1/4″ strip of Holiday Bulk Buy DSP in this tangerine pattern.

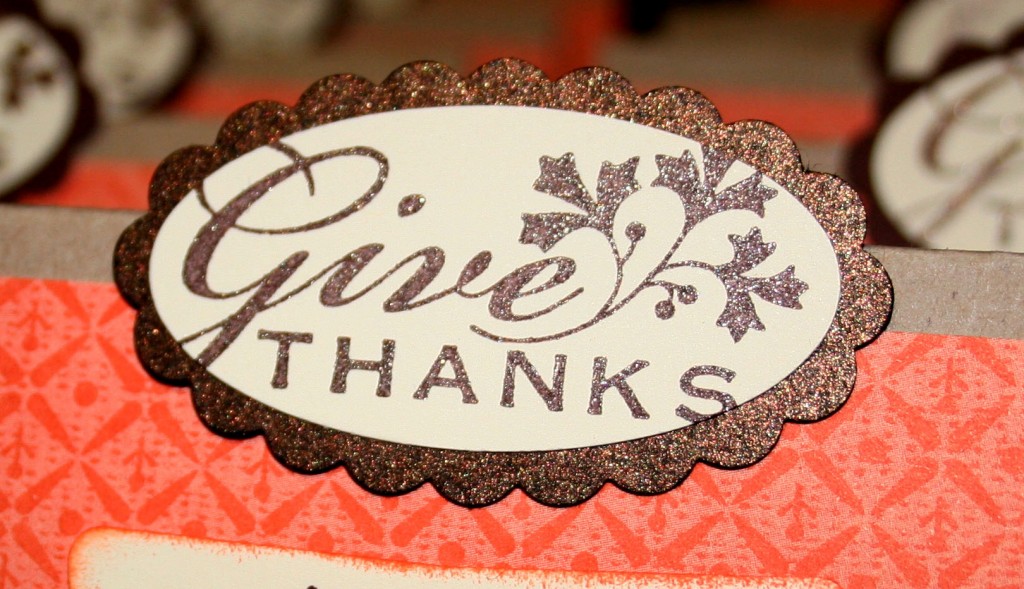
I’ve been using Shimmer Paint a lot lately, and for this project, I created a sparkly Bronze Ink by mixing a couple drops of Chocolate Chip Reinker and Champagne Shimmer Paint. I mix them in an empty button container, then dab it onto my stamp with a Sponge Dauber.

For these place cards, I stamped “Give Thanks” from Holiday Best in the chocolate chip/shimmer paint and stamped it onto Very Vanilla card stock. Then, I punched it out using the Large Oval Punch and layered it onto Bronze Card Stock (Taste of Textiles, retired) that I punched with the Scallop Oval Punch. (Some of the ovals are matted onto textured chocolate chip card stock because I did not have enough Bronze.) The shimmer is hard to see but here is a close up view:

placecard_closeup

To finish off the cards, I wrote our names in a dark brown Sharpie on Very Vanilla card stock, punched out with the Modern Label Punch. I sponged Tangerine Tango ink around the edges with the Sponge Dauber and adhered them with mini glue dots.
Cracked Glass Technique Card

11_18 005 copy

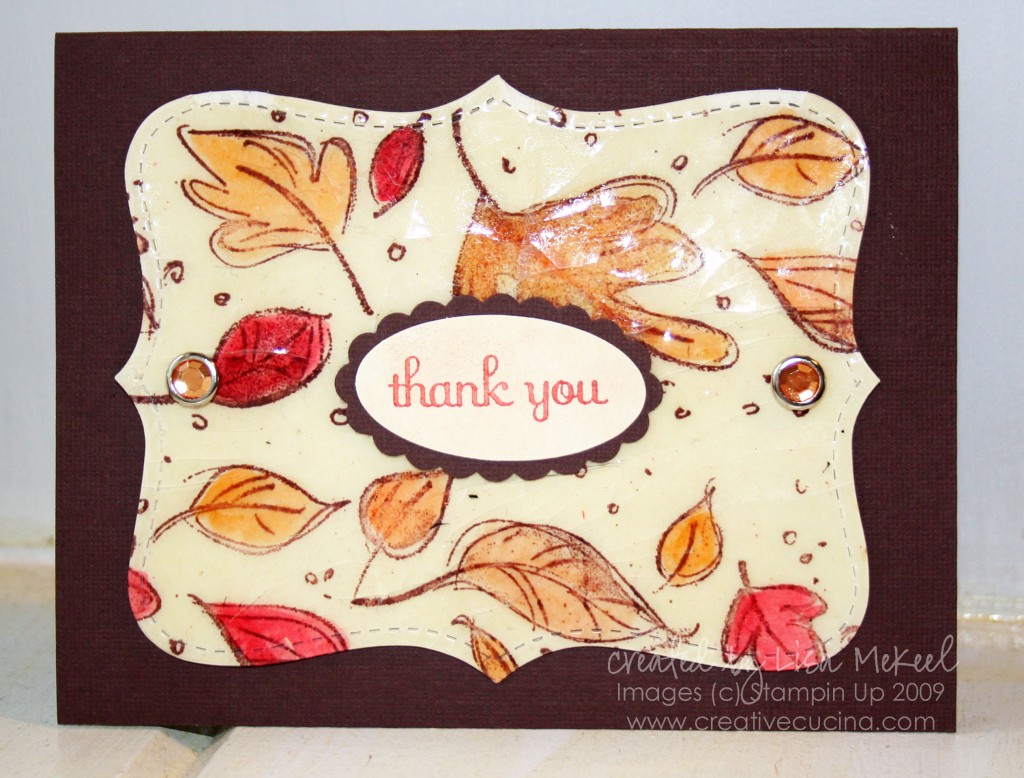
I was inspired by a card I saw using this stamp set and cracked glass technique. For my card, I used Very Vanilla card stock and the Leaves Awash Jumbo Wheel with Chocolate Chip ink. Then, I colored in the leaves with the Aquapainter and various colors of Classic ink pads.

Next, I followed the directions for the cracked glass technique and covered the entire surface of the card stock with Versamark and Glassy Glaze. I heat embossed the Glassy Glaze and repeated the steps 2 more times. As per the directions, I put the paper in the freezer and then cracked it in various places.

After that, I ran the card stock through the Big Shot using the Top Note Die. Please make sure your layers of glassy glaze are “dry” or “frozen” enough or bits of it will get stuck in your Top Note die!

To finish off the card, I added Circle Rhinestone Brads with the cropadile and mounted the very vanilla top note to the base with dimensionals. The sentiment is from Note of Thanks Mini Note Kit. I colored in part of the image with my Dusty Durango Marker and stamped it on Very Vanilla, punched it out with the Large Oval Punch, sponged some Creamy Caramel ink on top, then mounted it on a Chocolate Chip Scallop Oval Punch, attached with dimensionals.

Elegant Brown and Gold Wedding Card

GoldWedding 016 copy

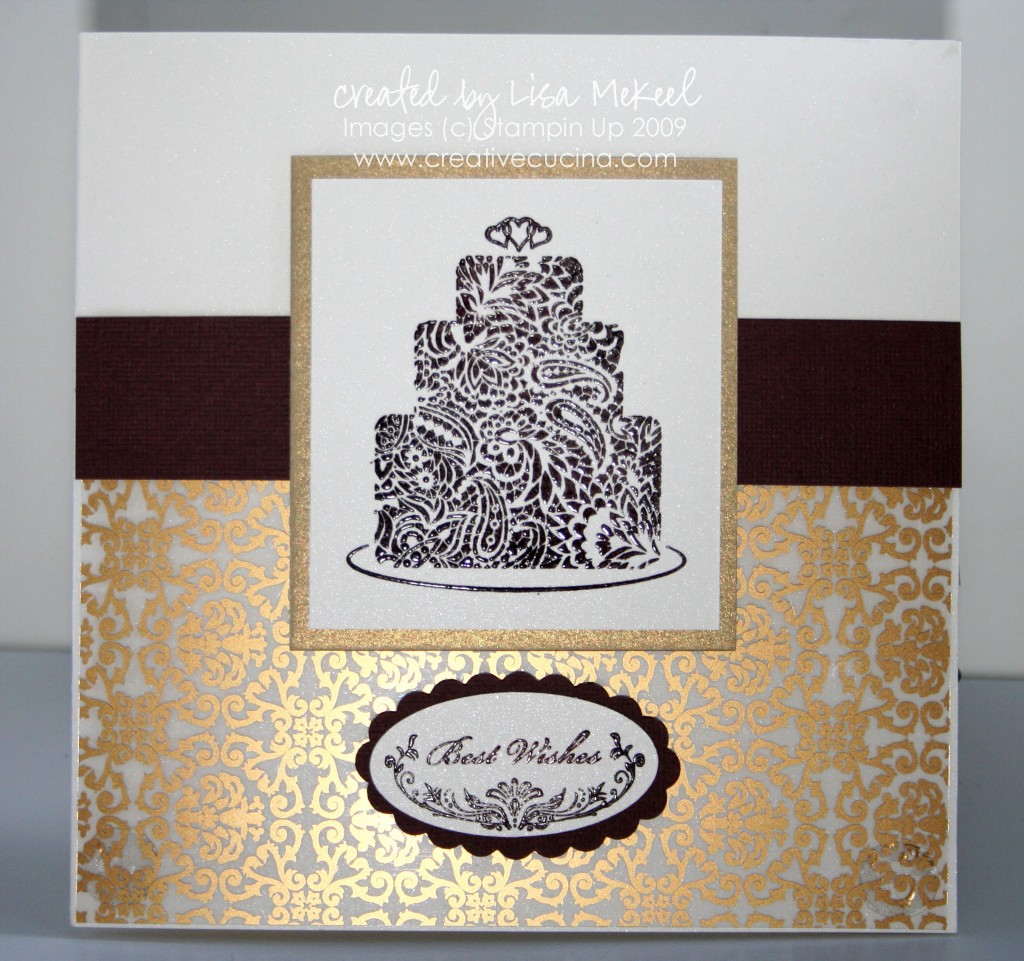
I made this card for a friend’s wedding. The card is actually a 5 1/2″ square, just shy of 6″x6″ because the base is Shimmery White card stock, which only comes in 8 1/2″x11″. If I used another color, I would have cut a 12″x12″ piece in half and then scored it at 6″.

The gold patterned acetate was from a craft store, adhered with glue dots to the base. I stamped the cake from For the Bride in chocolate chip craft ink and heat embossed it with clear embossing powder, also on shimmery white card stock. That was layered on a piece of gold card stock.

Above the acetate, I added a strip of textured chocolate chip card stock running across the front of the card. Then, I adhered my cake image to the base with dimensionals.

Underneath the cake, I stamped “best wishes” from Oval All in chocolate chip craft again, heat embossing with clear embossing powder and punched it out with the Large Oval Punch. That shimmery card stock oval was layered onto a textured chocolate chip Scallop Oval and adhered to the base with dimensionals.

Inside, I stamped “Congratulations” from For the Bride in chocolate chip craft ink and heat embossed it with clear e.p. as well.

Bad Behavior has blocked 353 access attempts in the last 7 days.

css.php