Make Your Own Bronze Ink: Thanksgiving Place Cards

112609 015

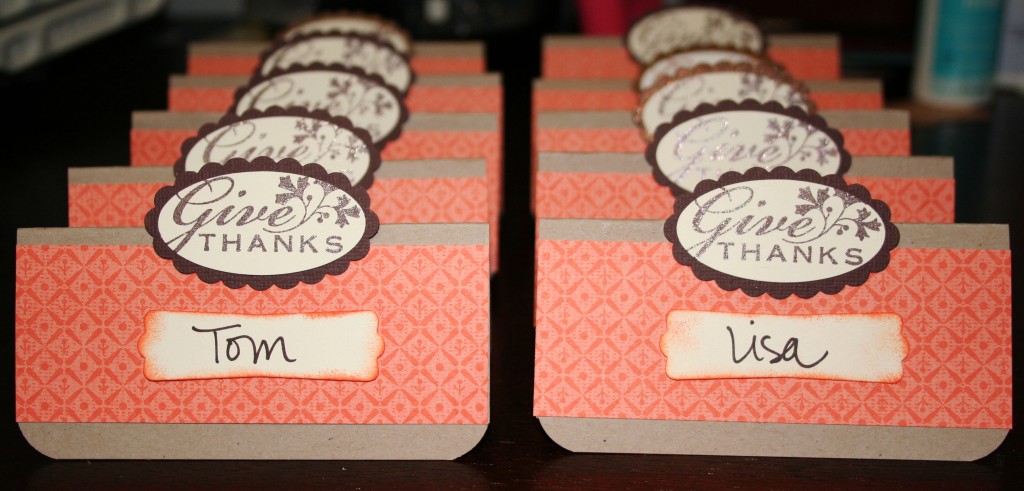
I made these quick and simple place cards last night. The base is a 4″x4″ square of kraft card stock, the corners trimmed with the Corner Rounder Punch. Then, I folded them in half and glued on a 4″ x 1 1/4″ strip of Holiday Bulk Buy DSP in this tangerine pattern.

I’ve been using Shimmer Paint a lot lately, and for this project, I created a sparkly Bronze Ink by mixing a couple drops of Chocolate Chip Reinker and Champagne Shimmer Paint. I mix them in an empty button container, then dab it onto my stamp with a Sponge Dauber.

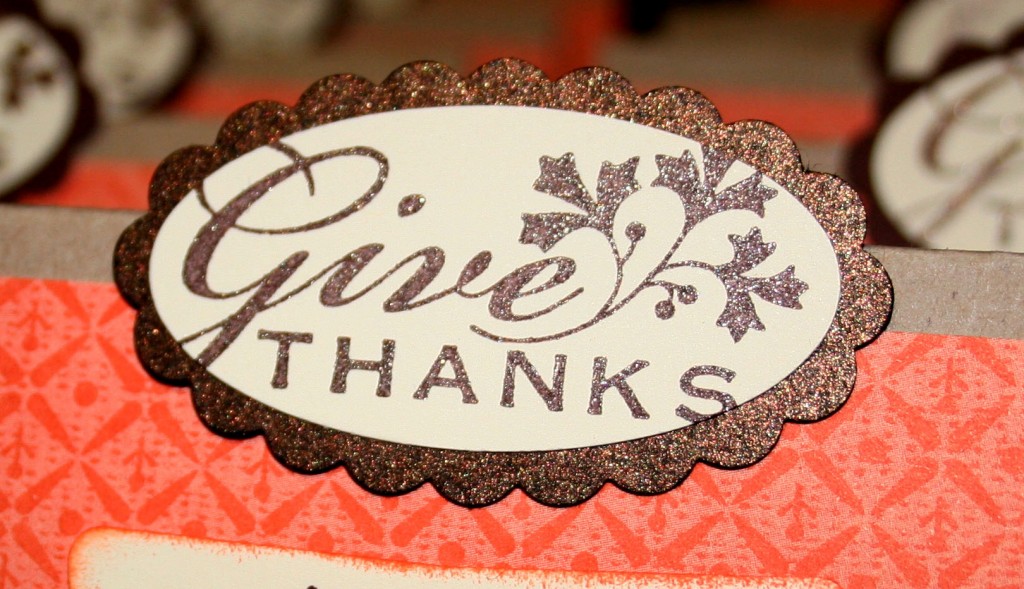
For these place cards, I stamped “Give Thanks” from Holiday Best in the chocolate chip/shimmer paint and stamped it onto Very Vanilla card stock. Then, I punched it out using the Large Oval Punch and layered it onto Bronze Card Stock (Taste of Textiles, retired) that I punched with the Scallop Oval Punch. (Some of the ovals are matted onto textured chocolate chip card stock because I did not have enough Bronze.) The shimmer is hard to see but here is a close up view:

placecard_closeup

To finish off the cards, I wrote our names in a dark brown Sharpie on Very Vanilla card stock, punched out with the Modern Label Punch. I sponged Tangerine Tango ink around the edges with the Sponge Dauber and adhered them with mini glue dots.
Copic Colored Snow Buddies Christmas Card

IMG_1183 copy

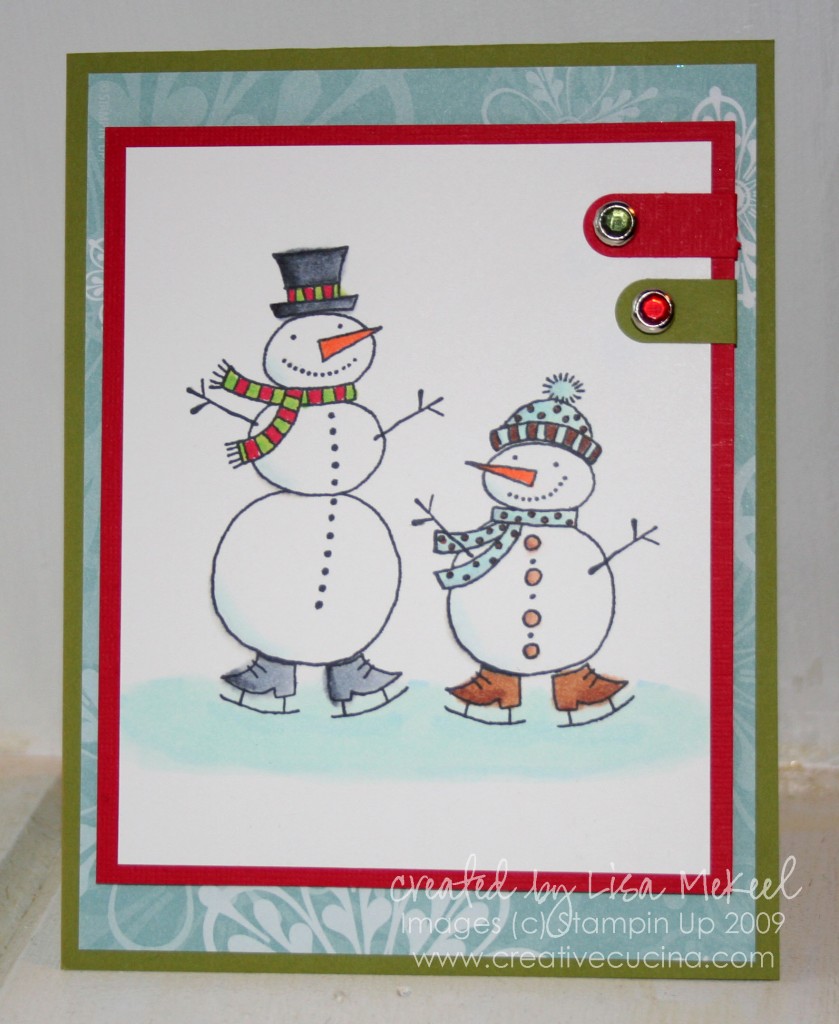
I recently jumped on the Copic Marker bandwagon–they make me look like a much better artist than I am! I’m still learning how to use them, and they truly are amazing. Just like watercoloring with Stampin Up Markers, they allow you to blend and shade your images.

This card was made using the ever famous Snow Buddies stamp set. I stamped them in Memento black ink (you have to use that ink with Copics) and colored them in with the copic markers.

The image is mounted on a piece of Real Red textured card stock. In the upper corner, I used the Word Window Punch and punched real red card stock, adhered them to the image layer, and added Circle Rhinestone Brads with the cropadile.

As for the card base, I used Old olive card stock cut to 4  1/4″ x 11″ with a top fold at 5 1/2″. I also added a layer of Holiday Bulk Buy DSP in a baja breeze snowflake pattern to pick up the blues in the snowmen image.

Modern Christmas Card with Corduroy Brad Ornaments

IMG_0890 copy

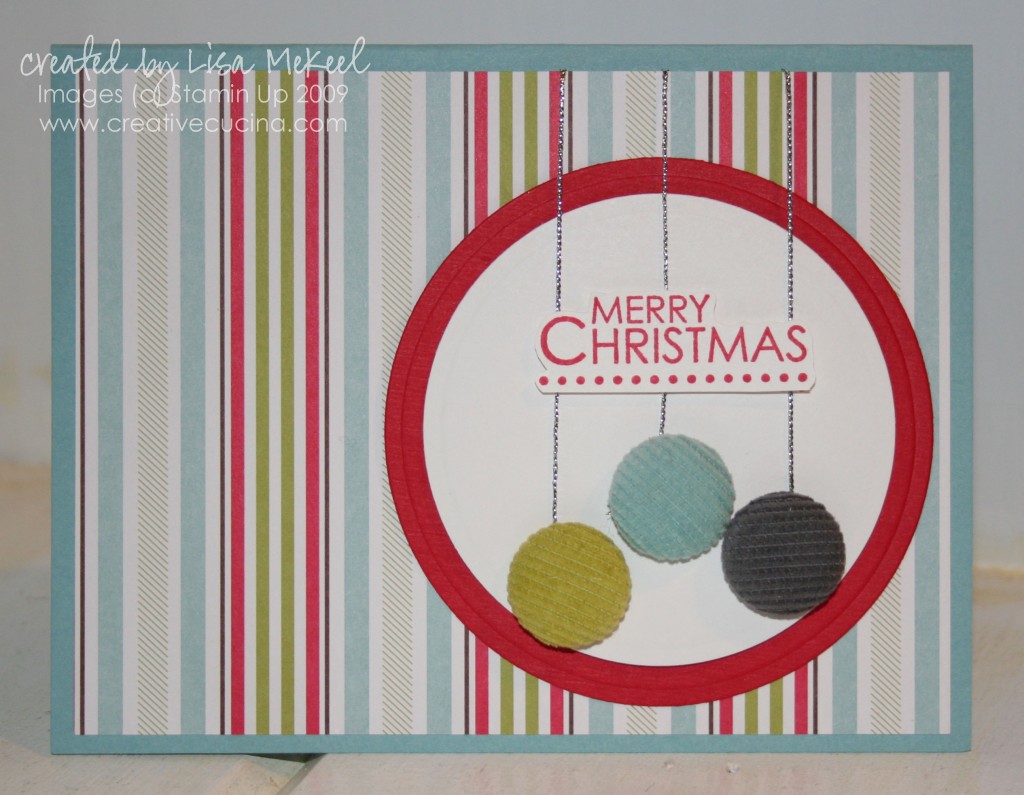
When I saw this card I just knew the Corduroy Brads would make perfect “ornaments”. The card base is baja breeze, layered with the Holiday DSP Bulk Buy in a striped design. The circles were made using Circle Nestabilities (2nd and 3rd largest) from Real Red textured card stock and whisper white card stock.

Using the cropadile, I punched 3 holes in the white circle and added large corduroy brads (kiwi kiss, baja breeze, basic gray). To secure them, I added a glue dot to the back of each so they wouldn’t spin around. Next, adhere the white circle to the red circle and the red circle to the DSP base. I then took some Silver Cord and wrapped it around the brads, bringing it up around the back of the DSP. A line of snail on the back of the DSP keeps the cord ends secure.

To finish off the card, I attached the DSP to the baja breeze base and stamped “Merry Christmas” from Season of Joy in Real Red on whisper white card stock. I then trimmed out the sentiment and attached it to the front using dimensionals.

Bad Behavior has blocked 1373 access attempts in the last 7 days.

css.php