Modern Christmas Card with Corduroy Brad Ornaments

IMG_0890 copy

When I saw this card I just knew the Corduroy Brads would make perfect “ornaments”. The card base is baja breeze, layered with the Holiday DSP Bulk Buy in a striped design. The circles were made using Circle Nestabilities (2nd and 3rd largest) from Real Red textured card stock and whisper white card stock.

Using the cropadile, I punched 3 holes in the white circle and added large corduroy brads (kiwi kiss, baja breeze, basic gray). To secure them, I added a glue dot to the back of each so they wouldn’t spin around. Next, adhere the white circle to the red circle and the red circle to the DSP base. I then took some Silver Cord and wrapped it around the brads, bringing it up around the back of the DSP. A line of snail on the back of the DSP keeps the cord ends secure.

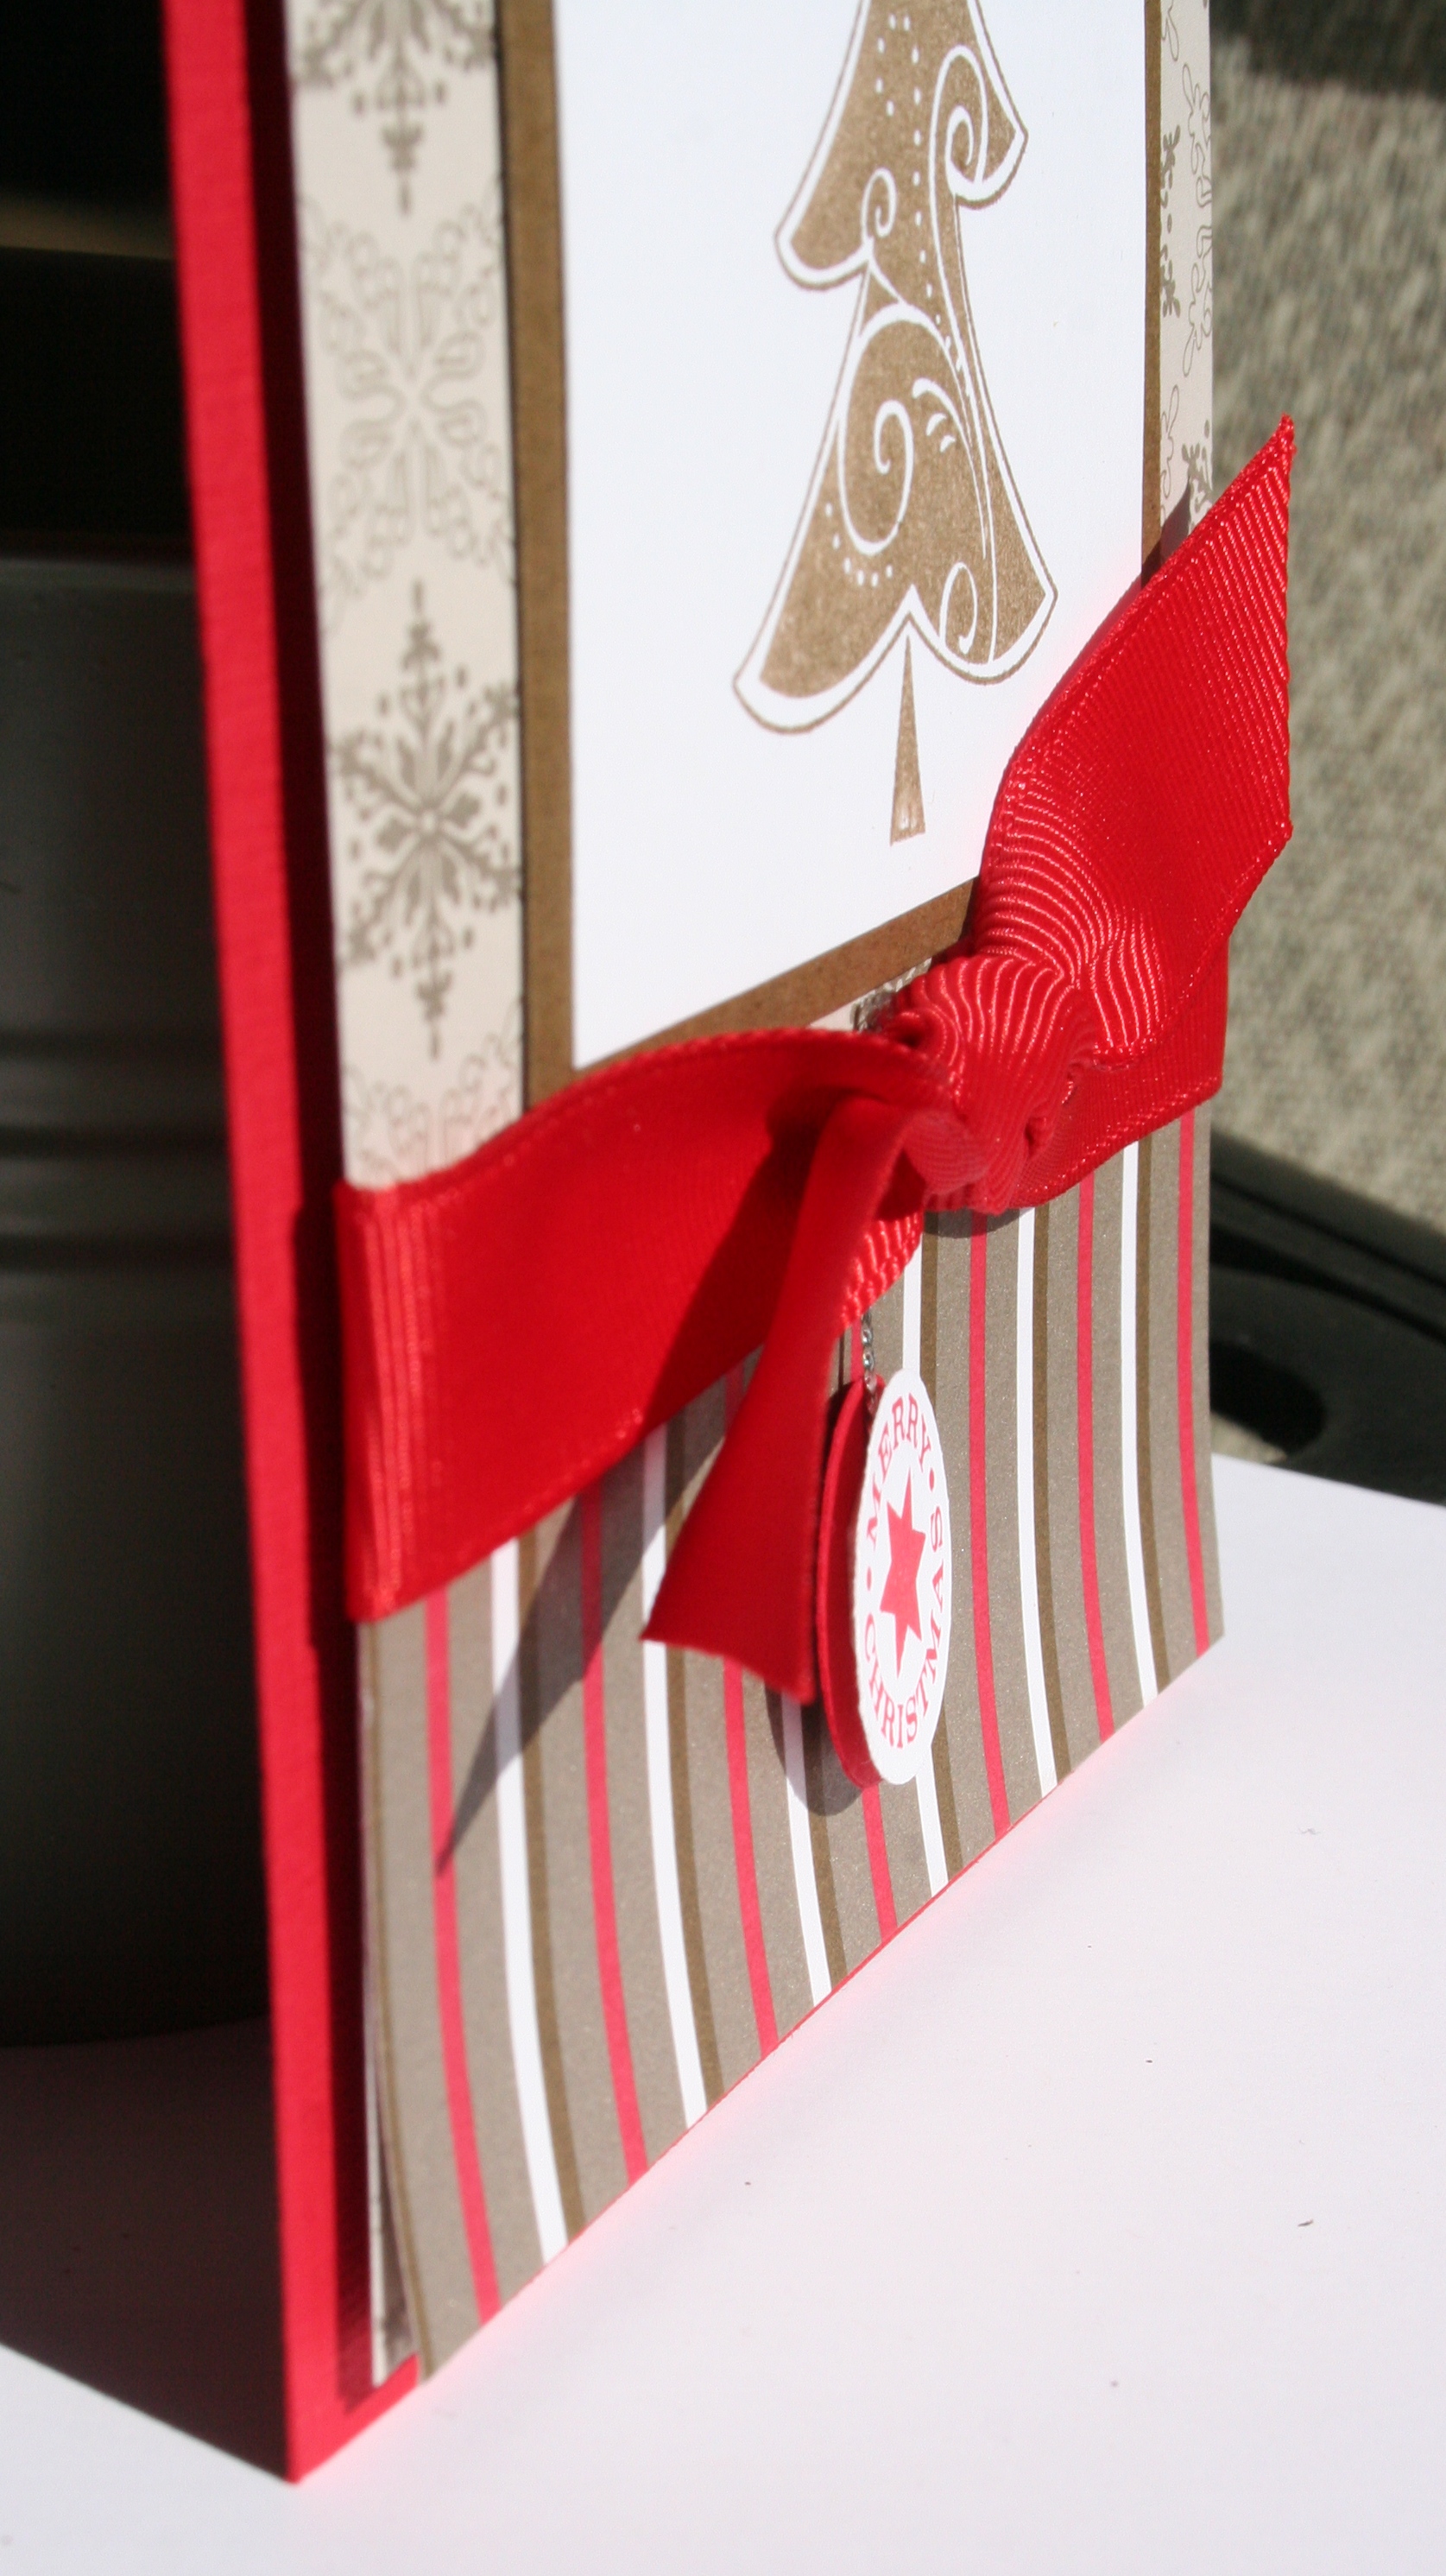
To finish off the card, I attached the DSP to the baja breeze base and stamped “Merry Christmas” from Season of Joy in Real Red on whisper white card stock. I then trimmed out the sentiment and attached it to the front using dimensionals.

Ornament Suspension Card

OK, here’s ANOTHER Delightful Decorations card but this time I changed it up a bit and made a suspension card (see tutorial here).

Card base is taken with teal, layered with Holiday Lounge DSP. To make the punch out, I lined up my DSP exactly where it was going to be on the card base and punched the two papers at the same time using the Ornament Punch. Then, I stamped the ornament from Delightful Decorations in Real Red ink on whisper white card stock TWICE, and trimmed them out using my paper snips. Because the punch is slightly larger than the stamp image, the suspension card will work if you trim very close to the image so it will fit in the punched out area.

Next, follow the directions for the suspension card and apply sticky strip to the back side of the DSP, above and below the punch out window. Then, put sticky strip on the back sides of the ornaments you cut out. Attach a piece of dental floss and apply your ornaments. (See tutorial for step by step instructions).

The sentiment is from Season of Joy, stamped in real red ink on whisper white. I layered it with real red textured card stock and then added a Circle Ice Rhinestone Brad and Felt Flurry in the upper corner.

Although hard to see, I added some Dazzling Diamonds to the snowflake on the ornament.

Season of Soft Suede

This card uses the tree stamp from Season of Joy. I stamped the tree in Soft Suede ink on Whisper White card stock, then colored in the star with Crushed Curry and stamped again, trimming it out and adhering it to the card stock using a tiny glue dot. The whisper white was matted with Soft suede card stock.

As for the base, I used Real Red textured card stock, layered with Christmas Cocoa DSP, snowflakes on top and striped pattern along the bottom. Where the DSPs meet, I tied a piece of 5/8″ Real Red Grosgrain Ribbon.

The small circle hangs from behind the ribbon. I stamped the Merry Christmas image from Delightful Decorations in Red ink on whisper white card stock and punched it out using the 3/4″ Circle Punch. I layered it on a Real Red card stock circle of the same size, slipping in some Silver Cord between the two layers. Then, I placed a tiny glue dot behind the knot of the ribbon and adhered the other end of Silver Cord to the card base.


Bad Behavior has blocked 1712 access attempts in the last 7 days.

css.php