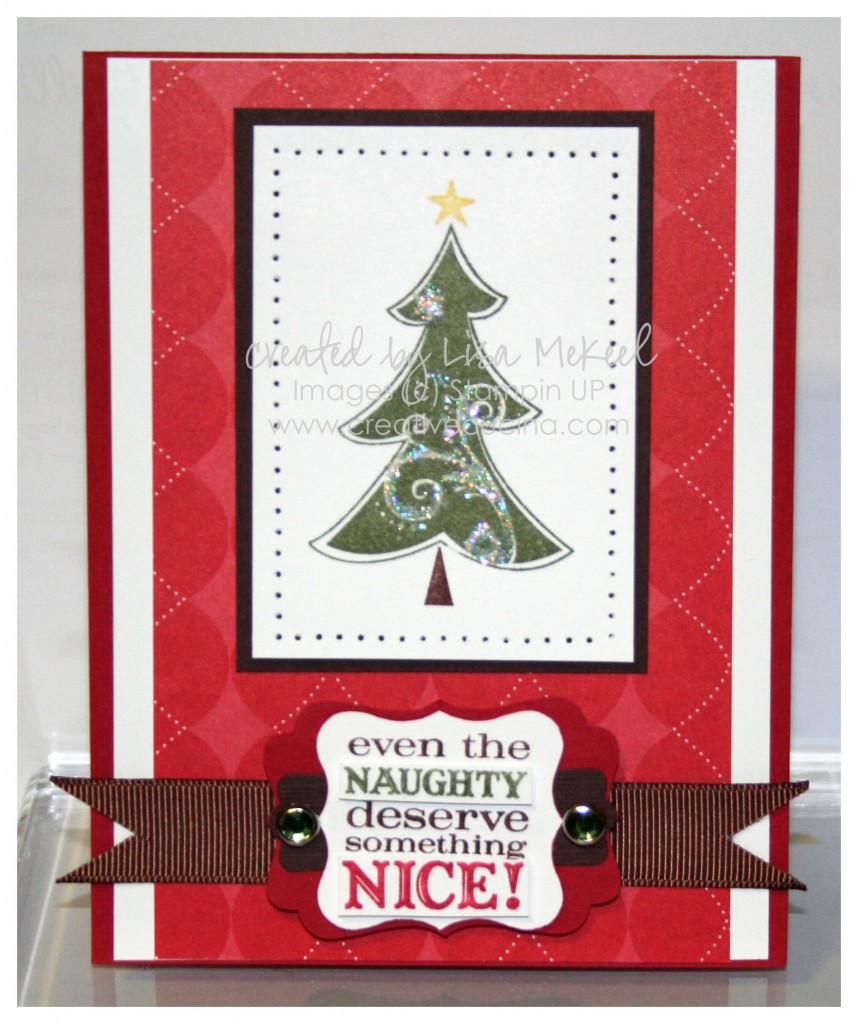
Naughty and Nice Christmas Card

I really like the Tags Til Christmas set, and adding the tags to a card is another great idea for them. Here, I stamped the tree from Season of Joy on Whisper White after coloring the stamp with Always Artichoke, Daffodil Delight, and Chocolate Chip Markers. With a fine tip glue pen and Dazzling Diamonds, I added some glitter to the swirls on the tree. That layer was then matted onto Chocolate Chip card stock and paper pierced around the edges with the paper piercer.

The card base is Real Red, layered with Whisper White and retired Holiday Lounge DSP.

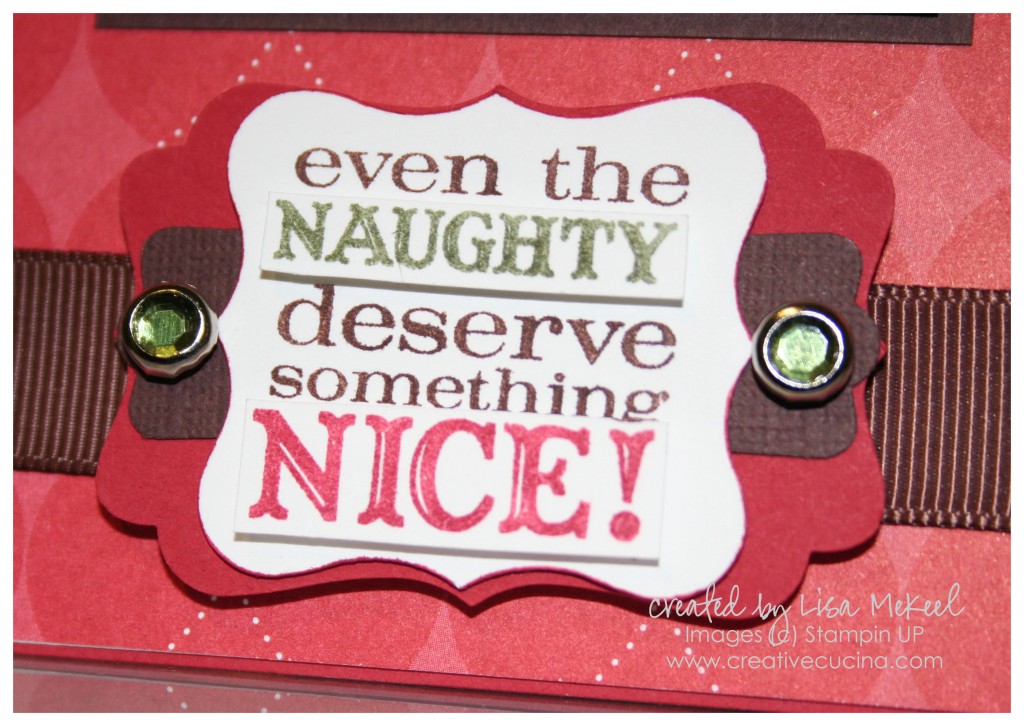
As I mentioned before, the sentiment is from Tags Til Christmas. I colored in the stamp with Chocolate Chip, Cherry Cobbler, and Always Artichoke Markers, stamping it twice. I punched one of them with the Curly Label Punch, and cut out the colored words from the other, attaching them to the Curly Label piece with stampin dimensionals.

Then, I just layered the Curly Label Punch onto a Chocolate Chip Modern Label Punch and Real Red Decorative Label Punch. Two green Circle Ice Rhinestone Brads finish off the tag.

Behind the tag, I added a piece of Chocolate Chip 5/8″ Grosgrain Ribbon, notching the ends with my Craft & Paper Scissors (aka My Ribbon Scissors).
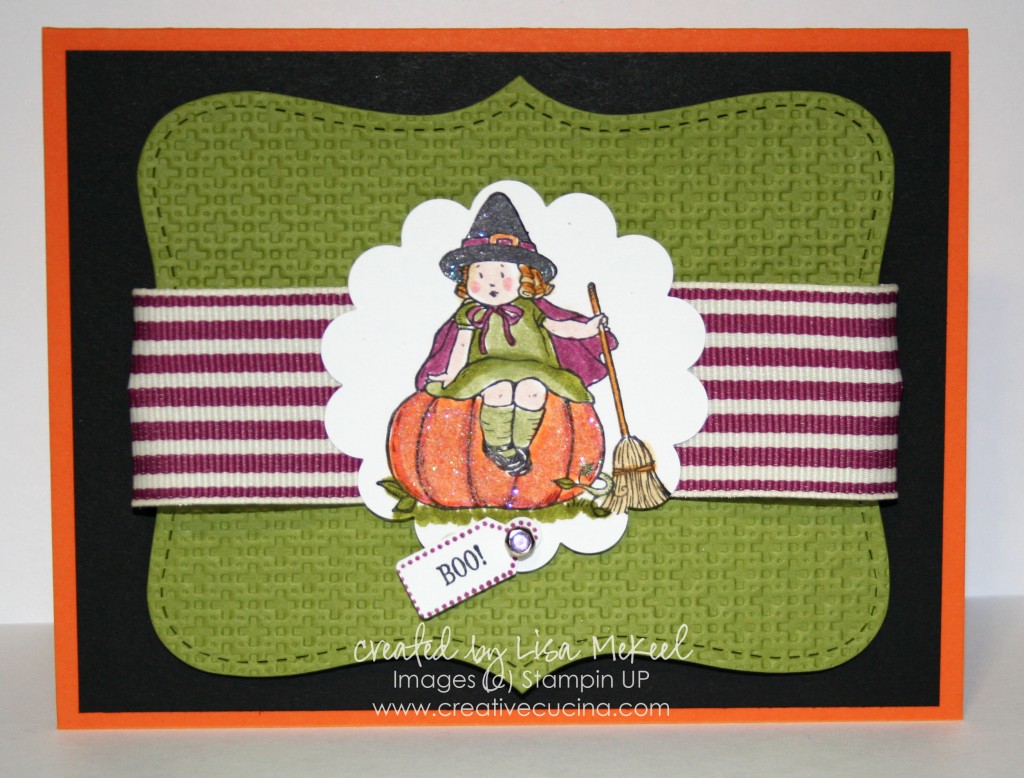
Greeting Card Kids Halloween Pumpkin Card

I made this card for a swap. I normally don’t do Halloween cards but this little girl was too cute to resist.

The card base is Pumpkin Pie, layered with Basic Black. Then, I used Old Olive card stock, embossed with the Big Shot and Square Lattice Embossing Folder, and die cut with the Top Note Bigz Die. The ribbon is Rich Razzleberry 1 1/4″ Striped Grosgrain, wrapped around the top note layer.

For the main image, I stamped the pumpkin girl from Greeting Card Kids in Basic Black ink on Whisper White card stock. I colored in the image with SU Markers (Dusty Durango, Pumpkin Pie, Old Olive, Pear Pizzazz, So Saffron, More Mustard, Rich Razzleberry, Blush Blossom, Blushing Bride, and Basic Black and Copic Black).

After coloring, I used 2 Way Glue and Dazzling Diamonds on the pumpkin. The Black Copic Marker must have been wet still because the glitter stuck to the hat as well. It was an unintended but welcome effect.

Then, I used the 2 3/8″ Scallop Circle Punch to punch out the image and attached a little “Boo” tag with a Circle Rhinestone Brad. The “boo” is from Tiny Tags and the punch I used is the Tiny Tag Punch.

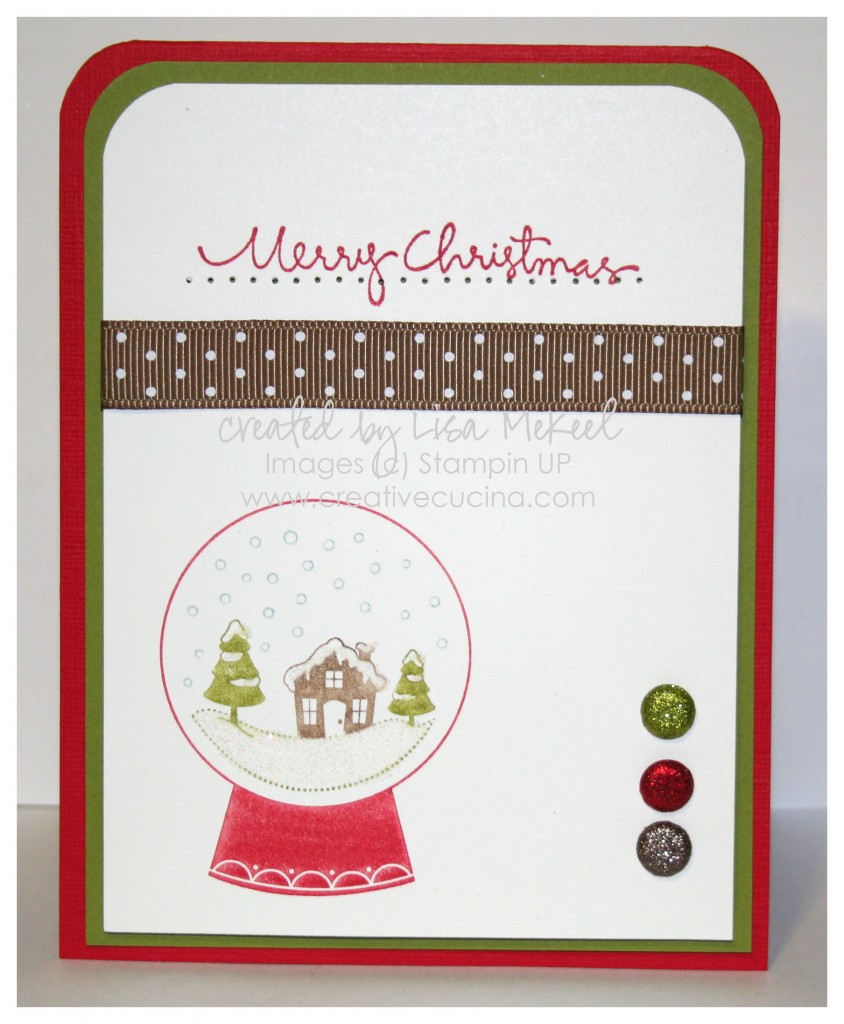
Simple and Sweet Snowglobe Christmas Card


This is a sample Christmas card I made for my sister using Sweet Snowglobe from the Holiday Mini Catalog. It’s a single stamp, offered for $8.95 and it coordinates with the Sweet Treat Cups. Since this is going to be mailed, I decided not to use the cups (postage for 40+ cards would be crazy!)

For the base, I used Real Red Textured Card stock, layered with Old Olive and Whisper White. The top corners of each layer were rounded with the Corner Chomper, but you could also use the Corner Rounder Punch on the two single layers.

I used the SU Markers to color the snowglobe (Real Red, Soft Suede, Baja Breeze and Old Olive). Then, I added some Dazzling Diamonds to the snowy parts with the 2 Way Glue Pen.

To continue the glittery theme, I added 3 Glimmer Brads (in Real Red, Old Olive, and Soft Suede–Brights and Neutrals collection). By using the cropadile, I made sure each brad would be lined up.

Across the top, I stamped “Merry Christmas” from Christmas Greetings in Real Red ink, paper pierced below it and added some Soft Suede Polka Dot Grosgrain Ribbon.

The White layer is adhered with stampin dimensionals to the base.

And yes, I know it’s September and I just made a Christmas card. It’s a sickness!

🙂

Bad Behavior has blocked 246 access attempts in the last 7 days.

css.php