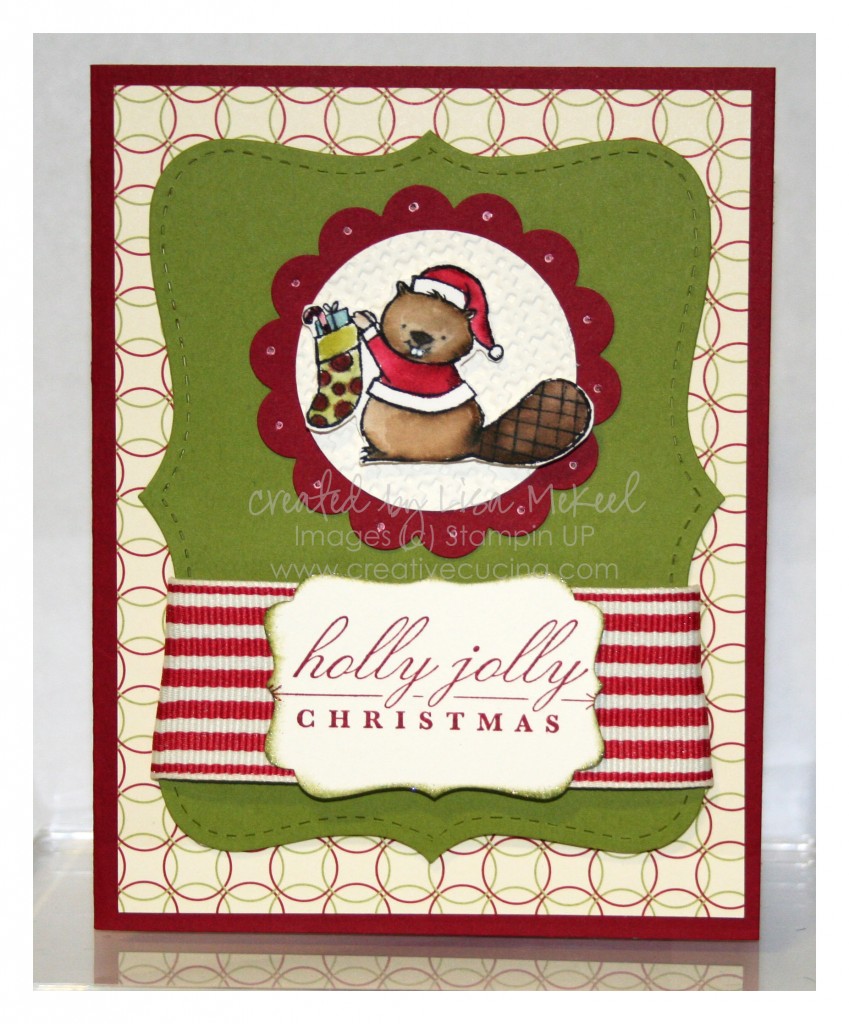
Merry Crittermas Cute Christmas Card

I don’t know what I like best about this little guy, but he is just too cute! I think it’s his little teeth that get me. This is a simple enough holiday card to make in bulk, with enough interest to keep me from getting bored. Each element can be prepped in advance and I can assemble them quickly if I plan ahead.

The card base is Cherry Cobbler, layered with Jolly Holiday DSP. I cut Old Olive card stock with the Top Note Die in the Big Shot, and wrapped some 1 1/4″ Riding Hood Red Striped Grosgrain Ribbon (from the clearance rack) around the front.

Next, I stamped the sentiment from Bright Christmas (Holiday Mini) in Cherry Cobbler ink on Very Vanilla card stock, punched out with the Decorative Label Punch. I sponged some Old Olive Craft ink around the edges, sprinkled on some Iridescent Ice Embossing Powder, and heated it to give a glittery effect without the glitter.

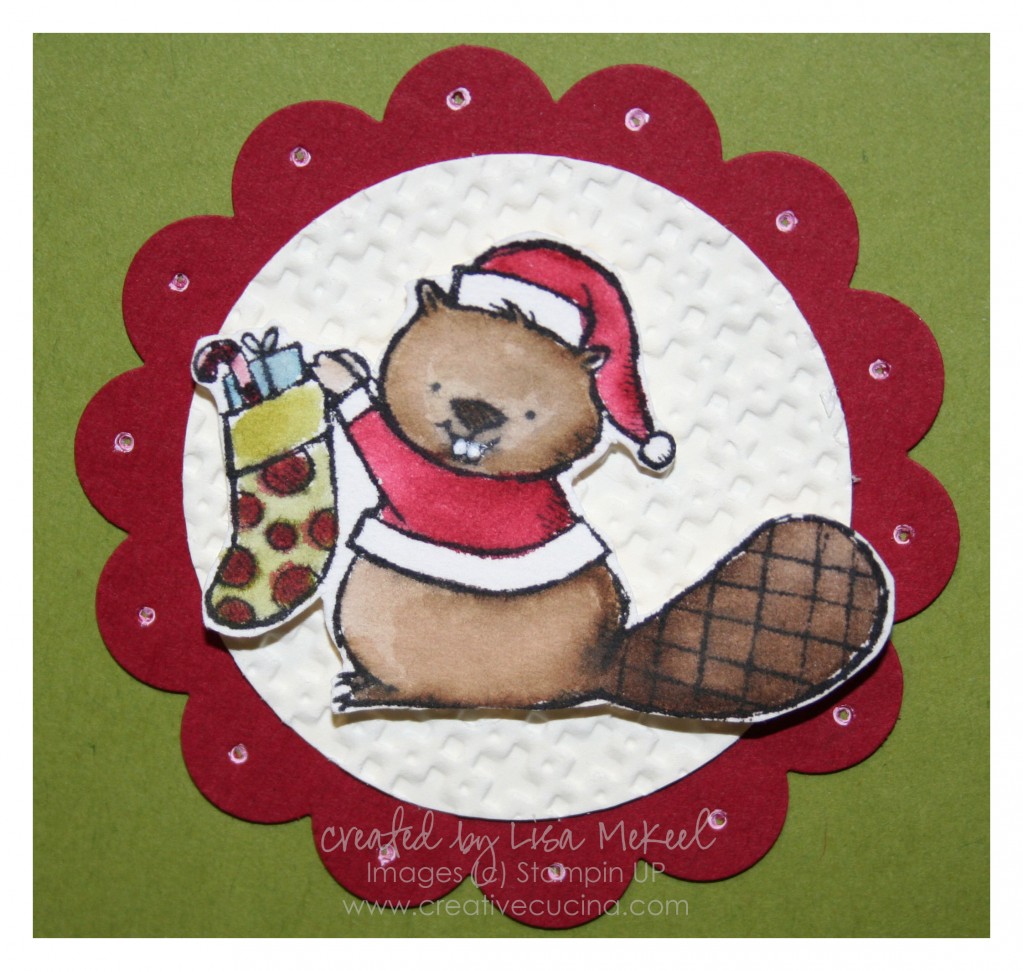
For the main image, I stamped this adorable little beaver from Merry Crittermas onto Watercolor Paper with Black Stazon ink and colored it in using SU Markers and the Aquapainter.I use this technique for easy watercoloring.

To make his teeth extra white, I used the Signo White Gel Pen. Then, I trimmed the image out and attached it with stampin’ dimensionals to a Very Vanilla 1 3/4″ Circle that I embossed with the Square Lattice Embossing Folder and Big Shot. That is layered onto a Cherry Cobbler 2 3/8″ Scallop Circle, dotted with the Signo White Gel Pen and Paper Piercer.
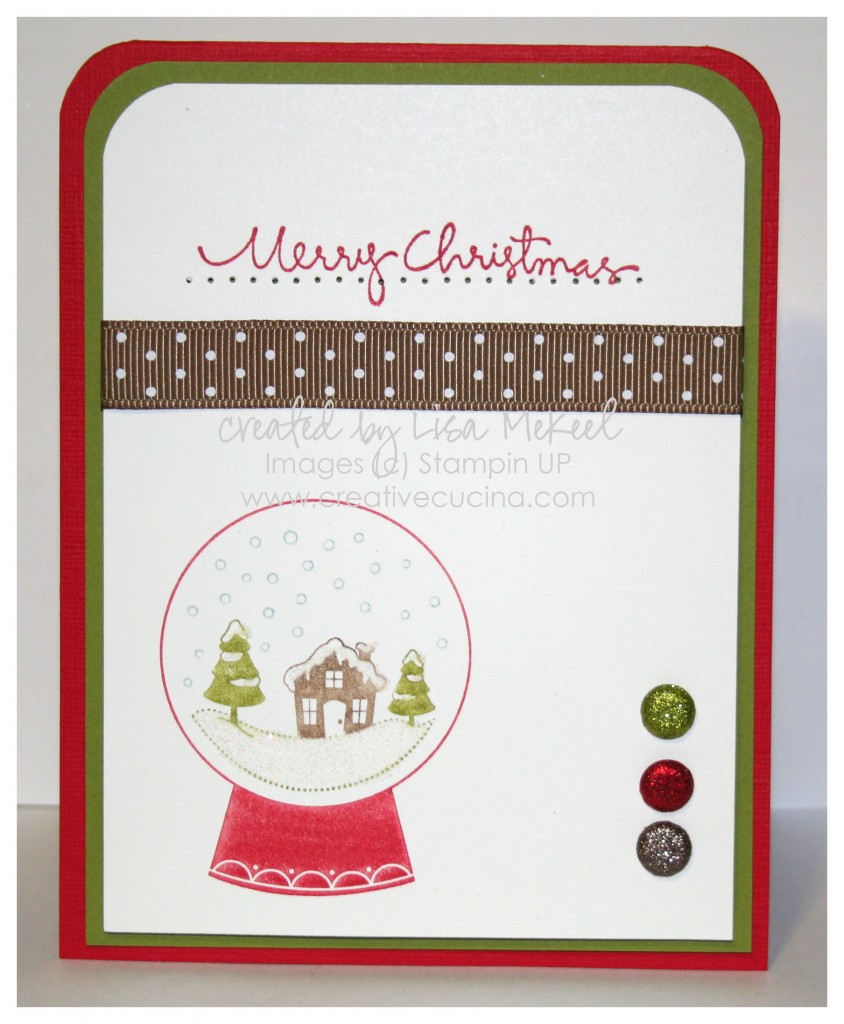
Simple and Sweet Snowglobe Christmas Card


This is a sample Christmas card I made for my sister using Sweet Snowglobe from the Holiday Mini Catalog. It’s a single stamp, offered for $8.95 and it coordinates with the Sweet Treat Cups. Since this is going to be mailed, I decided not to use the cups (postage for 40+ cards would be crazy!)

For the base, I used Real Red Textured Card stock, layered with Old Olive and Whisper White. The top corners of each layer were rounded with the Corner Chomper, but you could also use the Corner Rounder Punch on the two single layers.

I used the SU Markers to color the snowglobe (Real Red, Soft Suede, Baja Breeze and Old Olive). Then, I added some Dazzling Diamonds to the snowy parts with the 2 Way Glue Pen.

To continue the glittery theme, I added 3 Glimmer Brads (in Real Red, Old Olive, and Soft Suede–Brights and Neutrals collection). By using the cropadile, I made sure each brad would be lined up.

Across the top, I stamped “Merry Christmas” from Christmas Greetings in Real Red ink, paper pierced below it and added some Soft Suede Polka Dot Grosgrain Ribbon.

The White layer is adhered with stampin dimensionals to the base.

And yes, I know it’s September and I just made a Christmas card. It’s a sickness!

🙂

Dasher Christmas Cards

IMG_1029 copy

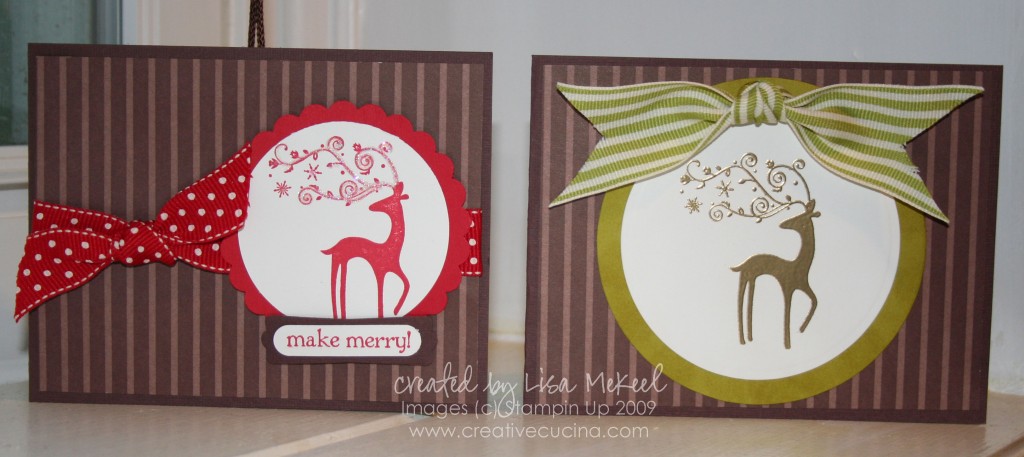
This Dasher reindeer is my new favorite image. I ordered the Decor Element as part of my hostess benefits and I plan on putting it in a frame as shown in the catalog. As soon as I do that, I’ll be sure to post pictures! For now, these cards will have to do.

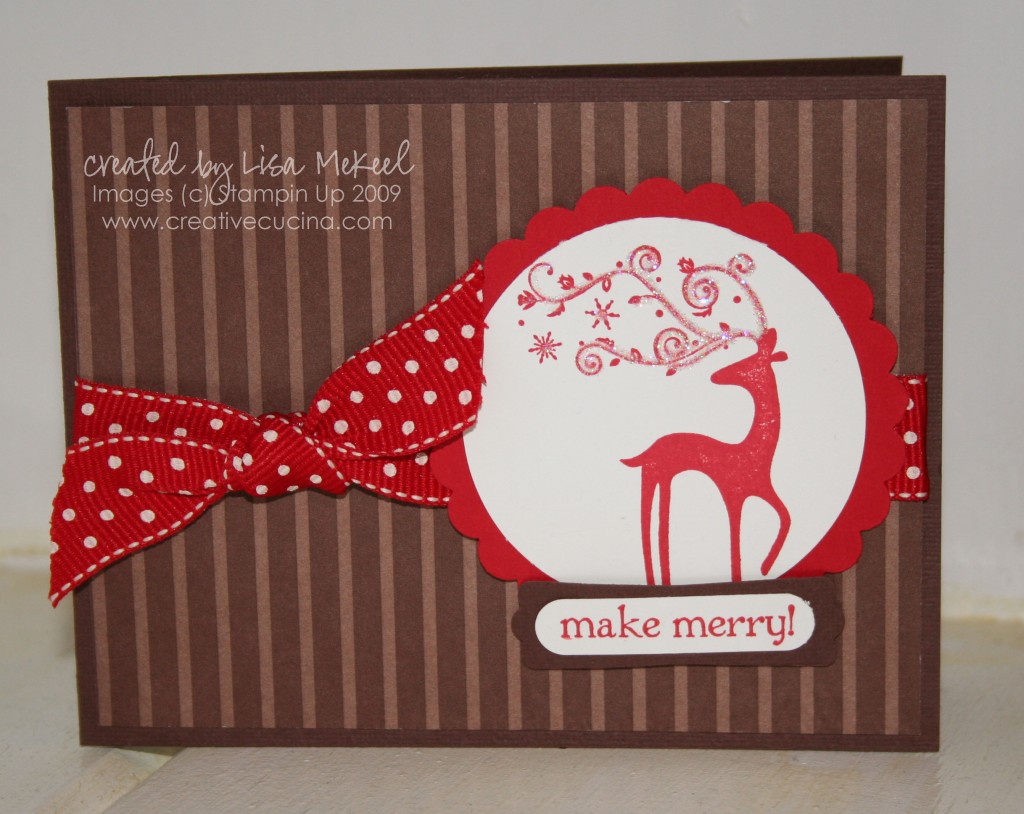
IMG_1024 copy

The above card uses chocolate chip card stock for the base, layered with Chocolate Chip DSP in a striped pattern. I stamped Dasher in Real Red in on whisper white and punched it out using a large circle punch. Behind that, I layered real red card stock punched with the giga scallop punch.

I traced the reindeer’s antlers with my fine tip glue pen and sprinkled on Dazzling Diamonds. Then, I stamped “make merry” from Berry Christmas in real red ink on whisper white. I punched it out using the Word Window Punch, layered with chocolate chip Modern Label Punch.

Lastly, I tied some Real Red polka dot grosgrain around the front, with the knot over on the left side.

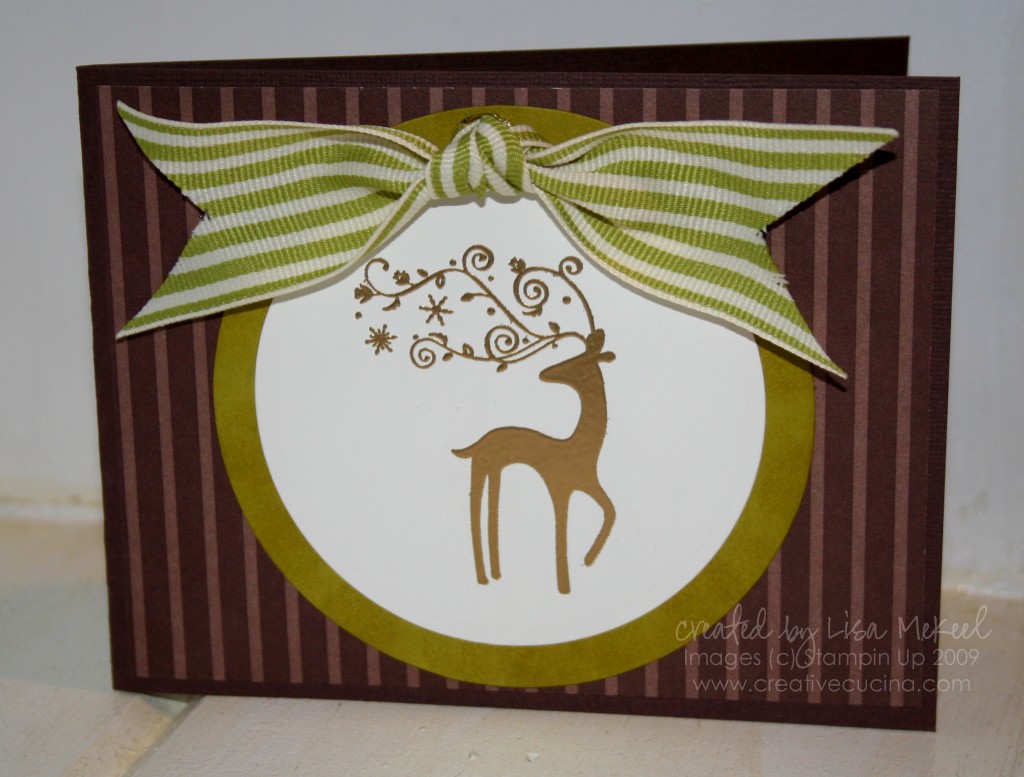
IMG_1027 copy

The second card uses the same base card stock and DSP. This time, I stamped Dasher in Versamark and heat embossed it using Gold Embossing Powder. Then, using Nestabilities, I cut/embossed the white circle around the stamped image. That was layered on kiwi kiss card stock cut with a larger Nestabilities circle die and the edges sponged with Kiwi Kiss ink.

At the top of the card, I tied some Old Olive 1 1/4″ Striped Ribbon in a knot and attached it to the base with a glue dot. I also put small glue dots behind each “tail” of the bow to keep it lying flat.

Bad Behavior has blocked 1008 access attempts in the last 7 days.

css.php