My Digital Studio 2nd Birthday Party Invitations

I love using My Digital Studio (MDS) to create invitations. Sometimes I create a project digitally first and then copy it “in real life”. Other times, I print straight from the computer (as was the case with this year’s Christmas cards).  I’ve gotten really comfortable using the MDS program, and I find it allows me to be just as creative as if I were sitting at my desk surrounded by all my papers, ink, and stamps.

My nephew is turning 2 soon, and my sister asked me to make invitations for his birthday party. I made some samples for her using MDS, and I thought I would share some of them with you.

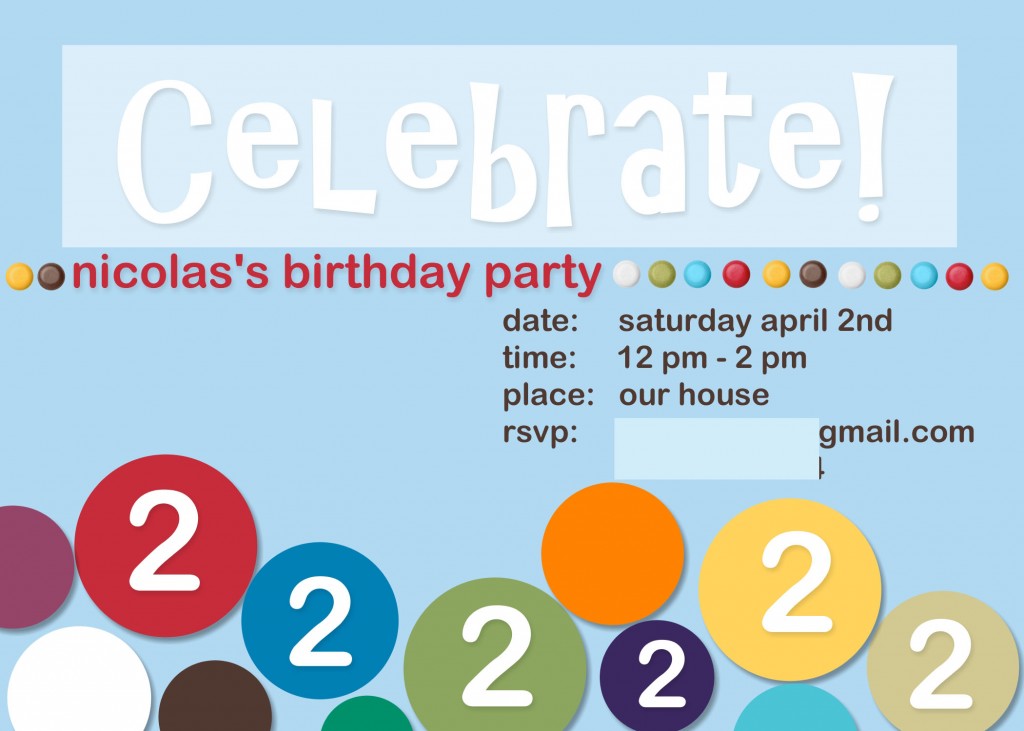
I love how bright and cheerful this one turned out!  To begin, I opened MDS and chose CARDS in the New Project Options, POSTCARD, 7″ X 5″ LANDSCAPE and the CREATE YOUR OWN option.  The background was made by choosing Bashful Blue card stock as the background. Then, I added a TEXT BOX and wrote “Celebrate”. To create that transparent box around the text, I added a PUNCH in the square shape, and stretched it out to frame the text. I chose to FILL the punch shape with Whisper White and then lowered the OPACITY to make it more transparent.

I added brads in coordinating colors from the EMBELLISHMENT menu, lining them up across the front of the invitation. Here is a tip: I always add a DROP SHADOW to my embellishments to give them the look of being 3D.

The party information was added using TEXT BOX again. Below that, I created the circles along the bottom by adding the CIRCLE PUNCH in various sizes–resizing, copying, and pasting as I went along. The colors were added using the FILL function, and I added DROP SHADOWS to them so they would pop off the page. In some of the circles, I added the number 2 using the TEXT BOX.

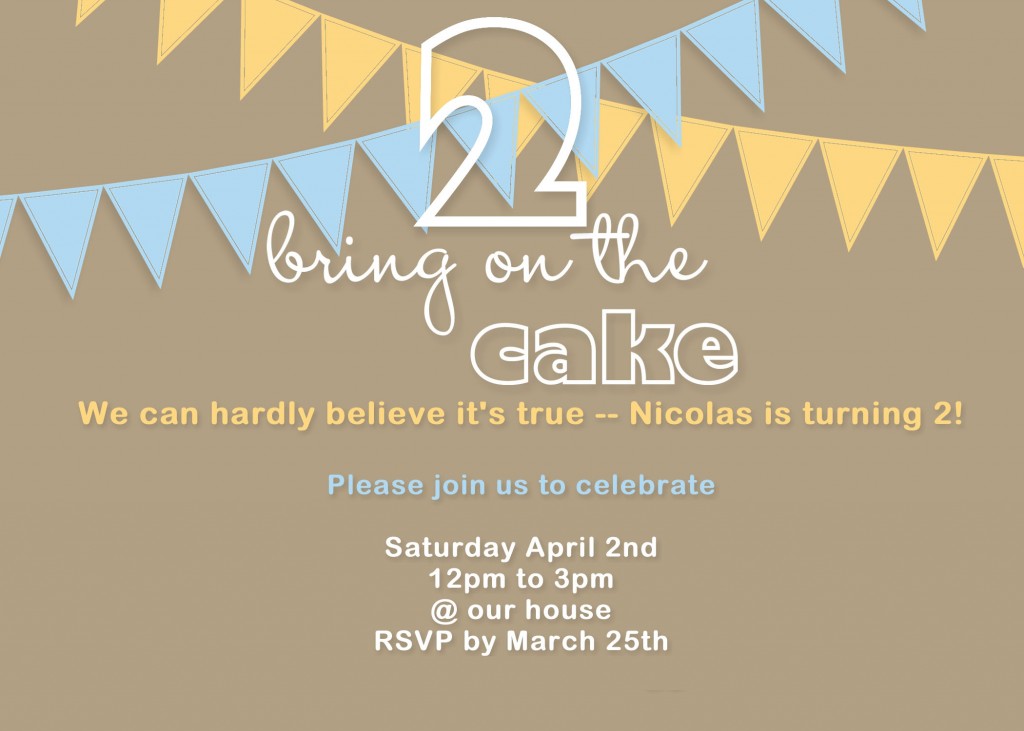
This invitation is a little more clean and simple. Personally, I liked this one very much but my sister did not. The number 2 and the “bring on the cake” digital stamps are from Bring on the Cake in the Occasions Mini Catalog and I LOVE LOVE LOVE IT. I’m a font freak and this stamp set has so many awesome fonts. I also ordered it in clear mount so I can use it for birthday cards and other projects too.

I made this the same way as the invitation above, except the background color is Crumb Cake card stock. The Celebrations Pennants are digital stamp images that come with the Celebrations Digital Kit. I chose Bashful Blue and So Saffron for the pennants.

The rest of the information was added using the TEXT BOXES and that’s it. Quick and easy, modern, but fun. I could see changing the blue to pink and it would make a sweet little girl’s birthday invitation.

End of Summer Sunflower {Gatefold Card}

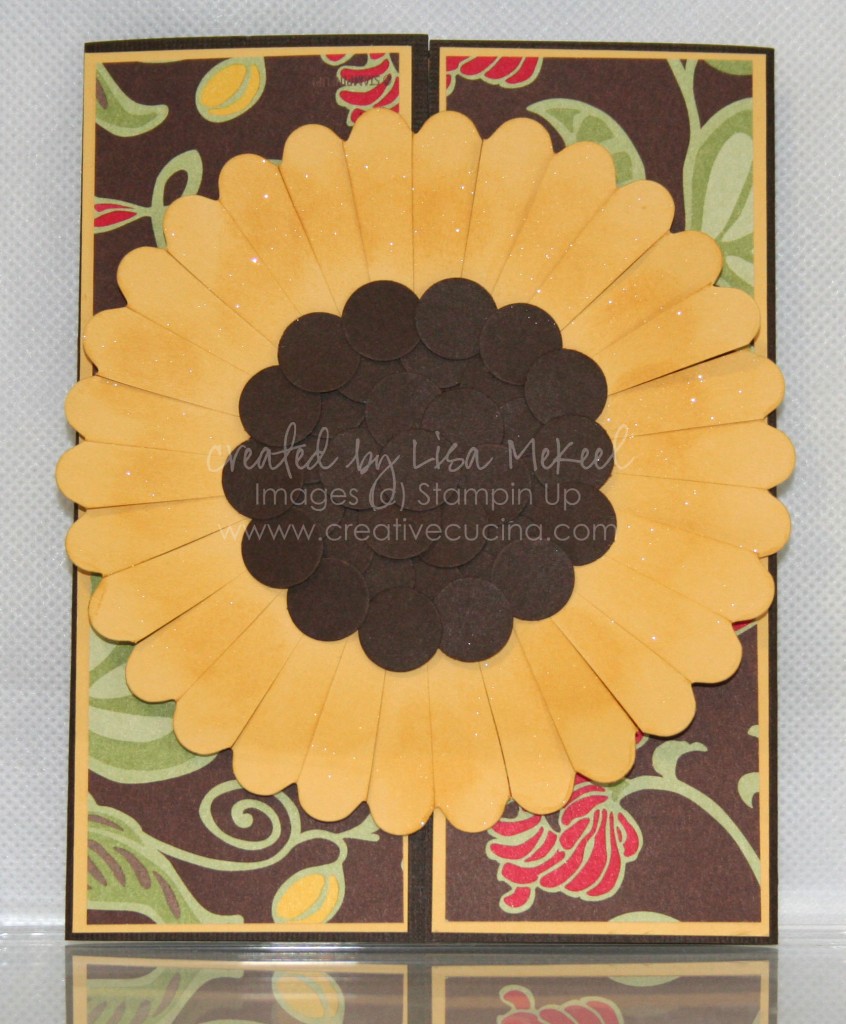
Gatefold cards are easy to make, and you can find many tutorials online. Below, I’ve provided measurements for this card, but you can alter them to make any size card you like. I was inspired by the recent Stampin Success issue I received, more specifically, the sunflower.

Sunflower Instructions:

  1. Run So Saffron card stock through the Big Shot with the Scallop Circle Bigz Die.
  2. Then, cut between each scallop to make the flower petals.
  3. Next, I used a sponge dauber and So Saffron ink (with a very small amount of Champagne Shimmer Paint) to color the flower petals.
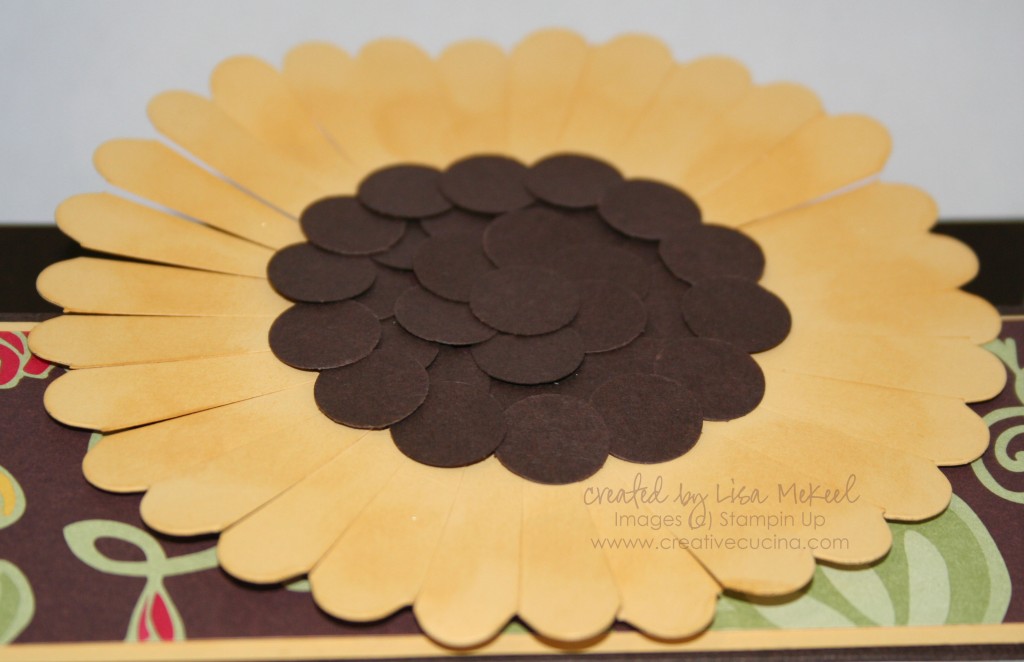
  4. Finally, I punched Early Espresso card stock with the 1/4″ Circle Punch and attached them to the center of the flower with mini glue dots. See the close up below.

Gatefold Measurements:

The card base is Early Espresso, cut to 5 1/2″ x 8 1/2″, scored at 2 1/8″ and 6 3/8″. I used So Saffron card stock on the front panels, layered with Greenhouse Gala DSP. I attached the sunflower to the left panel only with a small piece of Sticky Strip.

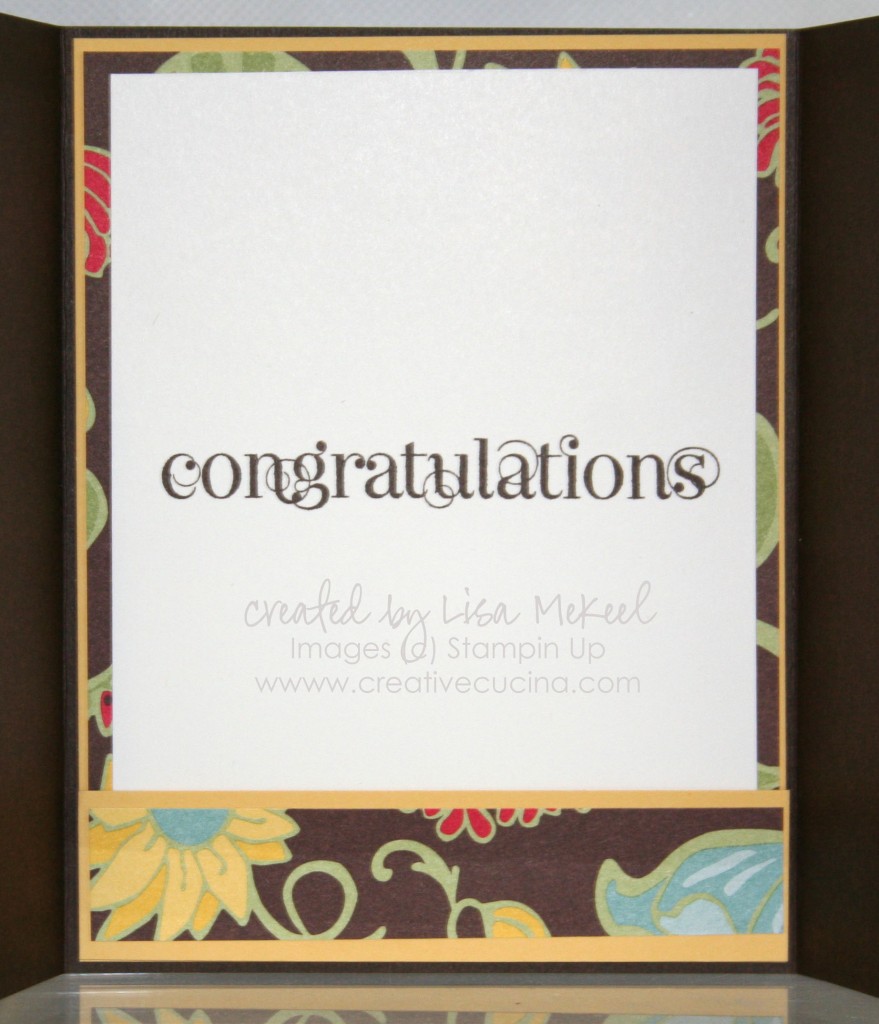
Inside, I lined the base with So Saffron, Greenhouse Gala DSP, and Whisper White stamped with the Curly Cute congratulations stamp in Early Espresso ink. At the bottom, I attached a strip of card stock and DSP with mini glue dots (along the sides and bottom only) to form a little pocket. It will hold a  gift card or folded bill/check.

Pie Tower Birthday Card {Every Little Bit}

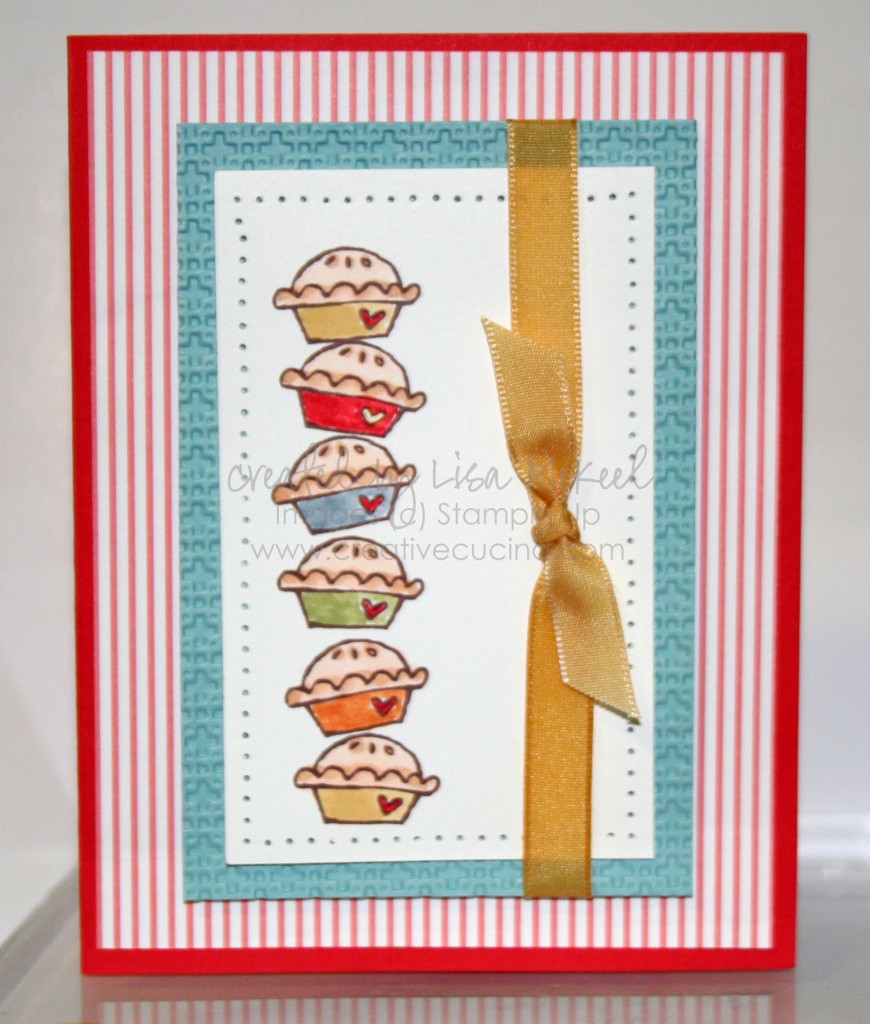
This color combination is from the Color Coach: Poppy Parade, Baja Breeze, and So Saffron. The base is Poppy parade, layered with Poppy Parade DSP from the Level 1 Hostess Prints Pack. The patterns are different from anything we’ve ever had–I love them.

I stamped the pies from Every Little Bit on Whisper White with Chocolate Chip ink. Then, I colored them in with coordinating color Stampin Write Markers. I paper pierced around the edges with the paper piercer to tie everything together.

The stamped layer is matted on Baja Breeze, which I embossed with the Square Lattice Embossing Folder and the Big Shot. The ribbon is White 3/8″ Taffeta Ribbon that I colored with So Saffron Marker. The Whisper White and Baja Breeze layers are each adhered with stampin dimensionals.

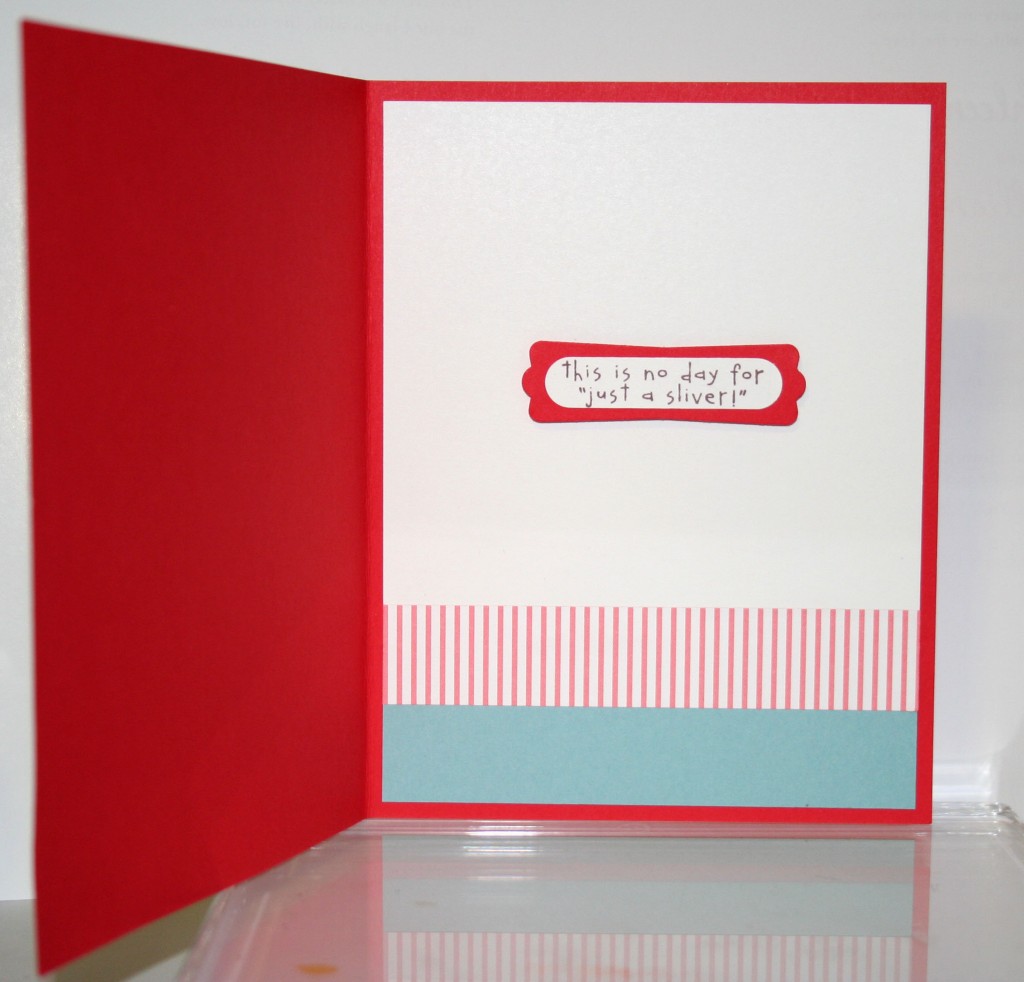
Inside, I used scraps of Poppy Parade DSP, Whisper White, and Baja Breeze. I stamped the sentiment from Birthday Bakery Hostess Level 1 set in Chocolate Chip ink. I punched it out with the Word Window Punch and layered it onto Poppy Parade punched with the Modern Label Punch.

Bad Behavior has blocked 2494 access attempts in the last 7 days.

css.php