Magic Theme Kids Birthday Party Created by My Digital Studio {MDS}

magic party-001

Magic theme birthday invitation. Custom printing/Digital download available. Coordinating cupcake toppers, banner, and personalized signs also available! See the matching Thank You card below.

magic party_thanks-001

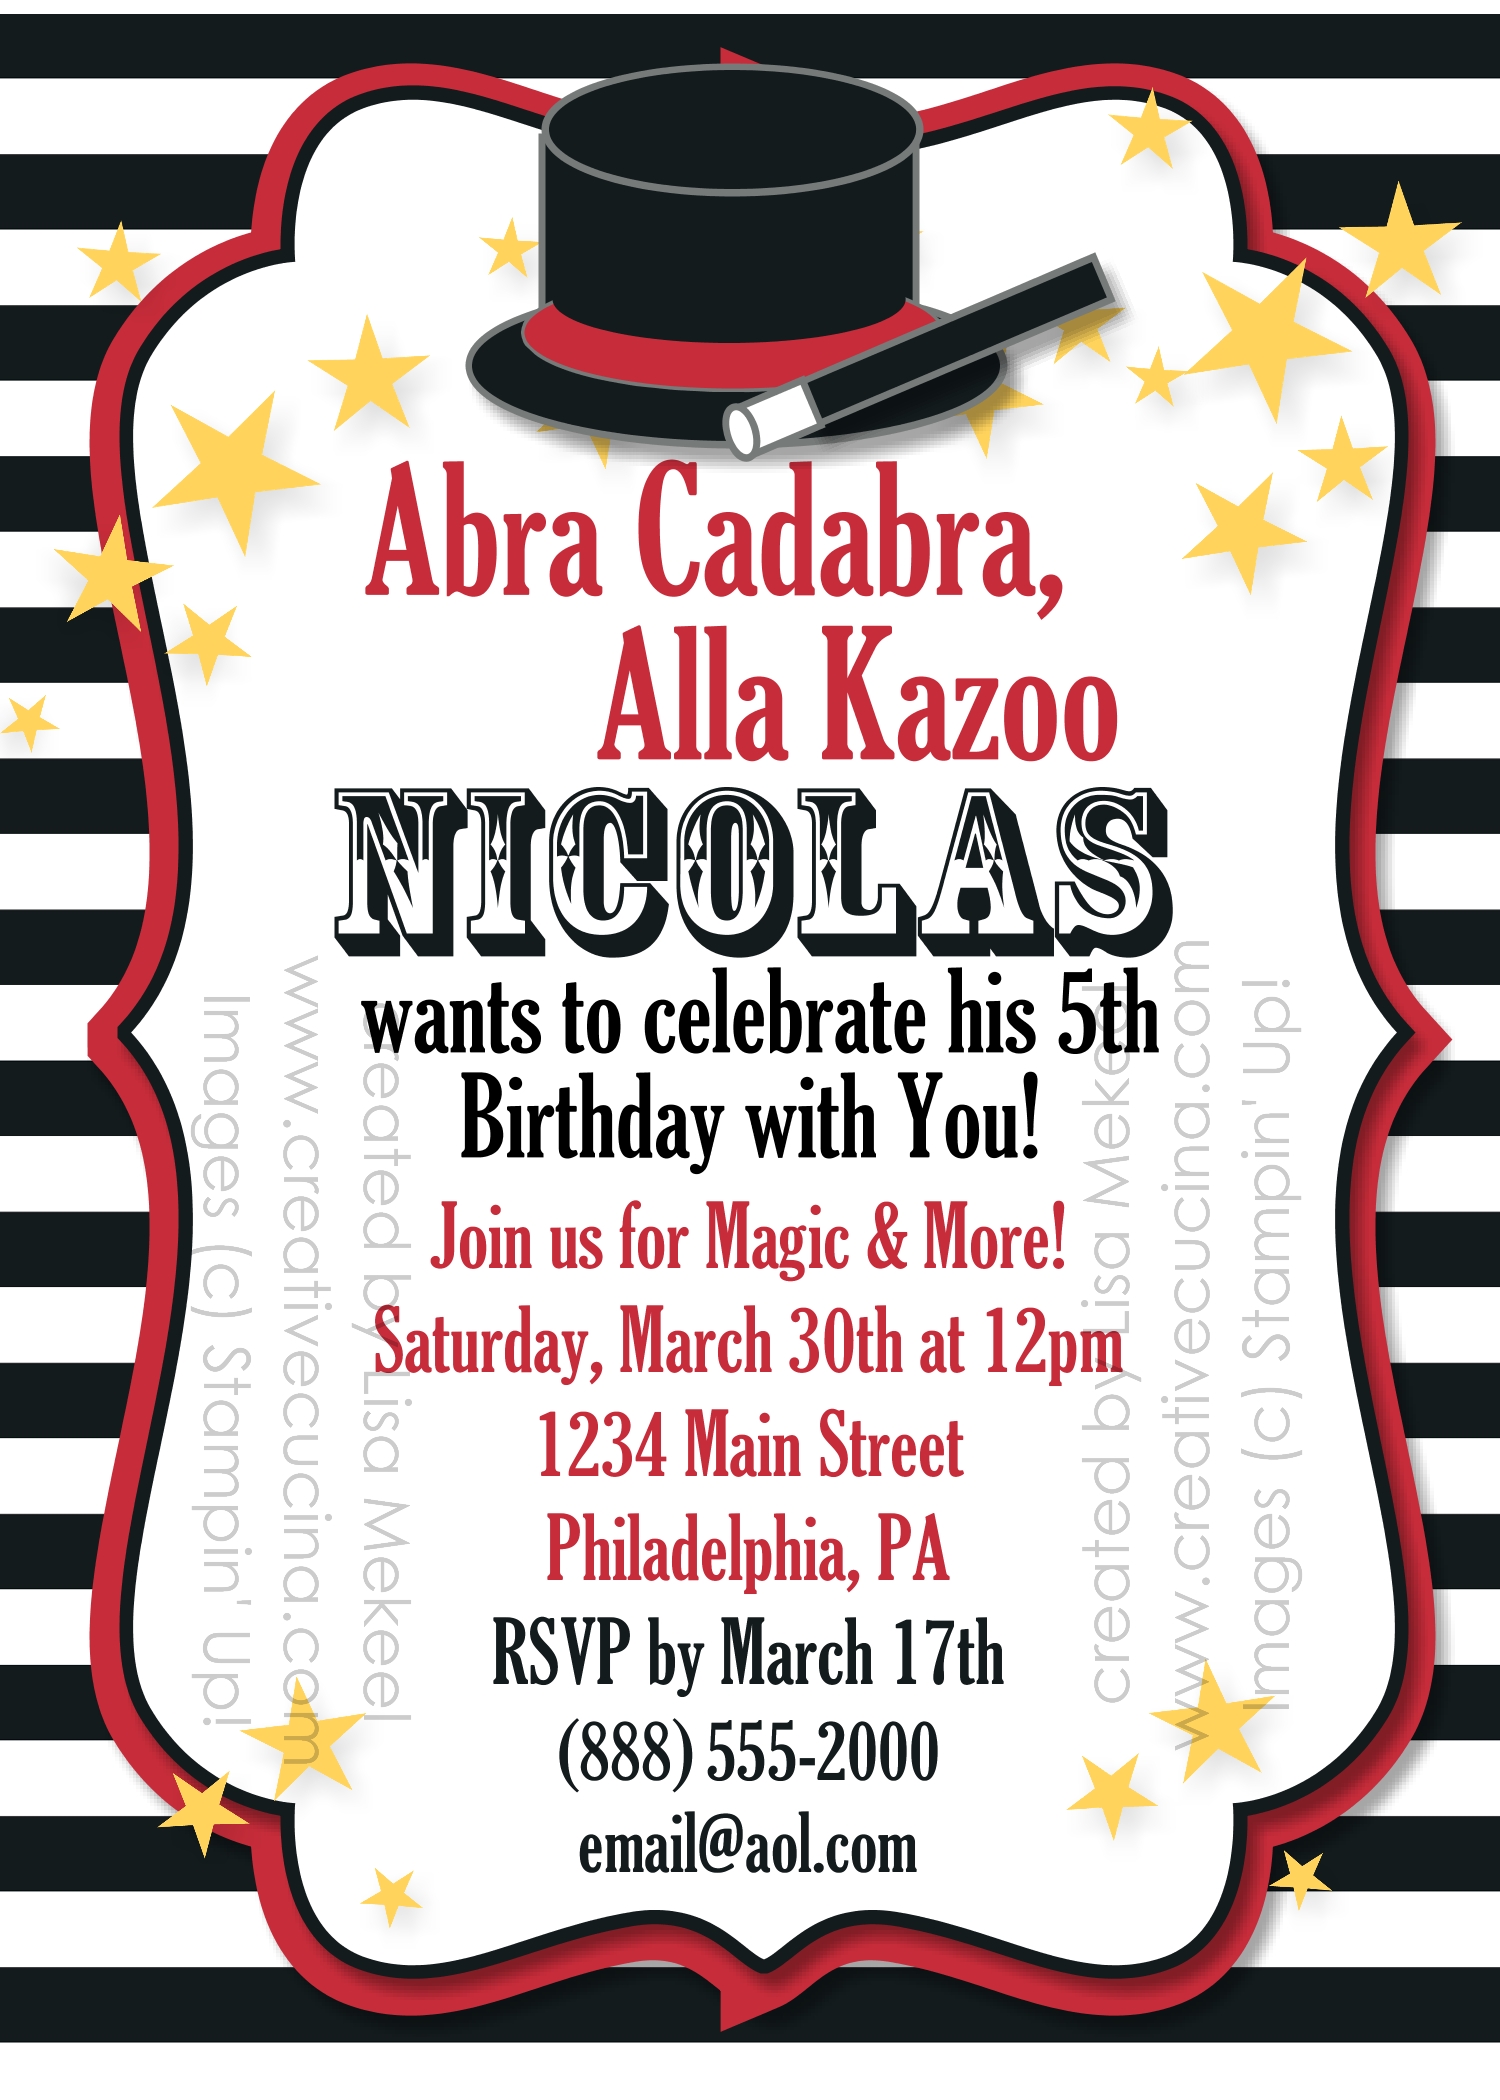
This is an invitation for a little boy’s Magic themed birthday party. My sister sent me a picture she found on Pinterest and I recreated the invitation using My Digital Studio. Here is a link to the original picture. She was surprised I was able to make it look almost exactly like the original. There really isn’t anything you can’t do with MDS!

Everything except for the hat and wand were ready to go images. I had to make the top hat and magic wand using Punch Shapes such as the square, oval, circle, etc.

The stars are from July Fourth Stamp set. The background is part of the Essentials Designer Series Paper.

Candy Land Birthday Party

Candy Land was the theme for my daughter’s 5th birthday party. She chose it based on both the board game and her extreme love of candy!

First up, the invitation: I used the stamp set Sweets for the Sweet to make the lollipop and candies. The base is 5″x7″ chocolate chip card stock that I gave some texture to using the Big Shot and the Perfect Details Texturz Plate.

The candies were stamped in Pumpkin Pie, Melon Mambo, Rich Razzleberry, and Lucky Limeade. I used Iridescent Ice Embossing Powder and Versamark to make some of them sparkle. I wanted them a bit smaller than the lollipop so I used the 3/4″ Circle Punch to cut them down a bit.

As for the lollipop, I stamped it with Daffodil Delight ink and used the Iridescent Ice Embossing Powder on it. A little 1/8″ Taffeta Pretty in Pink Ribbon is knotted and attached with a mini glue dot.

The information was printed on Whisper White card stock. The Candy Land type font is called “Candy Cane” and I downloaded it for free online. Behind the printed information is Pool Party card stock that was die cut using the Big Shot and Scallop Square Bigz Die. It’s attached to the base with stampin dimensionals.

I didn’t have much time to take pictures during the party, but I did manage to take a picture of the candy buffet. I took it with my phone so the picture is not the best quality, but you can see what I did. The little chalk board sign was painted and decorated using various stickers and little lollipop Christmas ornaments.

The lollipop topiary was made using a topiary form (from the floral section of the craft store) and Dum Dum lollipops. Almost 400 lollipops were used to cover the topiary!

Various vases, jars, and containers I had around the house or borrowed from my sister held all the candy. The gingerbread cupcake box was found at Hobby Lobby. I used it for a raffle–the prize being a brand new Candy Land board game. Inside the box, I put slips of paper with the childrens’ names and my daughter pulled the winner.

We still have a lot of candy left over! I’m going to leave the buffet up for a few more days because it makes me smile when I look at it. I suppose a candy buffet in my living room would come in pretty handy with company stopping by, and my daughter certainly won’t complain!

My Digital Studio 2nd Birthday Party Invitations

I love using My Digital Studio (MDS) to create invitations. Sometimes I create a project digitally first and then copy it “in real life”. Other times, I print straight from the computer (as was the case with this year’s Christmas cards).  I’ve gotten really comfortable using the MDS program, and I find it allows me to be just as creative as if I were sitting at my desk surrounded by all my papers, ink, and stamps.

My nephew is turning 2 soon, and my sister asked me to make invitations for his birthday party. I made some samples for her using MDS, and I thought I would share some of them with you.

I love how bright and cheerful this one turned out!  To begin, I opened MDS and chose CARDS in the New Project Options, POSTCARD, 7″ X 5″ LANDSCAPE and the CREATE YOUR OWN option.  The background was made by choosing Bashful Blue card stock as the background. Then, I added a TEXT BOX and wrote “Celebrate”. To create that transparent box around the text, I added a PUNCH in the square shape, and stretched it out to frame the text. I chose to FILL the punch shape with Whisper White and then lowered the OPACITY to make it more transparent.

I added brads in coordinating colors from the EMBELLISHMENT menu, lining them up across the front of the invitation. Here is a tip: I always add a DROP SHADOW to my embellishments to give them the look of being 3D.

The party information was added using TEXT BOX again. Below that, I created the circles along the bottom by adding the CIRCLE PUNCH in various sizes–resizing, copying, and pasting as I went along. The colors were added using the FILL function, and I added DROP SHADOWS to them so they would pop off the page. In some of the circles, I added the number 2 using the TEXT BOX.

This invitation is a little more clean and simple. Personally, I liked this one very much but my sister did not. The number 2 and the “bring on the cake” digital stamps are from Bring on the Cake in the Occasions Mini Catalog and I LOVE LOVE LOVE IT. I’m a font freak and this stamp set has so many awesome fonts. I also ordered it in clear mount so I can use it for birthday cards and other projects too.

I made this the same way as the invitation above, except the background color is Crumb Cake card stock. The Celebrations Pennants are digital stamp images that come with the Celebrations Digital Kit. I chose Bashful Blue and So Saffron for the pennants.

The rest of the information was added using the TEXT BOXES and that’s it. Quick and easy, modern, but fun. I could see changing the blue to pink and it would make a sweet little girl’s birthday invitation.

Bad Behavior has blocked 1373 access attempts in the last 7 days.

css.php