Happy Birthday! Coffee Cup Slider Card Tutorial

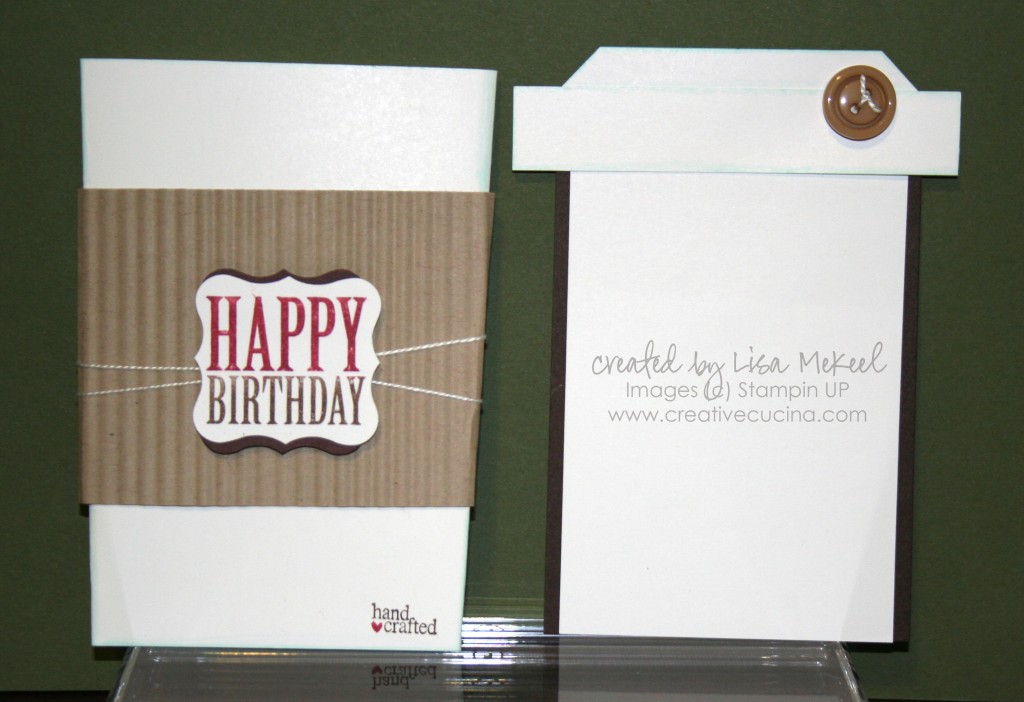
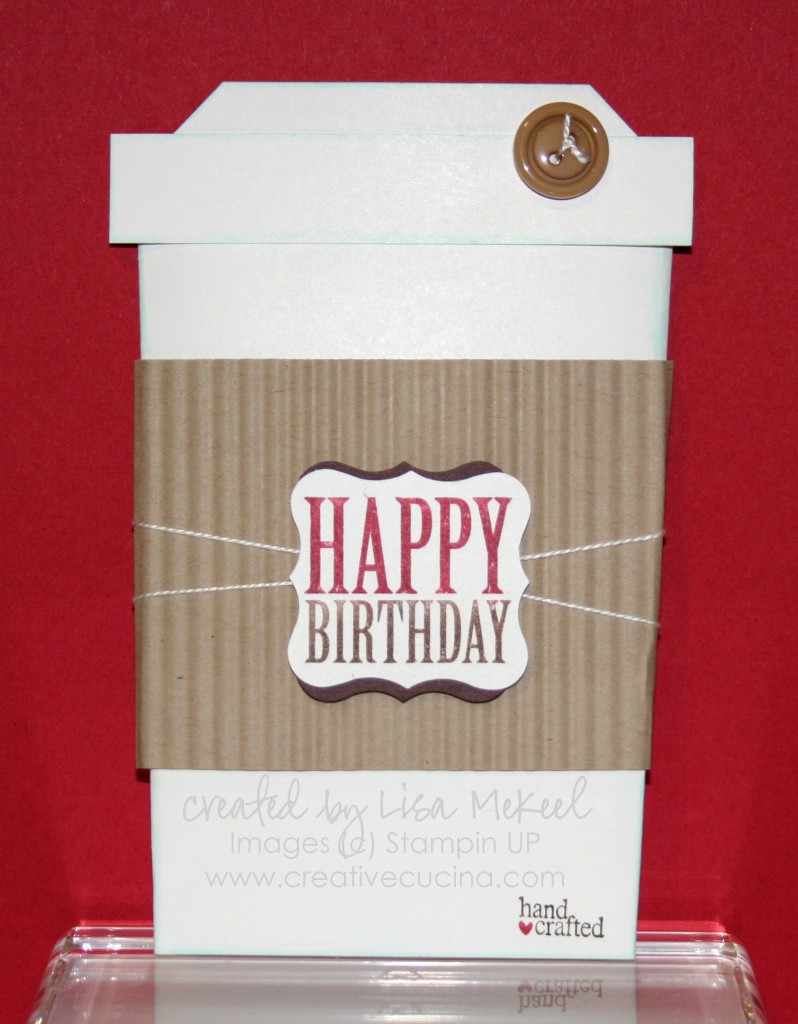
I was inspired by this card from the very talented Ilina Crouse and just had to try making my own version. This is a slider card, which I’ve made before, except in the shape of a coffee cup. Even though the shape is different, the same principal applies. I’ll list the supplies first, then go into directions below.

Supplies Card Stock: Whisper White, Early Espresso, and Crumb Cake; Ink: Early Espresso and Cherry Cobbler Marker, Copic Marker BG00 for shading; Stamps:Afterthoughts, Tiny Tags; Accessories: Designer Buttons (Neutrals), Crimper, Curly Label Punch, Stampin Dimensionals, White string, Sticky Strip, Tag Punch, glue dots.

Creating the Coffee Cup Slider Card:

Step 1:

Cut Whisper White card stock to 8 1/2″ x 7″. Fold each side  in on a slight angle as shown to create the cup. Make sure the distance between the folds at the bottom is 3 1/8″ (see photo below). Glue the flaps along the bottom of the cup closed with Sticky Strip, keeping the seal as close to the bottom as possible. Put more sticky strip along the edges of the back flap of the coffee cup and adhere it down. Do NOT seal the inside of the cup closed–you are creating a pocket.

Step 2:

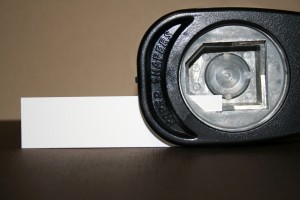
Place the sealed cup onto a paper cutter and line up the bottom of the cup at 4 3/4″, cutting straight across to remove the excess at the top/mouth of the cup.

Step 3:

To make the slide out insert, cut a piece of Early Espresso card stock 4 1/2″ x 3″; and Whisper White card stock 4 1/2″ x 2 3/4″. Layer the Whisper White card stock onto the Early Espresso and adhere with SNAIL.

Step 4:

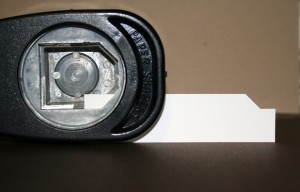
The lid is made using a 1″ x 4″ strip of Whisper White card stock. Using one corner of the Tag Punch, punch both ends of the strip to create the lid shape (see photos below).

Step 5:

For the lip around the lid, cut Whisper White card stock 4″ x 3/4″. Adhere it to the lower portion of the lid piece and trim the sides if necessary.

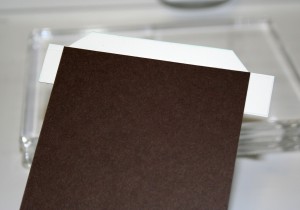
To attach the lid to the insert, take 1 piece of Sticky Strip about 2 3/4″ long and place it along the top edge of the insert. Attach the lid by lining up the top edge of the lip with the top edge of the insert (see photo below). This will leave the bottom part of the lid free, allowing it to hang over the front of the cup.

Step 6:

For the sleeve, cut Crumb Cake card stock to  7 1/2″ x 2 1/2″ and run it through the Crimper. Fold it around the coffee cup, adhering the back flap with Sticky Strip. A few small glue dots on the back keep it secure to the cup.

Step 7:

Stamp “Happy Birthday” from Afterthoughts on Whisper White card stock, inking up just part of the stamp with Cherry Cobbler and Early Espresso Markers. Punch it out with the Curly Label Punch. Layer onto Early Espresso or Chocolate Chip card stock punched with Curly Label Punch, rotating the brown piece 90 degrees.

Step 8:

Wrap some white string around the sleeve and attach the sentiment with stampin dimensionals. Add a designer button to the lid using white string and a glue dot. I added the “hand crafted” stamp from Tiny Tags in the lower corner of the cup using the Early Espresso and Cherry Cobbler Markers. Optional: Trace around the edges of the lid, lip, and cup with Copic BG00 for some shading.
Vintage Wallpaper Embossing & Brayer Cards

I was trying to come up with ways to use the brayer. The obvious choice is to use glossy card stock and different colors of ink to create a scenery type background, like a sunset or a sky. To show its versatility and some newer techniques, I opted to use the brayer as a tool for highlighting embossed images.

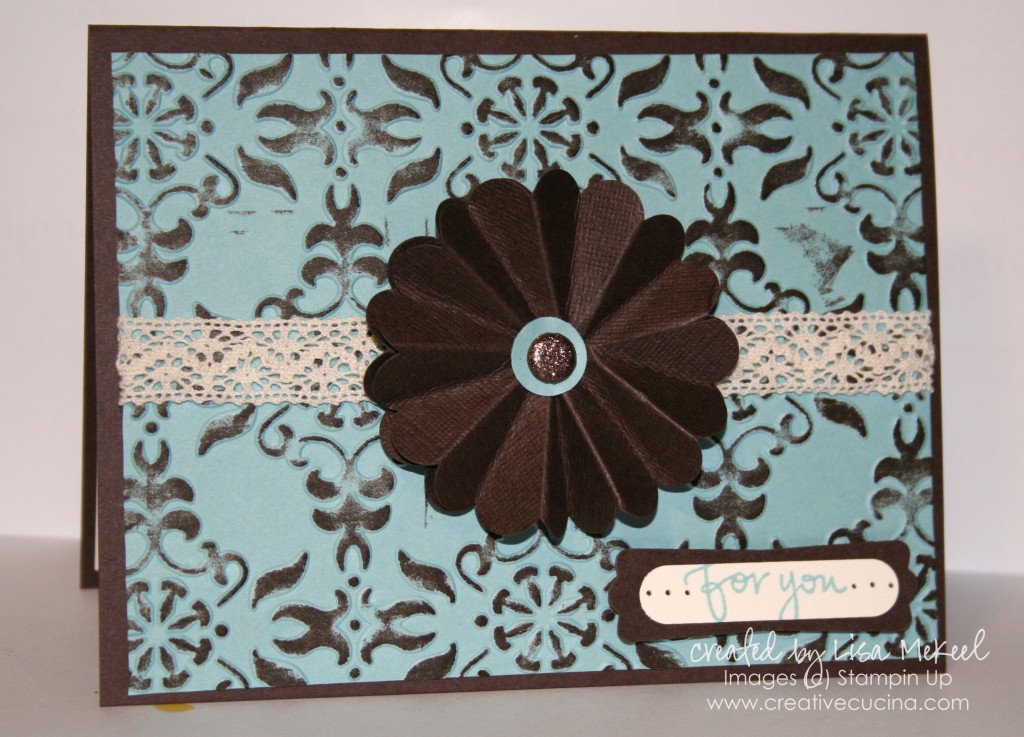
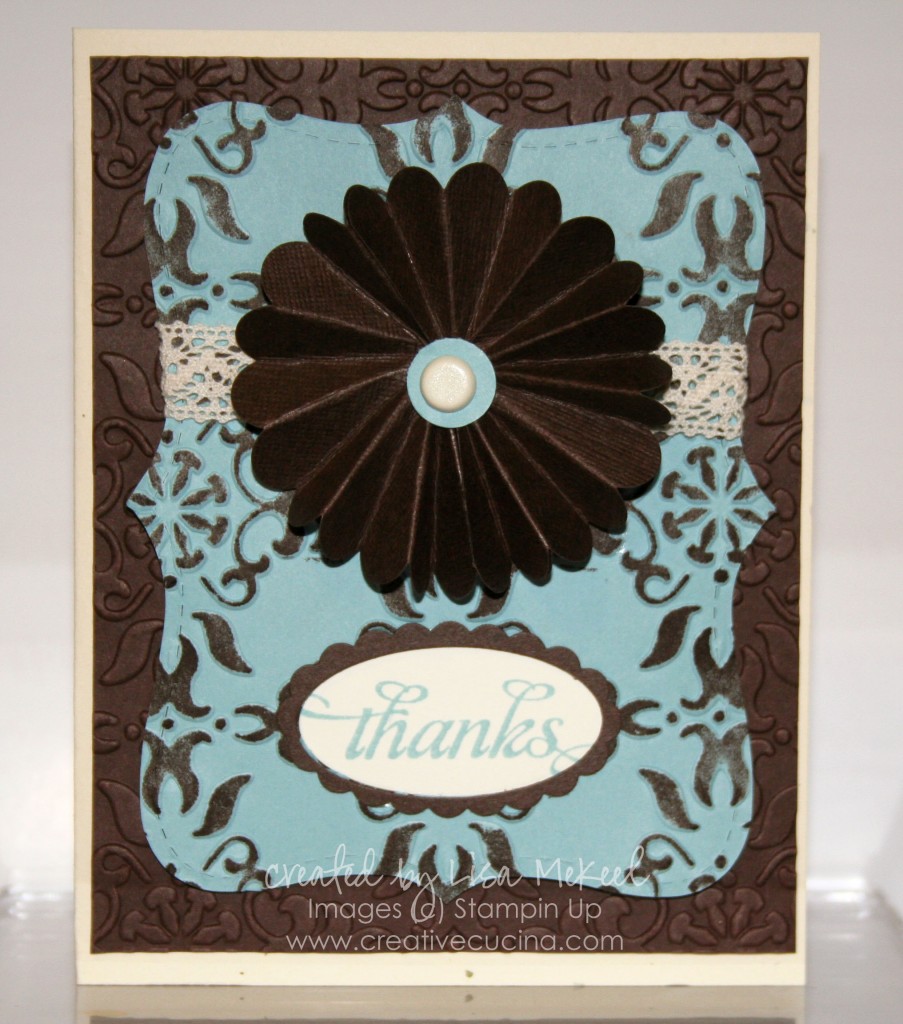
For this card, I used Early Espresso for the base and Baja Breeze card stock for the embossed layer. The Vintage Wallpaper Embossing Folder and the Big Shot was used to emboss the Baja Breeze layer, then I used the brayer inked up with Early Espresso ink to highlight the raised image.

The scallop circle medallion was made using the 2 3/8″ Scallop Circle Punch. I found a good video tutorial here. The trick is to punch out 2 scallop circles, cut between one set of scallops to the center of the circle, then fold between each scallop in an accordian fashion. Attach the two scallops together to get a complete circle.

I used the 1/2″ Circle Punch to make a Baja Breeze center and added a Glimmer Brad from the neutrals collection. Attach the medallion to the card with stampin dimensionals.

Victoria Crochet Trim complements the vintage style of the card. The sentiment is from Great Friends stamped in Baja Breeze ink on Very Vanilla, punched out with the Word Window Punch and layered onto Early Espresso Modern Label Punch. Paper piercing highlights the sentiment.


Here is similar card, stepped up version. The base is Naturals Confetti, layered with Early Espresso (embossed with Vintage Wallpaper Embossing Folder). The top layer is Baja Breeze (embossed and brayered) then cut with the Top Note Die.

Using the Large Oval Punch, I made a window in the Top Note layer, then stamped the sentiment from Thank You Kindly on Very Vanilla scrap in Baja Breeze ink. I layered the card stock behind the window in the Top Note, then added an Early Espresso scallop oval frame around it. To make the frame, punch a large oval out of early espresso card stock, then line up the scallop oval punch around the hole and punch.

I added a Very Vanilla basic brad and Victoria Crochet Trim to finish the card. The medallion is adhered to the base with a stampin dimensional.

Lots of Pink Girly Birthday Card {Birthday Bliss}

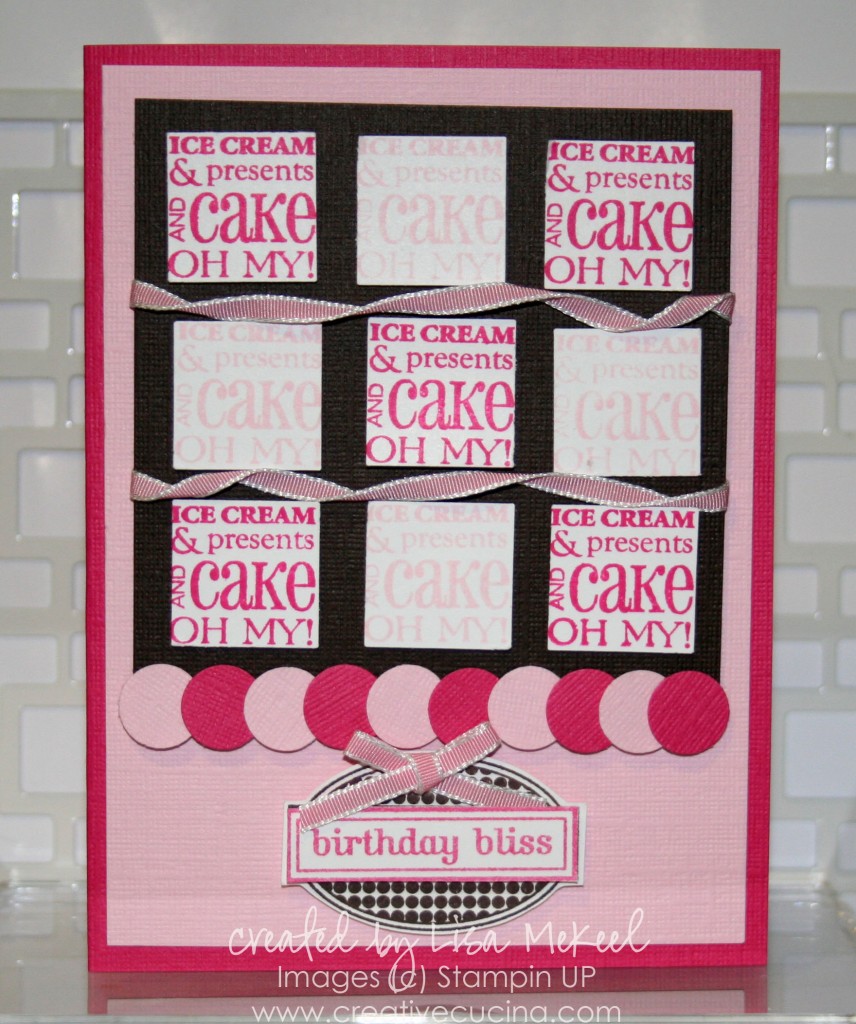
My daughter turned 4 today and asked for a pink cake with pink frosting so I made her this pretty pink card to match.

Card base is Melon Mambo textured card stock, layered with textured Pink Pirouette. The stamp is called Birthday Bliss and I used Melon Mambo and Pink Pirouette ink to stamp on whisper white, punched out with a 7/8″ square punch. Those squares were layered onto textured Early Espresso with stampin dimensionals. In between, I twisted 1/8″ Pretty in Pink Taffeta Ribbon and attached it to the back with sticky tape.

Along the bottom of the early espresso layer, I added pink pirouette and melon mambo circles made with the 1/2″ Circle Punch, adhered with mini glue dots.

The sentiment was stamped with early espresso ink on whisper white card stock, then cut out. I also stamped the center portion with melon mambo ink, cut out the rectangle, and attached it to the oval piece with stampin dimensionals.

A tiny pink bow using the 1/8″ Pretty in Pink Taffeta Ribbon finishes off the card.

Bad Behavior has blocked 540 access attempts in the last 7 days.

css.php