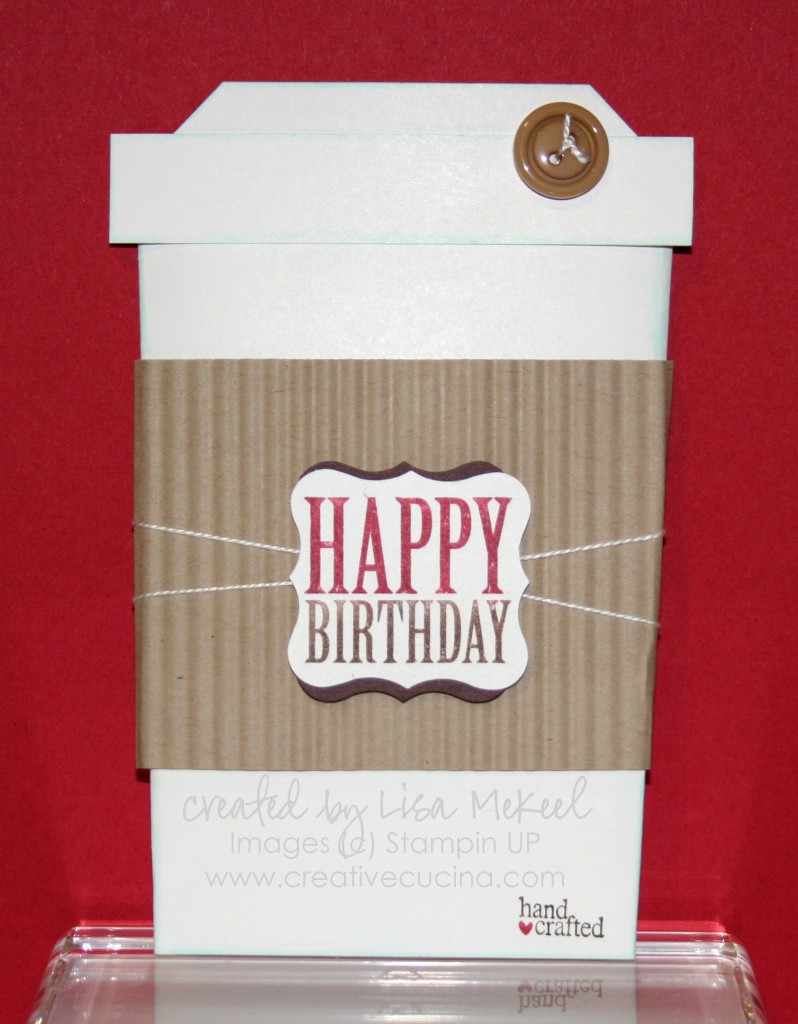
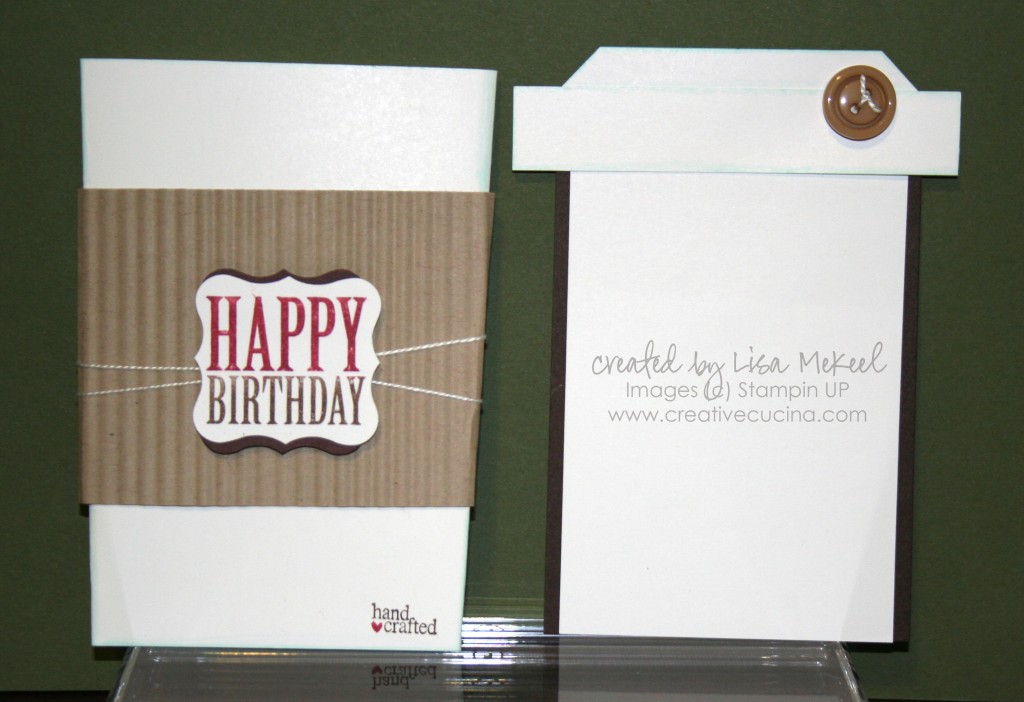
I was inspired by this card from the very talented Ilina Crouse and just had to try making my own version. This is a slider card, which I’ve made before, except in the shape of a coffee cup. Even though the shape is different, the same principal applies. I’ll list the supplies first, then go into directions below.
Supplies Card Stock: Whisper White, Early Espresso, and Crumb Cake; Ink: Early Espresso and Cherry Cobbler Marker, Copic Marker BG00 for shading; Stamps:Afterthoughts, Tiny Tags; Accessories: Designer Buttons (Neutrals), Crimper, Curly Label Punch, Stampin Dimensionals, White string, Sticky Strip, Tag Punch, glue dots.
Creating the Coffee Cup Slider Card:
Step 1:
Cut Whisper White card stock to 8 1/2″ x 7″. Fold each side in on a slight angle as shown to create the cup. Make sure the distance between the folds at the bottom is 3 1/8″ (see photo below). Glue the flaps along the bottom of the cup closed with Sticky Strip, keeping the seal as close to the bottom as possible. Put more sticky strip along the edges of the back flap of the coffee cup and adhere it down. Do NOT seal the inside of the cup closed–you are creating a pocket.
Step 2:
Place the sealed cup onto a paper cutter and line up the bottom of the cup at 4 3/4″, cutting straight across to remove the excess at the top/mouth of the cup.
Step 3:
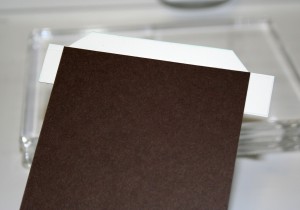
To make the slide out insert, cut a piece of Early Espresso card stock 4 1/2″ x 3″; and Whisper White card stock 4 1/2″ x 2 3/4″. Layer the Whisper White card stock onto the Early Espresso and adhere with SNAIL.
Step 4:
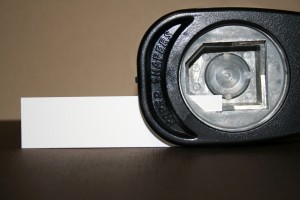
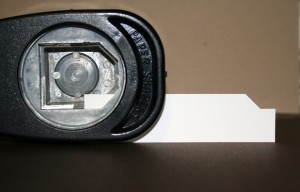
The lid is made using a 1″ x 4″ strip of Whisper White card stock. Using one corner of the Tag Punch, punch both ends of the strip to create the lid shape (see photos below).
Step 5:
For the lip around the lid, cut Whisper White card stock 4″ x 3/4″. Adhere it to the lower portion of the lid piece and trim the sides if necessary.
To attach the lid to the insert, take 1 piece of Sticky Strip about 2 3/4″ long and place it along the top edge of the insert. Attach the lid by lining up the top edge of the lip with the top edge of the insert (see photo below). This will leave the bottom part of the lid free, allowing it to hang over the front of the cup.
Step 6:
For the sleeve, cut Crumb Cake card stock to 7 1/2″ x 2 1/2″ and run it through the Crimper. Fold it around the coffee cup, adhering the back flap with Sticky Strip. A few small glue dots on the back keep it secure to the cup.
Step 7:
Stamp “Happy Birthday” from Afterthoughts on Whisper White card stock, inking up just part of the stamp with Cherry Cobbler and Early Espresso Markers. Punch it out with the Curly Label Punch. Layer onto Early Espresso or Chocolate Chip card stock punched with Curly Label Punch, rotating the brown piece 90 degrees.
Step 8:
Wrap some white string around the sleeve and attach the sentiment with stampin dimensionals. Add a designer button to the lid using white string and a glue dot. I added the “hand crafted” stamp from Tiny Tags in the lower corner of the cup using the Early Espresso and Cherry Cobbler Markers. Optional: Trace around the edges of the lid, lip, and cup with Copic BG00 for some shading.
