
This is such a fun card. Keeping with my trend of quick and easy Father’s Day cards, here is another one made with My Digital Studio download Because I’m the Dad. When I saw the “use the force” image, I envisioned the aqua blue and yellow glow of a light saber. That is how the colors for the card came about.
This is a hybrid card, because it uses digital images, as well as traditional card making techniques. It’s like the best of both worlds when you want to make a custom card or project. You can create exactly what you picture in your mind.
In order to make the banner, you will need to use the Flag Punch in My Digital Studio. These are the pieces you need:
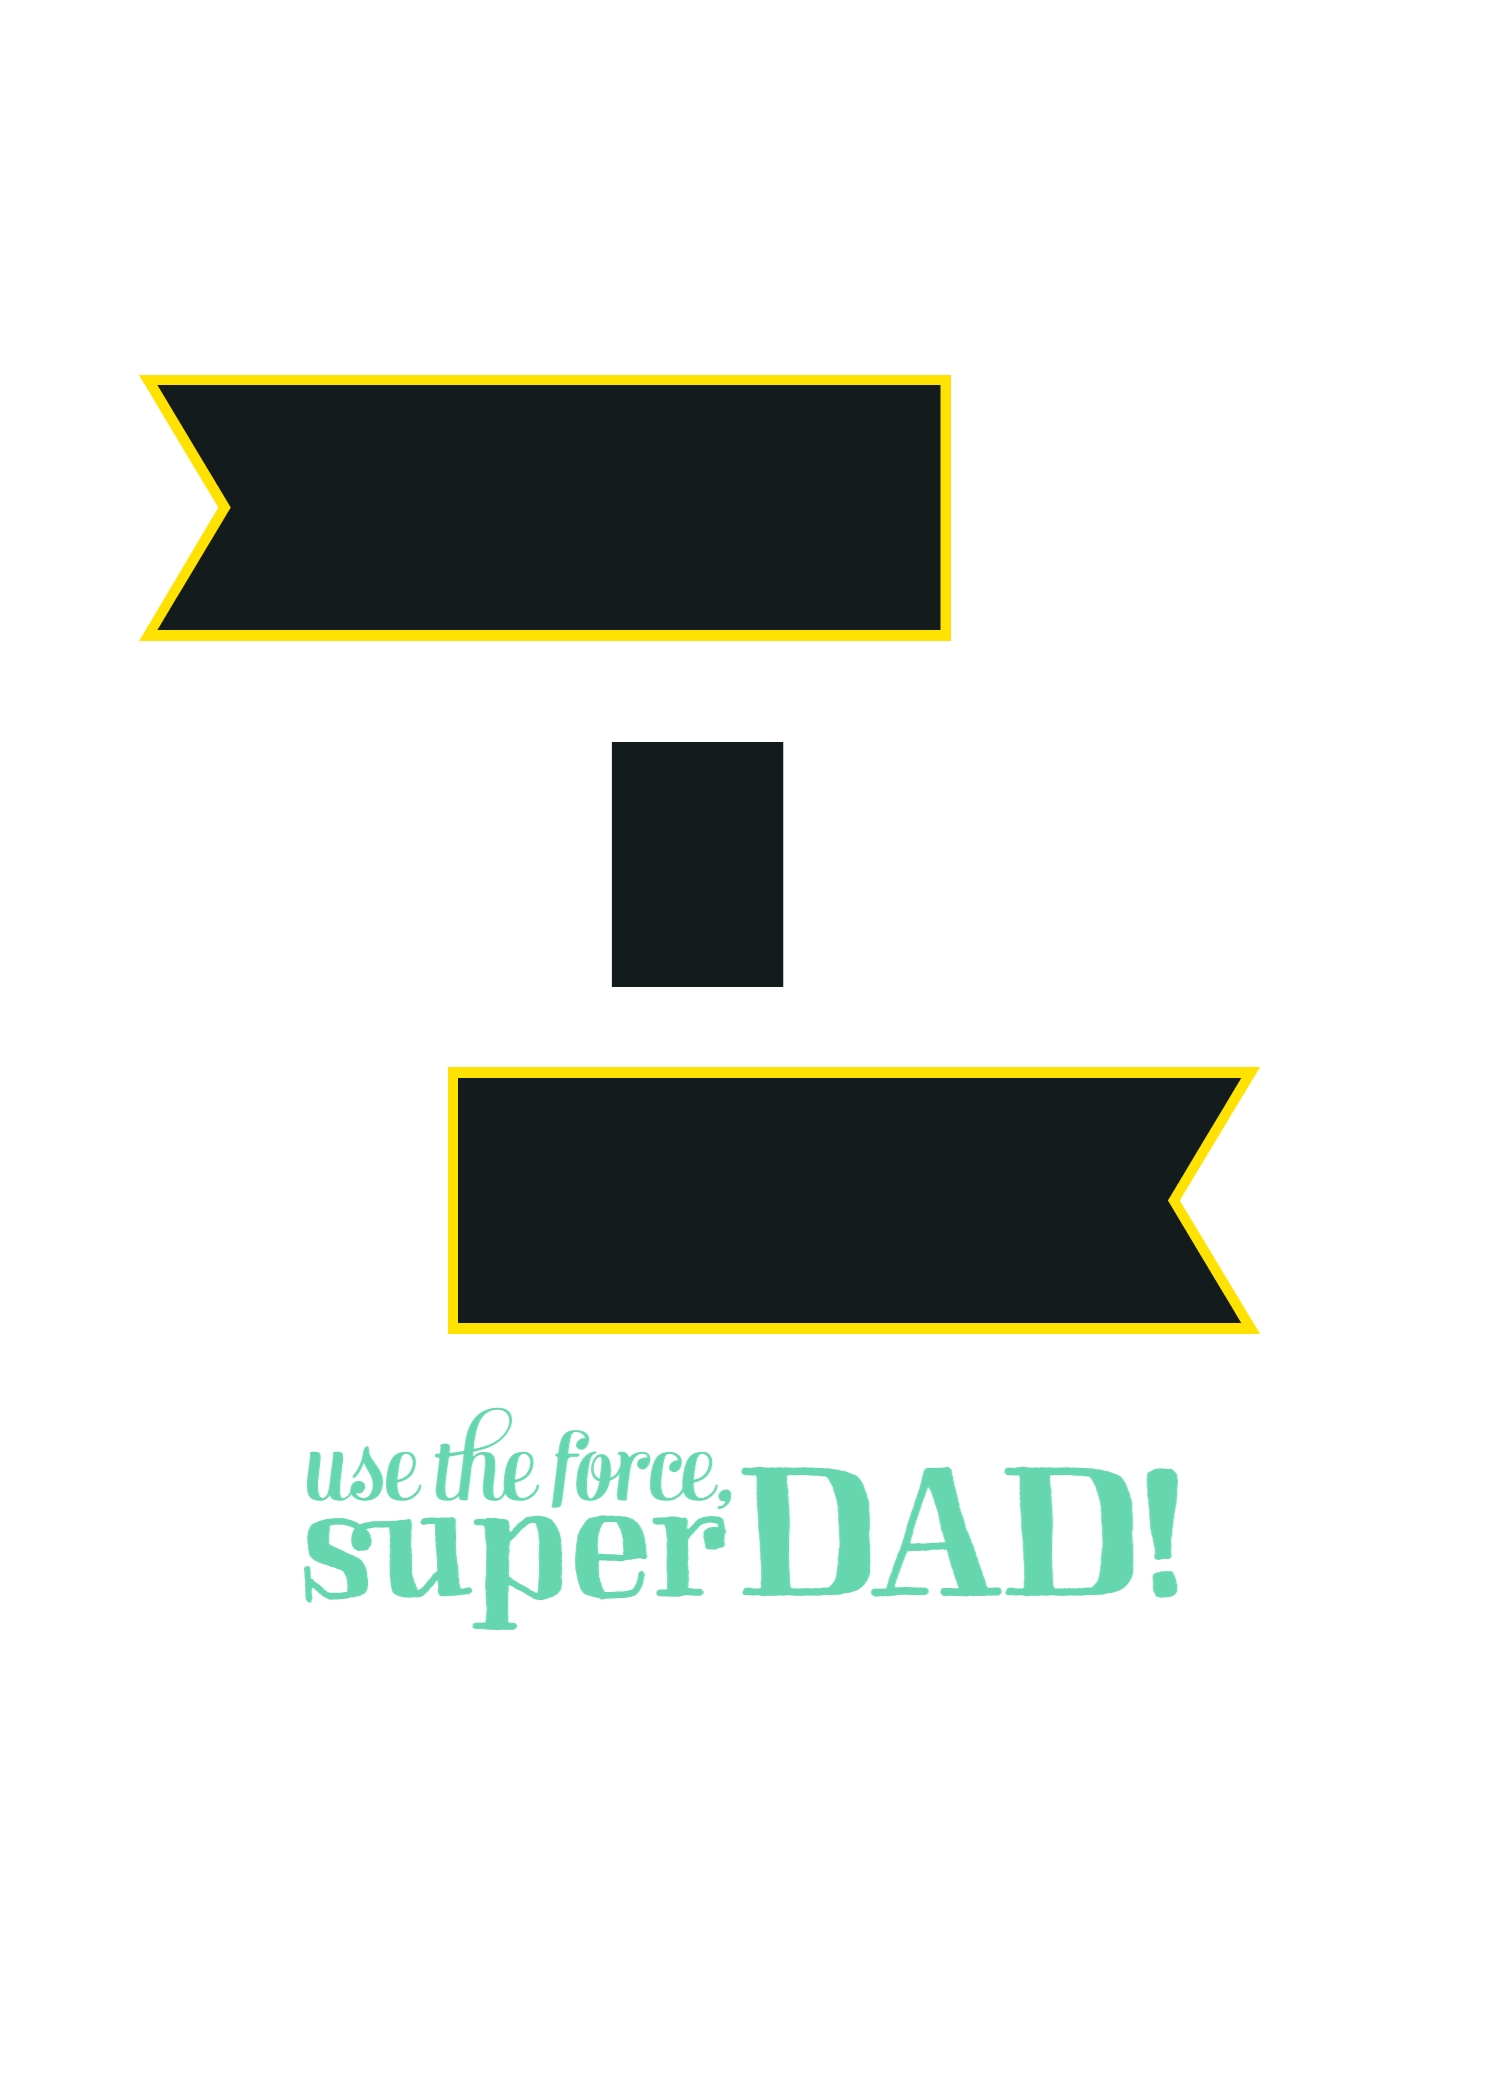
Flag Punch (2 pieces), resized to fit your card; Square Punch (1) sized to fit inside the banner to cover up the yellow line down the middle; and Because I’m the Dad stamp image from My Digital Studio download (shown here in Coastal Cabana).
First, resize the flag punch to your desired size. Then, choose Black as your fill color. Choose Yellow as your Mat (size 3 setting shown here). You will have to rotate it 90 degrees to get it horizontal like this.
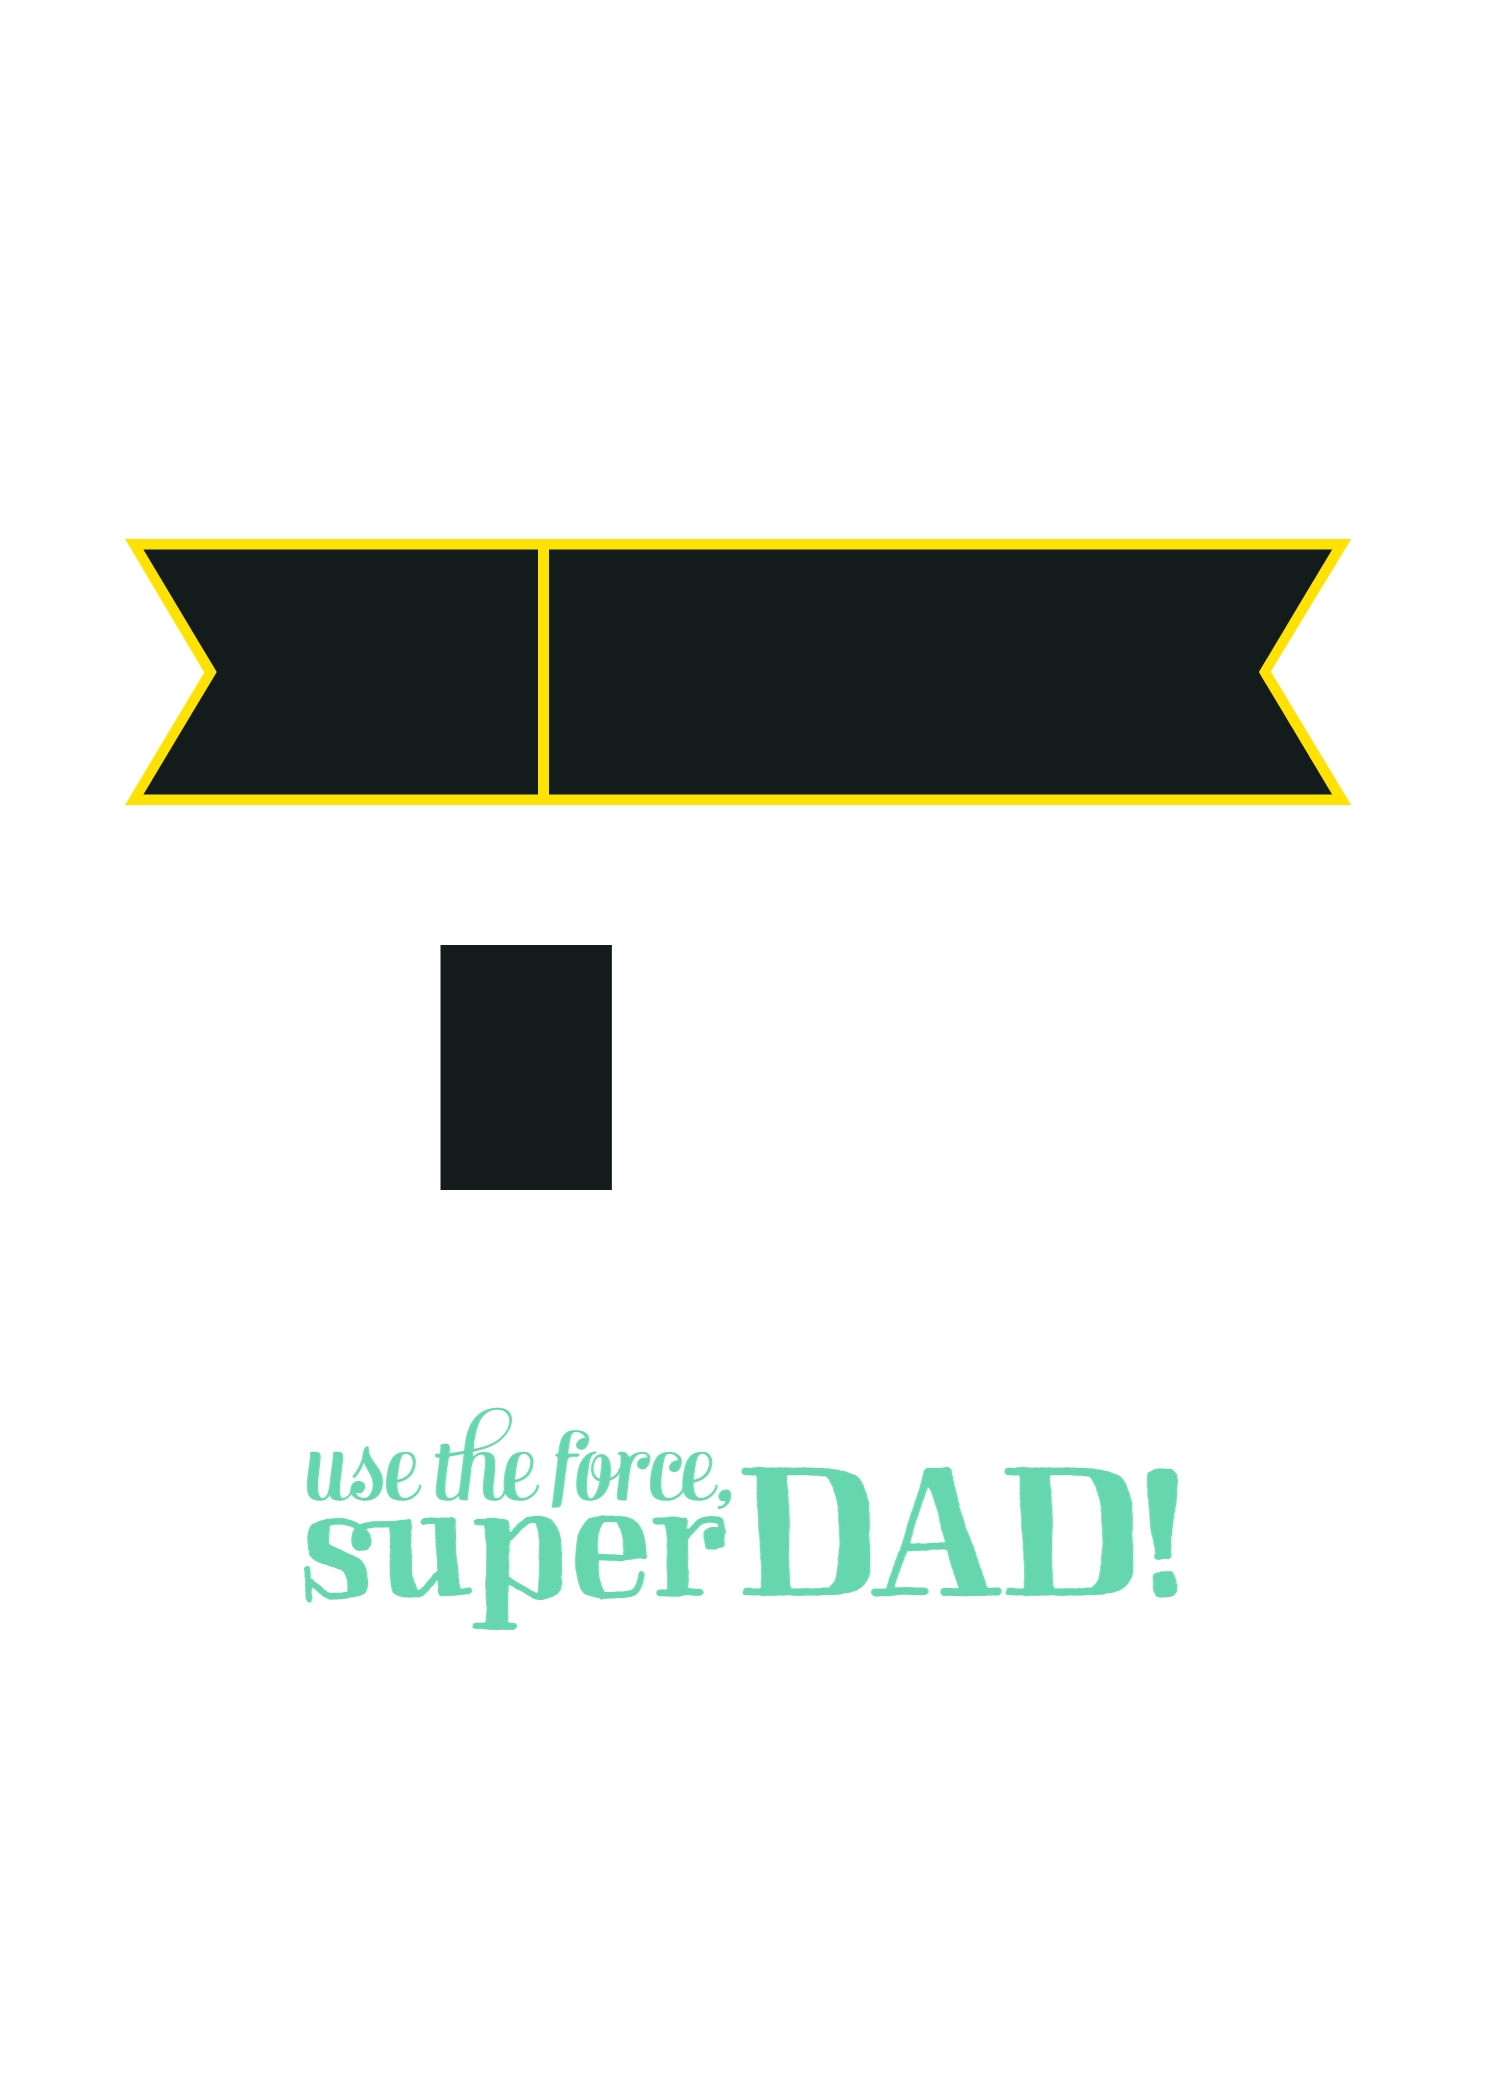
Next, copy your Flag Punch and paste a copy to your page. Choose “Flip” to make the flag copy look like a mirror image of the original. Align them as shown above. To “erase” the yellow line running down the middle, insert a Square Punch and resize it to fit just inside the yellow outline of the banner. Choose Black as the fill color.
Lastly, insert your stamp image and recolor it accordingly. I chose Coastal Cabana. Resize as needed and layer it on top of your banner.
Then, just print out the image on Whisper White card stock. Trim out the banner using scissors and bend/roll it slightly using your fingers to give it the wavy look.
The card base here is Basic Gray, layered with Whisper White and some Yellow printed Summer Smooches Designer Series Paper.
I attached the banner with 3 stampin dimensionals and added 3 Coastal Cabana stars made with a Star Punch.


