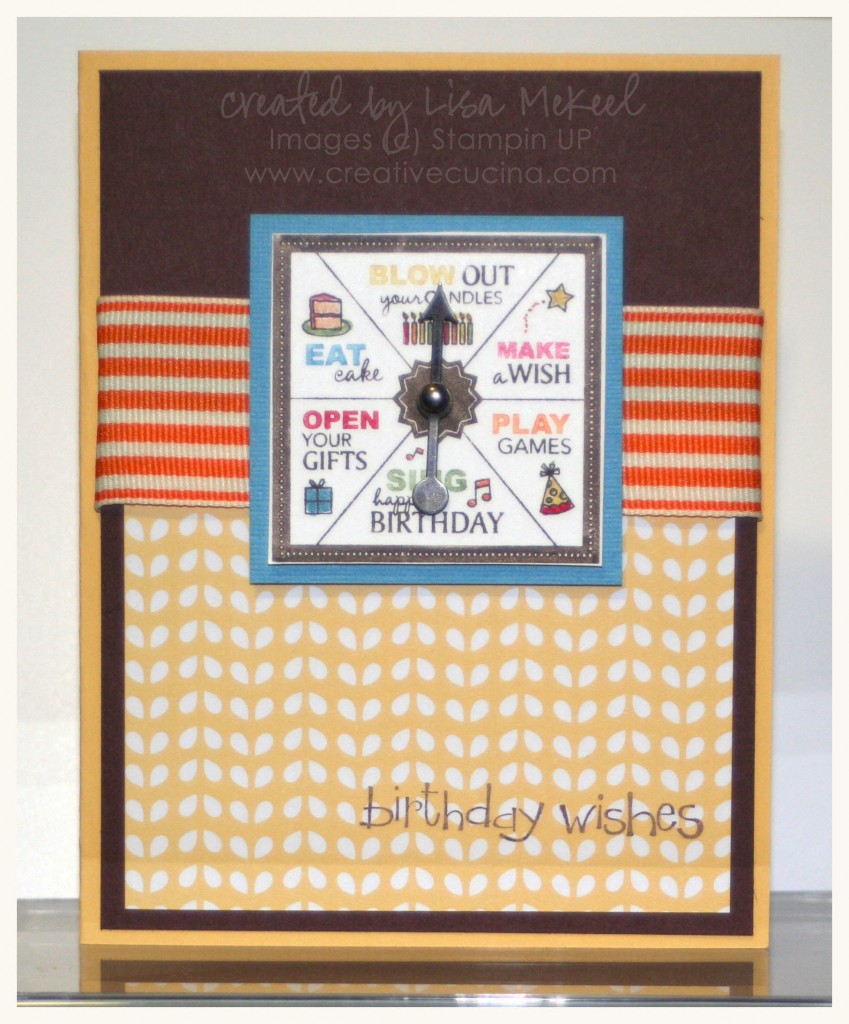
“Birthday Wishes” Game Spinner Card

I think this Take a Spin stamp set is perfect for making birthday cards. Young or old, anyone would enjoy getting this type of card and spinning it over and over again. I know I do it when I’m making the cards!

The card base is So Saffron, layered with Chocolate Chip cut to 4″ x 5 1/4″. Then, I used Nursery Suite Specialty DSP in the So Saffron/White pattern cut to 3 3/4″ x 3″. Above that, across the front of the card, I used 1 1/4″ Striped Grosgrain in Pumpkin Pie.

I used Stampin UP Markers to color the stamp (direct to stamp), then colored in some of the images with the Markers as well. The colors I used were: Early Espresso, Marina Mist, Wild Wasabi, Real Red, Pumpkin Pie, Regal Rose, and Daffodil Delight.

The game board is layered on a 2″ square of Marina Mist card stock, and I used the Game Spinner Hands from the Occasions Mini Catalog. For more tips and tricks on using the Game Spinner Hands, see this card I made.

Finally, the sentiment at the bottom is from So Happy for You from the Sale-a-bration catalog, stamped in Chocolate Chip ink.
Greeting Card Kids Halloween Pumpkin Card

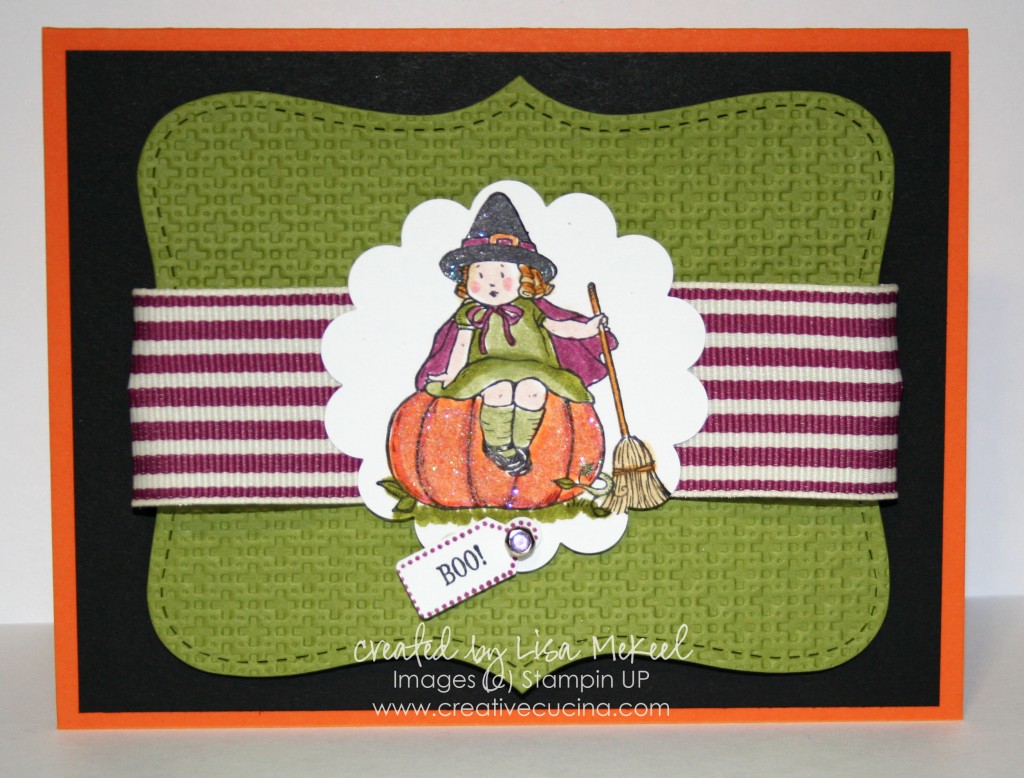
I made this card for a swap. I normally don’t do Halloween cards but this little girl was too cute to resist.

The card base is Pumpkin Pie, layered with Basic Black. Then, I used Old Olive card stock, embossed with the Big Shot and Square Lattice Embossing Folder, and die cut with the Top Note Bigz Die. The ribbon is Rich Razzleberry 1 1/4″ Striped Grosgrain, wrapped around the top note layer.

For the main image, I stamped the pumpkin girl from Greeting Card Kids in Basic Black ink on Whisper White card stock. I colored in the image with SU Markers (Dusty Durango, Pumpkin Pie, Old Olive, Pear Pizzazz, So Saffron, More Mustard, Rich Razzleberry, Blush Blossom, Blushing Bride, and Basic Black and Copic Black).

After coloring, I used 2 Way Glue and Dazzling Diamonds on the pumpkin. The Black Copic Marker must have been wet still because the glitter stuck to the hat as well. It was an unintended but welcome effect.

Then, I used the 2 3/8″ Scallop Circle Punch to punch out the image and attached a little “Boo” tag with a Circle Rhinestone Brad. The “boo” is from Tiny Tags and the punch I used is the Tiny Tag Punch.

Hearted Thanks

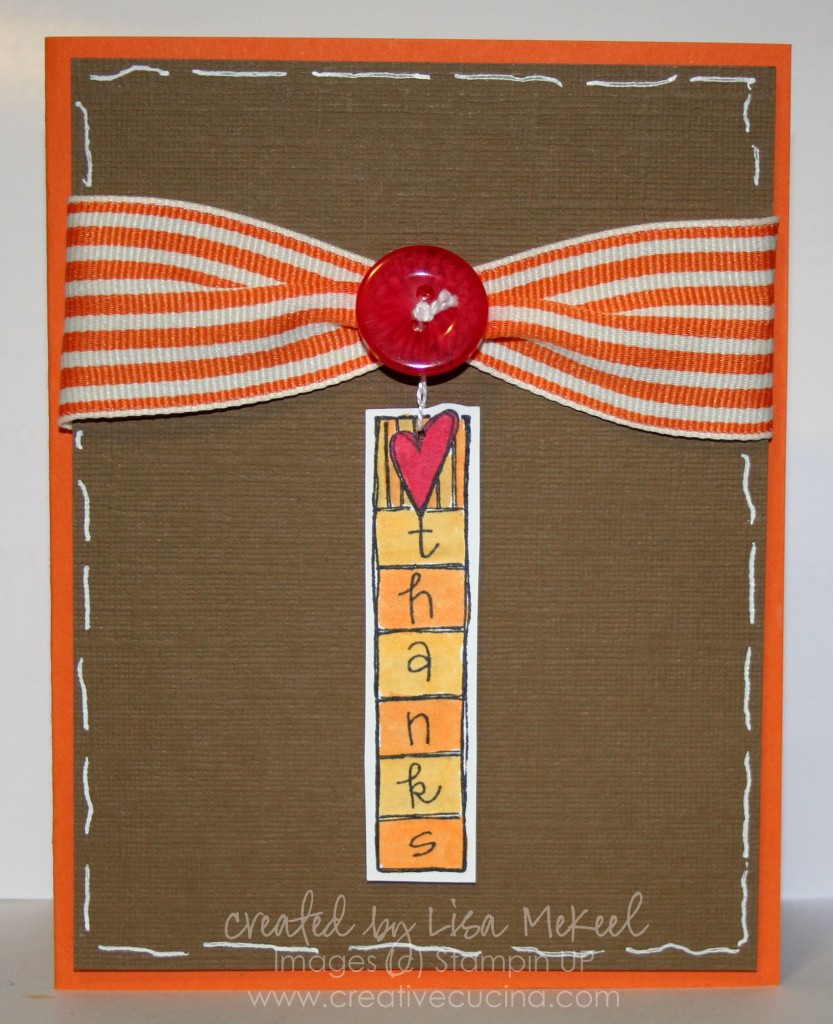
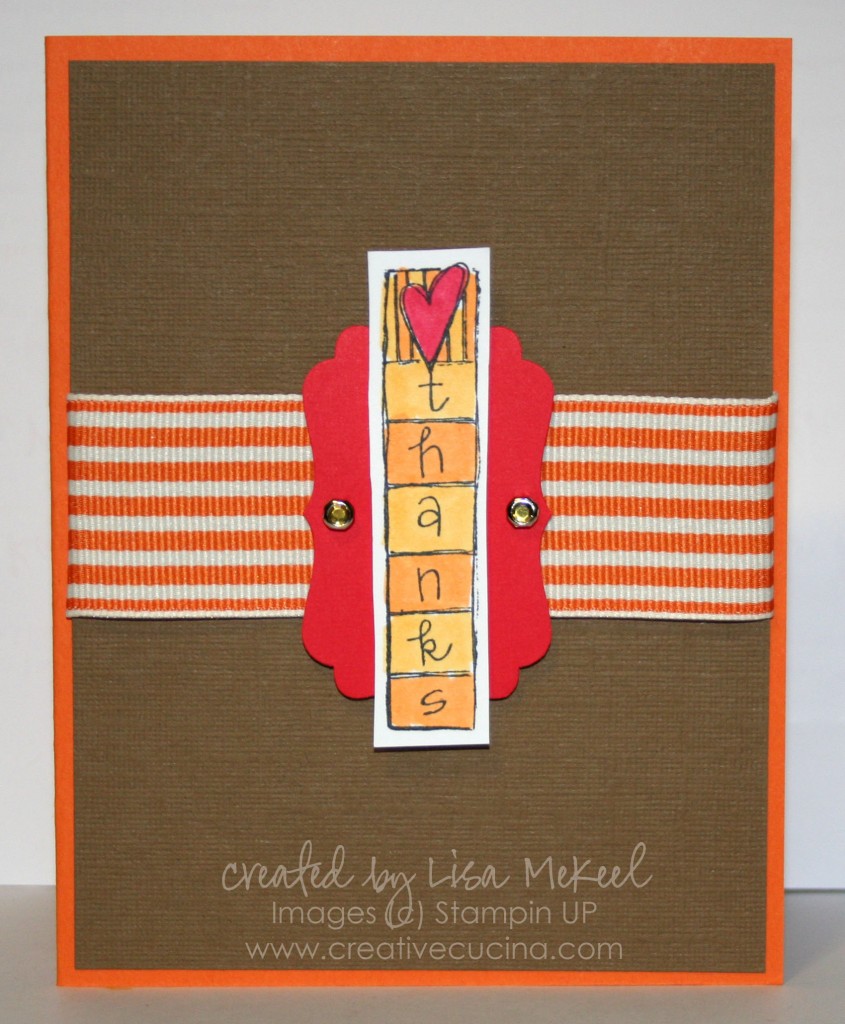
This is a non-SU stamp that I bought years ago called Hearted Thanks. The label on the stamp is colored exactly like this, which inspired my colors for the rest of the card. I used Copic Markers to color in the stamped image, then cut it out.

The card base is Pumpkin Pie, layered with Soft Suede textured card stock. I used the Signo White Gel Pen to make some squiggles along the sides.

Across the front, I used 1 1/4″ Striped Pumpkin Pie Grosgrain Ribbon and tied it in the center with white string. Then, I looped the string through the Designer Buttons-Brights Collection and tied a double knot. A mini glue dot behind the ribbon and one behind the button keeps everything tight.

Finally, I took the white string and looped it through a hole I punched in the stamped image (the paper piercer makes a nice hole for this size string). I tied the ends around the button and cut off any excess. Two stampin dimensionals behind the stamped image keep it in place, but you could also leave it hanging freely.

Another version I did uses the Decorative Label Punch. I layered the stamped image onto Poppy Parade card stock punched out with the Decorative Label Punch. Then, I added two Rhinestone Brads to the sides.

1 1/4″ Pumpkin Pie Striped Grosgrain Ribbon was wrapped around the soft suede card stock and I attached the label to the ribbon with glue dots.

Bad Behavior has blocked 483 access attempts in the last 7 days.

css.php