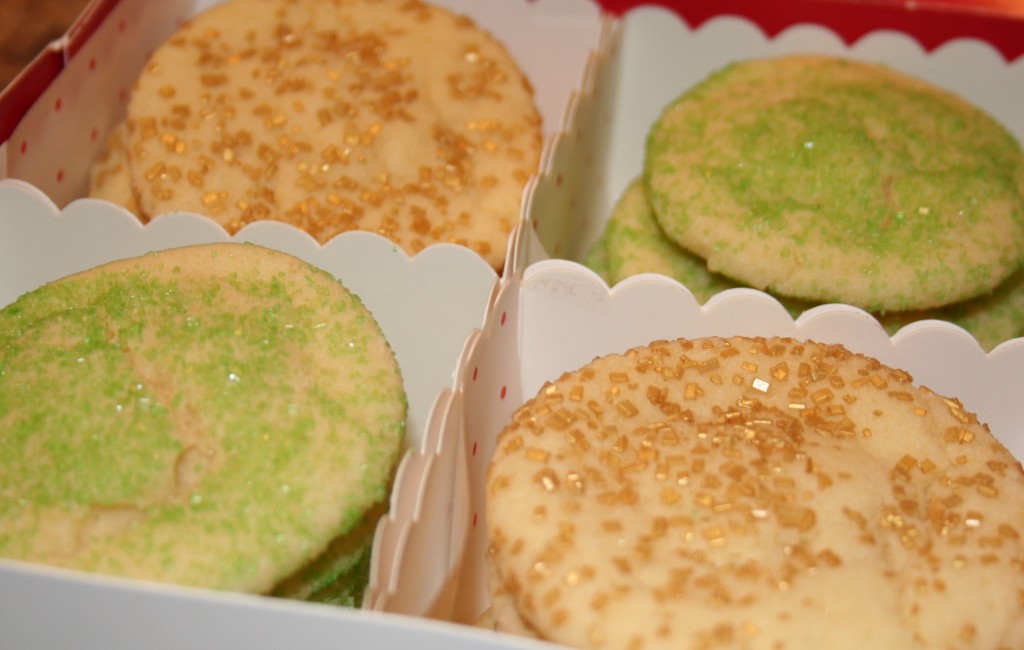
Melt in Your Mouth Sugar Cookies

dec09 044

Ingredients

  • 1/2 cup butter, softened
  • 1/2 cup shortening
  • 2 cups sugar
  • 1 tsp cream of tartar
  • 1 tsp baking soda
  • 1/8 tsp salt
  • 3 egg yolks
  • 1/2 tsp vanilla extract
  • 1 3/4 cups flour
  • Colored Sugar (optional)

Directions

  1. Preheat oven to 300 degrees. In a large mixing bowl, combine butter and shortening with electric mixer on medium high speed for 30 seconds. Add sugar, baking soda, cream of tartar, and salt. Beat until combined, scraping bowl.
  2. Beat in egg yolks and vanilla, mixing until combined. Add flour and beat to combine.
  3. Shape dough into 1 inch balls, roll in colored sugar. Place balls on parchment lined cookie sheet 2 inches apart. Bake in preheated oven 12 to 14 minutes, or until set. Do not let the edges brown. Cool on cookie sheet for 1 minute and transfer to wire rack.

Makes 48 cookies.

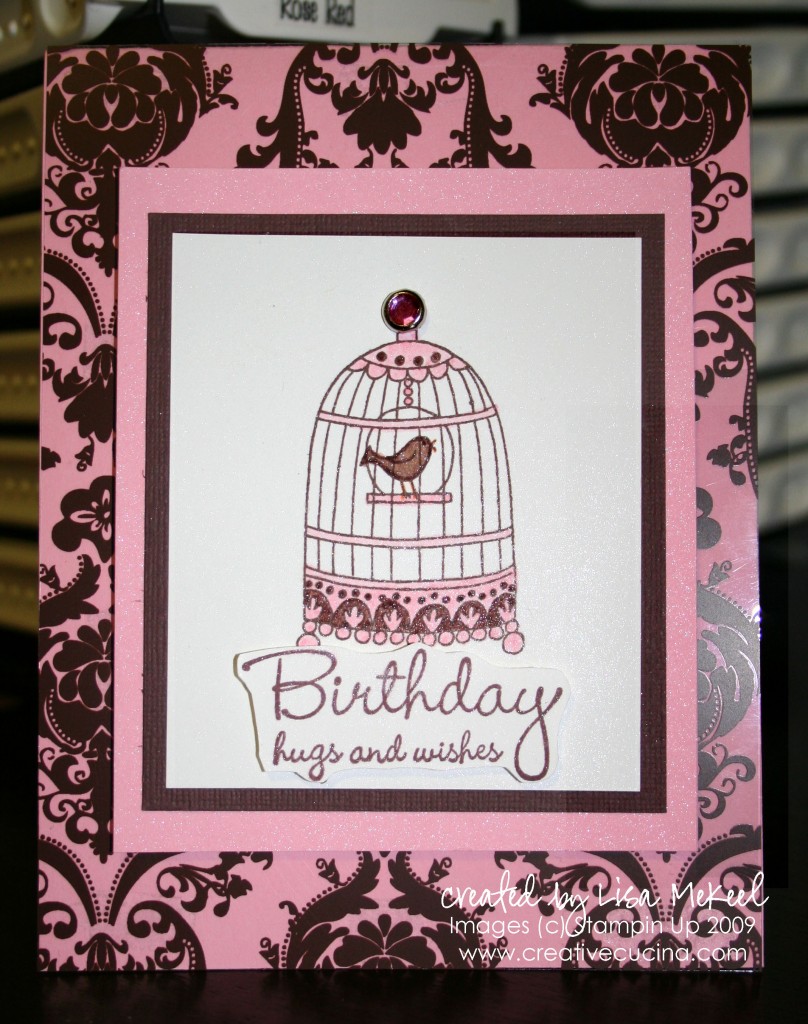
Sophisticated Birthday Card for Mom

112609 022 copy

I made this birthday card for my mom using the Chic Boutique stamp set. When I gave it to her, she asked why I chose the bird cage image. I told her I don’t know why, I just did. It turns out she just bought a decorative bird cage that looks just like this one. I guess I know my mom’s taste!

The card base is pretty in pink, layered with a dark brown patterned acetate I got at a craft store. I stamped the bird cage on whisper white paper in chocolate chip ink, then colored it in using SU Markers in chocolate chip and pretty in pink. After stamping, I sprayed some Glimmer Mist I made using 70% Rubbing Alcohol and Frost Shimmer Paint. It doesn’t show up well in the picture but it makes the whisper white look just like SU’s Shimmery White Card stock.

I also sprayed the Pretty in Pink card stock and layered the white, chocolate chip textured, and pretty in pink card stock. Using the cropadile, I punched a hole at the top of the bird cage and added a Circle Rhinestone Brad in pink. Those layers are then adhered to the base using dimensionals.

The sentiment is from Warm Wishes, stamped in chocolate chip ink on whisper white (that I sprayed with Glimmer Mist) and trimmed out with my paper snips. That is also popped up on dimensionals.

Make Your Own Bronze Ink: Thanksgiving Place Cards

112609 015

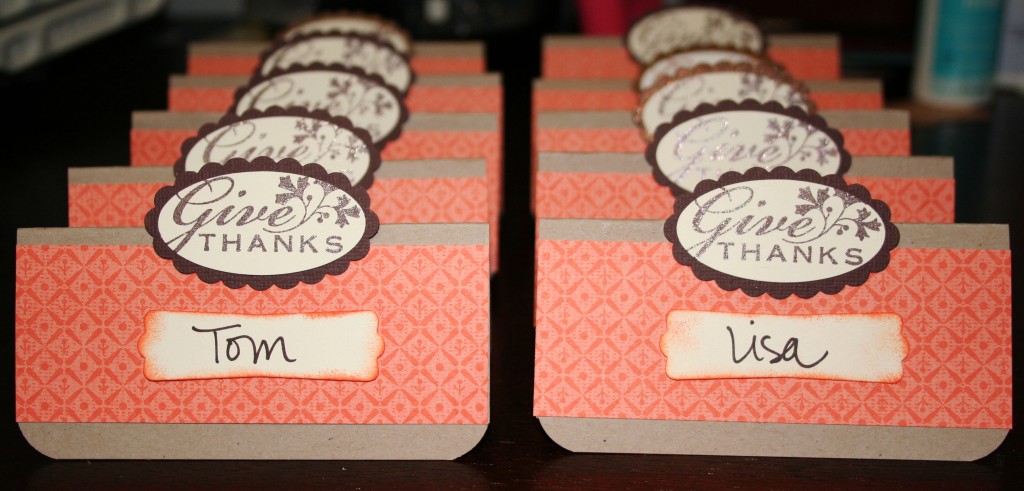
I made these quick and simple place cards last night. The base is a 4″x4″ square of kraft card stock, the corners trimmed with the Corner Rounder Punch. Then, I folded them in half and glued on a 4″ x 1 1/4″ strip of Holiday Bulk Buy DSP in this tangerine pattern.

I’ve been using Shimmer Paint a lot lately, and for this project, I created a sparkly Bronze Ink by mixing a couple drops of Chocolate Chip Reinker and Champagne Shimmer Paint. I mix them in an empty button container, then dab it onto my stamp with a Sponge Dauber.

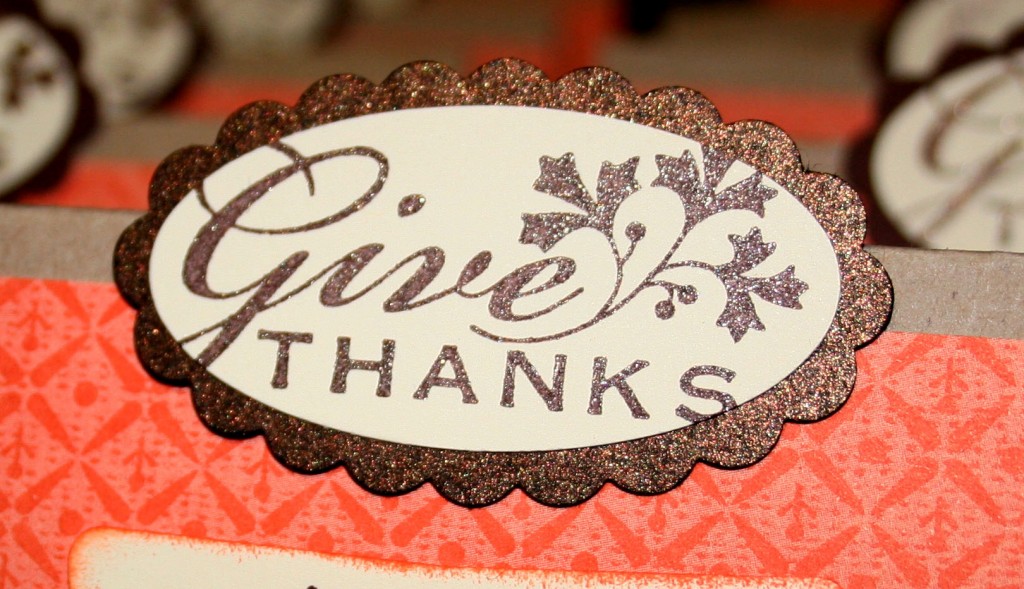
For these place cards, I stamped “Give Thanks” from Holiday Best in the chocolate chip/shimmer paint and stamped it onto Very Vanilla card stock. Then, I punched it out using the Large Oval Punch and layered it onto Bronze Card Stock (Taste of Textiles, retired) that I punched with the Scallop Oval Punch. (Some of the ovals are matted onto textured chocolate chip card stock because I did not have enough Bronze.) The shimmer is hard to see but here is a close up view:

placecard_closeup

To finish off the cards, I wrote our names in a dark brown Sharpie on Very Vanilla card stock, punched out with the Modern Label Punch. I sponged Tangerine Tango ink around the edges with the Sponge Dauber and adhered them with mini glue dots.

Bad Behavior has blocked 463 access attempts in the last 7 days.

css.php