(Click on any image to enlarge for more detail)
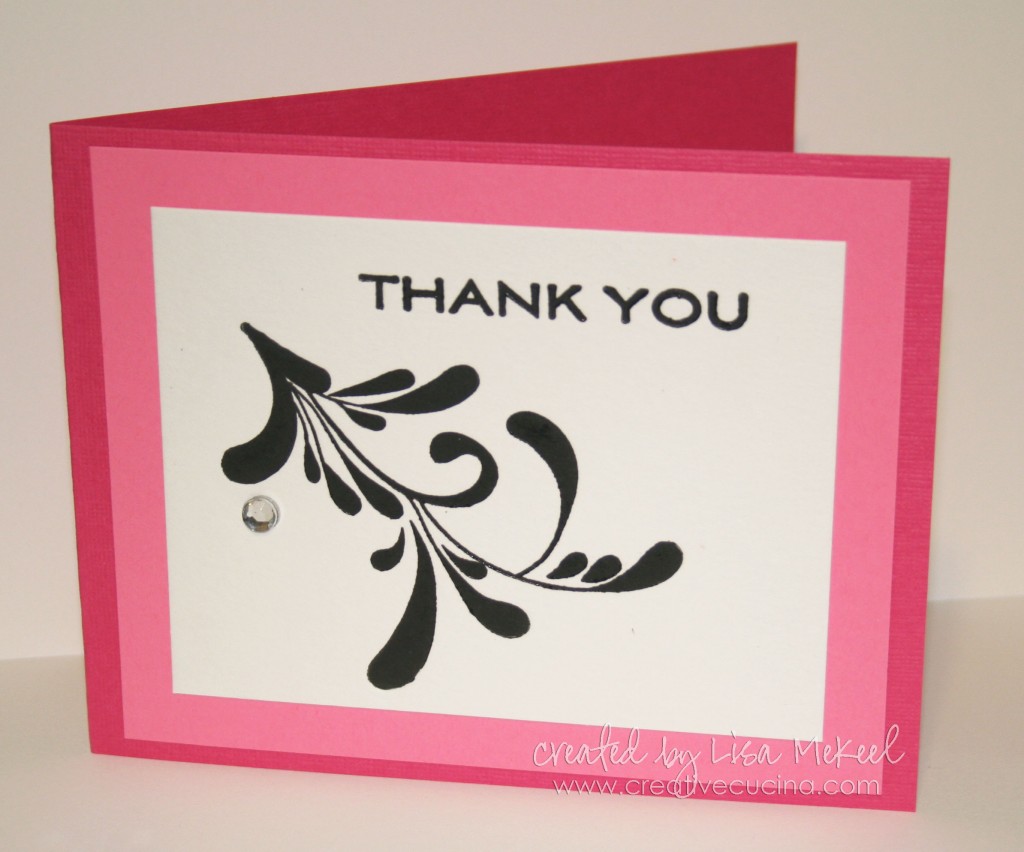
I made this card using the L Letterpress kit (available at craft stores and online). The kit comes with special cotton paper, black ink, printing plates, the platform, and a die cutting machine, but I just used my Big Shot with no problems.
The base is textured Melon Mambo card stock, layered with Regal Rose. The main image was letterpressed onto the special white cotton paper in black ink. I made a little boo-boo over on the left side so I covered it up with a sticky rhinestone. I was going to add more but decided against it.
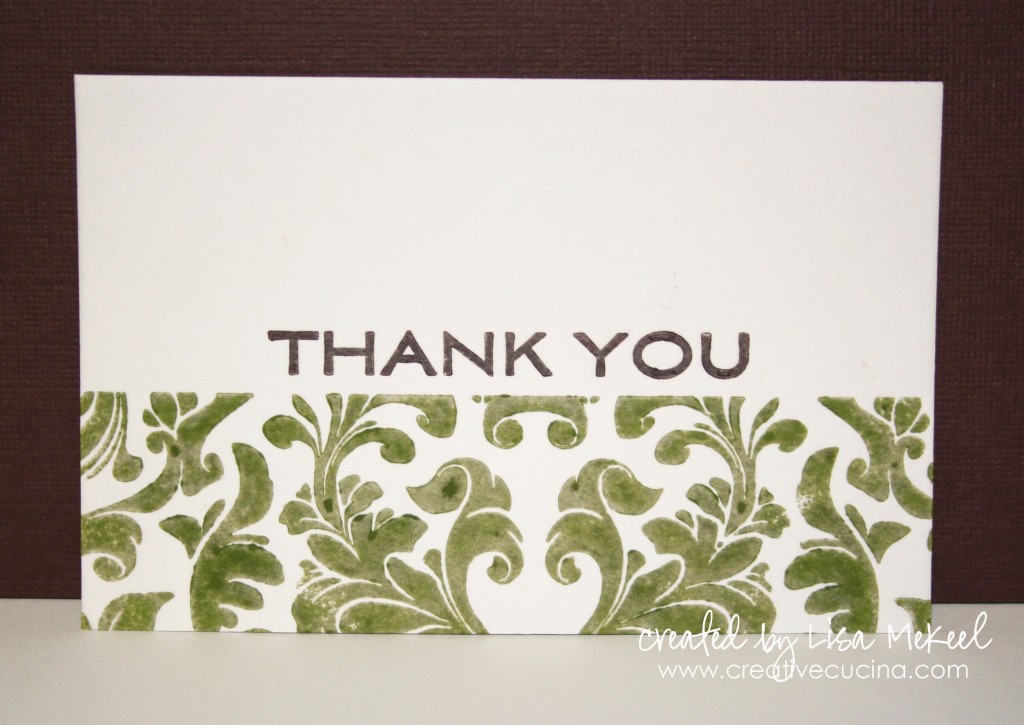
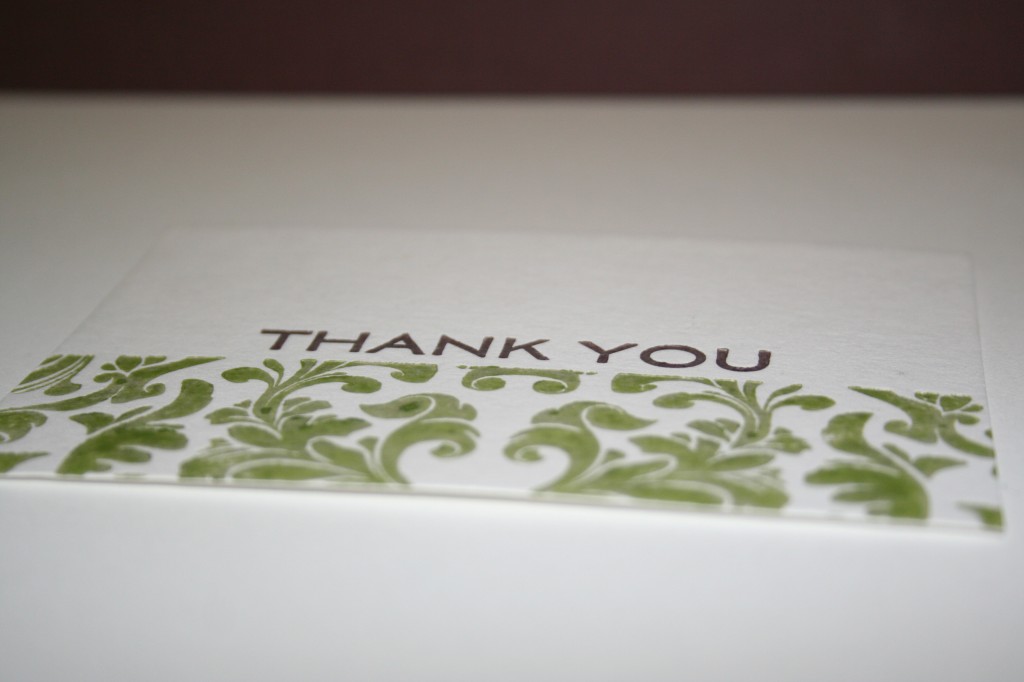
As for the card above, instead of using the letterpress ink (which is a sticky ink specifically made for letterpress) I just used my SU Craft ink and Sponge Daubers. The color isn’t as intense, but it’s much easier to apply and switch colors with no clean up. See photo below for a close up of the texture and indentation. Colors used were chocolate chip and old olive craft ink.
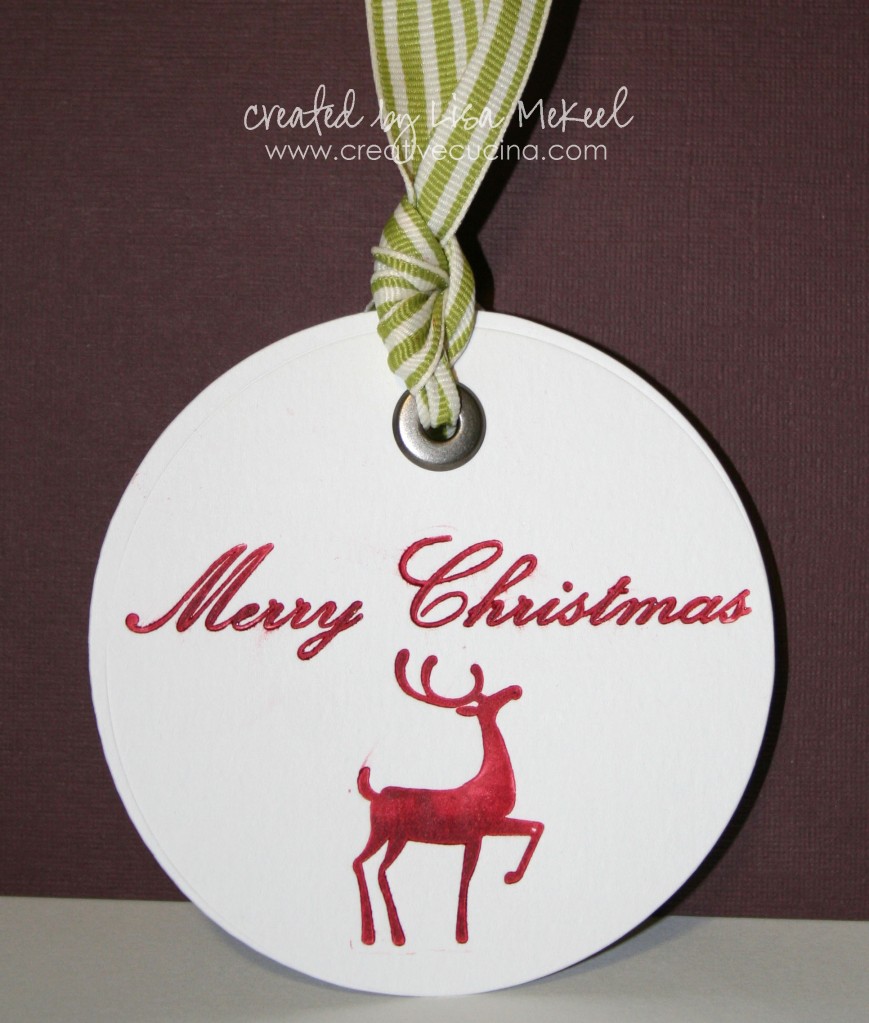
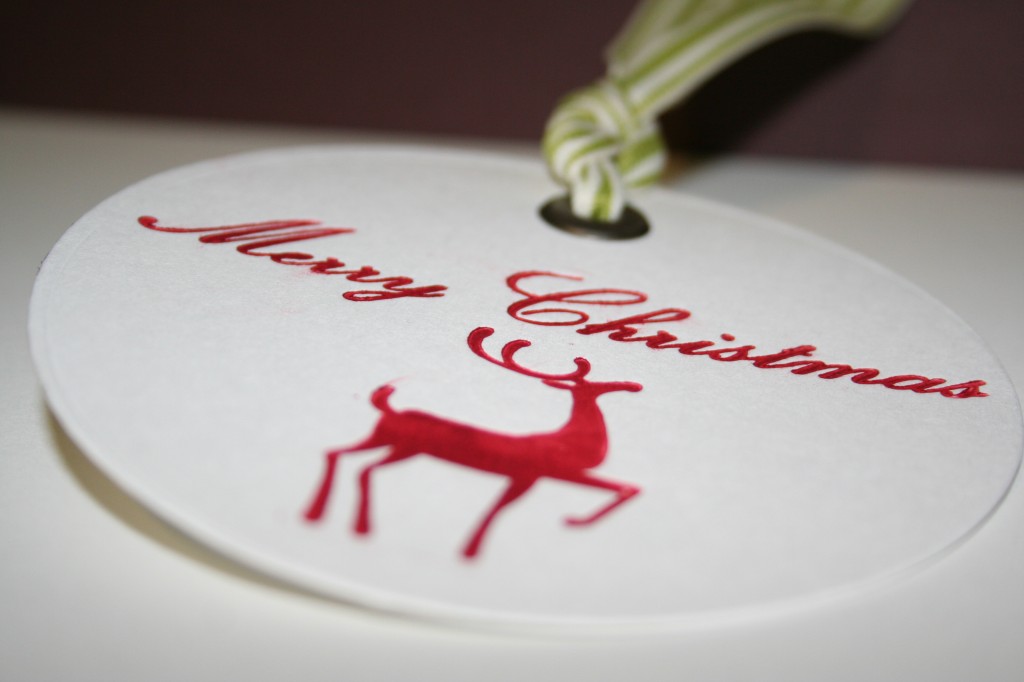
Next, I made a Christmas tag using the Holiday Printing Press. I cut out the circle with my Bigz Clear Circle Die in the Big Shot. I rolled the red letterpress ink onto the images here, then ran it through the Big Shot. At the top, I punched a hole with the cropadile and added a Jumbo Eyelet. The ribbon is Old Olive 1 1/4″ Striped Ribbon.
Here’s a better view of the impressed images:
These were my first attempts at letterpress so there’s much to learn.
- I now know it takes very little ink to get a good impression; it can smudge if you put on too much.
- Drying time isn’t too bad, but again, the more ink you put on, the more time it takes to dry.
- I also tried it on different card stocks and the impression is not deep enough. SU Watercolor Paper may work, it has that kind of texture to it.
- Because the ink is so sticky, it’s a pain to clean off the presses. Clean up is a pain in general, so mass producing is your best bet. This system is not conducive to one of a kind creations–you do not want to wipe the ink off the brayer, the plates, the platform, etc. every time you finish a card!
- Paper comes in many sizes, A2 cards, A7 cards, Square cards, mini cards, business card size AND there are envelopes that can be letterpressed too!
Overall, I just love the look of letterpress! When I heard about this product over the summer, I checked the website daily for updates. Months passed and I gave up. While shopping the other day I saw it in the craft store and practically screamed! I’ll be making more letterpress projects for sure–I have a lot of ideas in mind! And they work so nicely with other stamps and card stocks!
Someone asked me a few questions about cleaning and using the Letterpress kit. I will post the response below if anyone wants more info:
To answer Glo’s question/comment posted:
At first I used regular baby wipes to clean the ink off the brayer and plates. Then, I went back and bought a container of cleaning cloths made specifically for the letterpress kit. Both are pretty similar so I probably wouldn’t buy the special ones again. I just used old fashioned elbow grease to get the ink off, then dried with an old towel. The plates will not be clear again unfortunately, the ink stains them similar to what happens with clear stamps and ink. I’m not going to let it bother me!!
As for the plates, I really don’t like the sticky sheets they include to stick the plates onto the platform. Aileen’s Tack it Over works great! Sticky enough to hold but then when you put the plate away it’s not sticking to everything else. Storage will need to be addressed soon. I may use clear CD cases and treat the printing plates like acrylic stamps. The plates should come off the platform with no problem. Just be careful to lift around all corners of really large images so you don’t crack it by lifting one side while the other sides are stuck to the platform.
If anyone has any questions, feel free to comment.
Ah you just made my day saying that it works with the Big Shot!!! Great job on your first attempt.
I just bought my starter kit and can’t wait to get started. Unfortunately my kit was missing the paper! What did you use to clean the brayer and plate? How did you get the plate off the platform?
I’m going to edit this post to contain the following info also.
To answer Glo’s question:
At first I used regular baby wipes to clean the ink off the brayer and plates. Then, I went back and bought a container of cleaning cloths made specifically for the letterpress kit. Both are pretty similar so I probably wouldn’t buy the special ones again. I just used old fashioned elbow grease to get the ink off, then dried with an old towel. The plates will not be clear again unfortunately, the ink stains them similar to what happens with clear stamps and ink. I’m not going to let it bother me!!
As for the plates, I really don’t like the sticky sheets they include to stick the plates onto the platform. Aileen’s Tack it Over works great! Sticky enough to hold but then when you put the plate away it’s not sticking to everything else. Storage will need to be addressed soon. I may use clear CD cases and treat the printing plates like acrylic stamps. The plates should come off the platform with no problem. Just be careful to lift around all corners of really large images so you don’t crack it by lifting one side while the other sides are stuck to the platform.
If anyone has any questions, feel free to comment.
Do you think you could letterpress with white ink onto dark paper?
Definitely, but I haven’t seen the dark paper in stores yet. I hope they do offer a dark brown paper!! Maybe I’ll experiment with brayering the cotton paper with a dark color and then trying the letterpress. I’ll post the results if it’s successful!
I’m going to Paper Source tomorrow so I’ll look for dark paper–yeah, I want to try a dark brown paper really bad. As for storage of the plates, I think I will stick to CD cases, just like I store my clear stamps. I tried sticking my plates using 2-sided tape, and it did not work well. I have used tombow to stick nestabilities and QuicKutz dies for cutting and that works great. But I will also try Aileen’s. Oh, also, I wanted to tell you that I work at Archiver’s and got to demo the Letterpress on Saturday. My very first customer in the morning tried to test the stickiness of the letterpress plate on the platform and broke the tip of the christmas tree off. She wasn’t overly ruff with it,so they are pretty fragile.
I just go the letterpress and LOVE it. I found “watercolor” paper in the regular cardstock at Archiver’s and it seems to work well. It is a little thicker than regular cardstock and has a looser weave. I tried it on all kinds of cardstock but the impression is best on the thicker paper. The place I bought it from also suggested getting water color paper from the art department. For cleaning I used an old cotton t shirt and my Stazon stamp cleaner. It worked well for the plates. The place I bought it at said you can also use acetate (finger nail polish remover) to clean the plates and brayer. I tried it and it works well also. Just make sure the cloth is pretty lint free. I also don’t like the adhesive that came with the plates. It is almost impossible to move the plates around once you have them stuck down with out the adhesive coming off the back of the plate and staying stuck to the platform. All in all a GREAT tool that makes beautiful projects!
I used goo be gone, works great to clean everything up quickly~
I used my Ellison die cutter and it worked too! YAY
Love the result. A little tricky getting the right amount of ink but I am getting the hang of it.
Oh, a few more things. When you used ink for stamping, how did you apply once the plate was on the clear lid without getting ink on the lid? I have tried used paper source’s luxe line of paper and that didn’t seem to allow much impression. Have you had success with other papers? I am sure you have seen this but ELUM has a custom plate ordering system that would allow you to buy teeny tiny plates without a minimum size. double YAY!
I just tried out my letter press–been a while since Christmas–but now I think I’m hooked. I’m having problems with getting ink on the edges of the plate and not being able to get them off all the way. I think it might be their sticky papers not working. I’ll definately try the Aileen’s–thanks! I took the blocking sheet out after the first impression. We have a few great art stores in our area and I’m thinking anything with a higher rag content is going to work well. Are you saying that you can use other clear acrylic stamps with these? My Epic 6 whitened the edges of two of my plates, I can see them cracking.
Love the rhinestone! Boo-boos are always excellent design inspirations! Thanks for your critiquing. I have ordered the L Letterpress Kit and thanks to your notes I will probably have a pretty good experience with it. For now, it’s the closest I can get to a “real” letterpress machine!