Construction Truck Theme Boy’s Birthday Party {My Digital Studio}

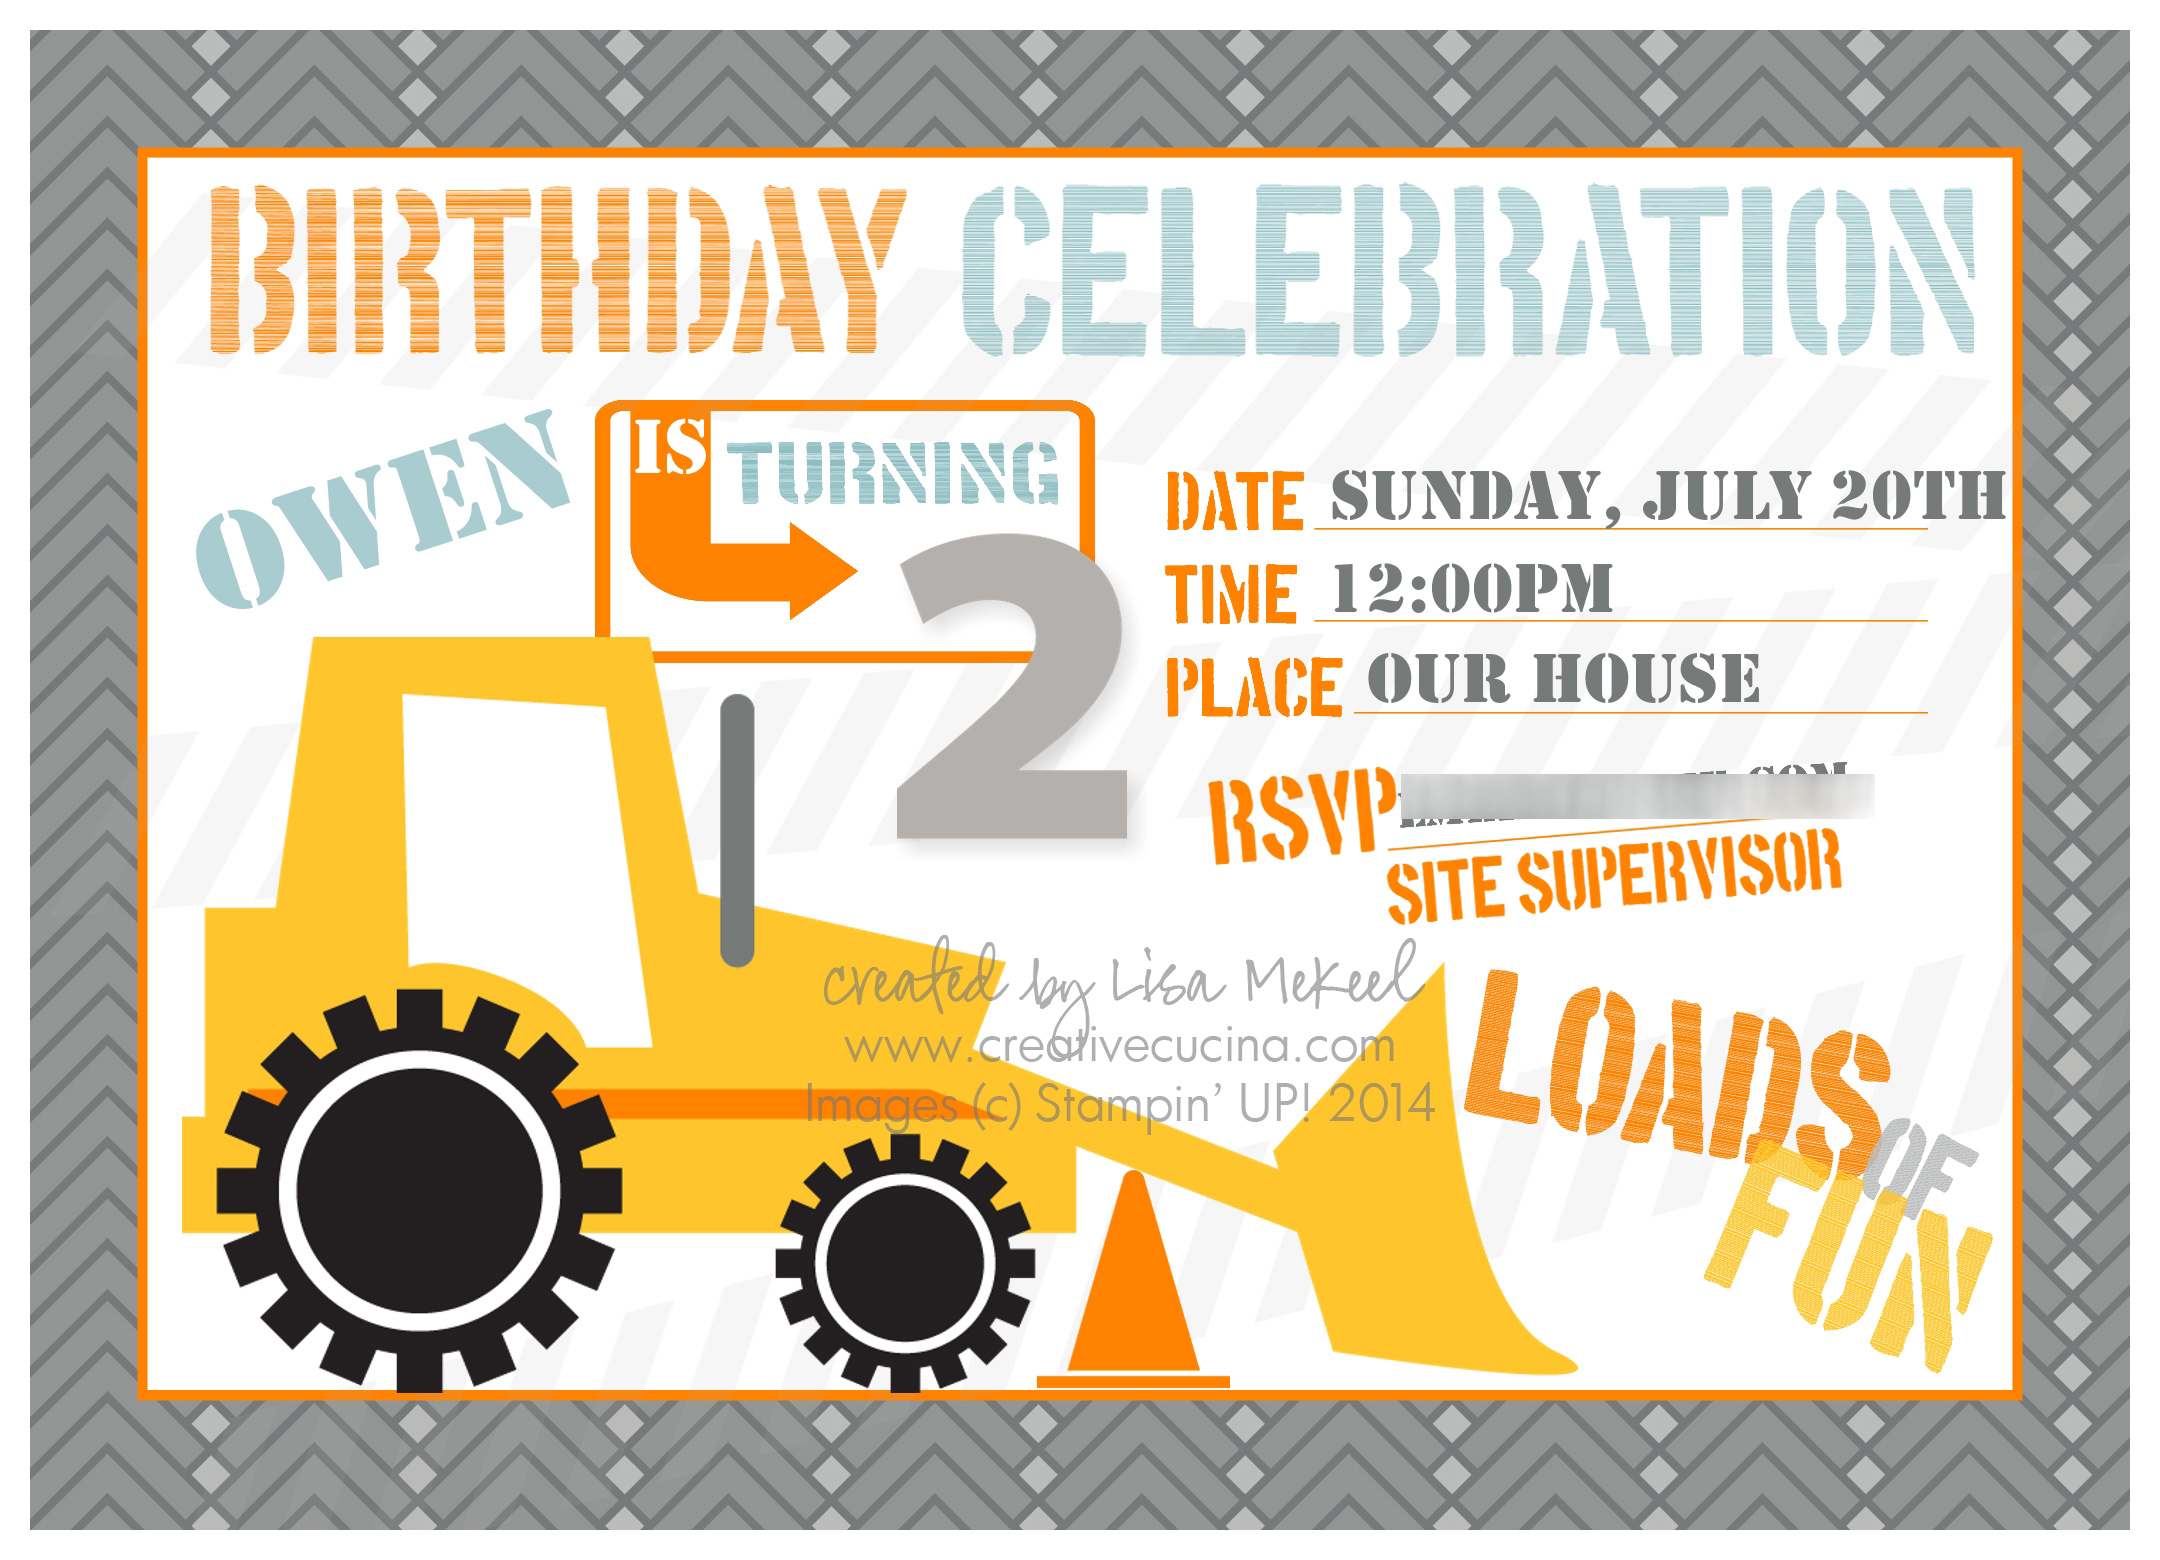
I used My Digital Studio (MDS) to create my son’s birthday invitations, decorations, and thank you cards. I used the Under Construction Birthday Ensemble download. This first one is the invitation I decided on, but I also made a few other versions using the ensemble.

Truck Birthday sample

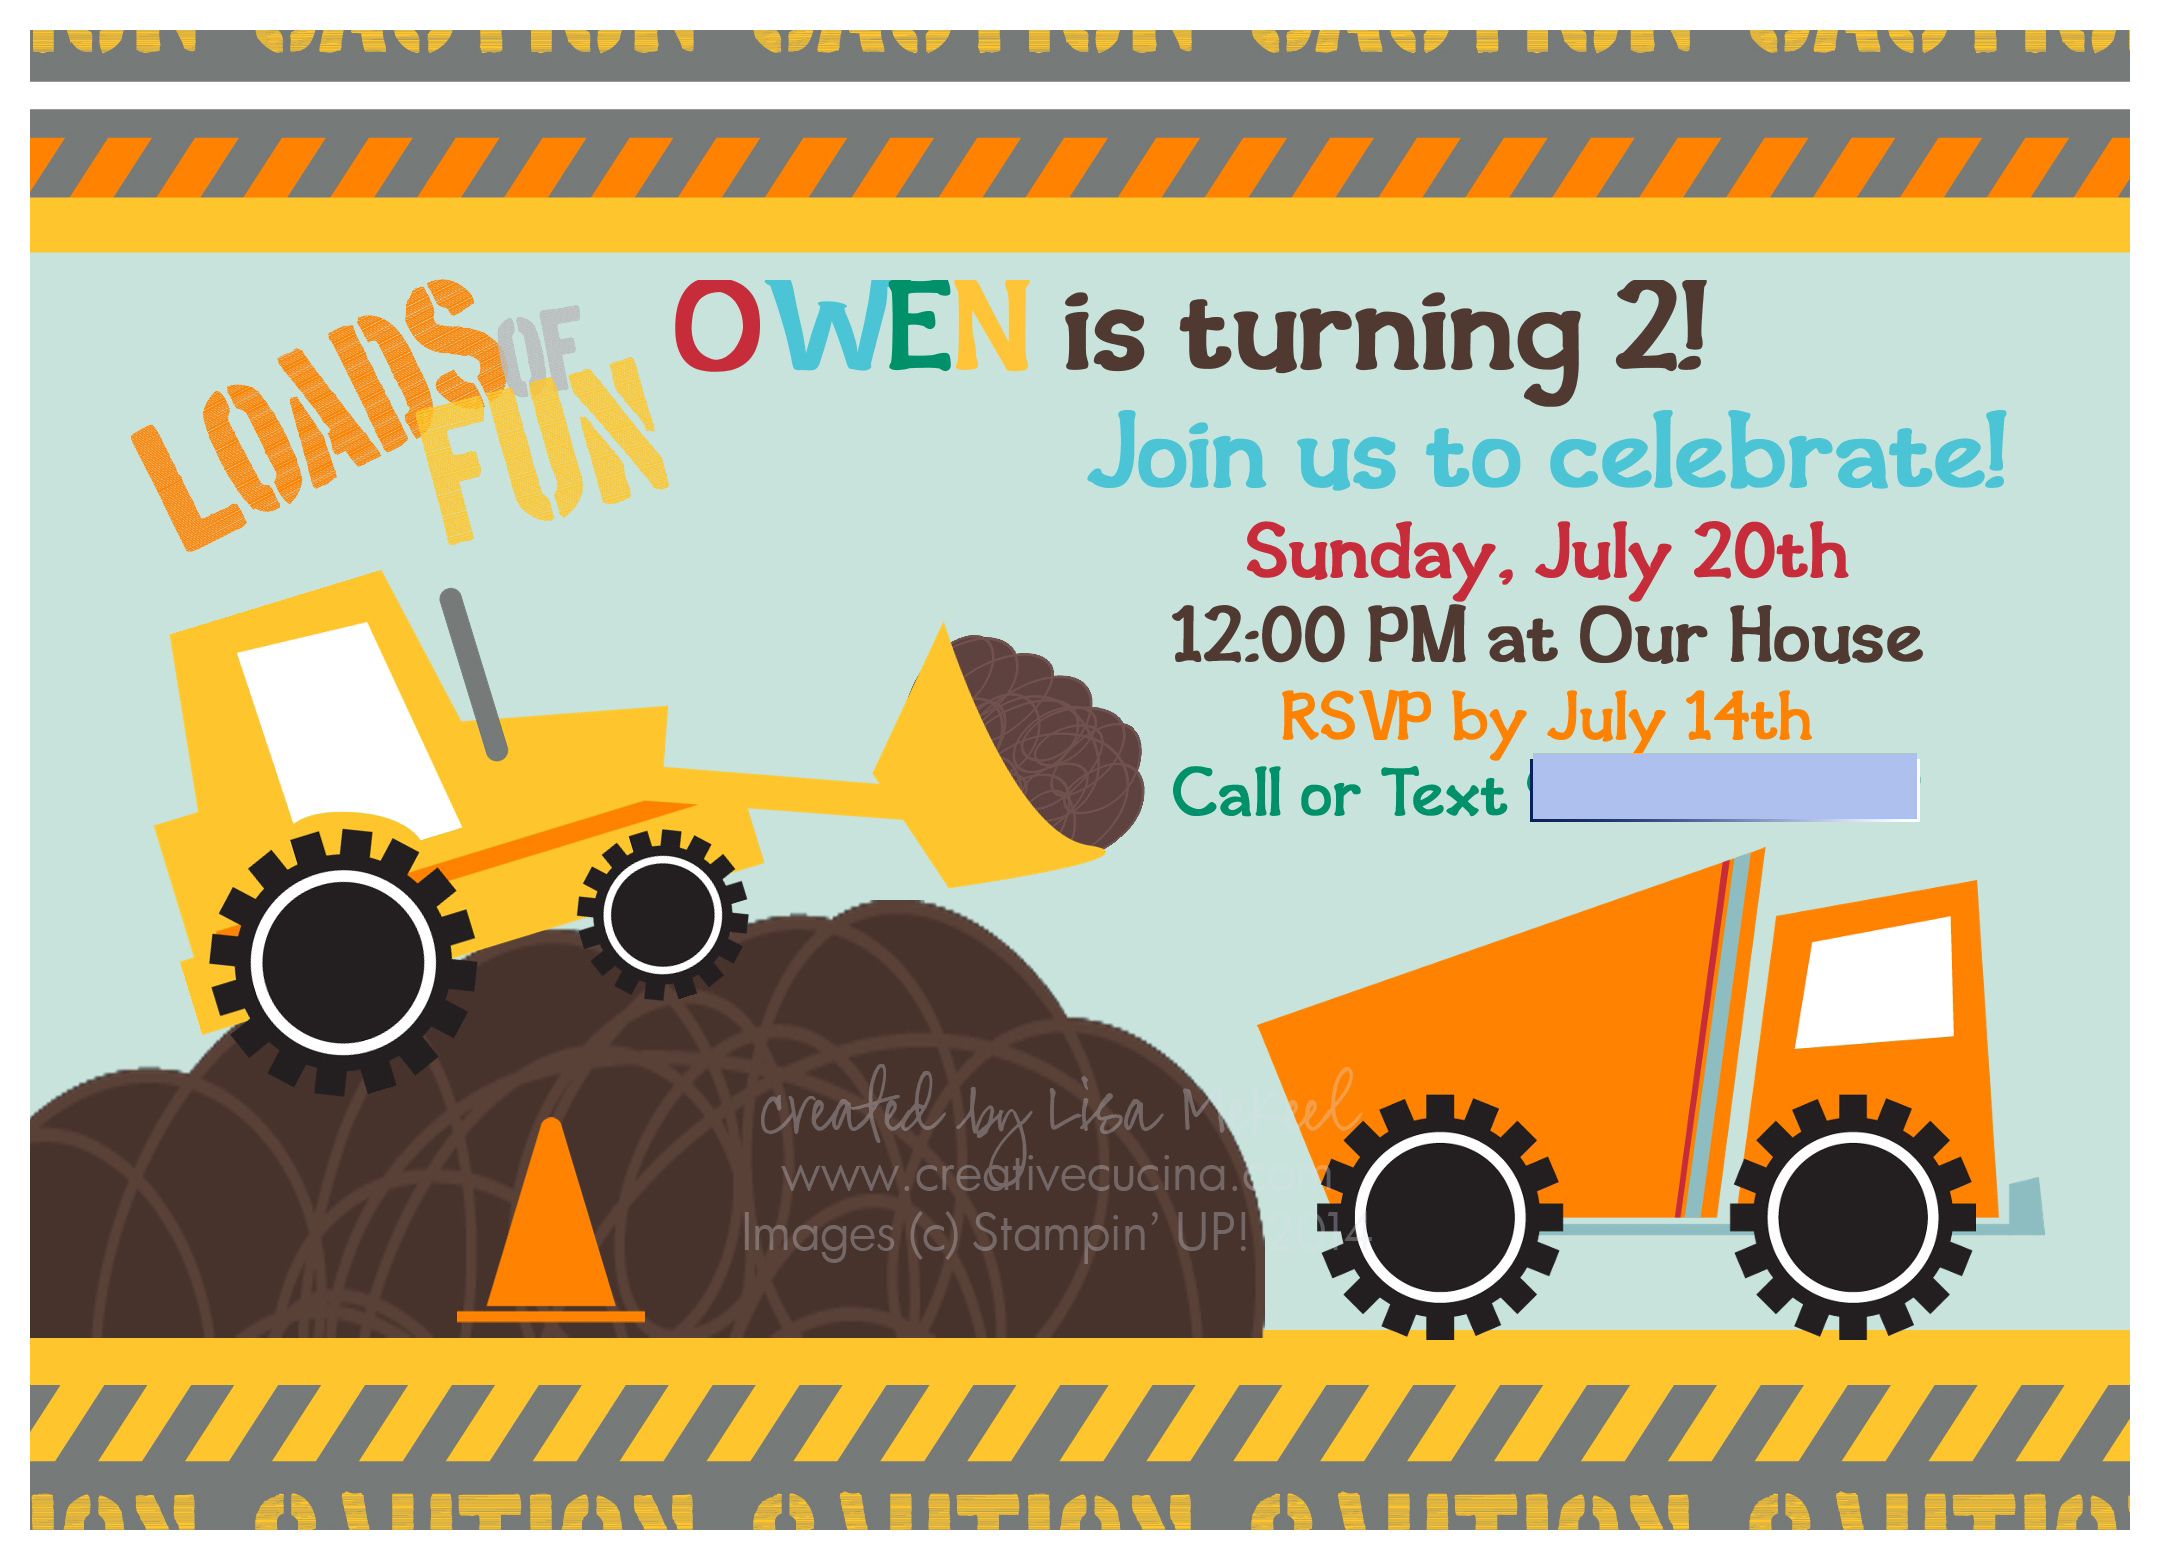
Here is another option for the construction theme invitation.

Truck Birthday sample2

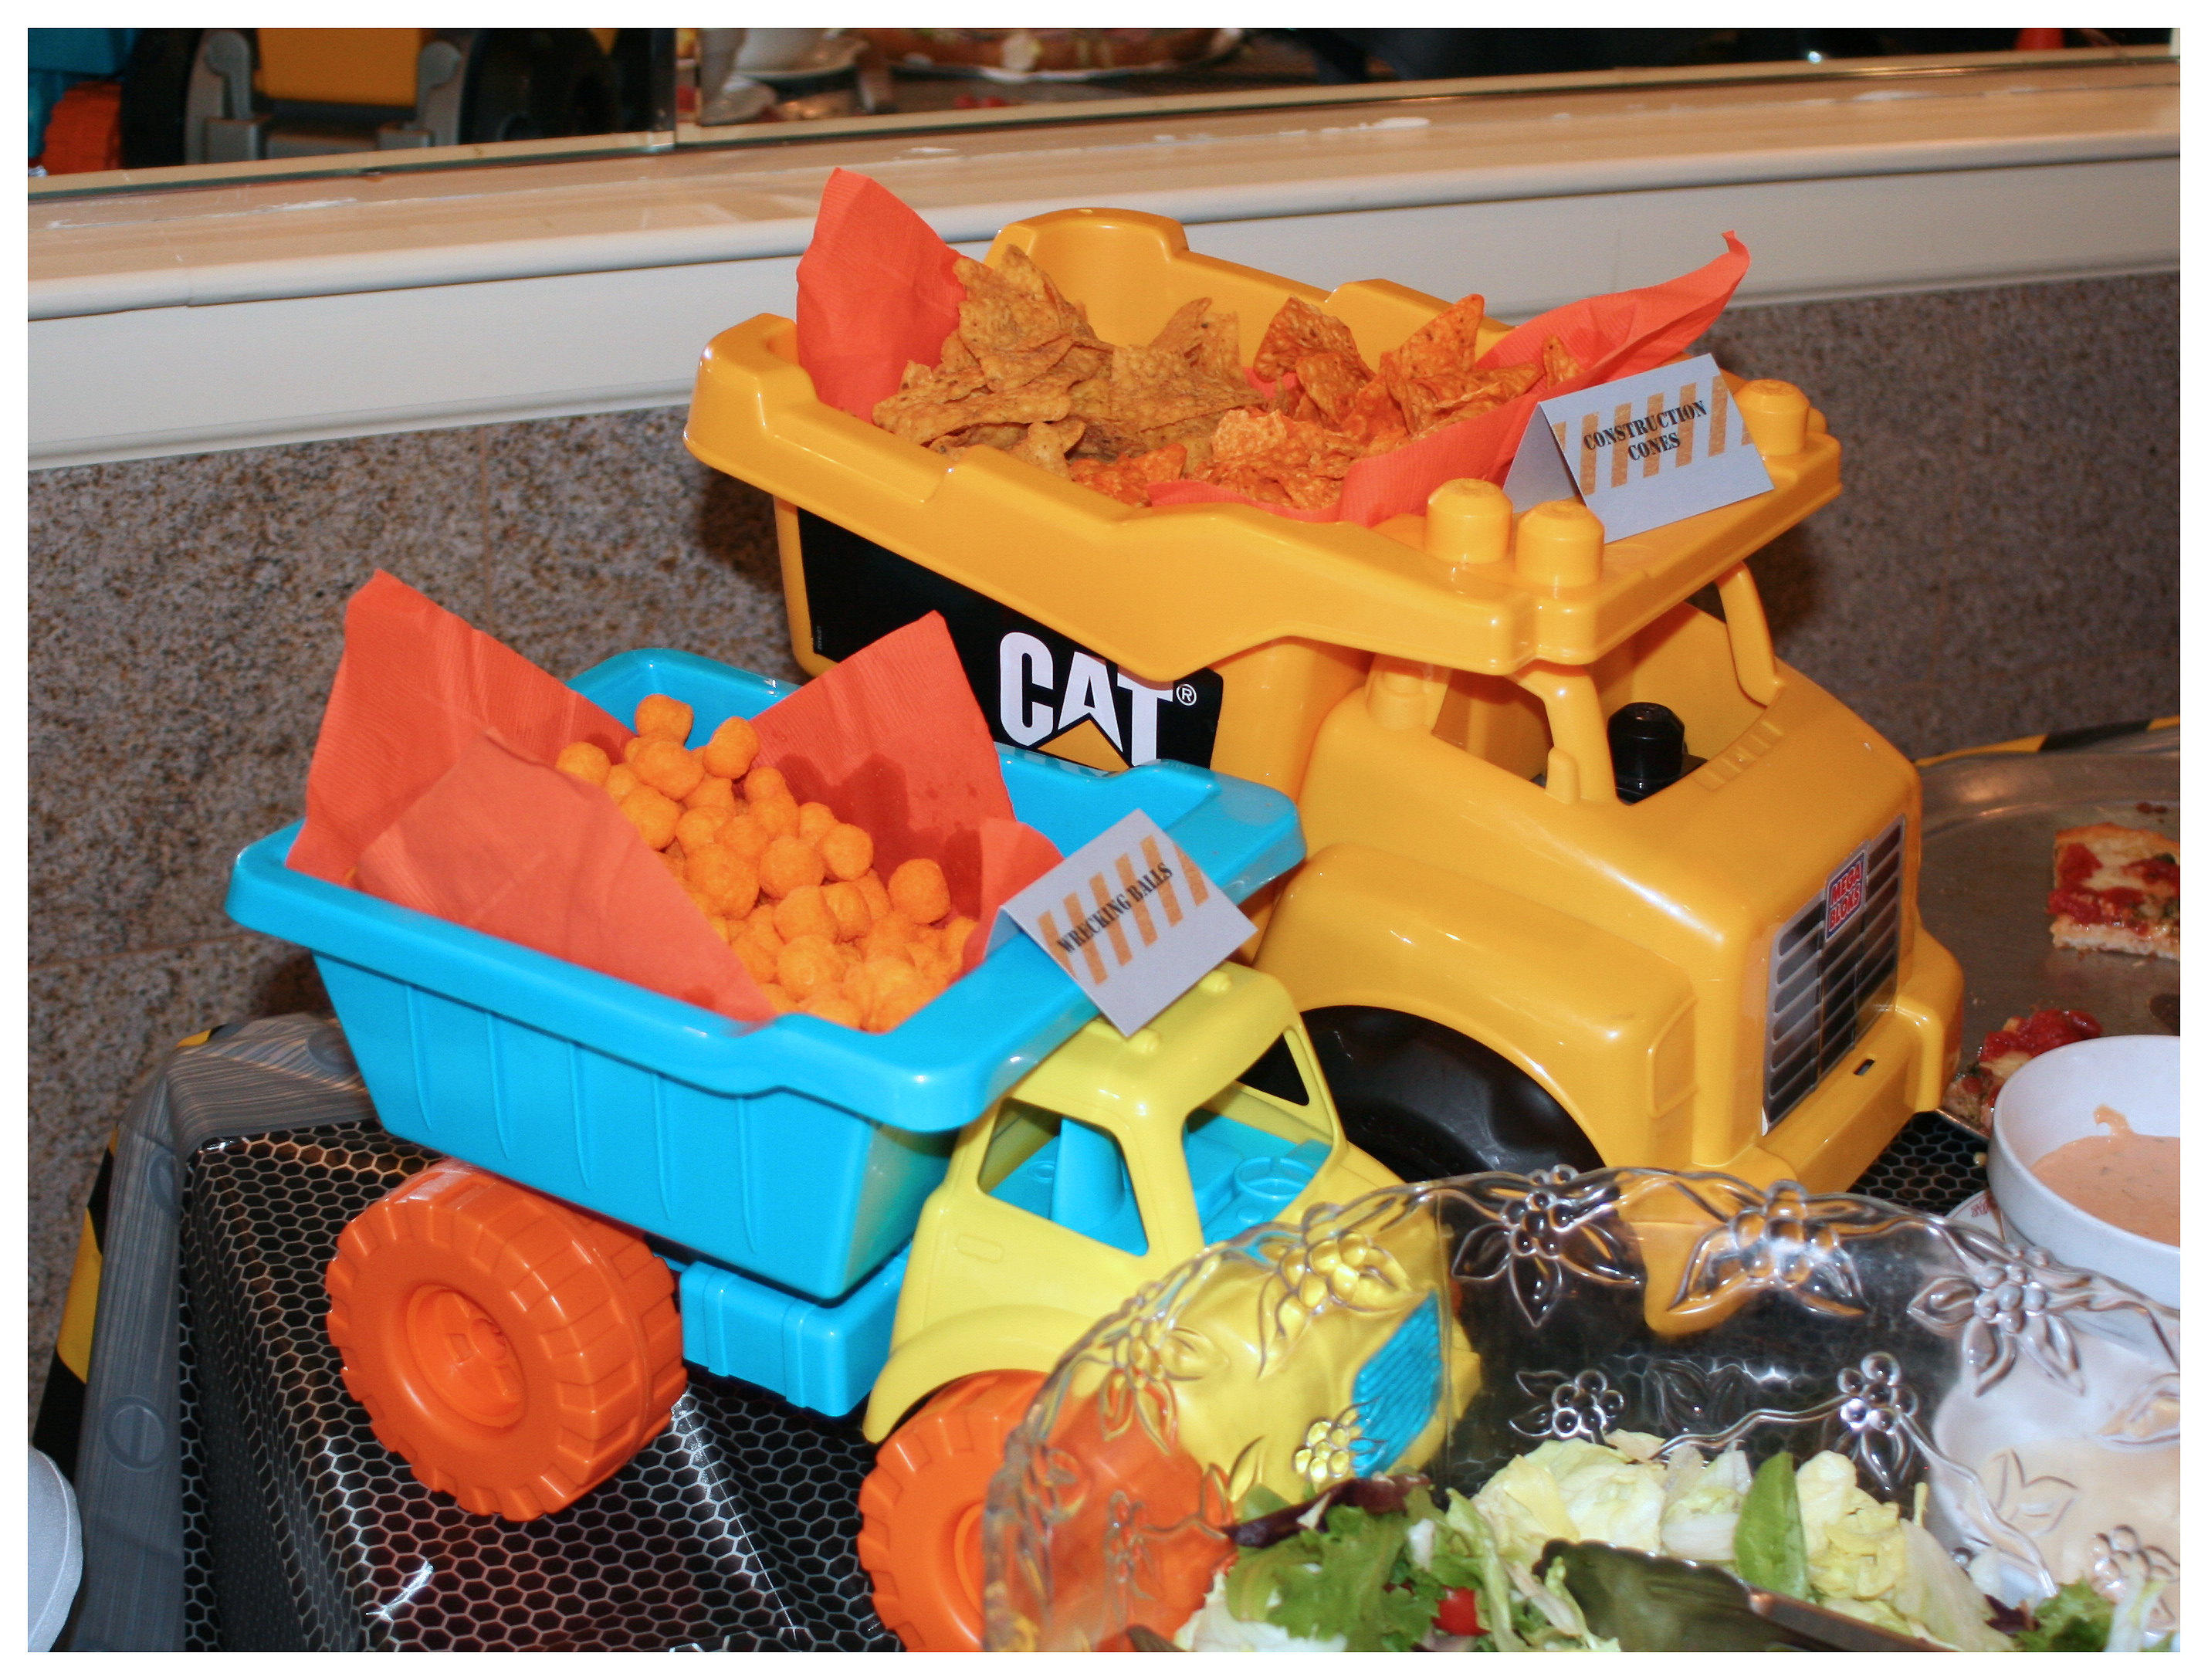
I made food labels in MDS also, printed on Soft Slate card stock. The font used was Stencil Std. We used trucks to hold the chips and snacks. I got many of the ideas on Pinterest.

truck party cake table

trucks

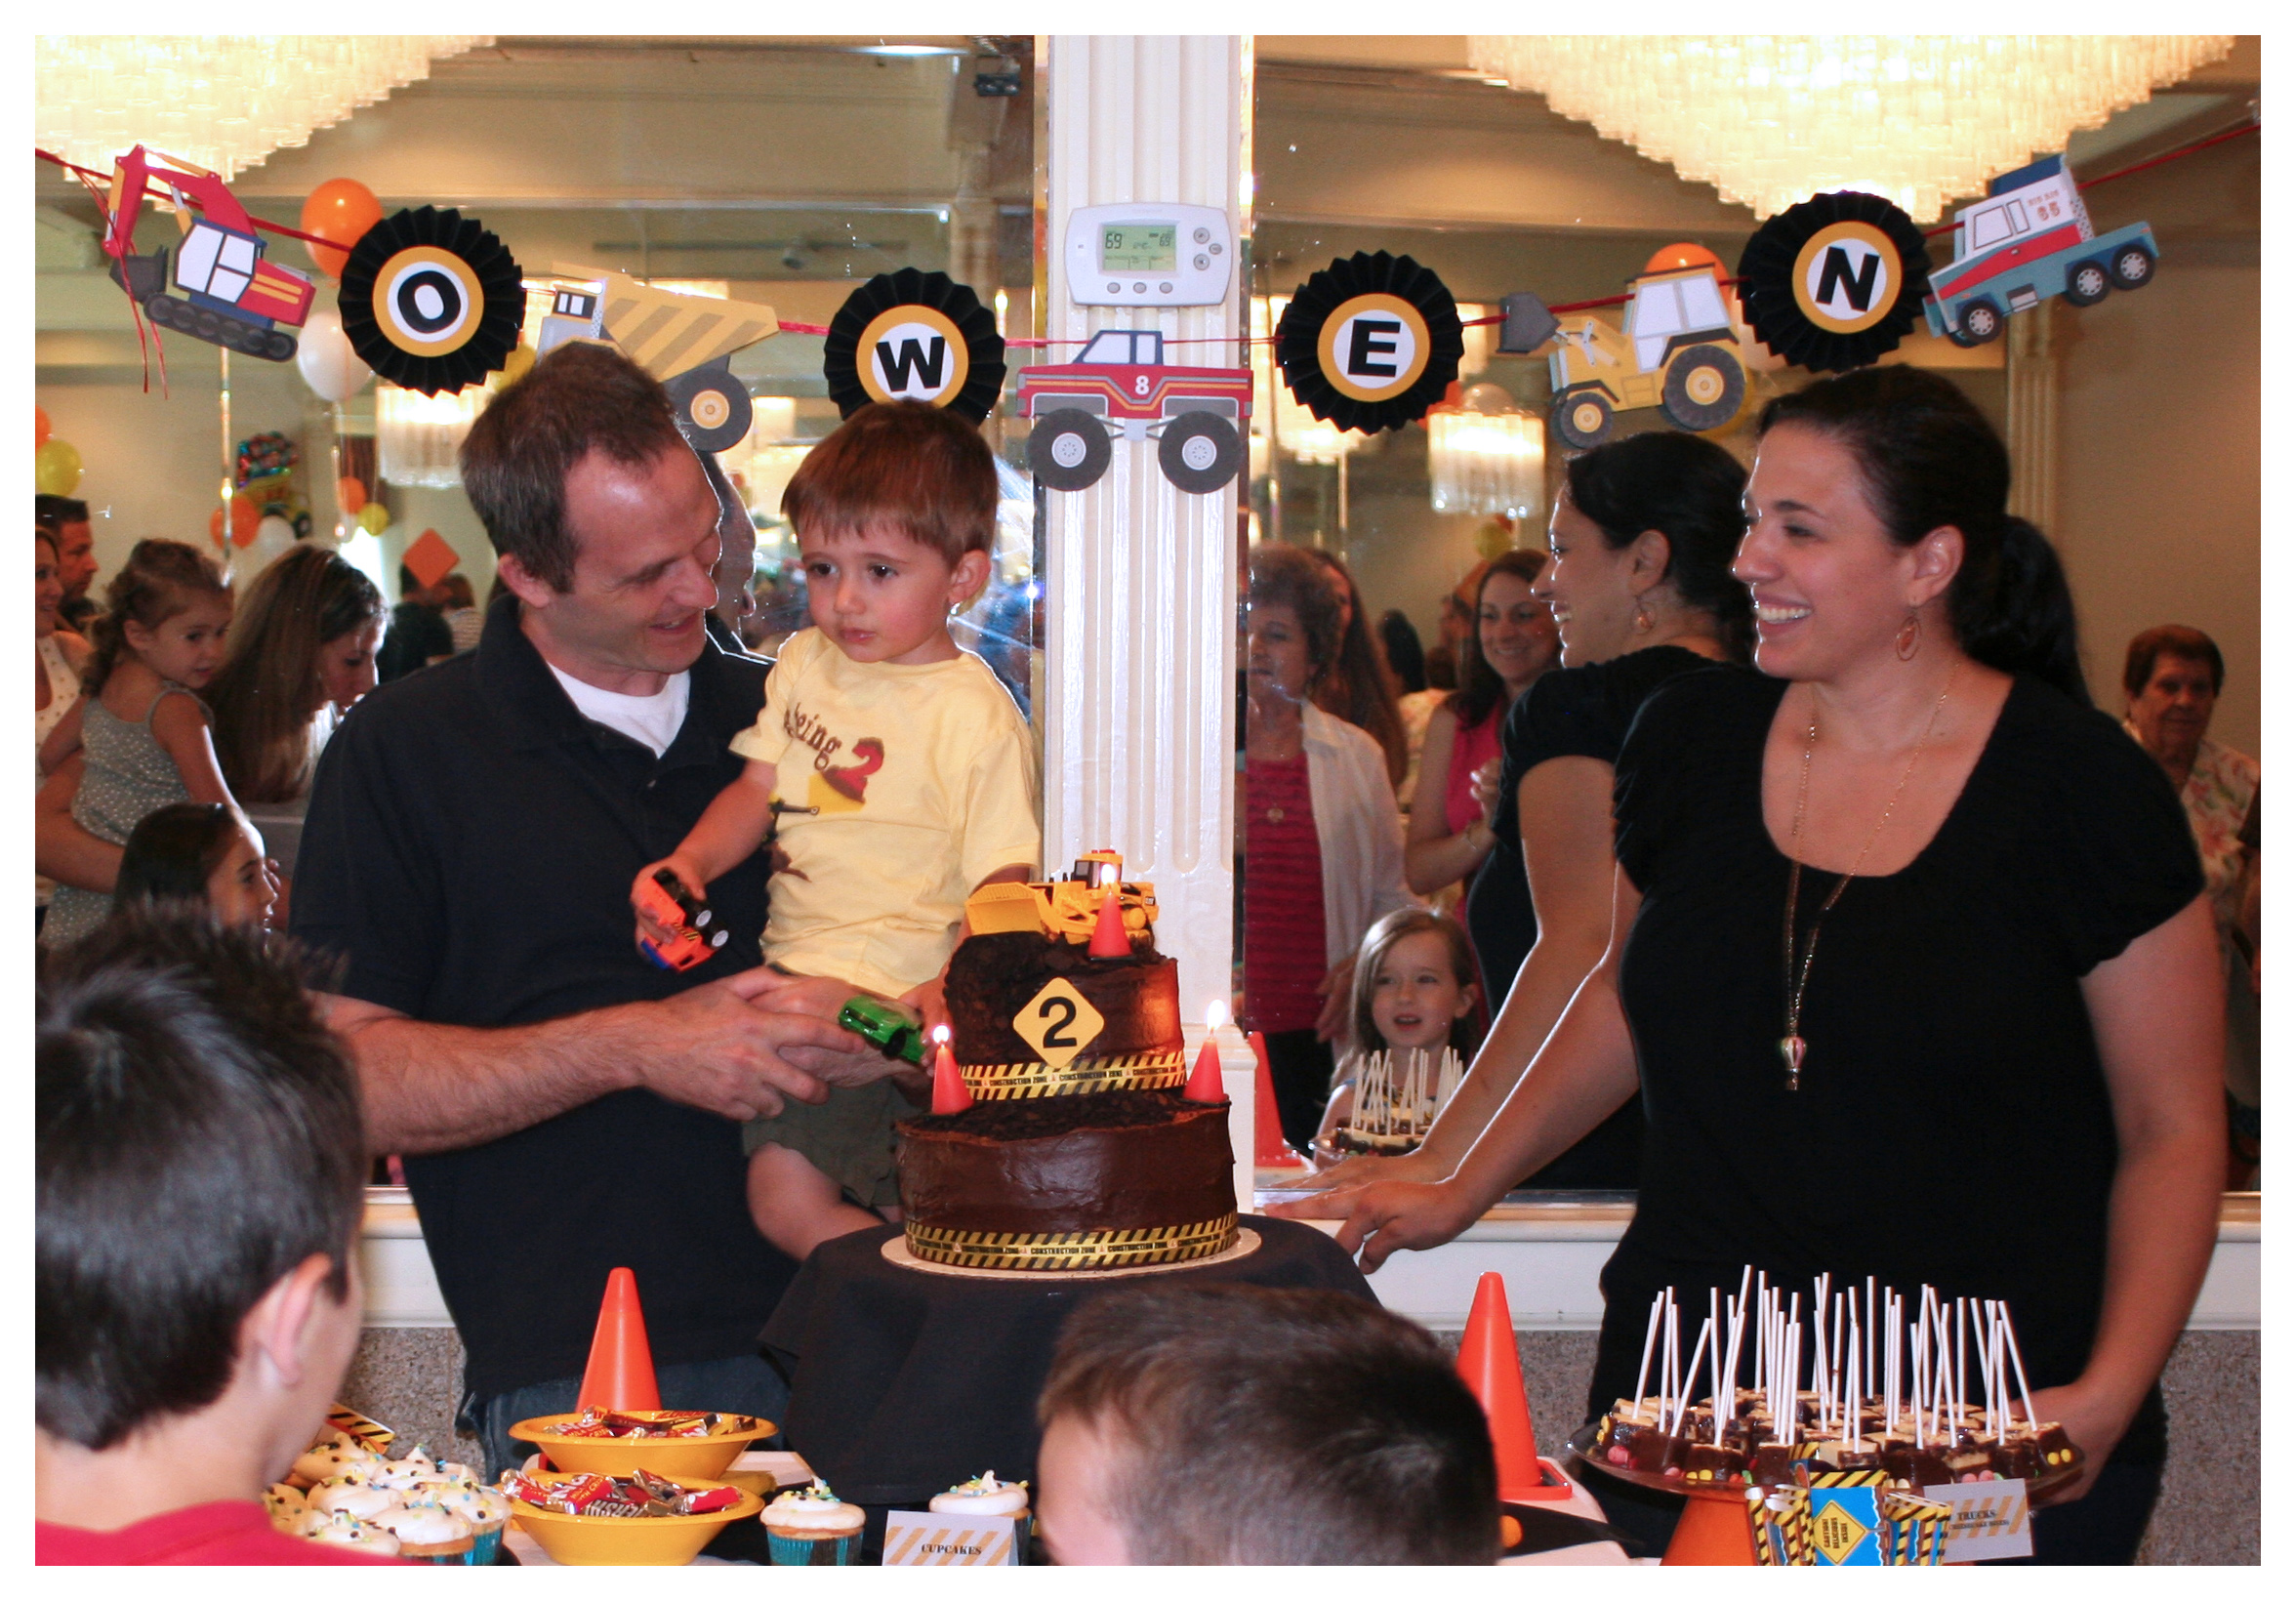
I jazzed up a banner I purchased by adding my son’s name on “tires”. I made the tires by making rosettes or accordion folded paper pinwheels with black card stock, scoring it every 1/2″, folding it back and forth. Each “tire” used one sheet of 8 1/2″ x 11″ card stock

truck party banner

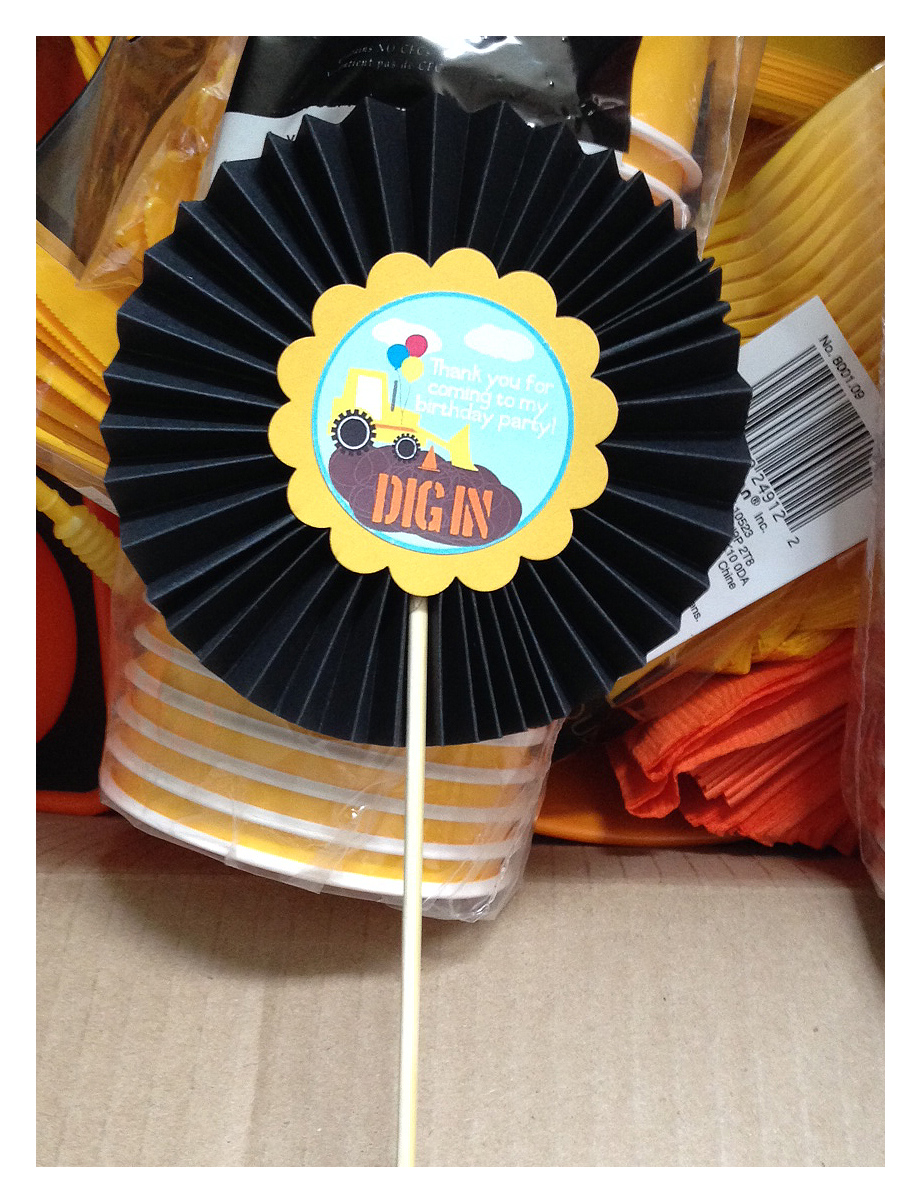
For the centerpieces, I filled little metal pails (from Target Dollar Spot) with candy and added another accordion fold pinwheel. Orange, white and yellow balloons were tied to the pails as well. I don’t have a picture of them in tact but this is the pinwheel. I printed the image in MDS also.

truck party pinwheel

Father’s Day {Super Hero Card} With How-To Directions

fathersday_super

This is such a fun card. Keeping with my trend of quick and easy Father’s Day cards, here is another one made with My Digital Studio download Because I’m the Dad. When I saw the “use the force” image, I envisioned the aqua blue and yellow glow of a light saber. That is how the colors for the card came about.

This is a hybrid card, because it uses digital images, as well as traditional card making techniques. It’s like the best of both worlds when you want to make a custom card or project. You can create exactly what you picture in your mind.

In order to make the banner, you will need to use the Flag Punch in My Digital Studio. These are the pieces you need:

fathers day2-005

Flag Punch (2 pieces), resized to fit your card; Square Punch (1) sized to fit inside the banner to cover up the yellow line down the middle; and Because I’m the Dad stamp image from My Digital Studio download (shown here in Coastal Cabana).


First, resize the flag punch to your desired size. Then, choose Black as your fill color. Choose Yellow as your Mat (size 3 setting shown here). You will have to rotate it 90 degrees to get it horizontal like this.

fathers day2-006

Next, copy your Flag Punch and paste a copy to your page. Choose “Flip” to make the flag copy look like a mirror image of the original. Align them as shown above. To “erase” the yellow line running down the middle, insert a Square Punch and resize it to fit just inside the yellow outline of the banner. Choose Black as the fill color.

Lastly, insert your stamp image and recolor it accordingly. I chose Coastal Cabana. Resize as needed and layer it on top of your banner.

Then, just print out the image on Whisper White card stock. Trim out the banner using scissors and bend/roll it slightly using your fingers to give it the wavy look.

The card base here is Basic Gray, layered with Whisper White and some Yellow printed Summer Smooches Designer Series Paper.

I attached the banner with 3 stampin dimensionals and added 3 Coastal Cabana stars made with a Star Punch.

All About Dad {Quick Father’s Day Card}

fathersday_hexagon

Here is another quick and easy card I made with My Digital Studio (MDS). The hexagon print is from Lemonade Stand Designer Kit. It comes exactly like this, with the colors shown. There is a recolor option, also, so you could make this any color you want.

The sentiment is from another download called All About Dad which is a cute “All About Dad” book.

For the card base, it’s a 5″x7″ card using Baja Breeze and Midnight Muse, layered with my printed Whisper White top.

Bad Behavior has blocked 385 access attempts in the last 7 days.

css.php