Tis the Season to Get Krafty

Today, I decided to break out the last 12×12 sheet of Striped Kraft cardstock (from Taste of Textiles) in my stash. I’ve always wanted to try stamping directly on the Kraft and then coloring in with white pencil. I’m not sure if that technique has a name, but I’ve always wanted to do “that”.

As I said, the card base is striped kraft (from retired Taste of Textiles) stamped with the tree from Season of Joy in Stazon Brown ink. The snowman is from Snow Buddies, stamped in Stazon Brown ink and colored in using Watercolor Pencils.

In the background, I stamped the snowflake from Snow Buddies in White Craft ink. The glittery swirl image, from the same stamp set, is stamped in Palette Glue Pad, then stamped on the paper. I added Dazzling Diamonds immediately after stamping. Along the branches I used my MS Glue Pen and Dazzling Diamonds glitter to make snow.

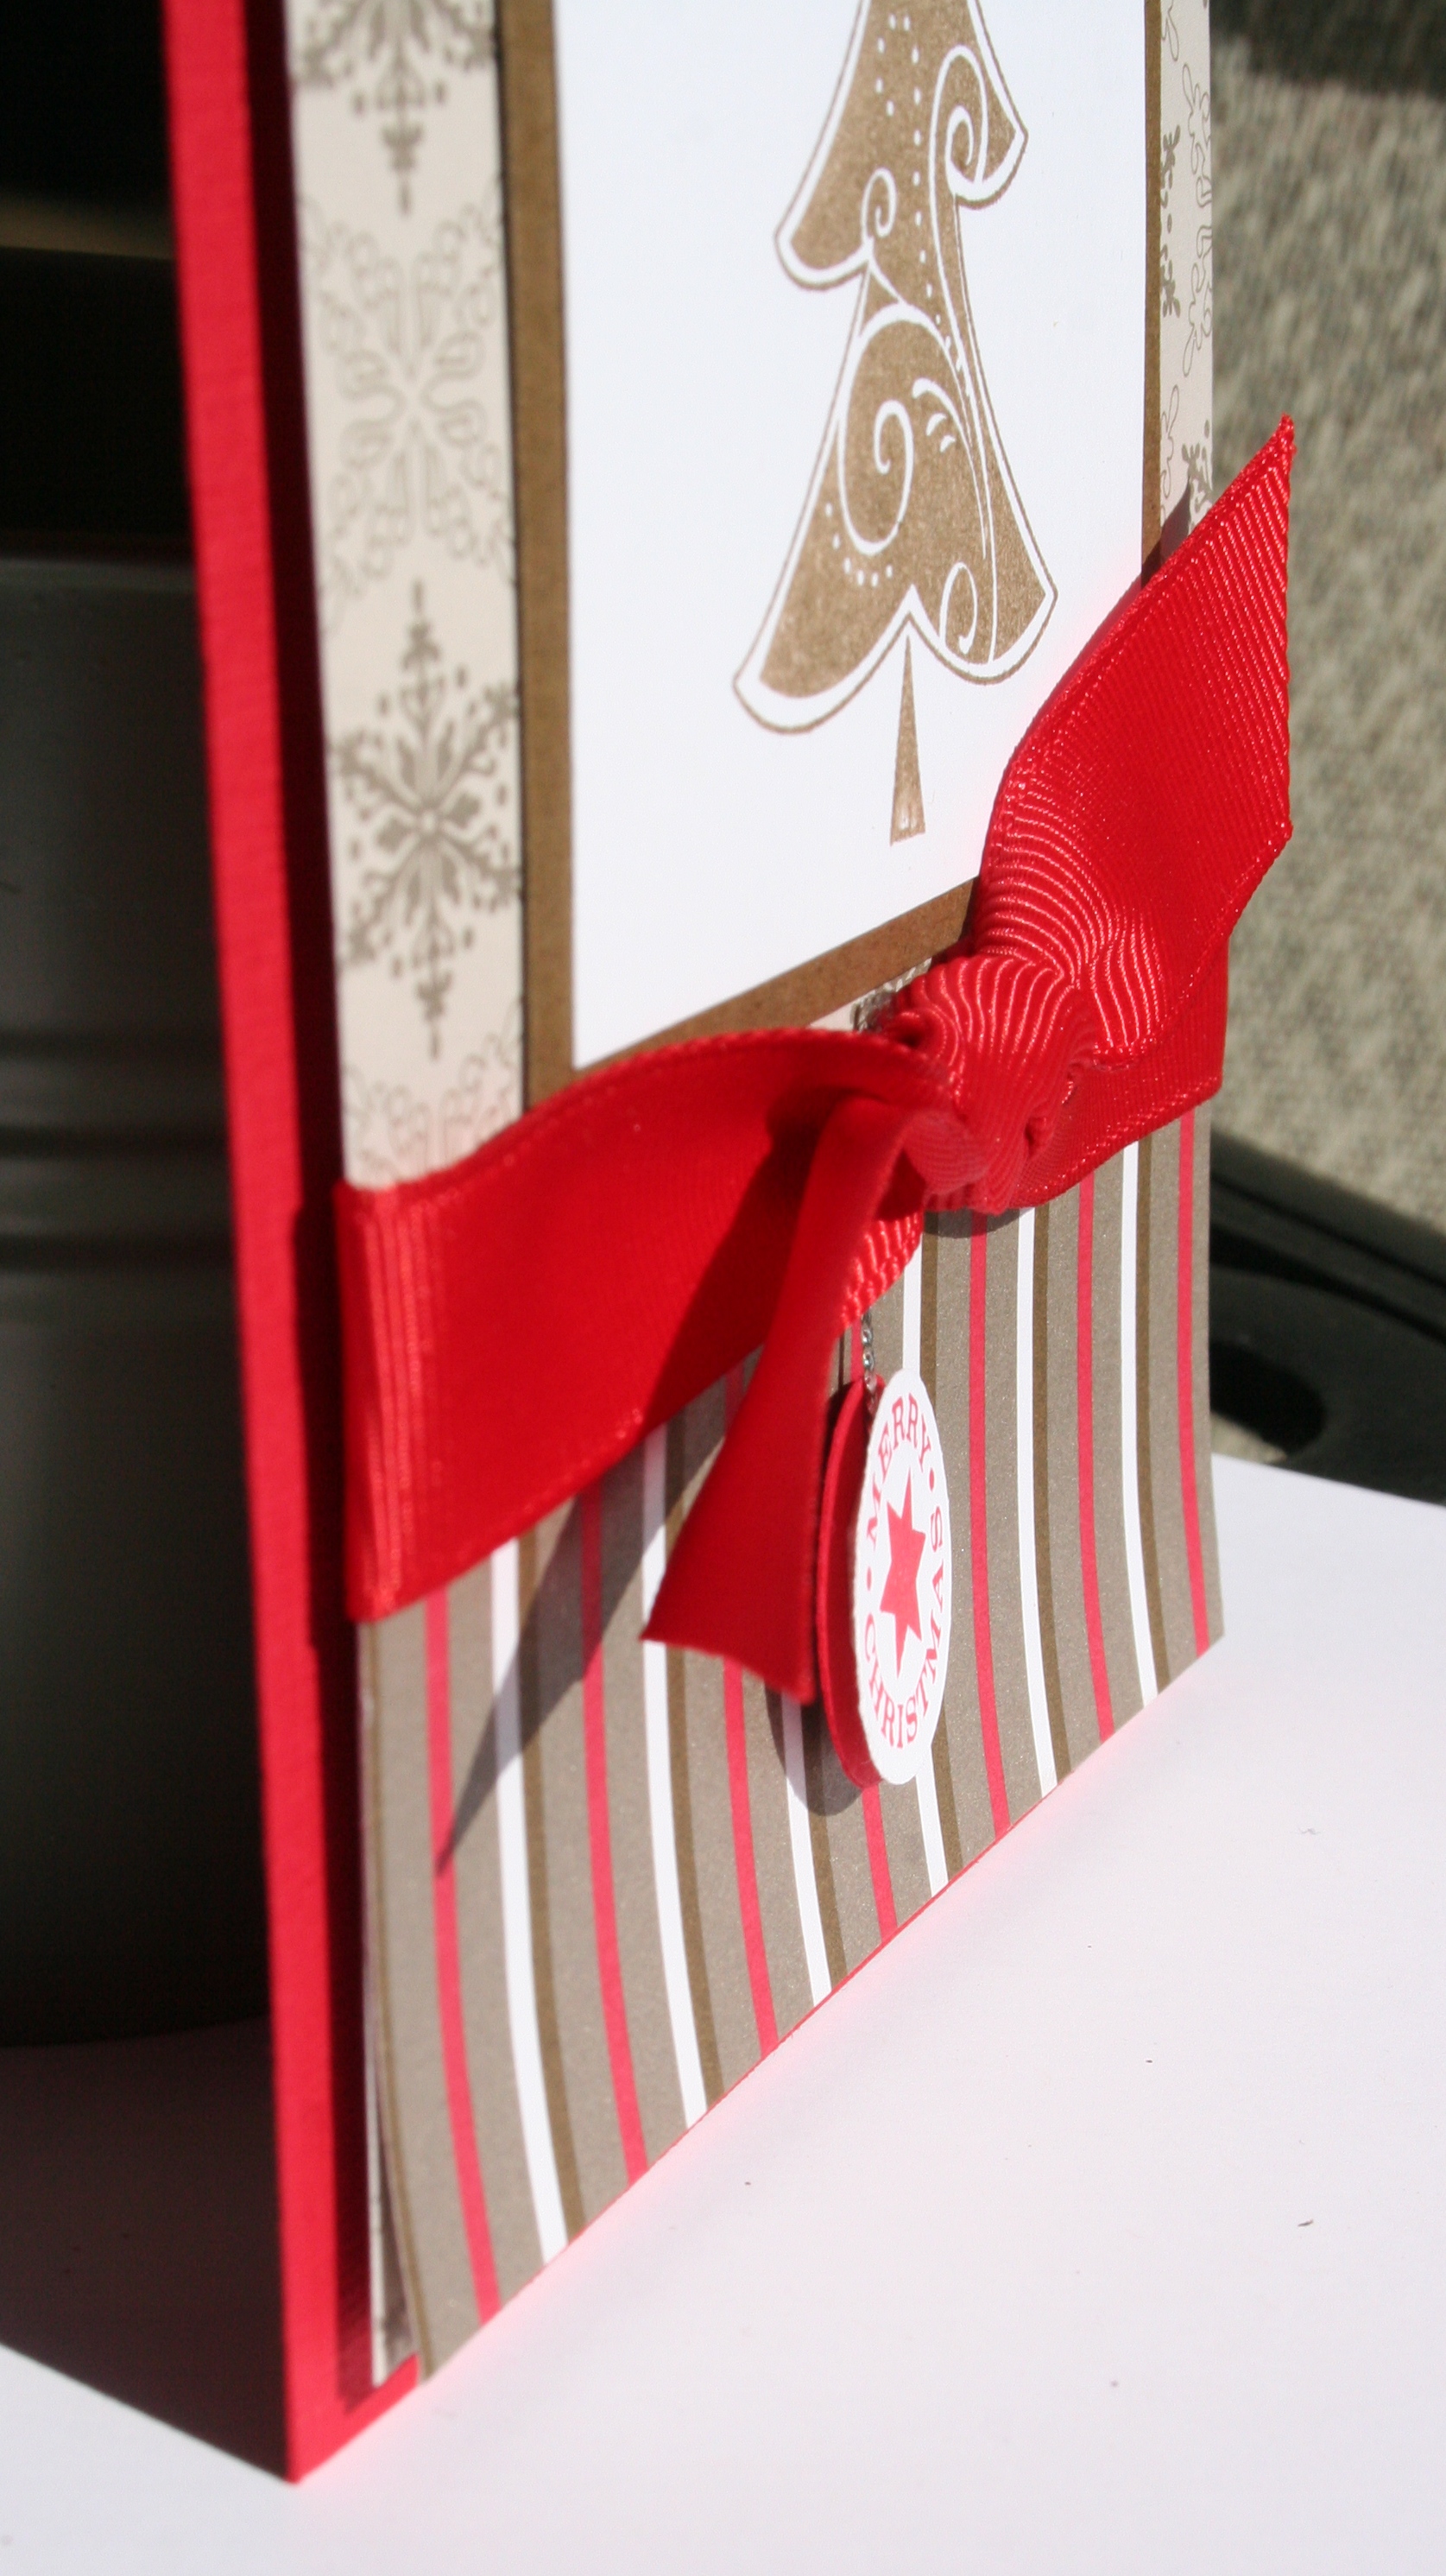
Along the bottom of the card, I took whisper white card stock and tore it for a snowy effect. To make it even more sparkly, I ran my glue pen along the torn edge and added more Dazzling Diamonds. Although hard to see in the picture, I also stamped “Merry Christmas” from Christmas Greetings in White Craft ink on the 5/8″ Real Red Grosgrain Ribbon. Then, I wrapped the ribbon around the white card stock and adhered it to the base.

Love is in the air–His & Hers versions

October is our anniversary month. Next week we will celebrate 4 years of marriage. Since we had a fall wedding, I picked the stamp set Season of Friendship to make an anniversary card.

I made 2 versions–one for me (with lots of color and bling) and one for my husband (a little more plain).

The above card uses creamy caramel card stock for the base, layered with dusty durango textured card stock. As for the images, I stamped the tree in chocolate chip ink on whisper white card stock. The leaves are stamped in Dusty Durango, More Mustard, and Old Olive. After I finished stamping the leaves, I looked over and saw my Snow Buddies set on the desk and used the swirl image, stamped in creamy caramel ink, to create a fall breeze. Then, I stamped a few falling leaves in the “breeze”.

Across the bottom of the card, I looped a piece of 5/8″ Chocolate Chip Grosgrain Ribbon around the dusty durango/whisper white layer, tying the ends together with Hemp Twine.

The sentiment is my own, printed from my computer, on dusty durango textured card stock and punched out using the Scallop Oval Punch. I also stamped the outline from one of the Oval All stamps in dusty durango ink using the stampamajig to get it perfectly set. To finish off the oval, I punched 3 holes using the cropadile and used Circle Rhinestone Brads in the same colors as the leaves. That was then attached to the card base using dimensionals. Tip: I like to cut the ends of the brad tabs off by using my Craft and Rubber Scissors so they don’t stick out. Then, I put small glue dots over the backs to keep them from spinning.

This is the male version of the anniversary card! For this one, the base is mellow moss, layered with chocolate chip textured card stock and whisper white. I stamped the tree in chocolate chip ink again, and the leaves are all stamped in dusty durango. Everything else is the same except that I wrote the sentiment in chocolate chip marker and then punched it out. No brads, no bling, just the way he would like it 🙂

Season of Soft Suede

This card uses the tree stamp from Season of Joy. I stamped the tree in Soft Suede ink on Whisper White card stock, then colored in the star with Crushed Curry and stamped again, trimming it out and adhering it to the card stock using a tiny glue dot. The whisper white was matted with Soft suede card stock.

As for the base, I used Real Red textured card stock, layered with Christmas Cocoa DSP, snowflakes on top and striped pattern along the bottom. Where the DSPs meet, I tied a piece of 5/8″ Real Red Grosgrain Ribbon.

The small circle hangs from behind the ribbon. I stamped the Merry Christmas image from Delightful Decorations in Red ink on whisper white card stock and punched it out using the 3/4″ Circle Punch. I layered it on a Real Red card stock circle of the same size, slipping in some Silver Cord between the two layers. Then, I placed a tiny glue dot behind the knot of the ribbon and adhered the other end of Silver Cord to the card base.


Bad Behavior has blocked 812 access attempts in the last 7 days.

css.php