Make a Wish Birthday Cards

make a wish 1

When I saw this make a wish stamp, I had to have it. Funny enough, it’s from the Make a Wish stamp set in the Occasions Mini 2013 catalog. I like it so much I made 2 cards with it! Actually 3 cards but I gave one away already before taking a picture!

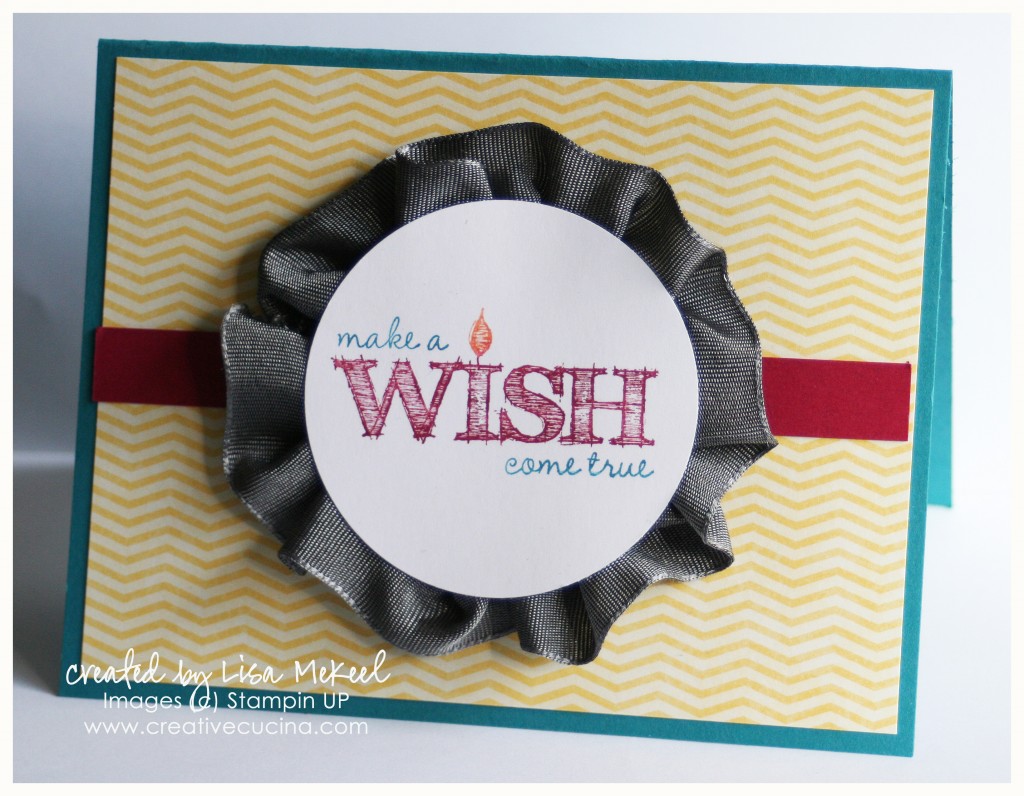
First up is the card pictured above. I used markers to color different parts of the stamp different colors. I stamped it on Whisper White card stock and punched out the circle with the 2 1/2″ Circle Punch.

The base is tempting turquoise, layered with chevron print paper from Rain or Shine Designer Series Paper. The strip of paper is Raspberry Ripple.

For the Basic Gray/Basic Black 1 1/4″ Two-Tone Grosgrain Ribbon medallion, I used the Jumbo Sticky Rounds. Apply the Sticky Round to the back of the Whisper White circle, then take your ribbon and stick the end onto the back of the card stock. Go around the circle, pleating and folding the ribbon as you go. I added a stampin dimensional to the center and a smaller 1” Circle on the back for added stability. Then adhere the medallion to the card base.

make a wish 2

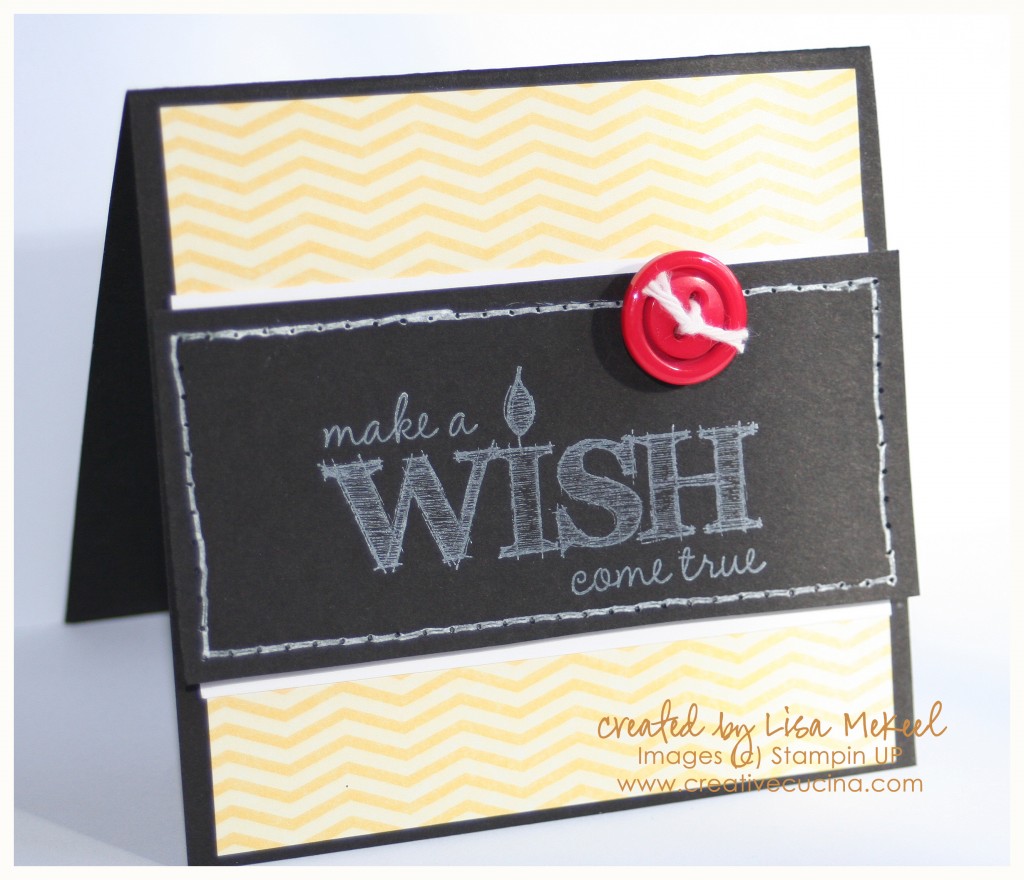
The next card I made is a smaller 3″x3″ square card. I used Basic Black card stock for the base, and another piece of the Daffodil delight chevron DSP from Rain or Shine Designer Series Paper.

This time, I used White Craft ink stamped on Basic Black card stock. Then, I paper pierced around the edge and used a white gel pen to connect the dots and give it a “stitched look”. The black card stock is layered on a piece of Whisper white with stampin dimensionals.

To finish off the card, I added a red button threaded with Bakers Twine.
Distressed Flower Card

distressed_flower

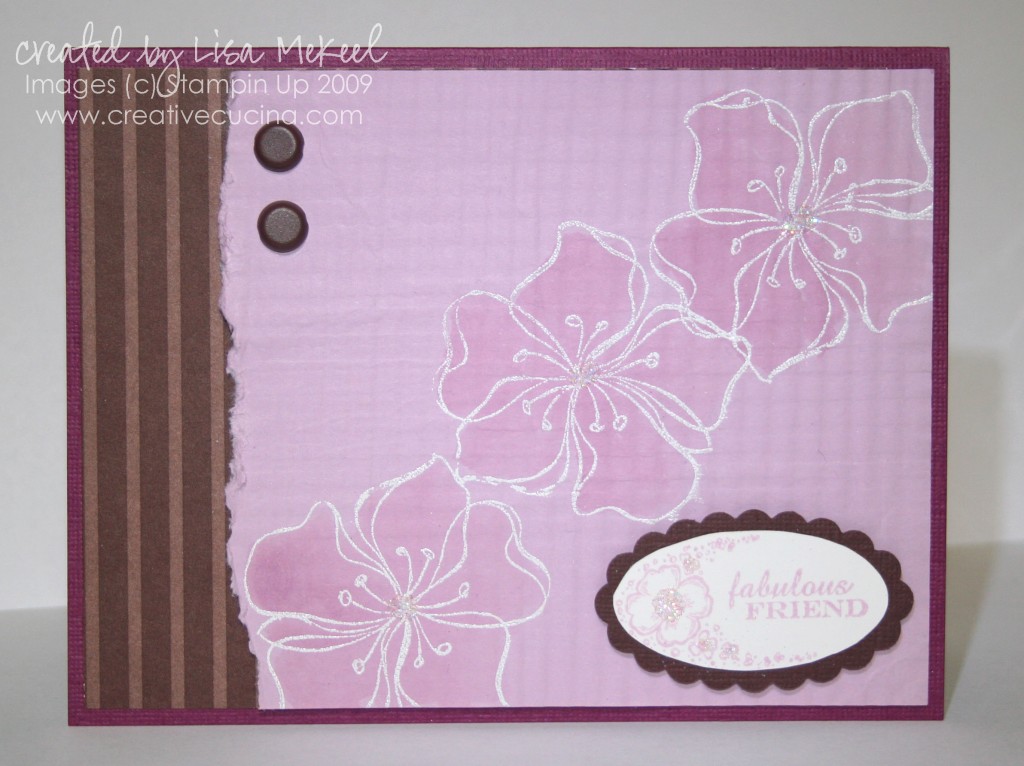
I decided to try something a little different than my usual style this time around. I guess I have a hard time with the distressed look because I always want things to be perfect! I’m kidding, but the more clean look is definitely my strong suit.

The base here is textured rich razzleberry, layered with a piece of Chocolate Chip DSP in the striped pattern.

As for the main image, I took a piece of Pale Plum card stock and put it through the Crimper a few times, both the long way and then again the opposite way. This produced a quilted look and really softened up the paper.

Next, I stamped the flower from Embrace Life in white craft ink 3 times, following with White Embossing Powder and heat gun. To color in the flowers, I used Pale Plum ink and Aquapainter just to makethem stand out a little more. In the center of each flower, I added a bit of Dazzling Diamonds.

Before adhering the pale plum layer, I tore the edge and curled it up a bit with my Bone Folder. Then, I adhered it to the Chocolate Chip DSP and using the Cropadile, added 2 Basic 5/16″ Brads in brown. That was then attached to the card base using SNAIL adhesive.

Finally, I stamped the “fabulous friend” from Oval All in Pale Plum ink on Whisper White card stock, punched it out with the Large Oval Punch and layered it with a chocolate chip Scallop Oval Punch. In the center of the pale plum flower, I also added more Dazzling Diamonds and attached the whole thing to the card front with dimensionals.

Tis the Season to Get Krafty

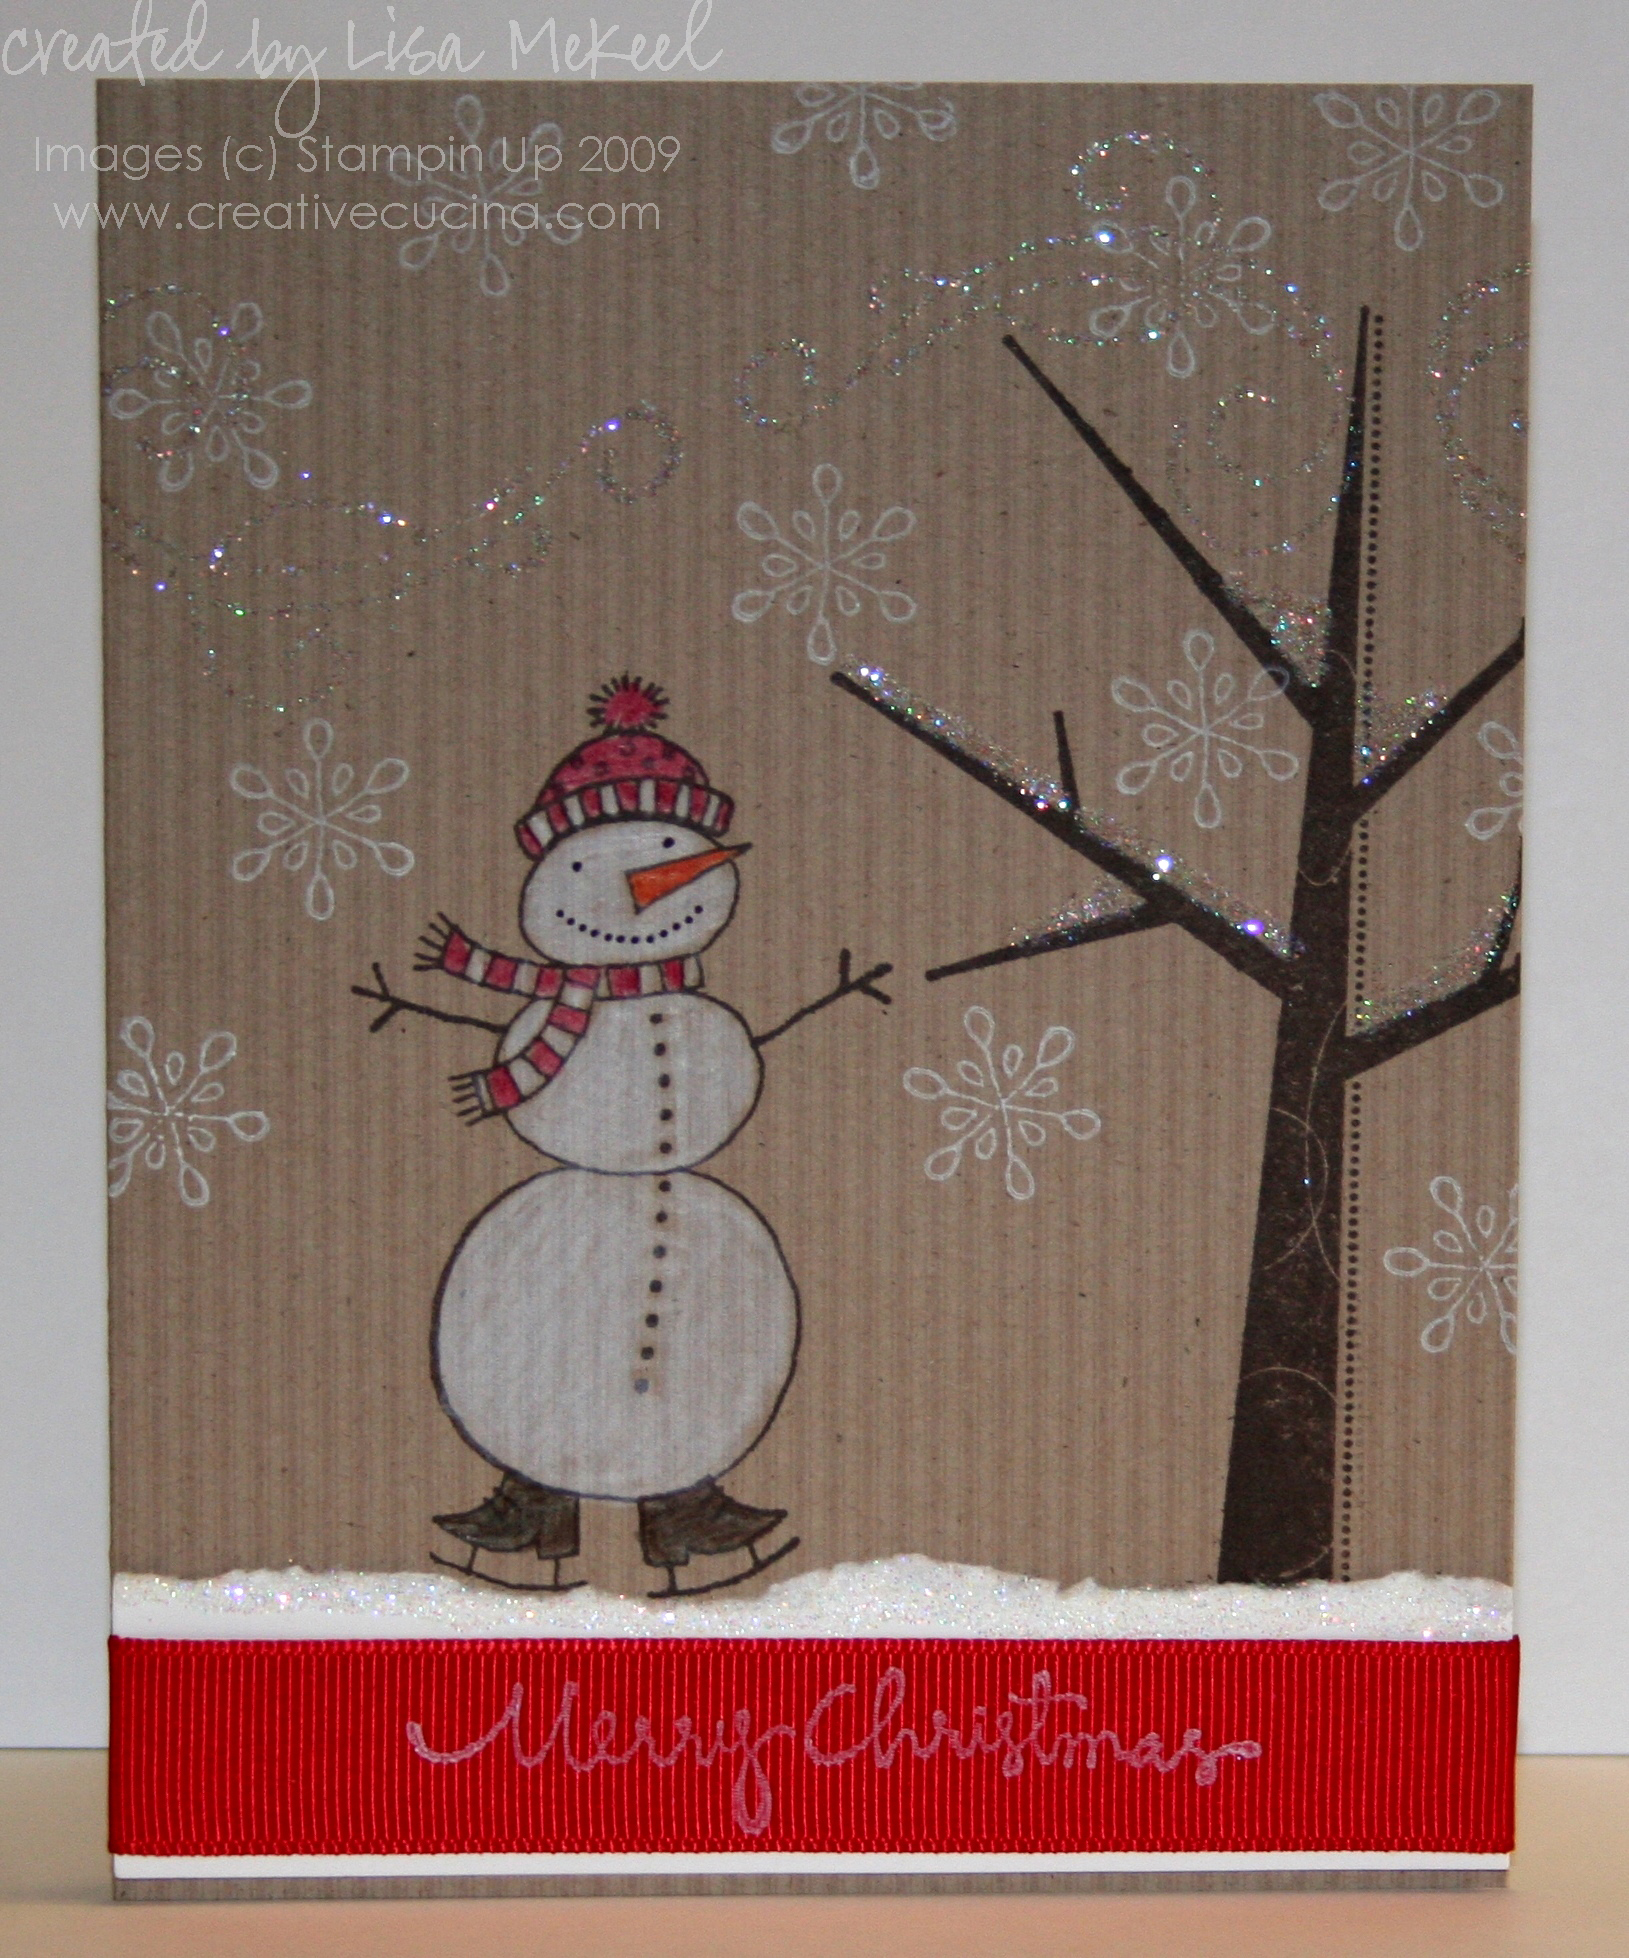
Today, I decided to break out the last 12×12 sheet of Striped Kraft cardstock (from Taste of Textiles) in my stash. I’ve always wanted to try stamping directly on the Kraft and then coloring in with white pencil. I’m not sure if that technique has a name, but I’ve always wanted to do “that”.

As I said, the card base is striped kraft (from retired Taste of Textiles) stamped with the tree from Season of Joy in Stazon Brown ink. The snowman is from Snow Buddies, stamped in Stazon Brown ink and colored in using Watercolor Pencils.

In the background, I stamped the snowflake from Snow Buddies in White Craft ink. The glittery swirl image, from the same stamp set, is stamped in Palette Glue Pad, then stamped on the paper. I added Dazzling Diamonds immediately after stamping. Along the branches I used my MS Glue Pen and Dazzling Diamonds glitter to make snow.

Along the bottom of the card, I took whisper white card stock and tore it for a snowy effect. To make it even more sparkly, I ran my glue pen along the torn edge and added more Dazzling Diamonds. Although hard to see in the picture, I also stamped “Merry Christmas” from Christmas Greetings in White Craft ink on the 5/8″ Real Red Grosgrain Ribbon. Then, I wrapped the ribbon around the white card stock and adhered it to the base.

Bad Behavior has blocked 945 access attempts in the last 7 days.

css.php