Here are several cards made with Elements of Style. It’s a popular stamp but it’s not the style I normally gravitate toward. My upline (hi Cindy!) asked me to help her come up with some ideas for swaps using this set and these are the results:
Version 1
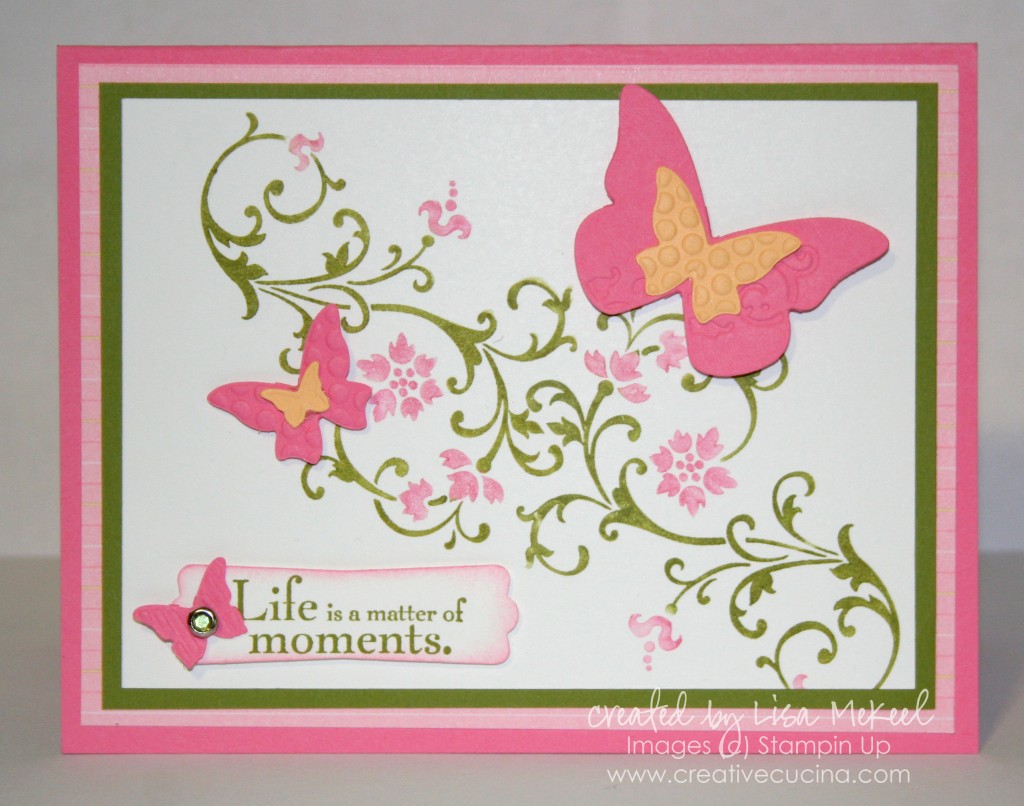 Stamps: Elements of Style; Card stock: Regal Rose, Shades of Spring DSP, Old Olive, Whisper White, Apricot Appeal; Ink: Old Olive Marker, Regal Rose Marker, Old Olive Classic Ink, Pretty in Pink Classic Ink; Accessories: Modern Label Punch, Beautiful Wings Embosslit, Big Shot, Sponge Dauber, Circle Rhinestone Brad, Dimensionals, Cropadile, Glue Dots.
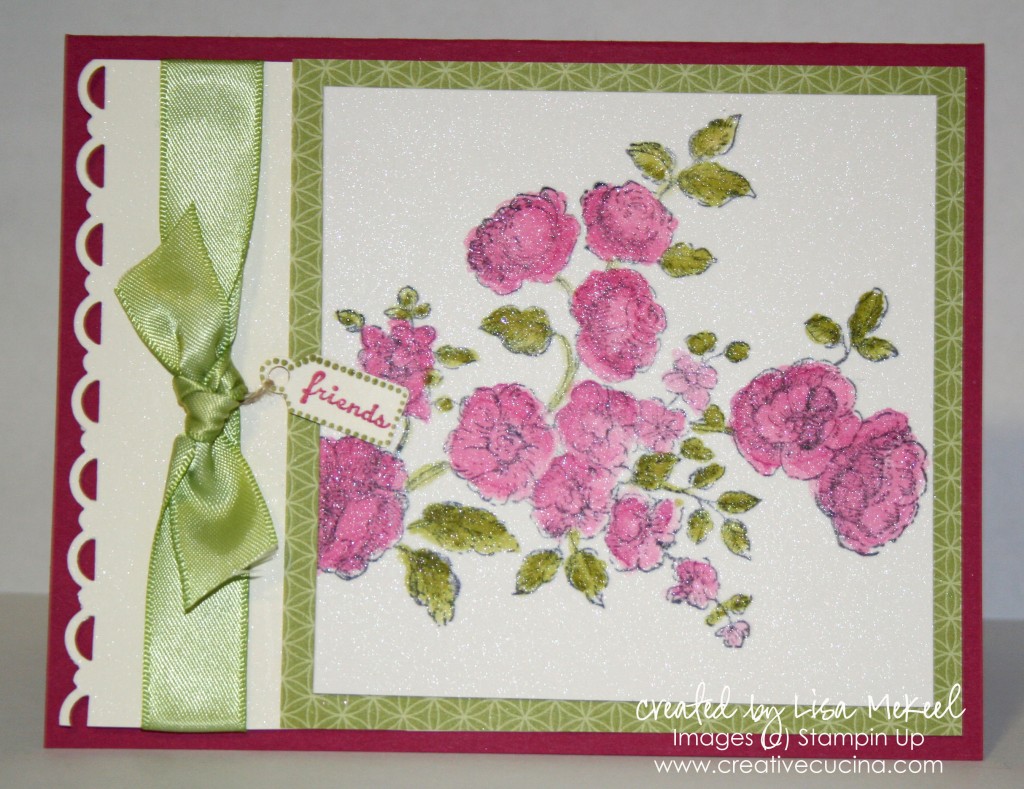
Version 2:
Stamps: Elements of Style, Tiny Tags; Card stock: Rose Red, Cottage Wall DSP, Very Vanilla, Watercolor Paper;Â Ink: Old Olive Marker, Rose Red Marker, Old Olive Classic Ink, Rich Razzleberry Classic Ink; Accessories: Scallop Trim Border Punch, Tiny Tag Punch, Linen Thread, Certainly Celery Satin Ribbon, Aquapainter, Champagne Shimmer Paint Spray (70% Rubbing Alcohol mixed with a few drops of Champagne Shimmer Paint).
Version 3
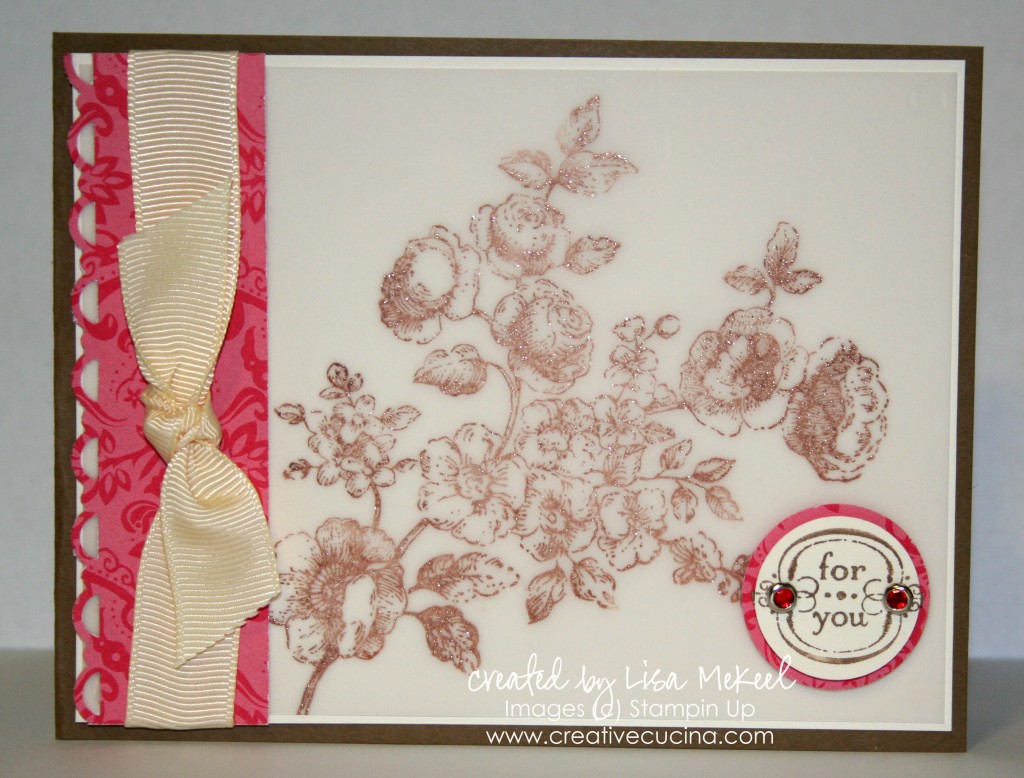 Stamps: Elements of Style; Card stock: Soft Suede, Very Vanilla, Real Red Prints Pack, Vellum Card Stock; Ink: Soft Suede Marker, Close to Cocoa Reinker, Champagne Shimmer Paint; Accessories: Sponge Dauber, 3/4″ Circle Punch, 1″ Circle Punch, Scallop Trim Border Punch, Very Vanilla 5/8″ Grosgrain, Circle Rhinestone brads, Mini Glue Dots, Cropadile, Dimensionals.
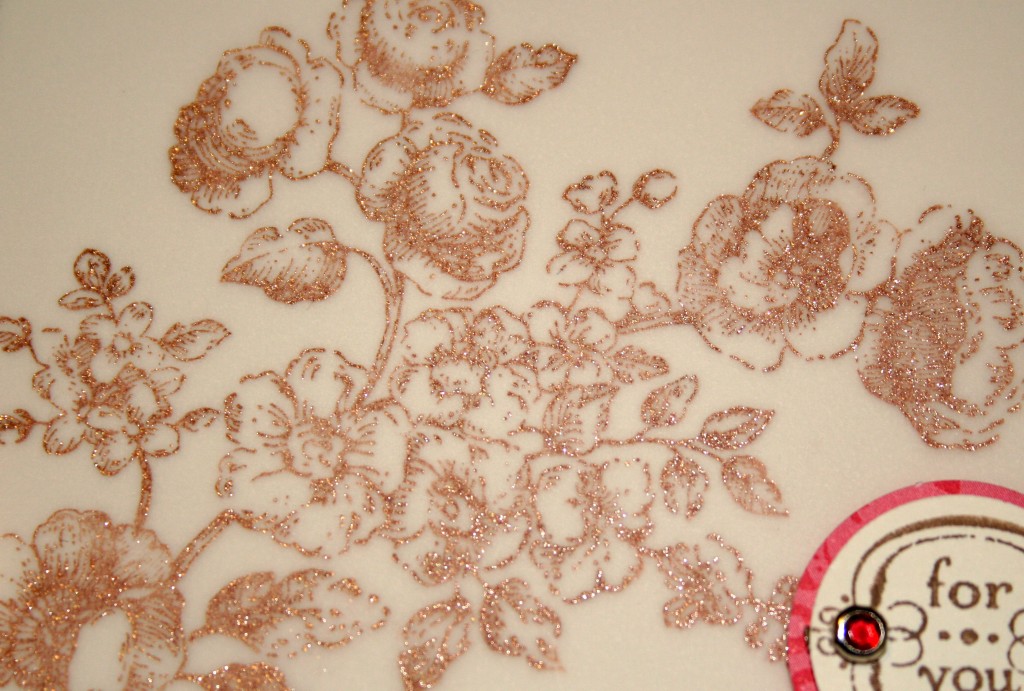 It’s hard to see in the picture, but I sponged a mixture of Close to Cocoa Reinker and Champagne Shimmer Paint directly on the image, then stamped it onto the vellum.
Version 4
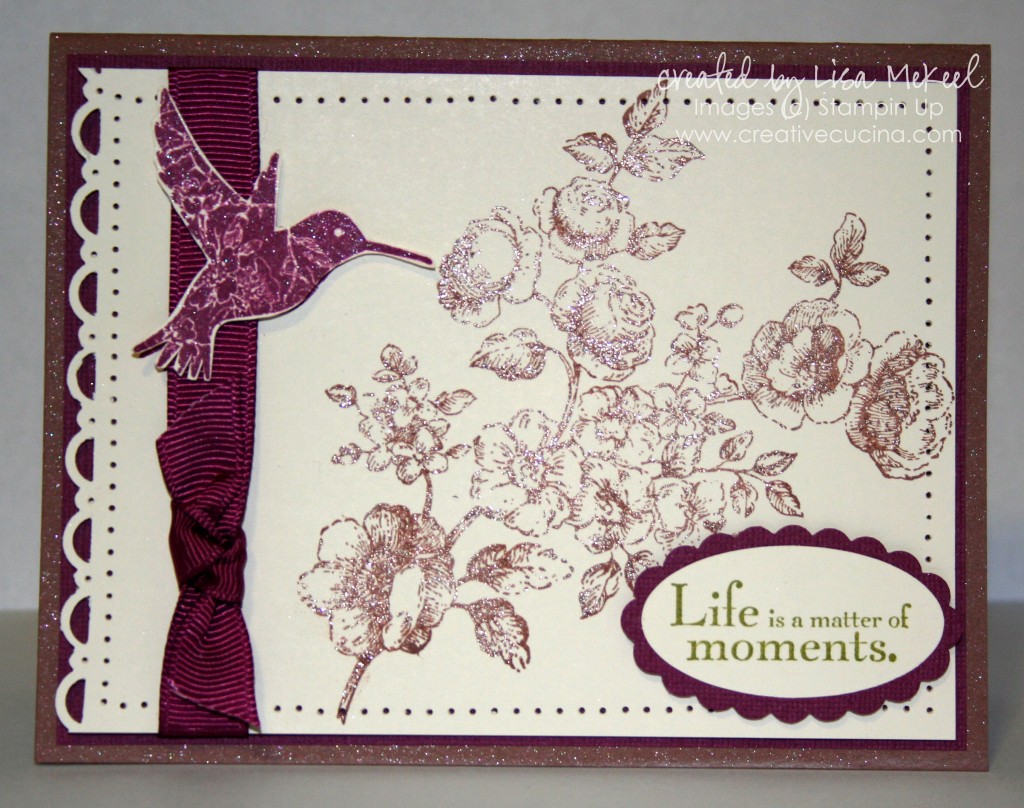 Stamps: Elements of Style; Card stock: Close to Cocoa, Rich Razzleberry, Very Vanilla; Ink: Old Olive Classic Ink, Rich Razzleberry Classic Ink, Close to Cocoa Reinker, Champagne Shimmer Paint; Accessories: Scallop Trim Border, Paper Piercer, Rich Razzleberry Polka Dot Ribbon, Scallop Oval Punch, Large Oval Punch, Sponge Dauber, Dimensionals, Cropadile, Glue Dots, Champagne Shimmer Paint Spray (70% Rubbing Alcohol mixed with a few drops of Champagne Shimmer Paint) (Shown here on the bird and the close to cocoa base).
Version 5: I think I hate the green butterfly. I may try a different color, maybe white with sponging, or black, or razzleberry?
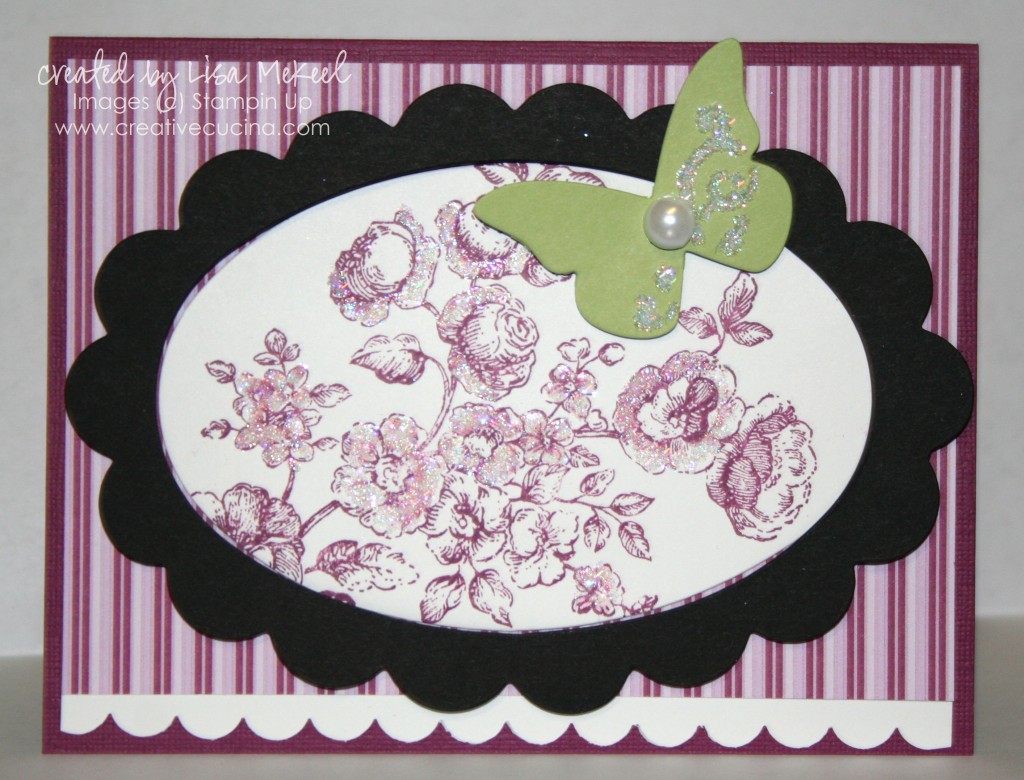 Stamps: Elements of Style; Card stock: Rich Razzleberry Textured Card stock, Cottage Wall DSP, Whisper White, Basic Black, Certainly Celery; Ink: Rich Razzleberry Classic Ink; Accessories: Big Shot, Oval Scallop Frame Bigz Die, Scallop Edge Punch, Glue Pen, Dazzling Diamonds, Beautiful Wings Embosslit, 1/2 Pearl (Pretties Bulk Kit), Dimensionals, Glue Dots.
