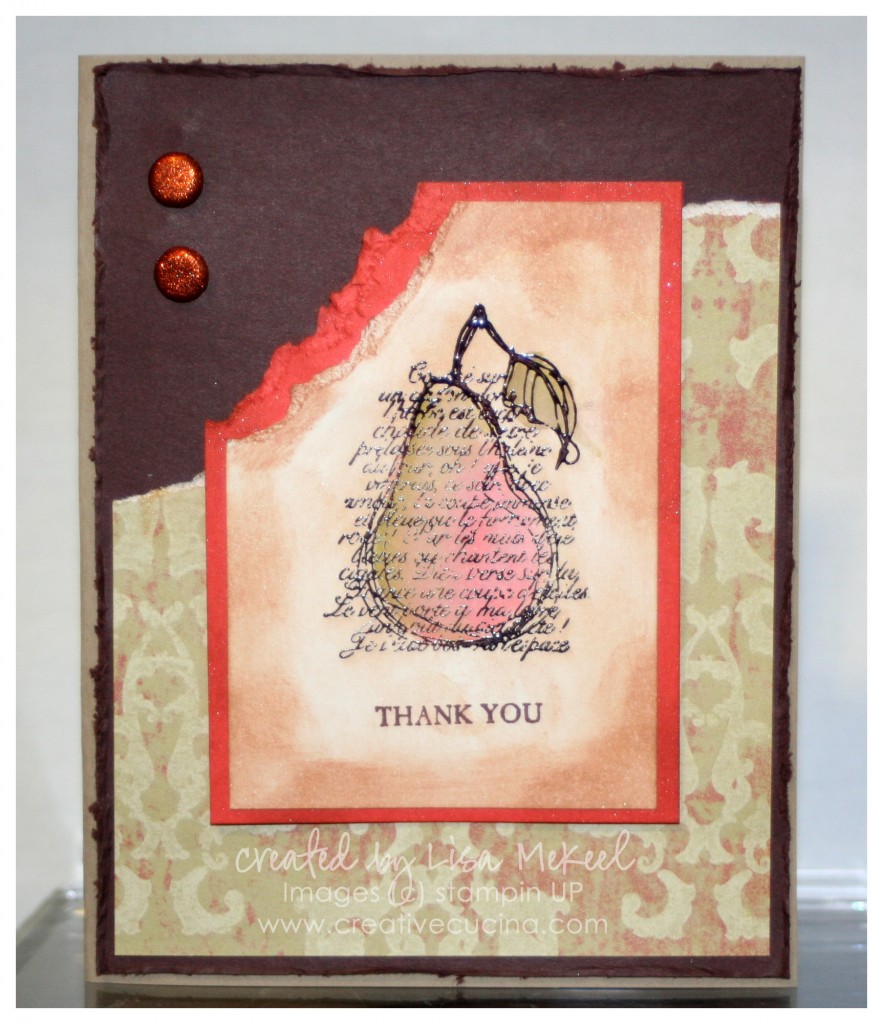
Pretty Pear {Faith in Nature}

Here, I made use of some distressing techniques. The stamp set featured is Faith in Nature, one of the Hostess Sets. I stamped the pear image with Chocolate chip craft ink on Whisper White and heat embossed it with clear embossing powder. Using the aquapainter, I colored in the pear with Lucky Limeade and Calypso Coral ink. The “thank you” sentiment is also from the same stamp set.

Next, I tore across the top corner of the card stock and used a sponge dauber with Creamy Caramel ink to distress the image layer. It was layered on Calypso Coral card stock, distressed in the same way as the image layer.

The card base is Crumb Cake card stock, layered with Chocolate Chip that was distressed along the edges using the distressing tool. A torn piece of  Well Worn DSP was also added to the card front. Since that paper is distressed looking, I didn’t need to do much to it other than tearing it and sponging it a bit. Finally, two orange glimmer brads finish off the card.
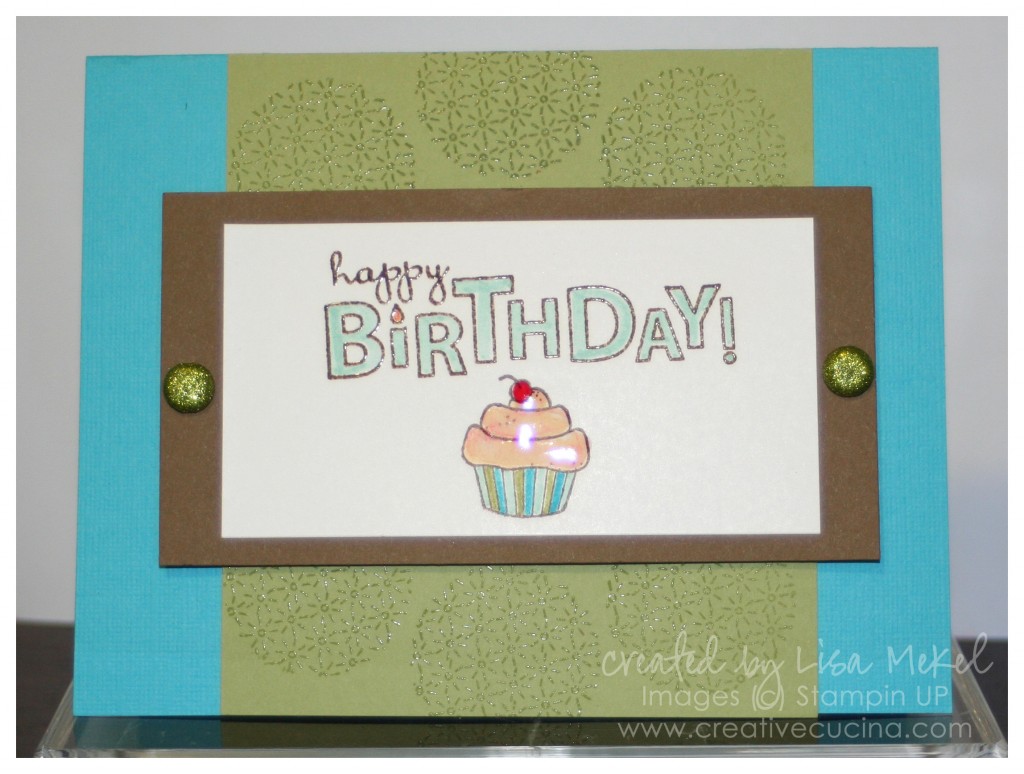
Bring on the Cupcake

The color combo used here is Tempting Turquoise, Pear Pizazz and Chocolate Chip. It’s a go to combination for me. By changing up the stamps, it works for boys or girls, women or men. In this case, it was for a boy’s birthday, but just as easily could be appropriate for anyone.

I stamped the Pear Pizazz layer with Hello Friend (available July 1st) in Versamark ink and heat embossed with Clear Embossing Powder. “Happy Birthday” is from Bring on the Cake, stamped in Chocolate Chip craft ink and Clear Embossing Powder. I colored in the letters with new In Color Pool Party Marker.

The cupcake is a non-SU stamp that I colored in with SU Markers and topped off with Crystal Effects. On either side, I added Glimmer Brads. (I love them–I don’t use them enough!)

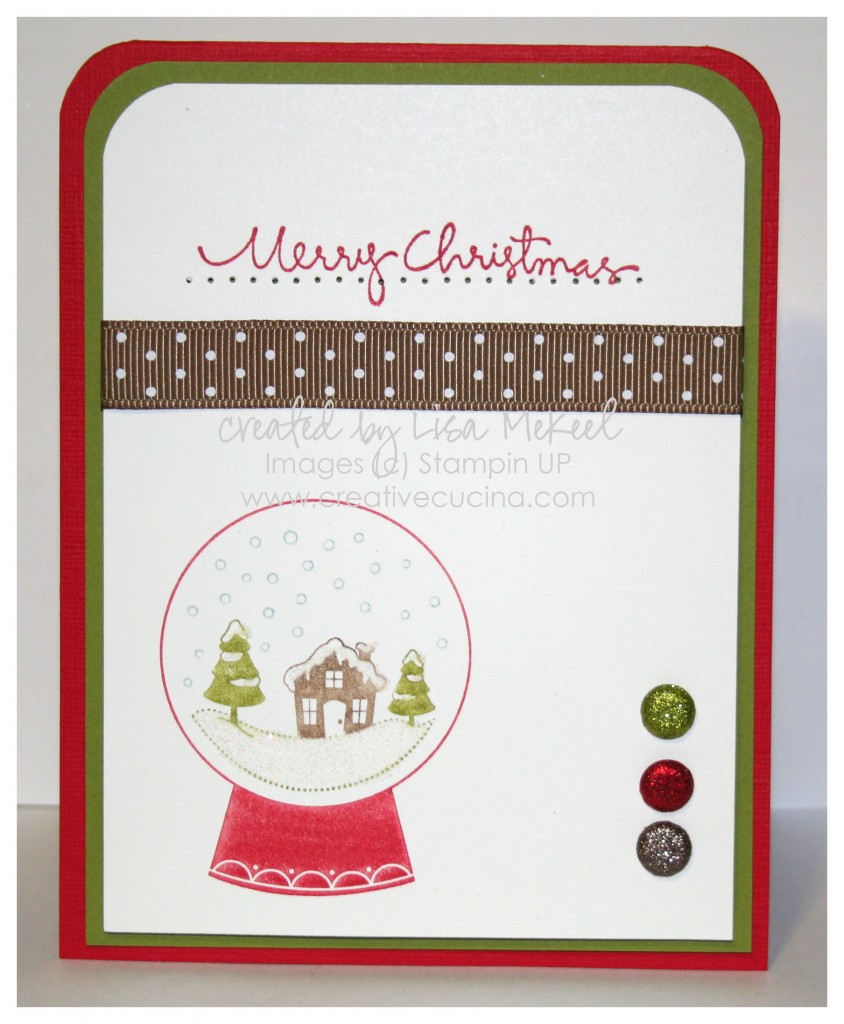
Simple and Sweet Snowglobe Christmas Card


This is a sample Christmas card I made for my sister using Sweet Snowglobe from the Holiday Mini Catalog. It’s a single stamp, offered for $8.95 and it coordinates with the Sweet Treat Cups. Since this is going to be mailed, I decided not to use the cups (postage for 40+ cards would be crazy!)

For the base, I used Real Red Textured Card stock, layered with Old Olive and Whisper White. The top corners of each layer were rounded with the Corner Chomper, but you could also use the Corner Rounder Punch on the two single layers.

I used the SU Markers to color the snowglobe (Real Red, Soft Suede, Baja Breeze and Old Olive). Then, I added some Dazzling Diamonds to the snowy parts with the 2 Way Glue Pen.

To continue the glittery theme, I added 3 Glimmer Brads (in Real Red, Old Olive, and Soft Suede–Brights and Neutrals collection). By using the cropadile, I made sure each brad would be lined up.

Across the top, I stamped “Merry Christmas” from Christmas Greetings in Real Red ink, paper pierced below it and added some Soft Suede Polka Dot Grosgrain Ribbon.

The White layer is adhered with stampin dimensionals to the base.

And yes, I know it’s September and I just made a Christmas card. It’s a sickness!

🙂

Bad Behavior has blocked 351 access attempts in the last 7 days.

css.php