Happy Birthday! Coffee Cup Slider Card Tutorial

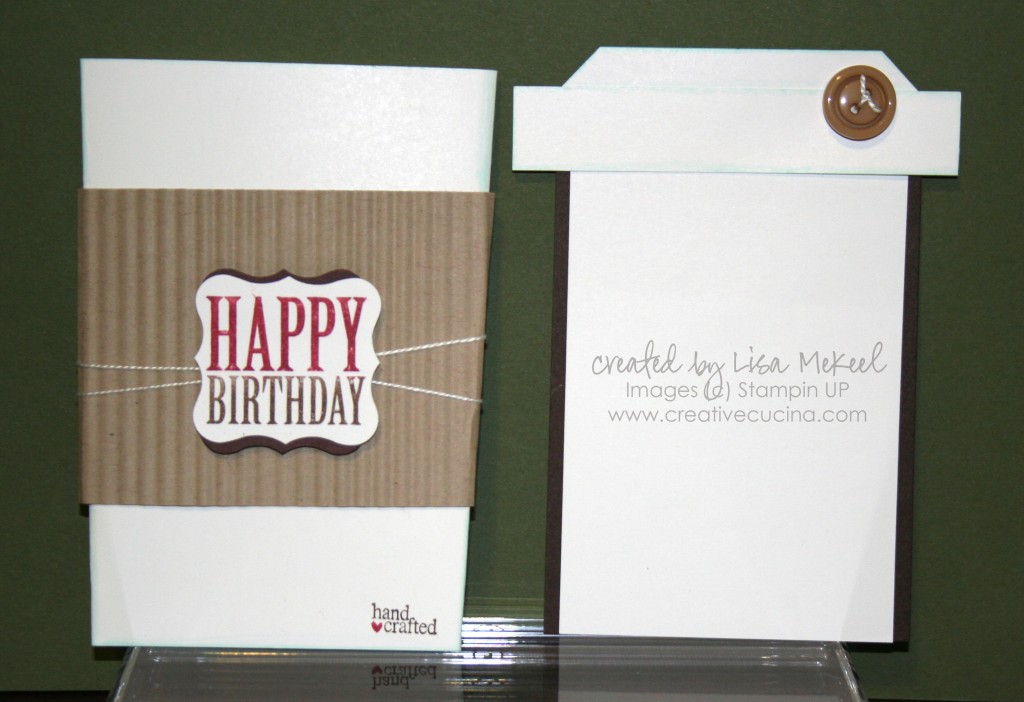
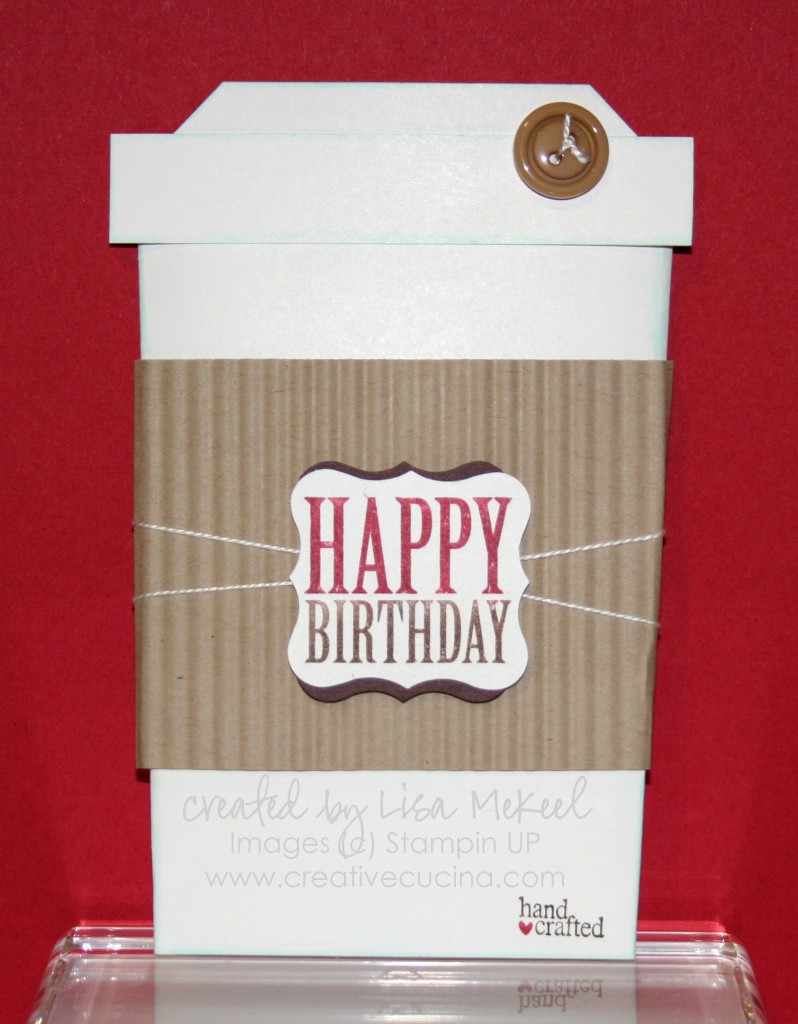
I was inspired by this card from the very talented Ilina Crouse and just had to try making my own version. This is a slider card, which I’ve made before, except in the shape of a coffee cup. Even though the shape is different, the same principal applies. I’ll list the supplies first, then go into directions below.

Supplies Card Stock: Whisper White, Early Espresso, and Crumb Cake; Ink: Early Espresso and Cherry Cobbler Marker, Copic Marker BG00 for shading; Stamps:Afterthoughts, Tiny Tags; Accessories: Designer Buttons (Neutrals), Crimper, Curly Label Punch, Stampin Dimensionals, White string, Sticky Strip, Tag Punch, glue dots.

Creating the Coffee Cup Slider Card:

Step 1:

Cut Whisper White card stock to 8 1/2″ x 7″. Fold each side  in on a slight angle as shown to create the cup. Make sure the distance between the folds at the bottom is 3 1/8″ (see photo below). Glue the flaps along the bottom of the cup closed with Sticky Strip, keeping the seal as close to the bottom as possible. Put more sticky strip along the edges of the back flap of the coffee cup and adhere it down. Do NOT seal the inside of the cup closed–you are creating a pocket.

Step 2:

Place the sealed cup onto a paper cutter and line up the bottom of the cup at 4 3/4″, cutting straight across to remove the excess at the top/mouth of the cup.

Step 3:

To make the slide out insert, cut a piece of Early Espresso card stock 4 1/2″ x 3″; and Whisper White card stock 4 1/2″ x 2 3/4″. Layer the Whisper White card stock onto the Early Espresso and adhere with SNAIL.

Step 4:

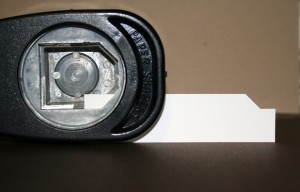
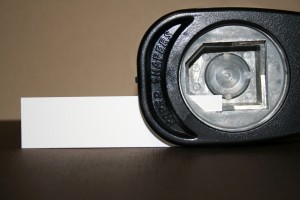
The lid is made using a 1″ x 4″ strip of Whisper White card stock. Using one corner of the Tag Punch, punch both ends of the strip to create the lid shape (see photos below).

Step 5:

For the lip around the lid, cut Whisper White card stock 4″ x 3/4″. Adhere it to the lower portion of the lid piece and trim the sides if necessary.

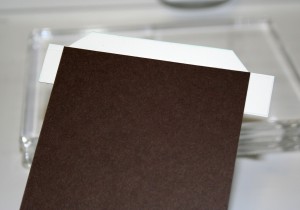
To attach the lid to the insert, take 1 piece of Sticky Strip about 2 3/4″ long and place it along the top edge of the insert. Attach the lid by lining up the top edge of the lip with the top edge of the insert (see photo below). This will leave the bottom part of the lid free, allowing it to hang over the front of the cup.

Step 6:

For the sleeve, cut Crumb Cake card stock to  7 1/2″ x 2 1/2″ and run it through the Crimper. Fold it around the coffee cup, adhering the back flap with Sticky Strip. A few small glue dots on the back keep it secure to the cup.

Step 7:

Stamp “Happy Birthday” from Afterthoughts on Whisper White card stock, inking up just part of the stamp with Cherry Cobbler and Early Espresso Markers. Punch it out with the Curly Label Punch. Layer onto Early Espresso or Chocolate Chip card stock punched with Curly Label Punch, rotating the brown piece 90 degrees.

Step 8:

Wrap some white string around the sleeve and attach the sentiment with stampin dimensionals. Add a designer button to the lid using white string and a glue dot. I added the “hand crafted” stamp from Tiny Tags in the lower corner of the cup using the Early Espresso and Cherry Cobbler Markers. Optional: Trace around the edges of the lid, lip, and cup with Copic BG00 for some shading.
Pick a Petal Chalkboard Technique Card

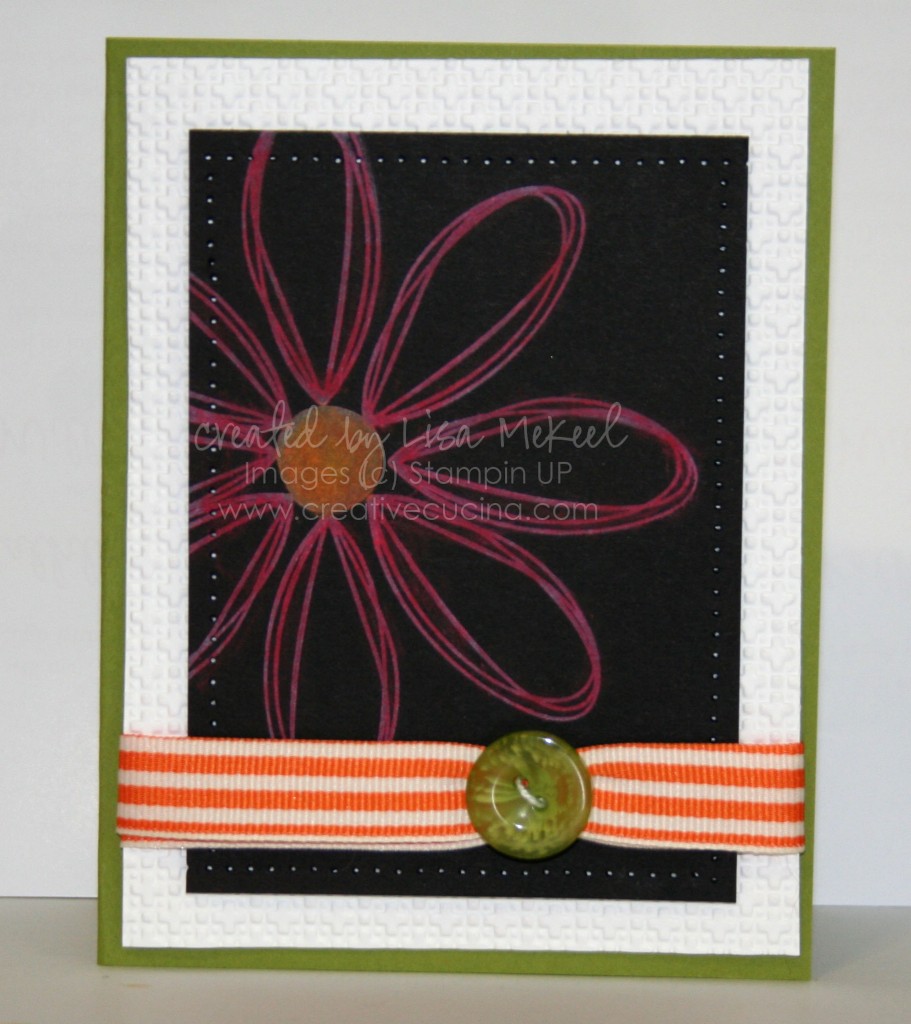
The chalkboard technique, by nature of having to use dark card stock, sometimes results in a drab card. The chalk colors certainly help to brighten it up, but something about stamping on a black background is just counter-intuitive! So, I decided to use bright colors paired with the black to liven up the card a bit.

Card base is Old Olive, layered with Whisper white embossed with the Square Lattice Embossing Folder and the Big Shot. I stamped the flower from Pick a Petal on Basic Black card stock with White Craft ink. Then, I used the Stampin Up Pastels to color in the image with Rose Red and Pumpkin Pie chalk.

Here is a tip when using this stamp set: I like to start with the center of the flower first, then stamp my petals at 12, 3, 6, and 9 o’clock. Go back and stamp between each petal for an evenly spaced flower!

After rubbing the excess chalk off the card stock with a dry tissue, I paper pierced around the edges. Adhere the Basic Black layer to the embossed White layer with stampin dimensionals.

The ribbon along the bottom of the card is 1 1/4″ Pumpkin Pie Striped Grosgrain Ribbon, folded in half. I used some white string to loop through the button holes, then tied it around the folded ribbon, cinching it with a knot. The button is a large Old Olive button from the Bold Brights Buttons. A tiny glue dot on the back of the button helps it stay flat on the card. Adhere the ribbon edges to the back of the Whisper White layer with SNAIL or other adhesive.

For the last step of assembly, use stampin dimensionals to adhere the white and black layers to the Old Olive base.

Elegant Soiree Card Trio

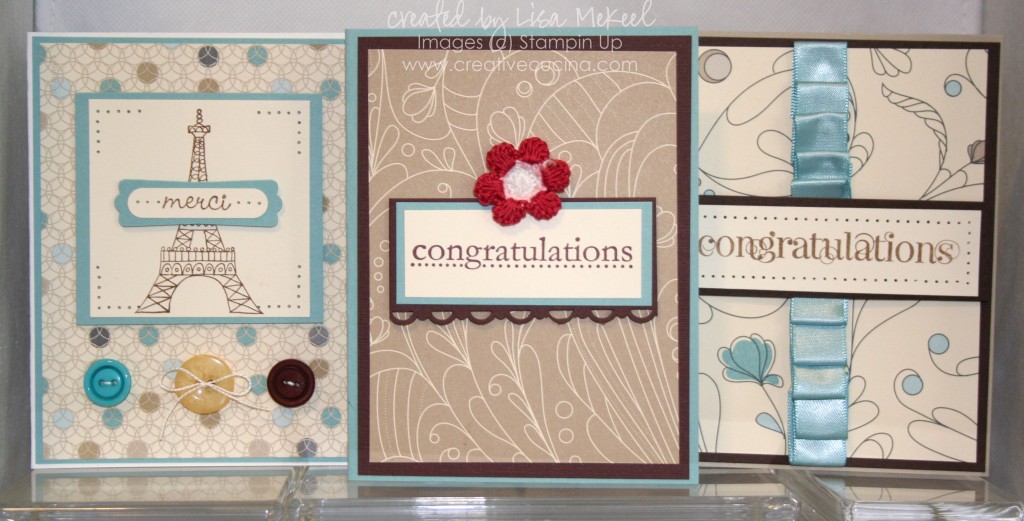
OK I am officially in love with this Elegant Soiree Designer Series Paper. I knew I was going to like it from looking at the new catalog but having it in my hands and using it–WOW! The colors are great: Crumb Cake, Baja Breeze, Very Vanilla, Soft Suede, and Basic Gray.

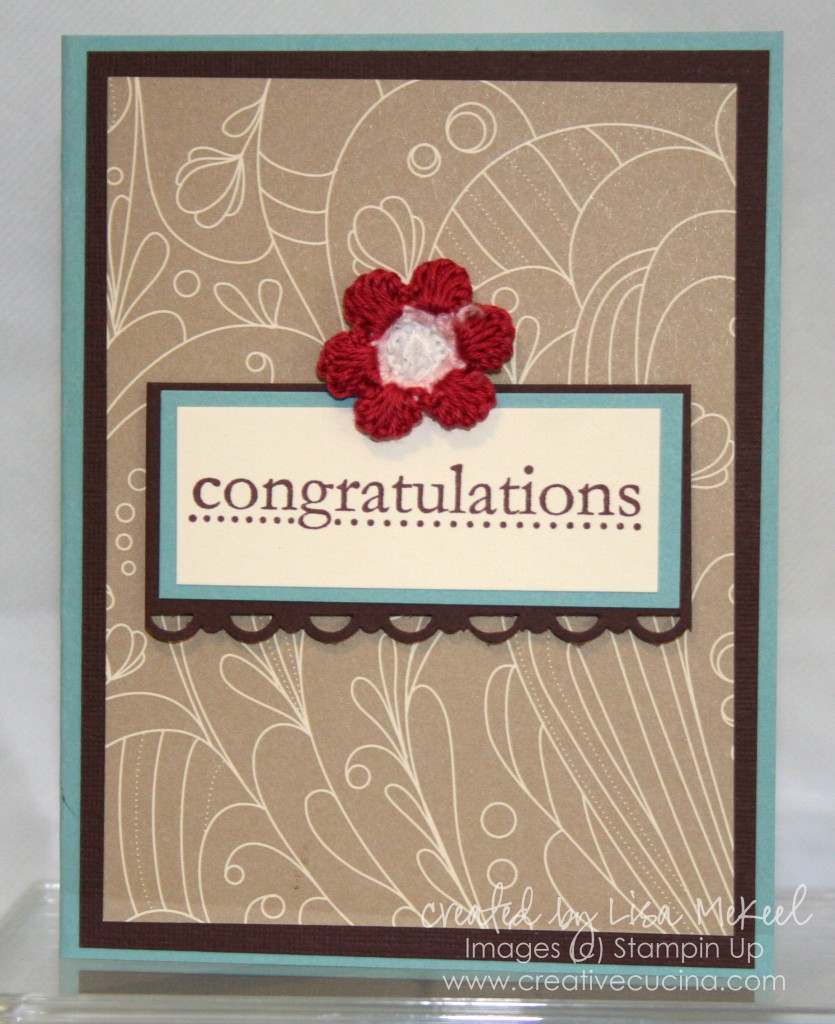
Card number 1 is a simple congratulations card, and uses a few retired items. I have to use up the old to make room for the new, right?

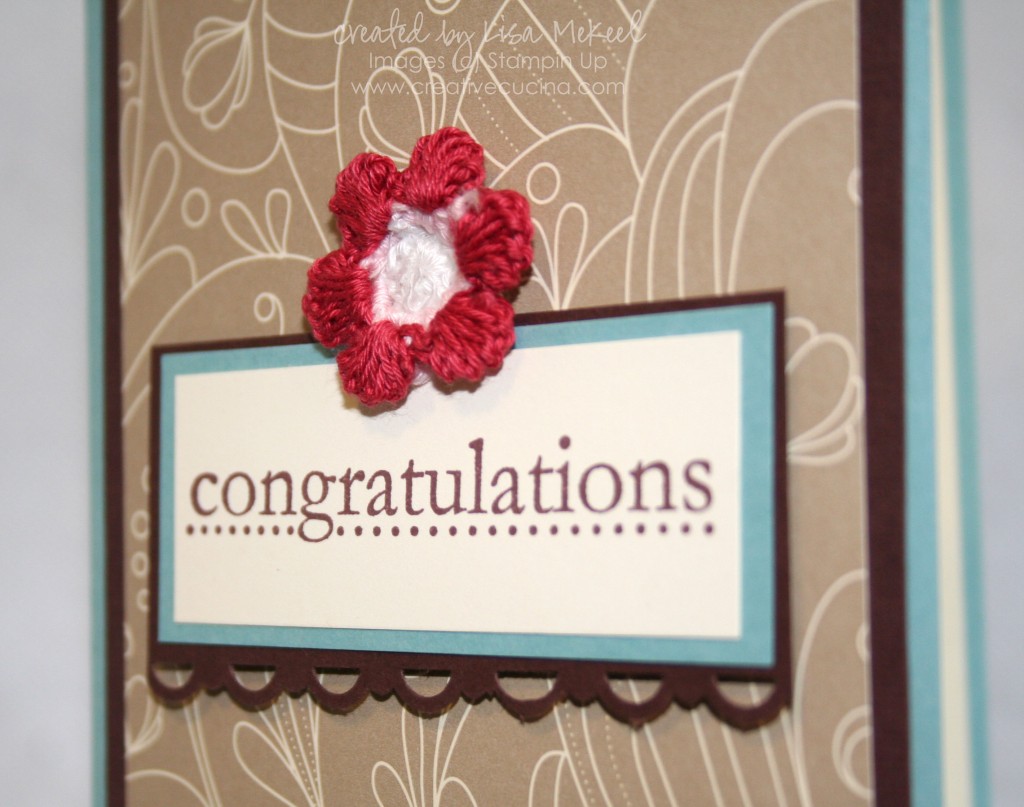
For the base, I used Baja Breeze, layered with Chocolate Chip and Elegant Soiree Designer Series Paper. The sentiment is from  Congrats (retird SAB set) stamped with Chocolate chip ink on Very Vanilla. I layered the Vanilla on Baja Breeze and Chocolate Chip, scalloped with the Scallop Trim Border Punch.

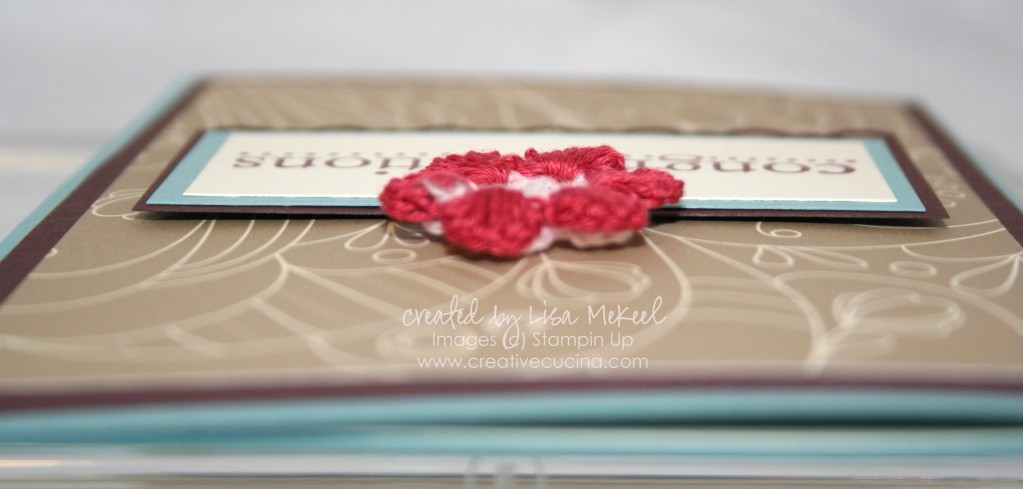
I attached the sentiment layer to the base with stampin dimensionals and added a Crochet Flower (Fleurette) with a stampin dimensional as well.

The Fleurette is actually on backwards, but I didn’t want the pink to show so I used the reverse side. I think the pop of red works on the card because everything is so neutral.

It’s hard to pick a favorite, but I think this might be it. Even though I used up the last of my Valet Ribbon Originals Baja Breeze Satin Ribbon (it was so worth it).

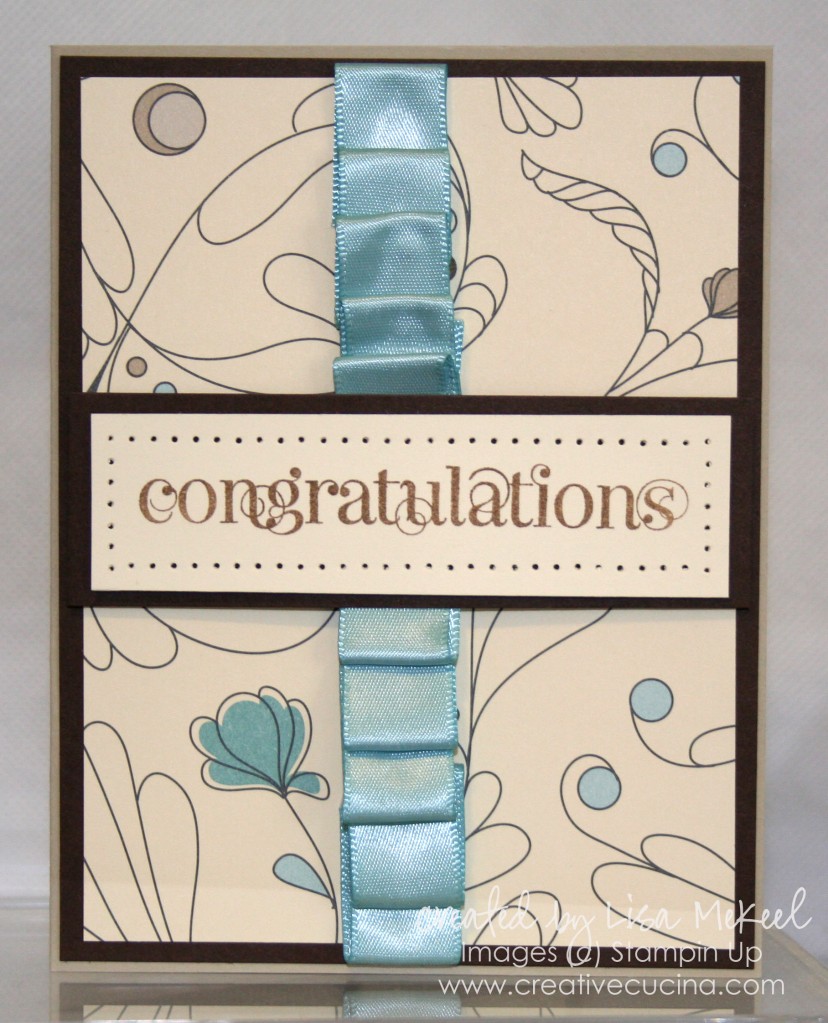
The base is Sahara Sand, layered with Early Espresso and this awesome Elegant Soiree DSP pattern. I folded the ribbon and used mini glue dots to secure each fold. Then, I adhered the ribbon to the card with some more glue dots.

Across the front, I stamped “congratulations” from Curly Cute in Soft Suede ink on Very Vanilla card stock. I paper pierced around the sentiment and framed it with a layer of Early Espresso. I added two stampin dimensionals to the ends and attached it over the ribbon, adhering it to the base.

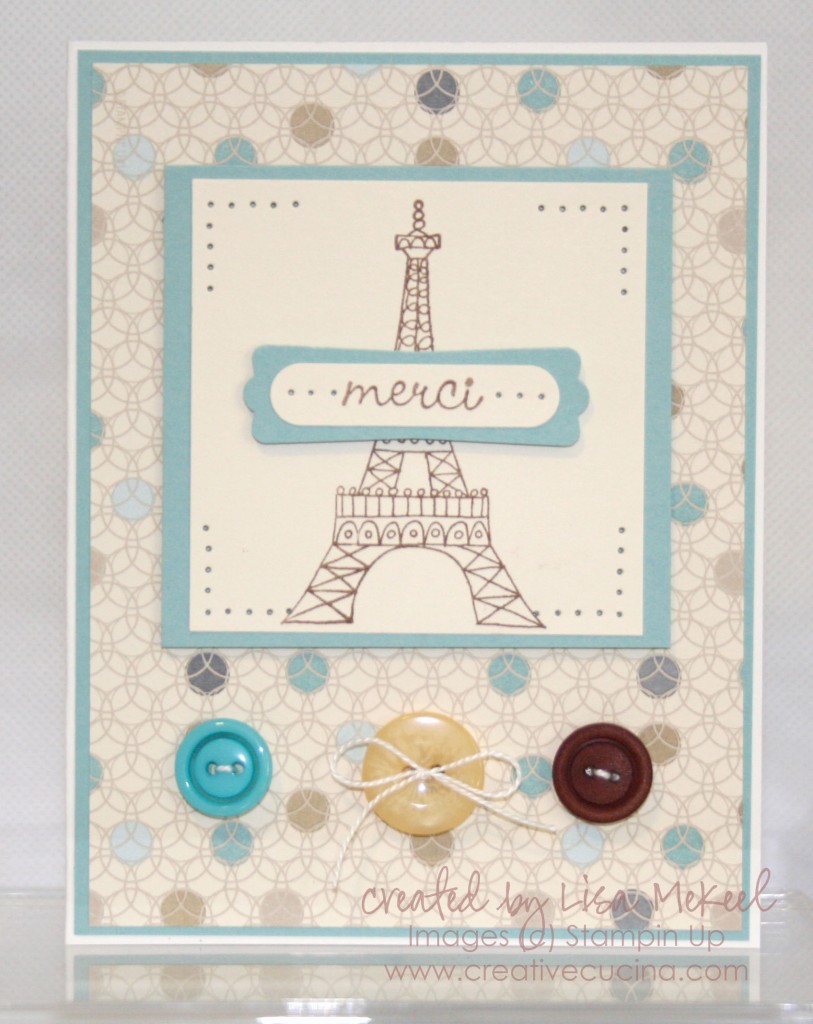
Finally, card number 3 turned out even cuter than I imagined. The base is Gina K Luxury White base weight, layered with Baja Breeze and yet another pattern from Elegant Soiree DSP.

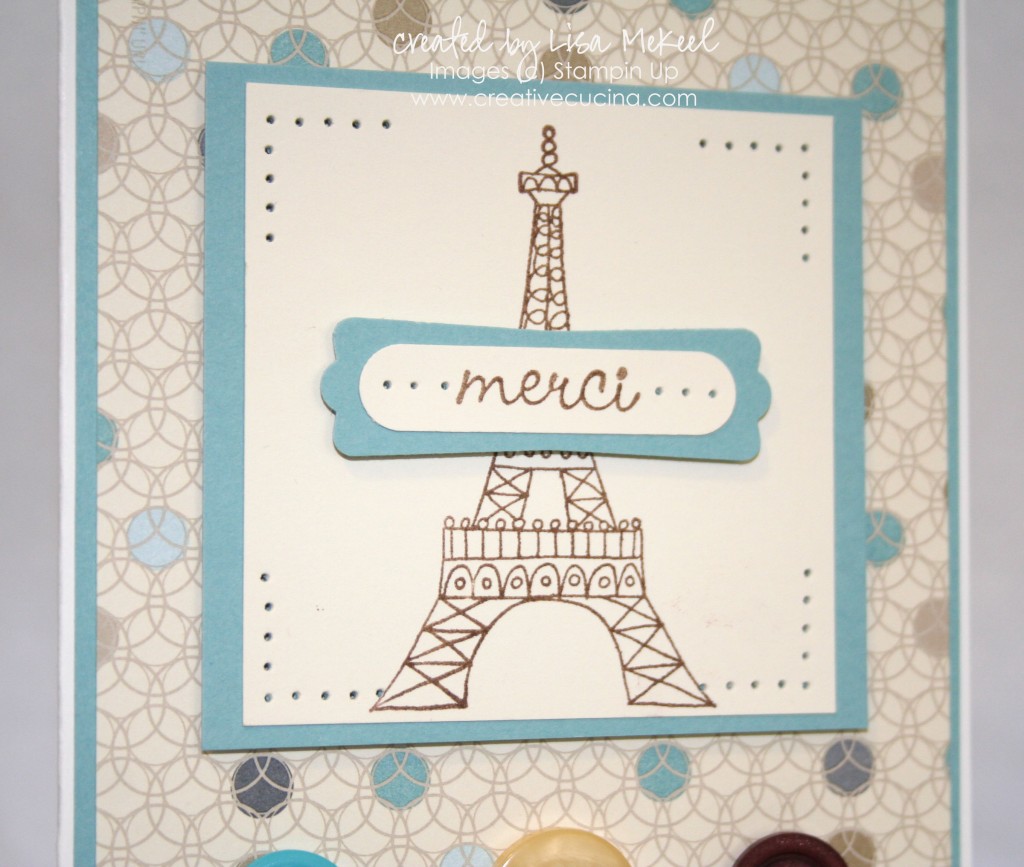
In keeping with the french theme, I stamped the Eiffel Tower image and “merci” from Chic Boutique with Soft Suede ink on Very Vanilla card stock. I paper pierced just the corners of the main image and matted it on Baja Breeze. The sentiment is punched out with the Word Window Punch and layered on Baja Breeze Modern Label Punch. I paper pierced on either side of the sentiment as well. That was attached to the base with stampin dimensionals.


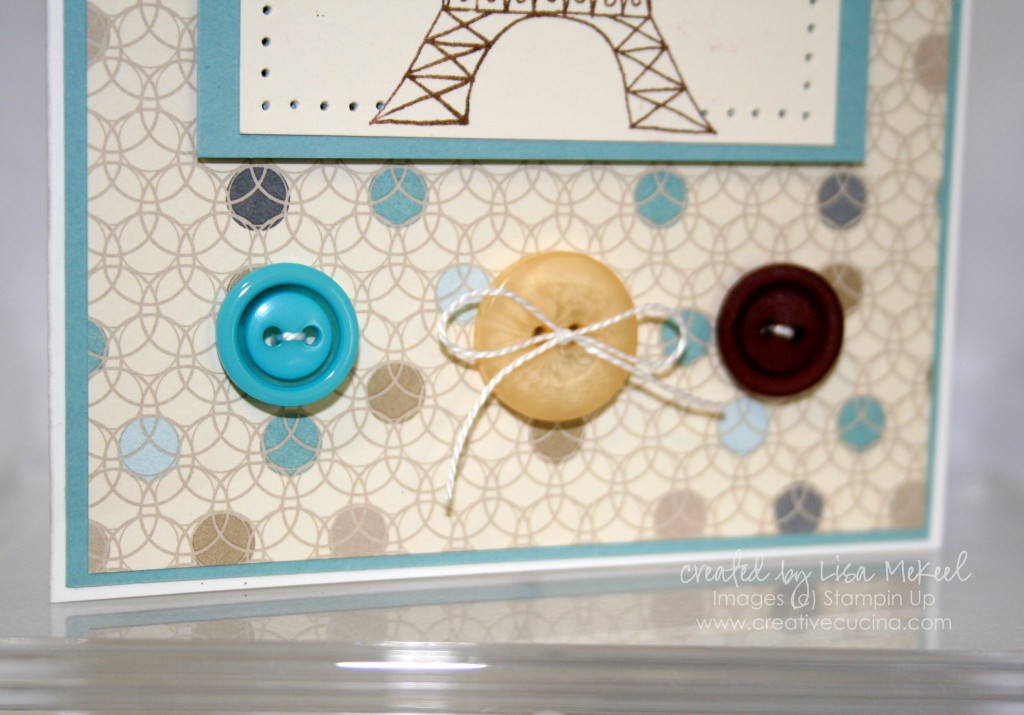
And since I turned into a button freak, I had to add three buttons to the bottom. Even though the colors are not exact, I think they work. Buttons are from Button Latte and Brights Collection. I tied some white string through them, and knotted the one in the center to make a bow. I think it makes the card!

Bad Behavior has blocked 252 access attempts in the last 7 days.

css.php