Archives for 2010

Something Sweet Gumball Machine for Boys

gumball_boy

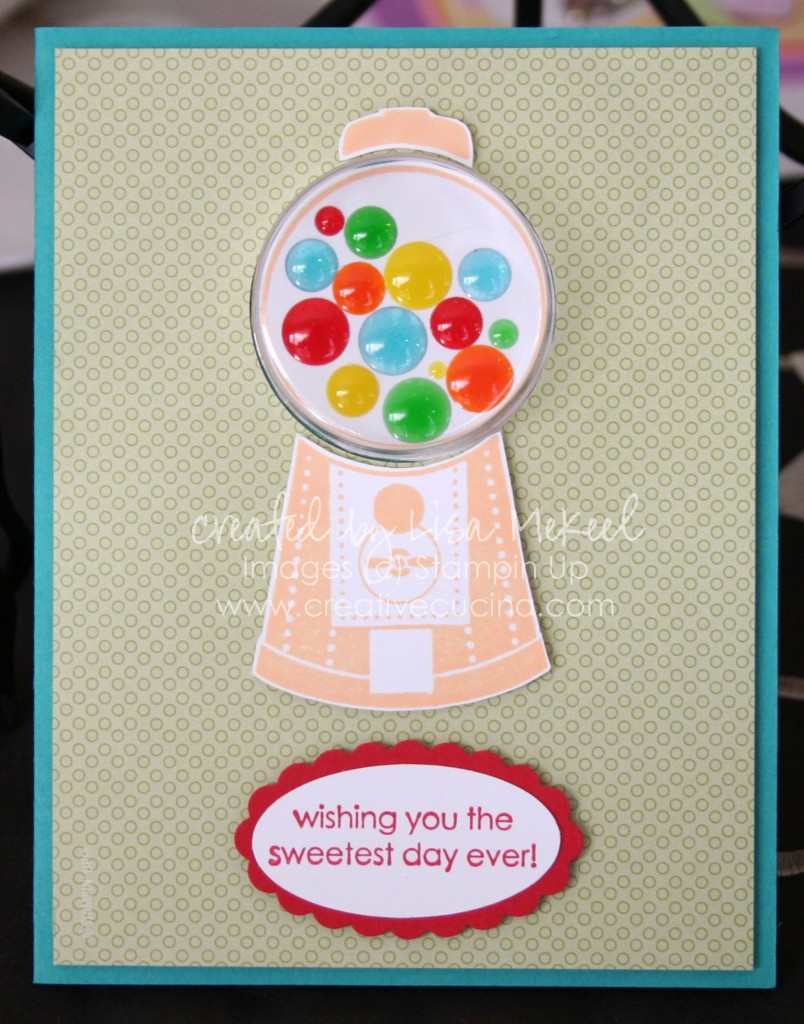
When I play with a stamp set, I like to make a few cards at once. It gives me a chance to try out different ideas, all of which won’t work on just one card. Yesterday I made gumballs with Circle Rhinestone Brads. Today, I used Rain Dots in these bright gumball colors.

The card base is Tempting Turquoise, layered with Tall Tales Designer Series Paper. The gumball machine from Something Sweet was stamped in Apricot Appeal Ink on Whisper White card stock. I trimmed the bottom part with scissors and the top circle was punched with the 1 3/4″ Circle Punch. I added the adhesive backed Rain Dots to the circle portion and set them aside.

Before adhering the DSP to the base with Stampin Dimensionals, I punched a hole in the DSP with the 1 3/4 Circle Punch. I added a Sweet Treats Cup and removed the adhesive ring. Then, I put the circle with the Rain Dots behind the Sweet Treats Cup so that the edges of the circle touch the adhesive ring. This helps hold the circle in place. The bottom of the gumball machine was then adhered with Stampin Dimensionals.

Finally, I stamped the sentiment from Something Sweet in Real Red ink on Whisper White, punching it out with the Large Oval Punch and layering it onto a Real Red Scallop Oval Punch. That was attached to the base with Stampin Dimensionals.
Something Sweet Gumball Machine Card for Girls

gumball_girl

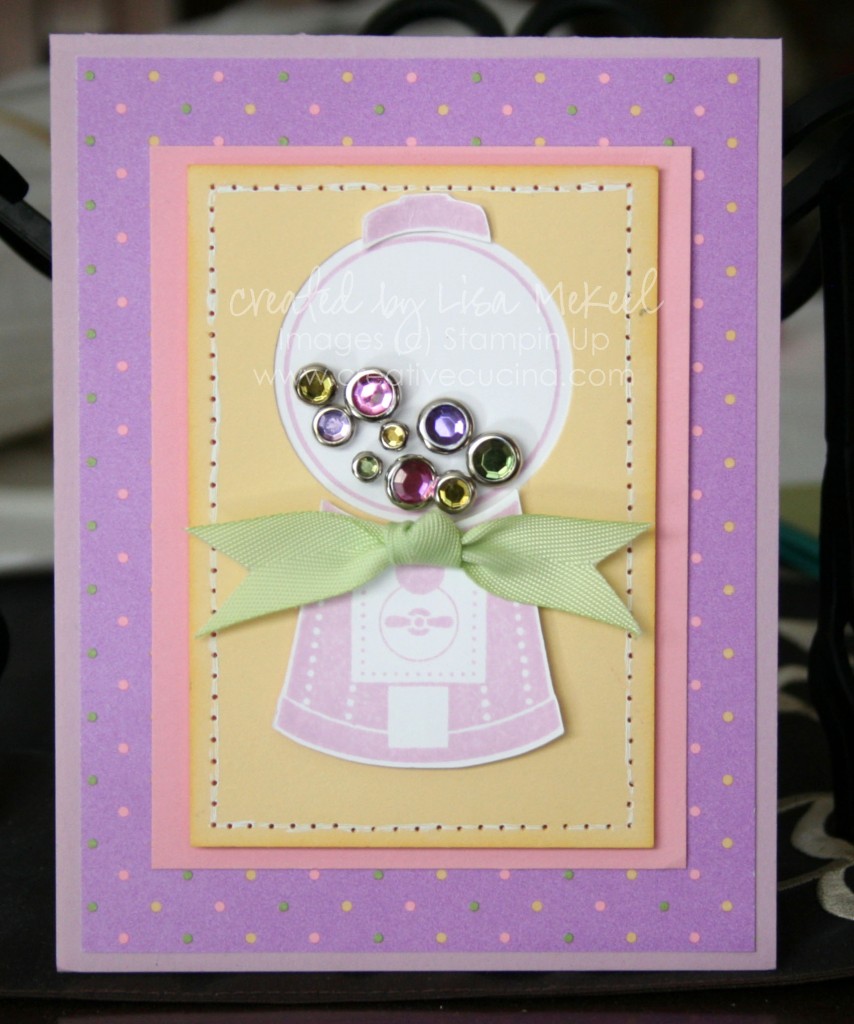
So cute! This gumball machine is too cute, and I’m thinking of lots of different things to fill it with! The Sweet Treat Cups also coordinate with this stamp set so you can make a real life gumball machine of your own!

The card I made uses Pale Plum card stock, layered with Shades of Spring Designer Series Paper in a fun polka dot pattern. I stamped the gumball machine from Something Sweet in Pale Plum ink on whisper white card stock. I cut it out with my paper snips. Then, I stamped the circle/glass part of the gumball machine in Pale plum ink, also on whisper white, and punched it out using the 1 3/4″ Circle Punch. Using the Cropadile, I punched holes in the 1 3/4″ Circle and added various Circle Rhinestone Brads (pink, purple, green, and yellow).

Next, I took some Barely Banana card stock and paper pierced the edges. Then, I went over the holes with my White Gel Pen to get a stitched look. Finally, using a Sponge Dauber, I sponged some Barely Banana ink along the very edges of the card stock. That was layered onto Pretty ink Pink card stock with Stampin Dimensionals.

Then, I adhered my gumball machine pieces to the Barely Banana layer with Stampin Dimensionals. The ribbon is Certainly Celery Twill (retired), tied in a knot and adhered with a Mini Glue Dot.

Tote-ally Tess: Sending a Little Love

vday2

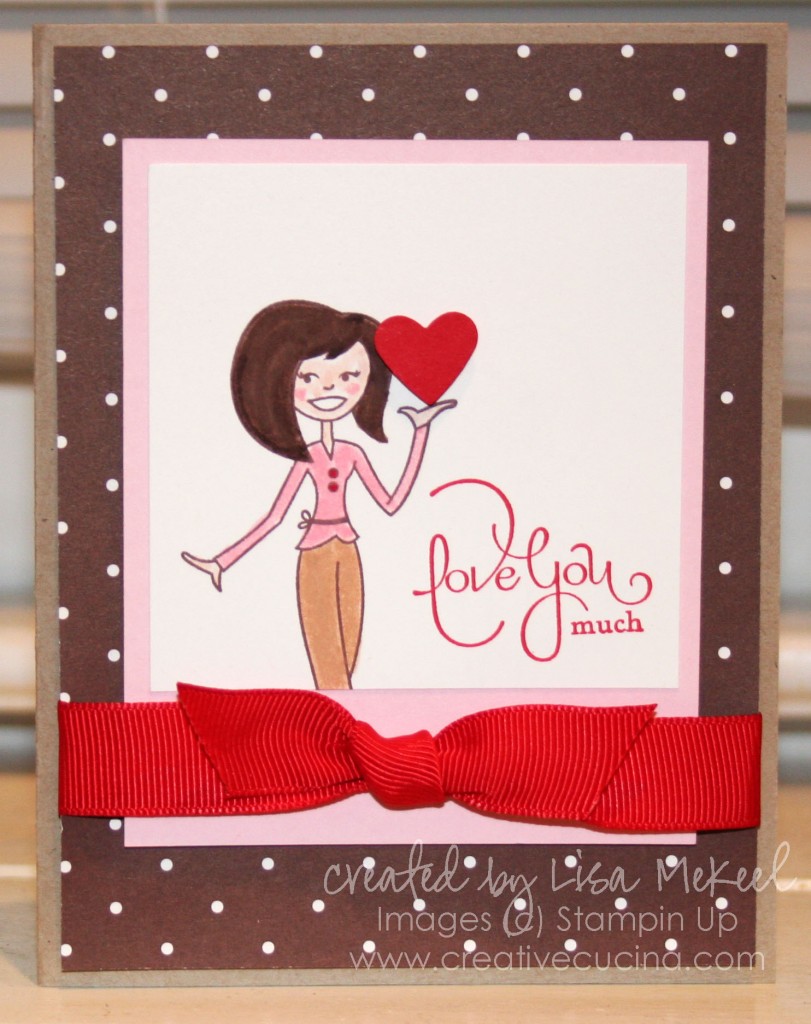
I just love this Tote-ally Tess stamp. I guess I never got on the Stamping Bella kick so this is all so new and exciting to me! Since this is a Valentine’s day card, I stuck with the classic (in my mind) Valentine colors–pink, red, and chocolate. Speaking of chocolate, I just had a great idea!! Tess could be holding a chocolate, or a chocolate heart box! I’ll get on that but for now, I’ll tell you about this card.

The base is Kraft card stock, layered with Chocolate Chip Designer Series Paper in the polka dot pattern. I stamped Tess onto whisper white card stock in Chocolate chip ink and colored her in with my Stampin Up Markers. The heart she’s holding was made with the Small Heart Punch and Real Red card stock. I attached it with a Stampin Dimensional. Next to her, I stamped the “love you much” from Well Scripted in Real Red ink.

I layered the stamped image on Pink Pirouette card stock and adhered it to the Chocolate Chip DSP with Stampin Dimensionals. Then, I tied some 5/8″ Real Red Grosgrain Ribbon around the DSP and attached that to the Kraft base with Stampin Dimensionals again for a layered effect.

Bad Behavior has blocked 354 access attempts in the last 7 days.

css.php