Fancy Fan Letterpress {New Home Card}

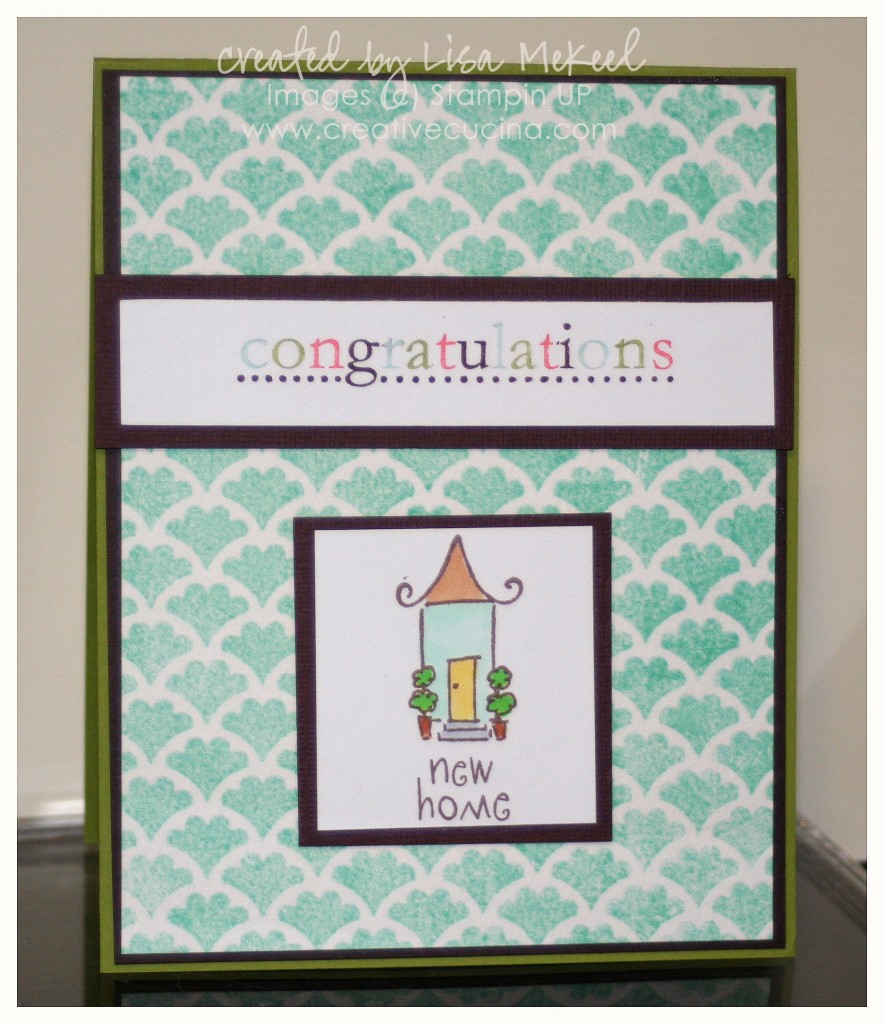
I’m a big fan of letterpress. I experimented with L Letterpress before and the results are stunning. The only drawback is that sometimes inking the plates can get a little messy. Stampin UP came out with letterpress plates that are really very easy to use. This one is called Fancy Fan Letterpress Plate. I inked it up with Pool Party ink, directly from the pad. Craft ink is best for the letterpress plates but Pool Party does not come in craft ink, and I was happy with the results anyway.

To use the Letterpress plates, you need the Big Shot. Ink up the plate, place it ink side up on the multipurpose platform with 1 tab. Then, adhere your watercolor paper to a cutting mat with snail or dotto. Place the cutting plate/paper down on the inked letterpress plate and run it through the Big Shot. Lift the cutting plate/paper off gently so as not to smear the ink.

Now for the card details: the base is Lucky Limeade, layered with chocolate chip card stock and the letterpressed watercolor paper. I stamped “congratulations” from Congrats (retired) using SU Markers: Pool Party, Lucky Limeade, Calypso Coral, and Chocolate Chip. That was layered onto a strip of chocolate chip card stock and adhered to the base with glue dots.

The new home stamp is non SU, colored in with Copic Markers and matted with chocolate chip card stock as well.
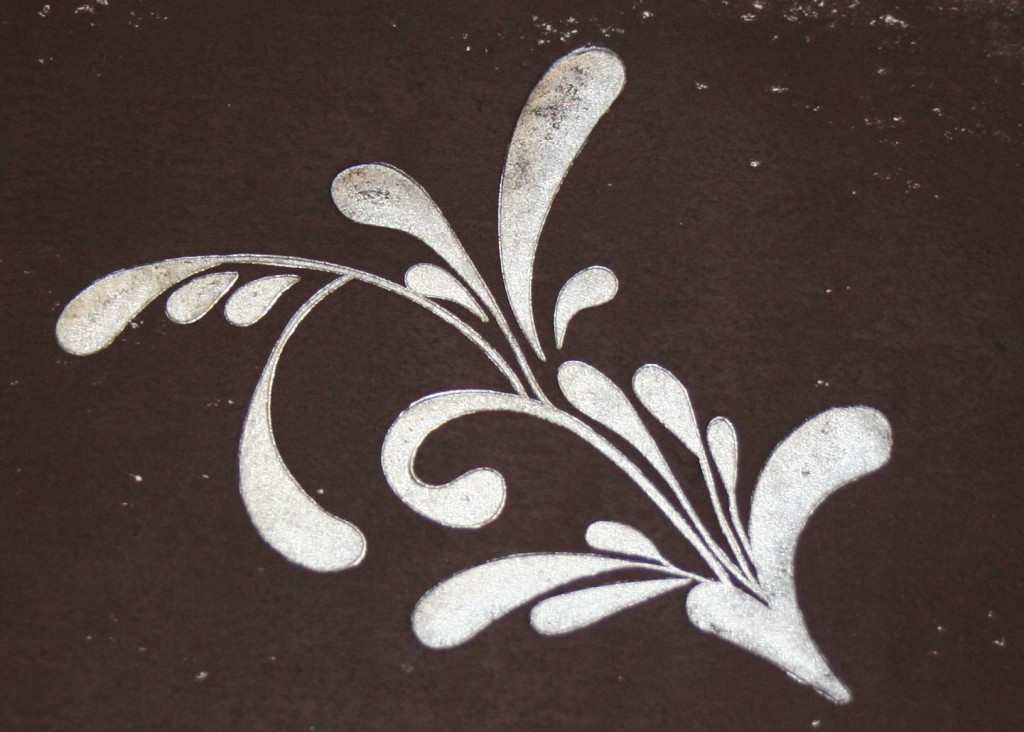
Experiments in Letterpress

IMG_1216

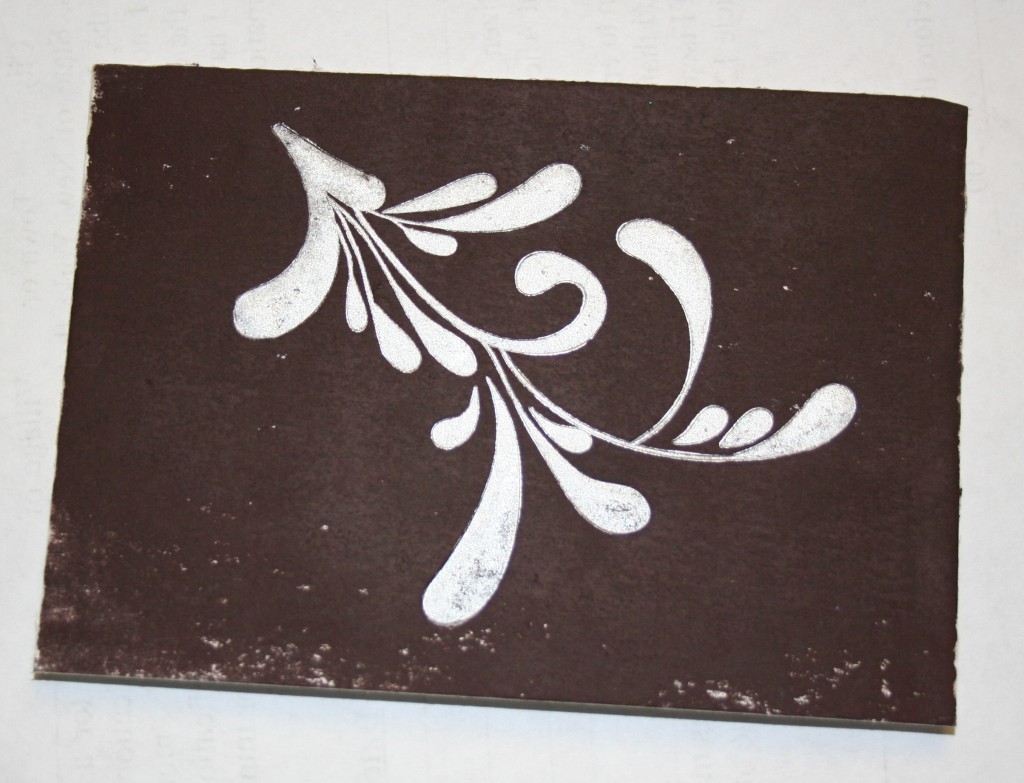
I wondered how it would look to letterpress lighter ink on darker paper. Using the brayer and Chocolate Chip Craft ink, I rolled the dark brown ink onto the white cotton letterpress paper.

Then, I rolled silver letterpress ink onto the printing plate shown here and ran it through the Big Shot. As you can see, the lighter ink shows up nicely. I could have taken more care to brayer the chocolate chip ink better, but I was just doing it for the sake of experimentation.

Hopefully other paper colors will be available soon!

IMG_1218

Letterpress Christmas Cards

IMG_1193 copy

I did some more playing with my L Letterpress kit last night. I can’t stress enough how little ink you really need to get a good impression. The slightest bit more and you’ll have problems with smudging.

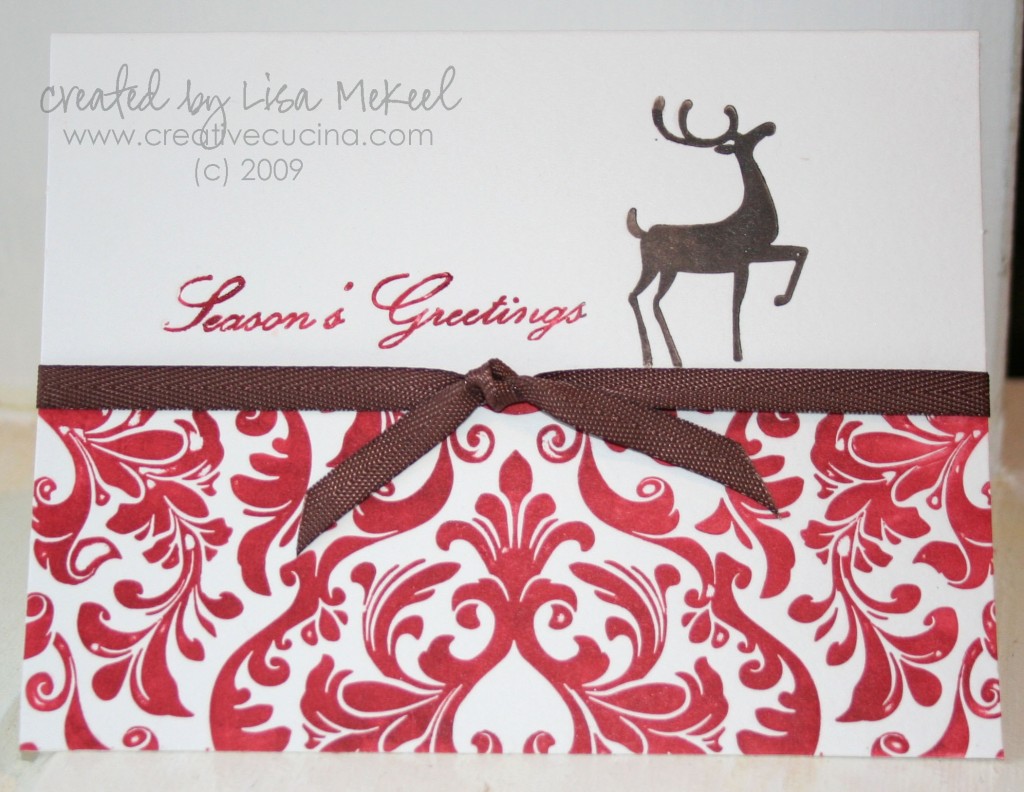
The above card was made using the A2 size cotton letterpress paper (it comes pre-scored). After arranging the printing plates on the platform where I wanted them, I inked up the Holiday Printing Plate in red ink, the reindeer in brown, and the greeting in red also.

I use the Big Shot with the Letterpress kit. I don’t need to use any card stock or shims with mine. The impression is always nice and deep.

To finish off the card, I wrapped a piece of Chocolate Chip 1/4″ Twill Ribbon around the card and tied it into a knot. This is really beautiful and I think it would make a striking Christmas card.

IMG_1195 copy

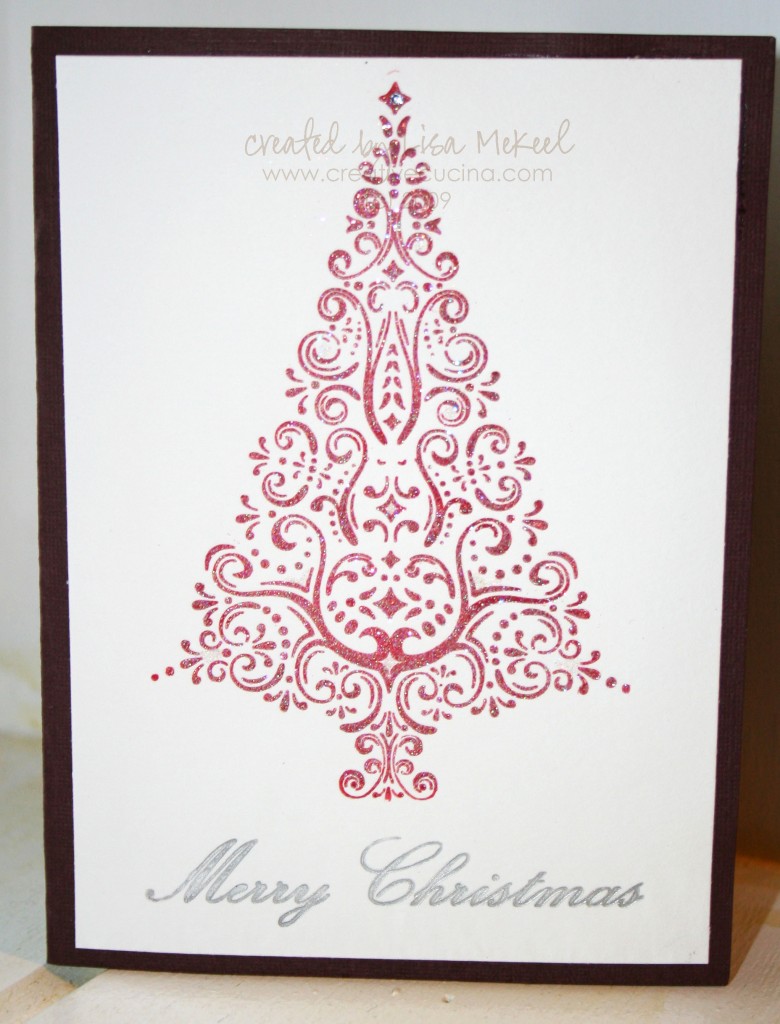
The Holiday Printing plate collection includes this gorgeous tree image. I inked up the tree in red ink and the Christmas greeting in Silver ink, running it through the Big Shot with A7 size cotton paper. I trimmed the paper down and layered it onto textured chocolate chip card stock, cut to 7″ x 10″ so I could use a 5″x7″ envelope.

To give the tree some more sparkle, I added Dazzling Diamonds Glitter over the image while the ink was still wet. It picks up a little of the shimmer in the metallic silver ink and just makes it more festive. At the top of the tree, I added a small sticky rhinestone for the star.

Bad Behavior has blocked 552 access attempts in the last 7 days.

css.php