Bitty Birthday Card

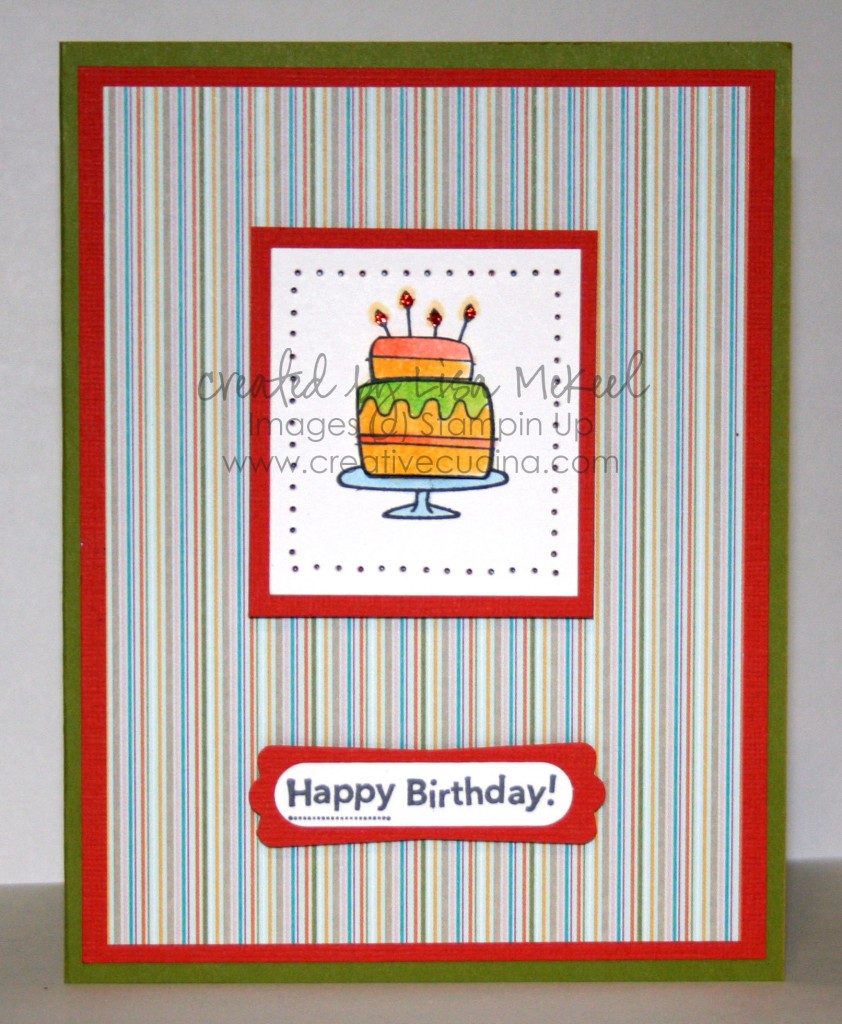
As part of the Sale-A-Bration promotion this year, certain stamp sets from the main catalog are available to choose from, free with $50 purchase. This set, Bitty Birthday is one of them.

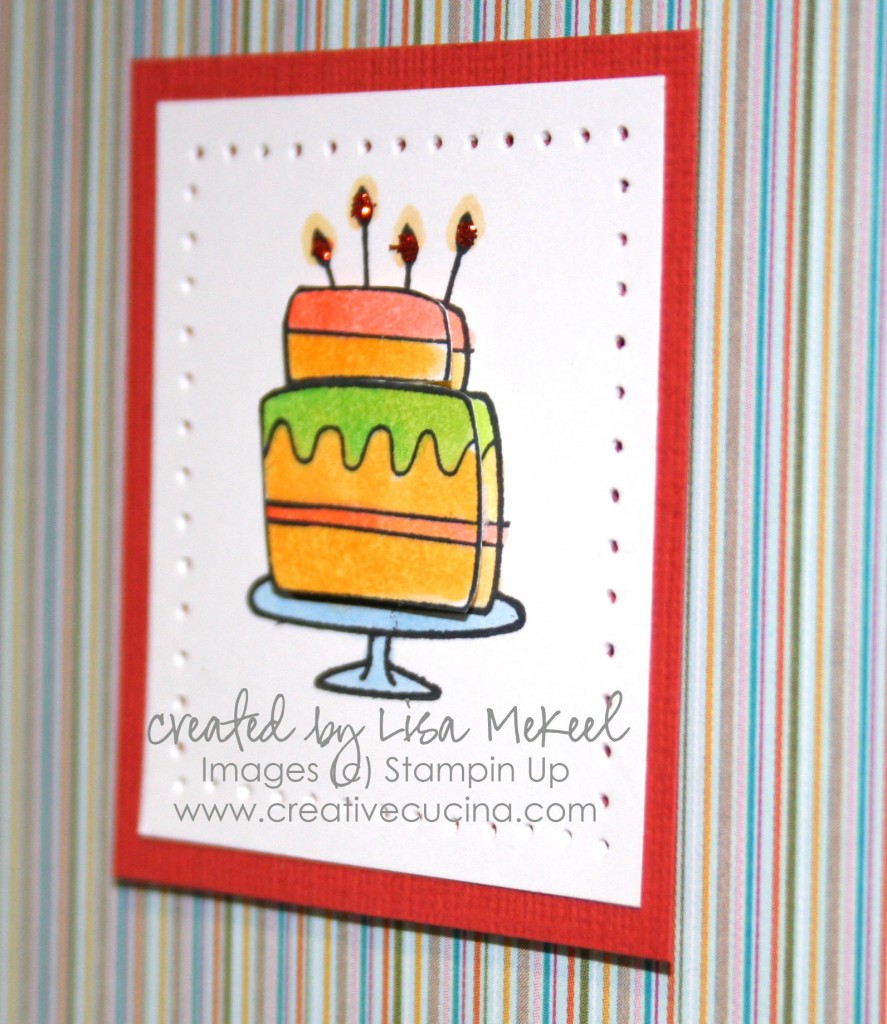
This card is for a boy, so I tried to keep the colors boyish (always a challenge for me).  The card base is Old Olive, layered with Dusty Durango textured card stock and Welcome Neighbor DSP. I stamped the cake twice on Whisper White with Memento Tuxedo Black ink and colored the images with Copic Markers. Then, I cut one cake apart and popped it up on top of the bottom image using Stampin Dimensionals.

I added some Supernova Orange Fine Glitter to the candles using my MS fine tip glue pen. The image layer is paper pierced around the edges and matted on Dusty Durango with Stampin Dimensionals.

The greeting is from On Your Birthday, stamped in Basic Gray ink on whisper white. I punched it out with the Word Window Punch and layered it onto the Modern Label Punch using Dusty Durango.
Build A Bear Cards {Boy & Girl}

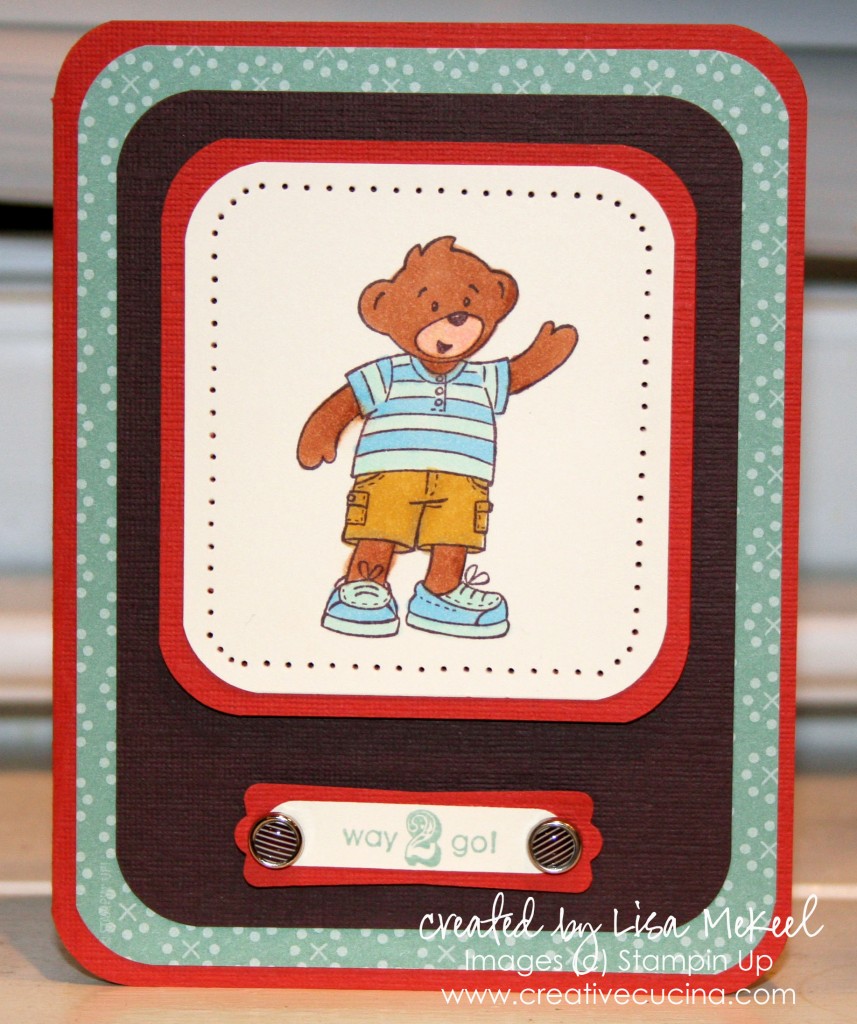
I made this card for a color challenge on Splitcoast. The colors were Chocolate Chip, Sage Shadow, and Dusty Durango (plus a neutral like Whisper White or Very Vanilla). An additional option was to use patterned paper.

The card base is Dusty Durango textured card stock, layered with Autumn Vine DSP in a Sage Shadow pattern. On top of that is Chocolate Chip textured card stock. All the corners of this card were rounded using the Corner Chomper set to the 1/2″ setting.

I stamped the boy bear from Beary Best Friends in Chocolate Chip ink on Very Vanilla card stock and colored him in with Copic Markers. Again, I rounded the corners and layered it onto Dusty Durango card stock. Then, using the paper piercer, I pierced holes in the Very Vanilla card stock and attached it with Stampin Dimensionals.

The sentiment is from Picture This (Hostess Level 1 set from the Occasions Mini). I stamped it in Sage Shadow ink on Very Vanilla card stock and cut it out with the Word Window Punch. That was layered on a Dusty Durango Modern Label Punch, adhered with Stampin Dimensionals. On either side of the label, I added Chocolate Chip Epoxy Brads, also from the Occasions Mini.

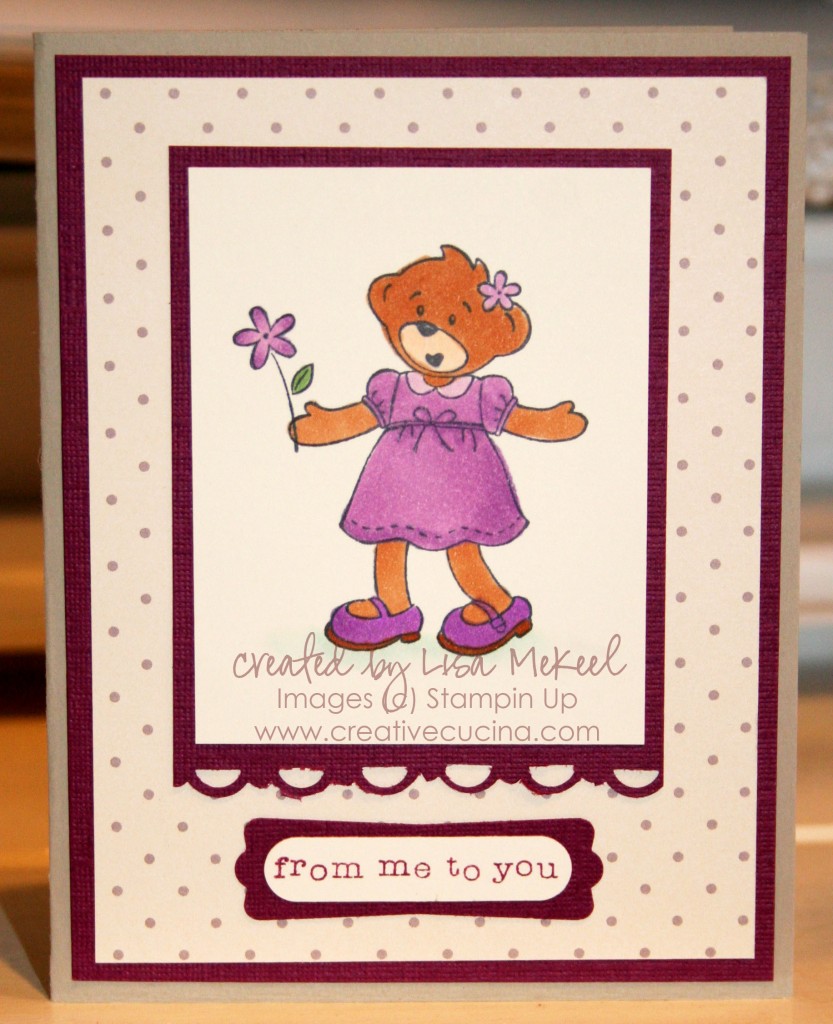
Since I had the Beary Best Friends stamp out, I decided to make a girl Build A Bear version. The card base is Going Gray, layered with Rich Razzleberry textured card stock and a polka dot paper from Shades of Spring DSP. The dots are pale plum on Very Vanilla, very subtle.

I stamped the bear in Going Gray ink on Very Vanilla card stock, coloring her in with Copic Markers. That is layered onto Rich Razzleberry textured card stock. I added a border at the bottom using the Scallop Trim Border Punch.

To finish off the card, I stamped “from me to you” from So Many Sayings in Rich Razzleberry ink on Very Vanilla card stock. I cut that out with the Word Window Punch and layered it onto Rich Razzleberry Modern Label Punch.

Crimped Slide Out Pocket Card Save the Date

SaveTheDate 001 copy

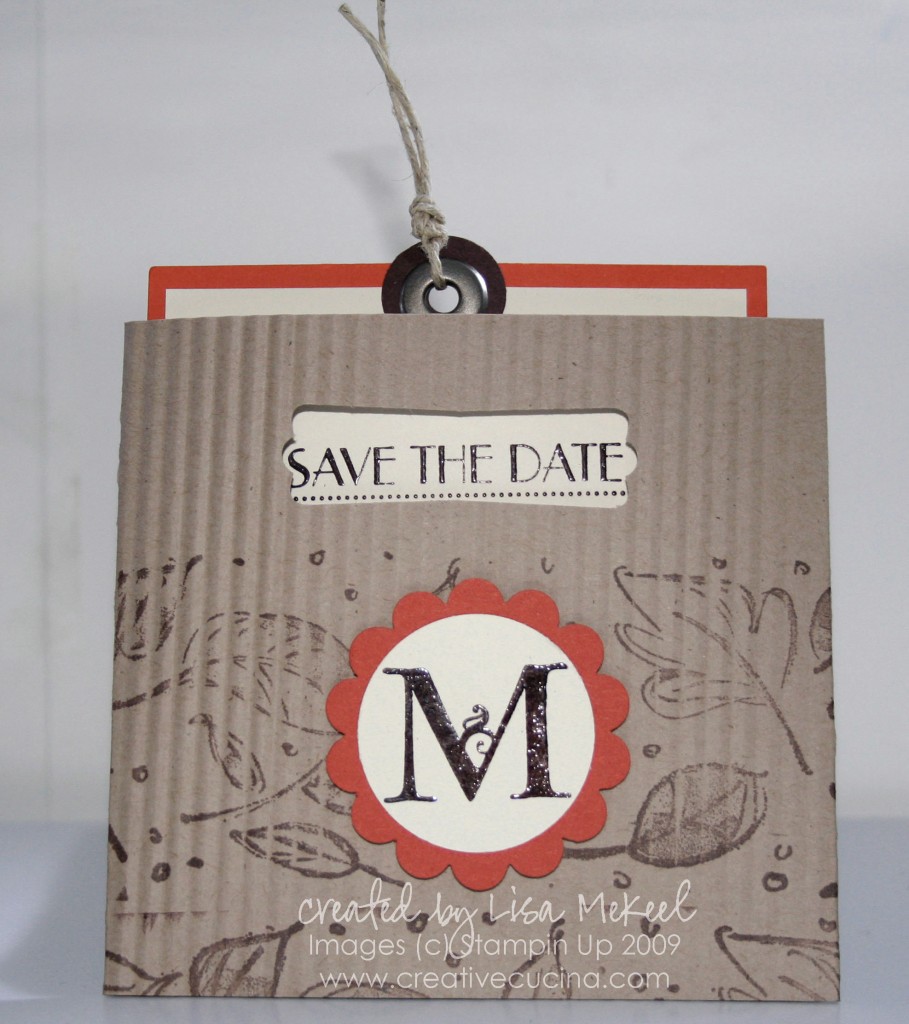
This is a fun Save the Date idea for a fall wedding. The crimped kraft card stock reminds me of the coffee sleeves you get at Starbucks!

Using the same technique for my slide out pocket gift card, I modified the design buy making the outer pocket shorter (4 1/2″ x 11″) scored at 6 3/4″ and 2 1/2″. After scoring, I ran the kraft card stock through the crimper, then adhered it with sticky strip. (See my video tutorial for more specific information.)

The window was made using the Modern Label Punch. Then, using the Leaves Awash Jumbo Wheel and chocolate chip ink, I rolled the leaves across the front of the card.

For a monogrammed look, I stamped the “M” from Lovely Letters alphabet in chocolate chip craft ink on very vanilla card stock and heat embossed it with clear embossing powder. Then, I punched out the image with the 1 3/8″ Circle Punch and layered it with dusty durango punched with the Scallop Circle Punch. That is attached to the pocket card with a dimensional.

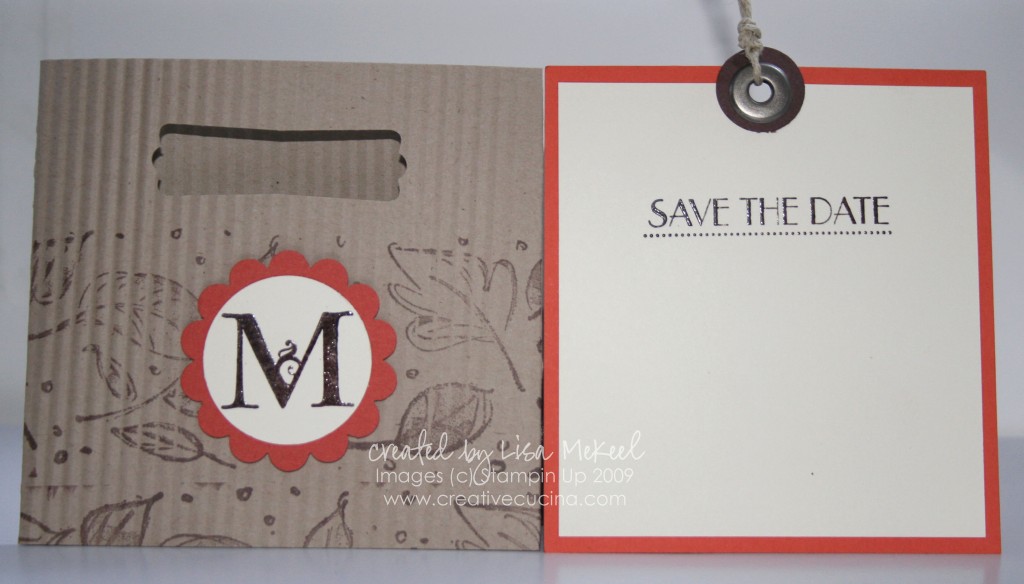
SaveTheDate 004 copy

For the insert, I took a piece of dusty durango and cut it to 4″ x 4 1/4″. That is layered with very vanilla trimmed to 3 3/4″ x 4″. I stamped “save the date” from Introducing in chocolate chip craft ink and heat embossed with clear embossing powder. At the top of the insert, I added a 3/4″ chocolate chip circle and then used my cropadile to set a jumbo eyelet. Some hemp twine knotted through the eyelet makes a nice pull.

Bad Behavior has blocked 2499 access attempts in the last 7 days.

css.php