Slide Out Gift Card Holder {Buttons & Baby Ducks}

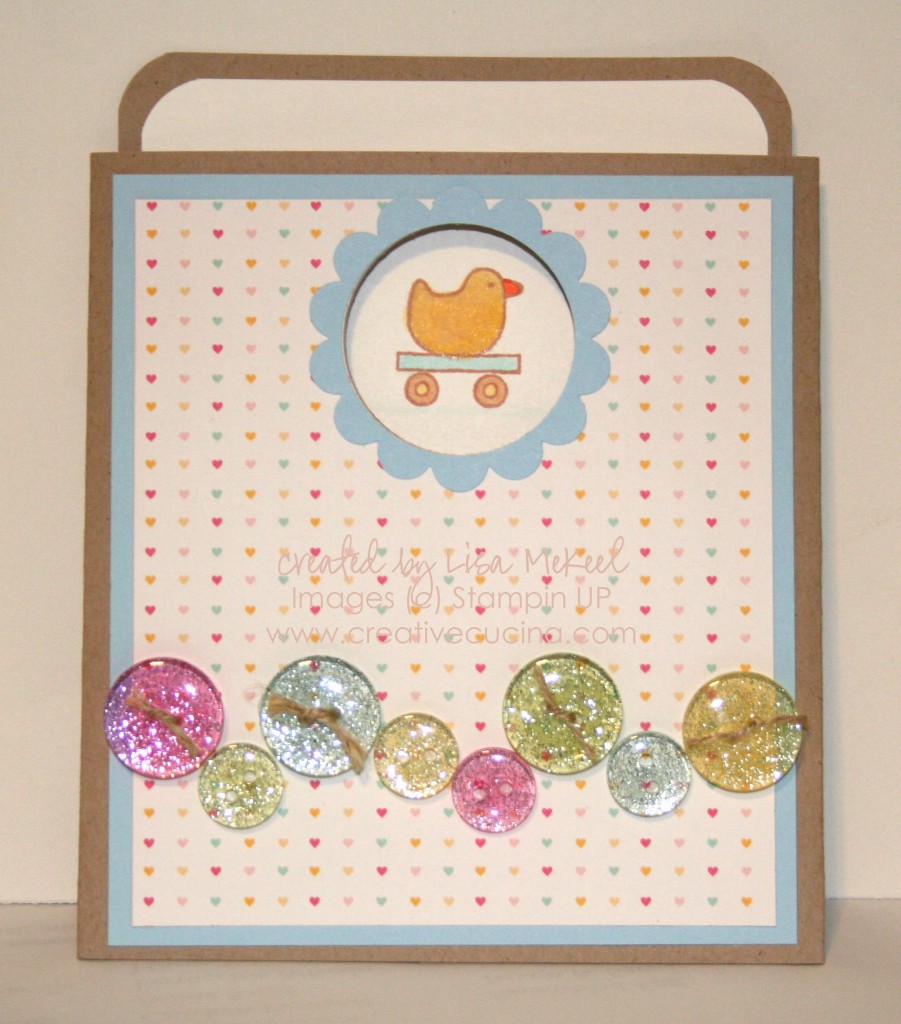
I absolutely LOVE this style of card. It’s a slide out/pocket card that works really well for gift cards. I’ve made this style of card before, which you can see here. You can also view a video tutorial here.

The basics: Card stock for the base is Kraft (soon to be called Crumb Cake), Bashful Blue, and Welcome Neighbor DSP. Slider/Insert is Kraft layered with Whisper White. I rounded the edges of both layers using the Corner Rounder. To make the “window” on the front, I used the 1 3/8″ Circle Punch and Scallop Circle Punch.

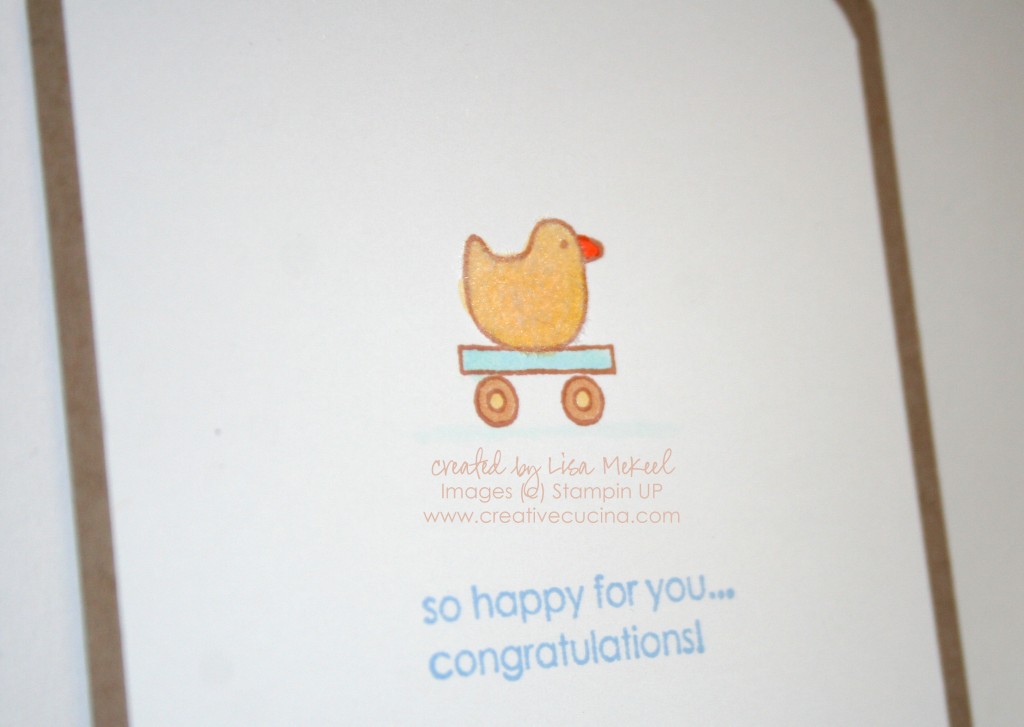
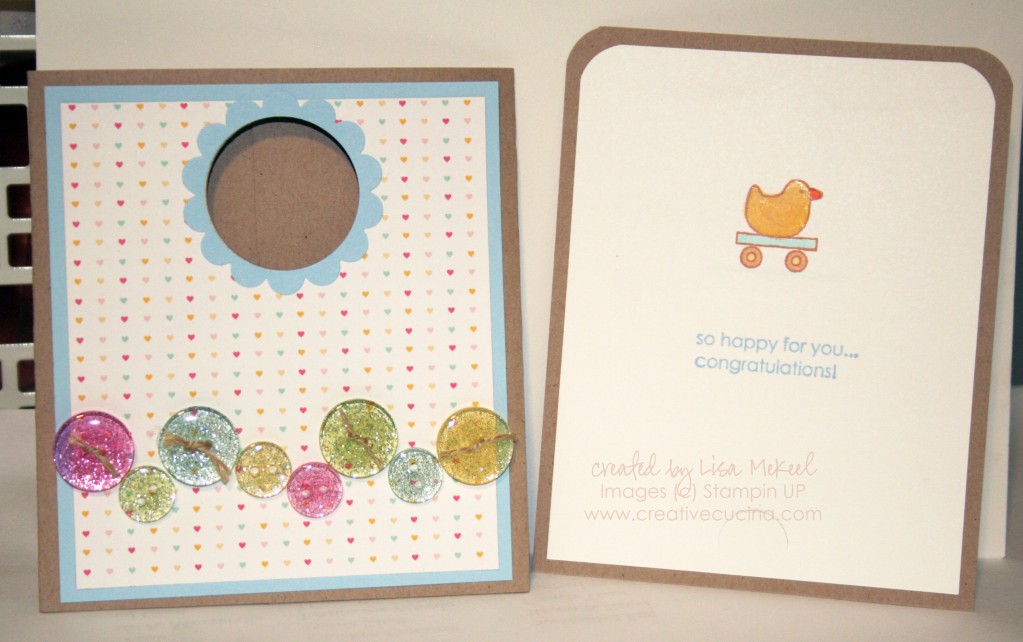
Here is the slide out portion. It’s a little difficult to see in the picture, but the reason this works so well for gift cards is the Slit Punch. I punch the slit toward the bottom of the card, and a gift card slides in there perfectly.

I stamped the little duck from Goody Goody Gumdrops in Creamy Caramel ink, colored it in with Copic Markers, and then fluffed it up by adding Martha Stewart White Flocking Powder (using the 2 Way Glue Pen to adhere the Flocking Powder). The sentiment is from the same set, stamped in Bashful Blue ink.

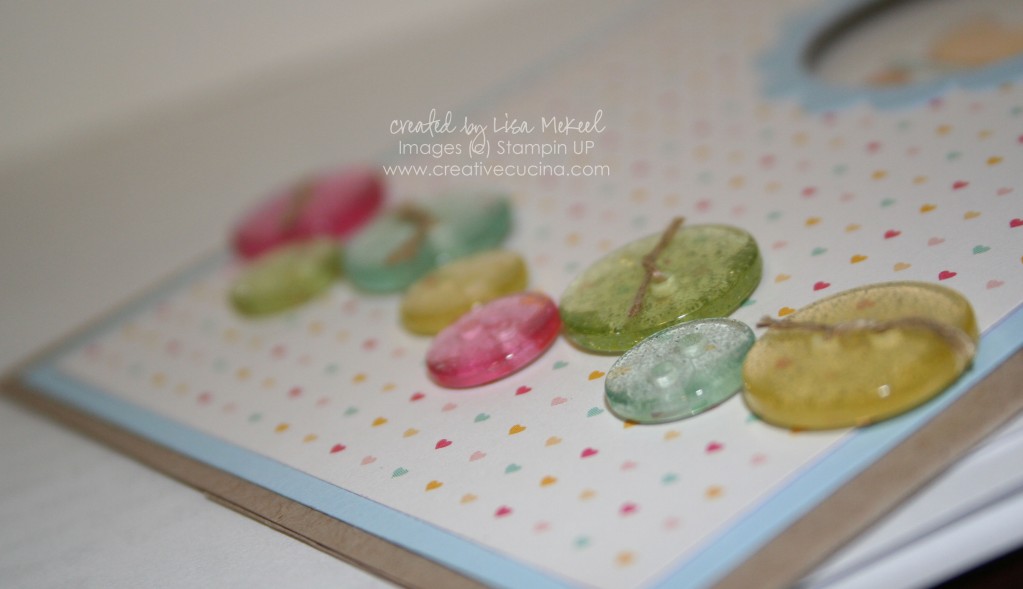
These buttons from American Crafts–can we just admire the buttons for a minute? I threaded the larger ones with Linen Thread and attached them to the card with Glue Dots. They’re glittery and the colors go so well with the Welcome Neighbor DSP Pack.

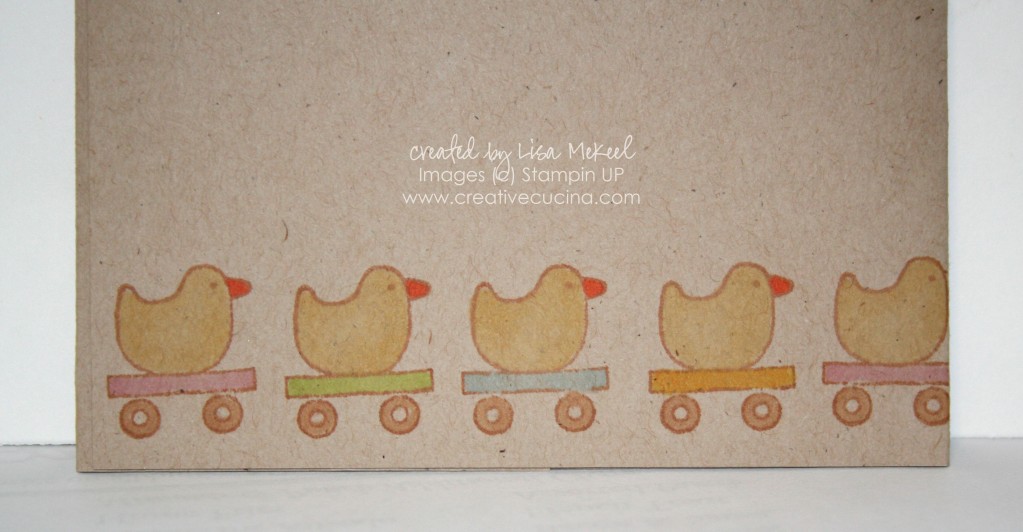
Finally, I decided to liven up the back of the card a little by stamping the ducky repeatedly along the bottom edge. I colored them in with Copic Markers and I was surprised to see the colors showed up so well on Kraft colored card stock! Now that I know this works, I’ll have to try it more often.
Card For Father {Birthday or Father’s Day}

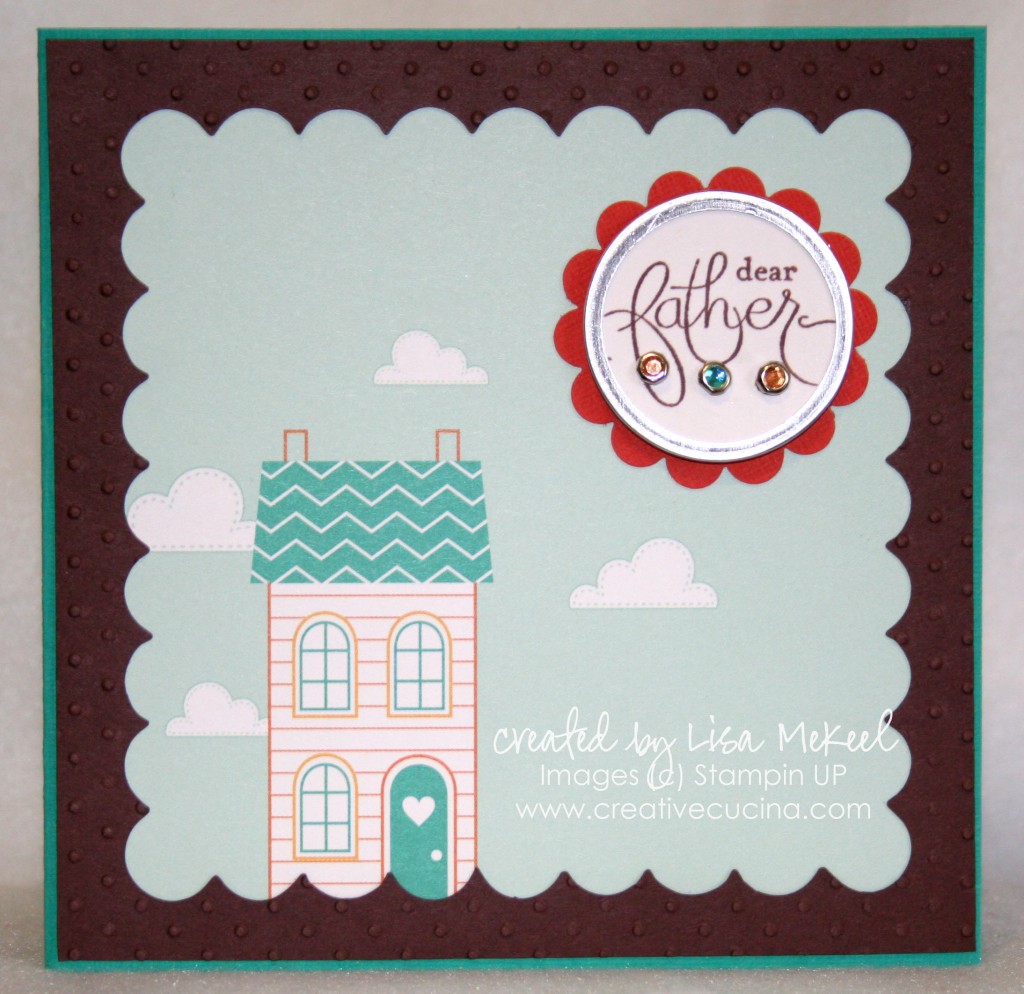
This card all came about from a scrap of paper. For some reason, after using the Scallop Square Bigz Die on another project a while ago, I held onto the negative part. Looking at it in my pile of scraps, I decided to try making a big square card with it. I trimmed down the Chocolate Chip card stock to 5 1/4″ square and ran it through the Big Shot using the Swiss Dots embossing folder.

Then, taking a sheet of paper from the Welcome Neighbor DSP pack, I layered it behind the Chocolate Chip, then adhered it to a 5 1/2″ x 11″ piece of Bermuda Bay textured card stock, folded in half.

The sentiment is from Well Scripted, stamped in chocolate chip ink onto a Small Metal Edge Tag. Using the Cropadile, I punched three holes and added Circle Rhinestone Brads in orange and blue. That was layered onto Dusty Durango card stock I punched with the Scallop Circle Punch (Pumpkin Pie would also be a good color choice).

I haven’t decided whether I’m going to use this for my father’s birthday or as a Father’s Day card. Inside, I will add the appropriate sentiment when the time comes.

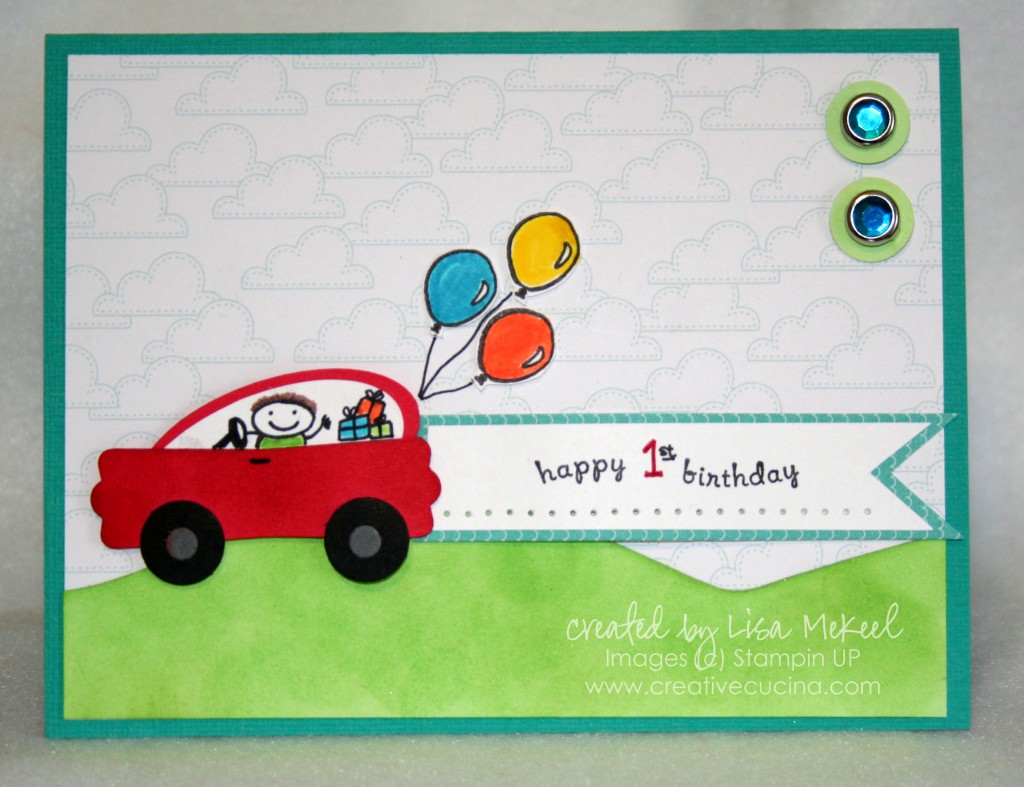
Little Boy 1st Birthday Card {Punch Art Red Car}

This card is for my nephew’s 1st Birthday, and although it’s not very babyish, it does fit the theme of his party (and the cake I’m making for him).

The card base is Bemuda Bay textured card stock, layered with the cloud patterned paper from Welcome Neighbor.  (Yes, I know, I use this paper on almost everything I make, but it’s so varied and I love the colors so much that I find myself reaching for it time and time again.)

I made the hills by freehand cutting Gable Green card stock, and then sponged them all over using Gable Green ink and a Sponge Dauber.

The sentiment is from On Your Birthday, which I inked up using the Basic Black Marker (leaving out the “o” in this “Happy O’ Birthday”–I’m not even sure what that means anyway!) I drew in “1st” using Real Red Marker and Basic Black Marker. The Whisper White card stock is layered on yet another piece of Welcome Neighbor DSP, and I notched the edges to make it look like a flag or banner. I also Paper Pierced along the bottom edge of the sentiment and attached it to the card using Stampin Dimensionals.

As for the little red Punch Art Car, I made it using the Modern Label Punch for the body of the car and the Large Oval Punch for the window/hood.

  1. First, I punched out Real Red card stock with the Modern Label Punch and sponged it with Real Red ink.
  2. Then, I punched two Large Ovals–one from Real Red, one from Whisper White. I layered the White on top of the Red, leaving a Red border, and then trimmed the bottoms so they would not stick out past the bottom of the “car”. Adhere the White Oval to the Red Oval.
  3. Using SNAIL adhesive, attach the hood of the car to the back of the Modern Label Punch out, positioning it as shown.
  4. Draw or stamp a little person driving the car. I also drew some gifts in the back seat and added a door handle.
  5. Make tires for the car using the 1/4″ Circle Punch (in Basic Black) and the Cropadile’s larger hole punch (in Basic Gray). Attach the tires to the car with SNAIL Adhesive.

That was pretty easy! Now, I adhered the car to the base using Stampin Dimensionals and stamped some balloons from the All in the Family Accessories set onto Whisper White. I colored them in with Markers, cut them out, and attached them to the card base with Mini Glue Dots. Then, I used the Basic Black Marker to draw strings from the balloons to the back of the car.

Finally, in the upper right corner, I added 1/4″ Circles of Gable Green card stock with Ice Circle Rhinestone Brads in the darker blue to tie all the colors together.

Bad Behavior has blocked 184 access attempts in the last 7 days.

css.php