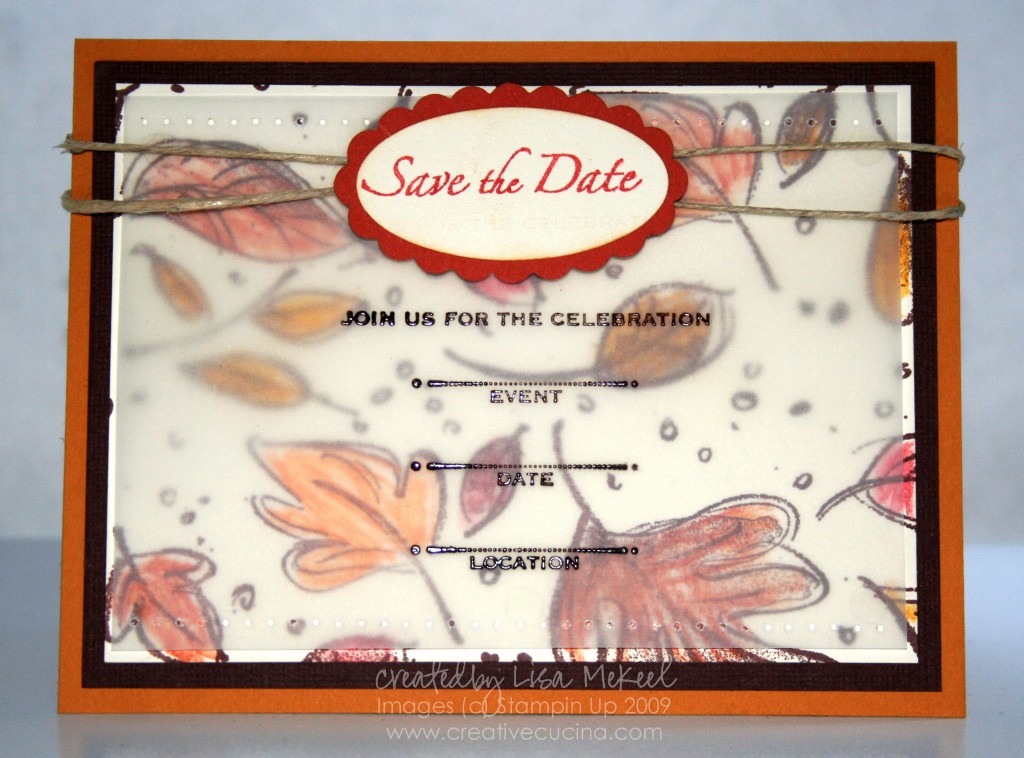
Fall Wedding Save the Date Card

IMG_1228 copy

My brother in law and his fiancee are getting married next year in October and I thought I might make a few samples of save the date cards and possible wedding invitations to give them ideas.

This is just a card front, more mustard base layered with chocolate chip textured card stock and very vanilla, which I stamped using the Jumbo Wheel Leaves Awash in Chocolate chip ink. Then, I colored in the leaves using my Earth Elements Watercolor Crayons and Aquapainter just to blend a bit.

On top, I stamped a piece of vellum with the “Save the Date” stamp from Please Come in chocolate chip craft ink and heat embossed it with Clear Embossing Powder. Along the top and bottom border, I paper pierced the vellum and adhered it to the base with mini glue dots.

To finish the card, I tied some Hemp Twine around the top and added a Scallop Oval in Dusty Durango layered with a Very Vanilla Large Oval. I stamped “save the date” in dusty durango ink and sponged some creamy caramel ink over top.
Letterpress Projects

IMG_1125 copy

(Click on any image to enlarge for more detail)

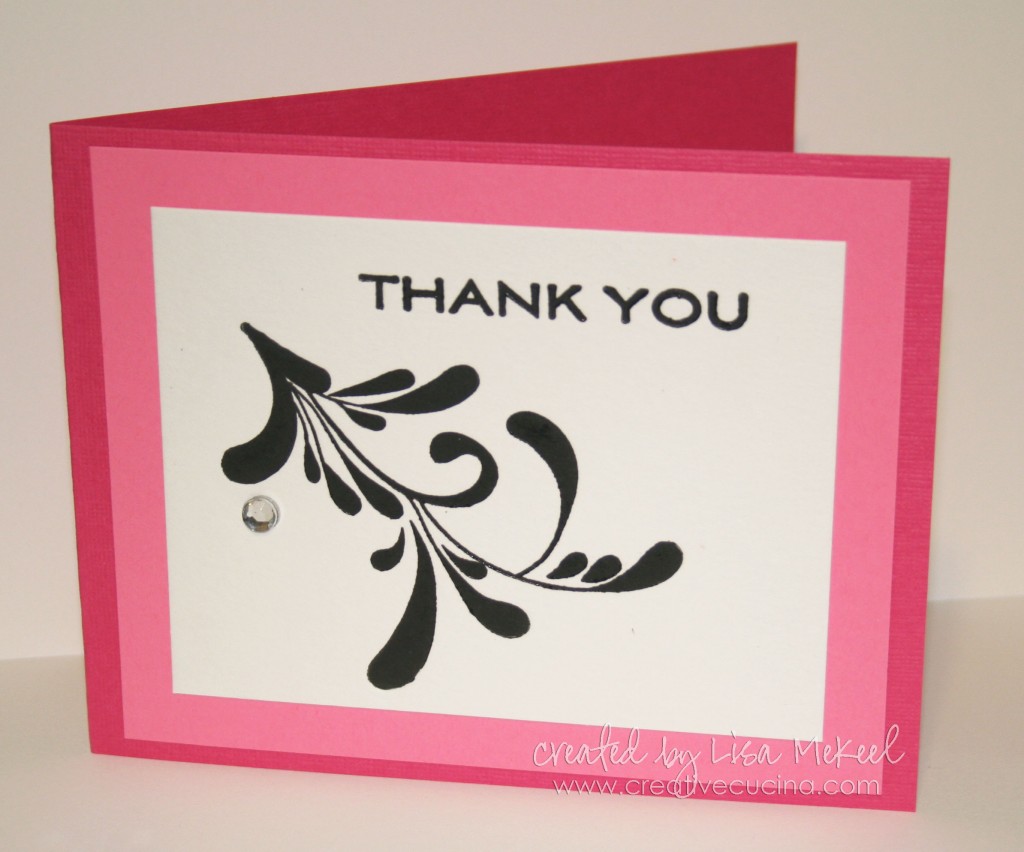
I made this card using the L Letterpress kit (available at craft stores and online). The kit comes with special cotton paper, black ink, printing plates, the platform, and a die cutting machine, but I just used my Big Shot with no problems.

The base is textured Melon Mambo card stock, layered with Regal Rose. The main image was letterpressed onto the special white cotton paper in black ink. I made a little boo-boo over on the left side so I covered it up with a sticky rhinestone. I was going to add more but decided against it.

IMG_1128 copy

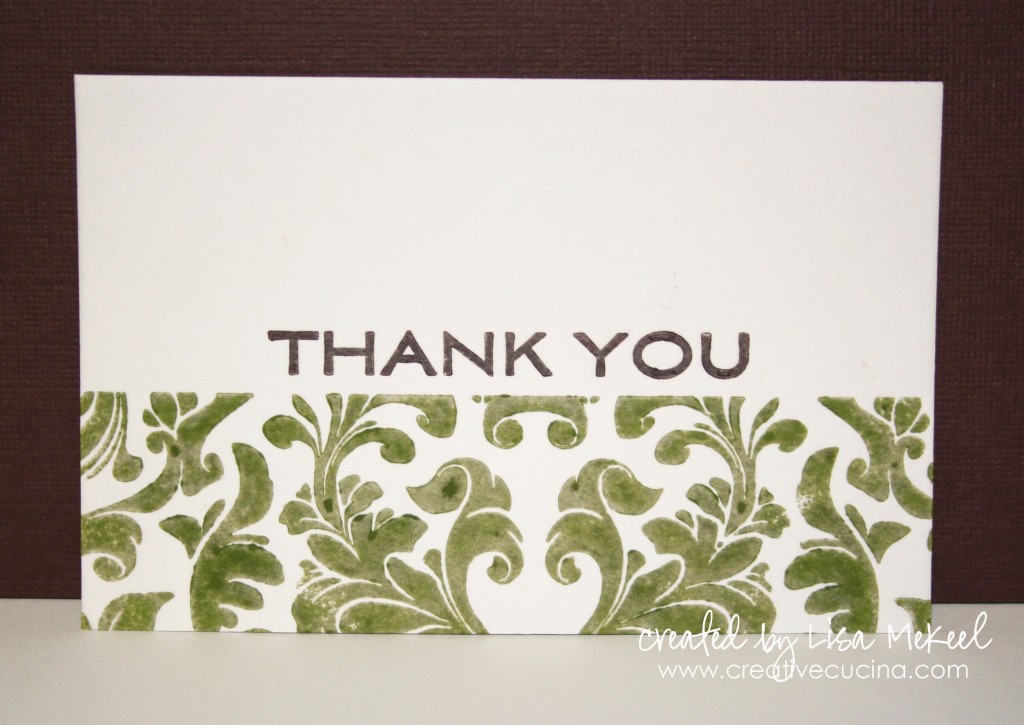
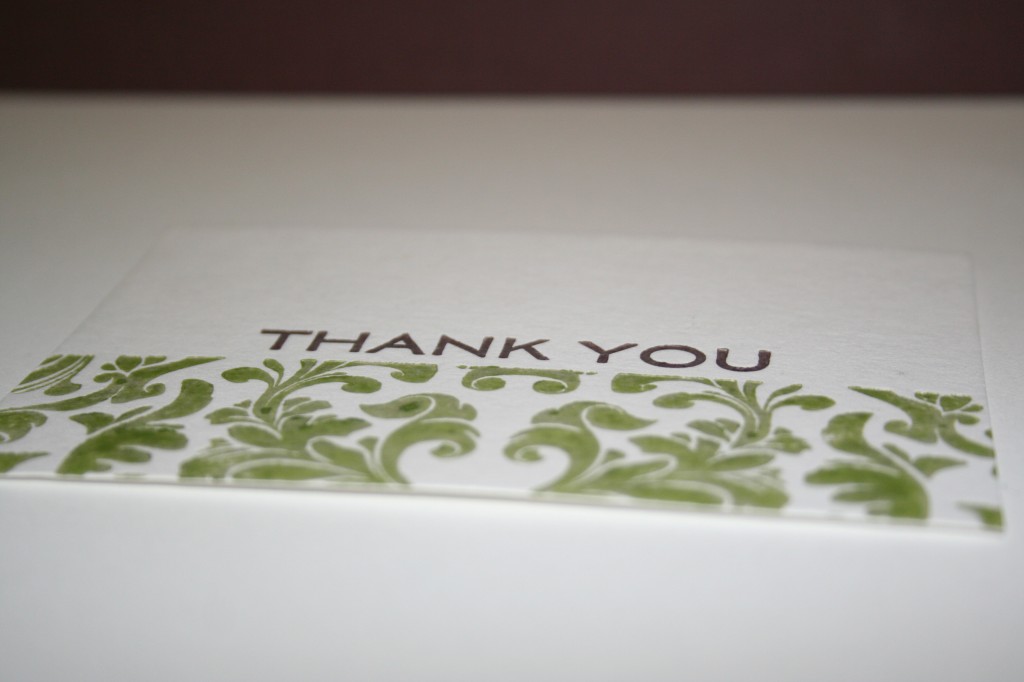
As for the card above, instead of using the letterpress ink (which is a sticky ink specifically made for letterpress) I just used my SU Craft ink and Sponge Daubers. The color isn’t as intense, but it’s much easier to apply and switch colors with no clean up. See photo below for a close up of the texture and indentation. Colors used were chocolate chip and old olive craft ink.

IMG_1129

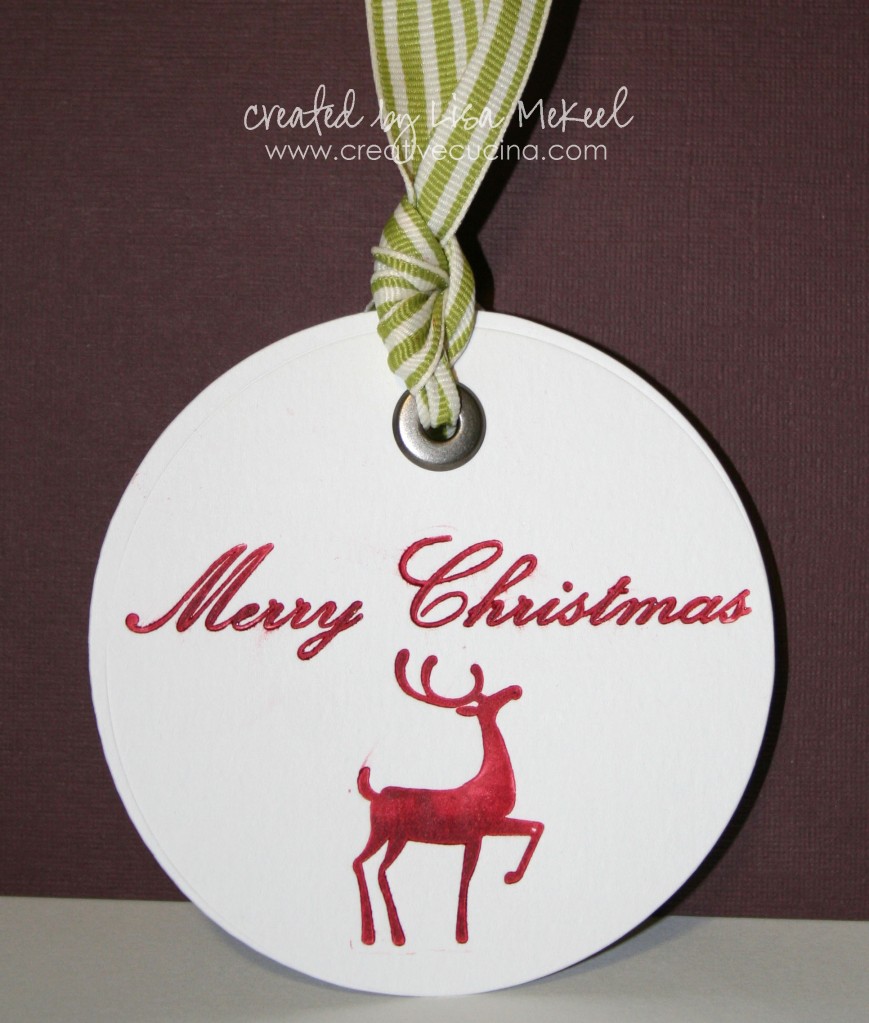
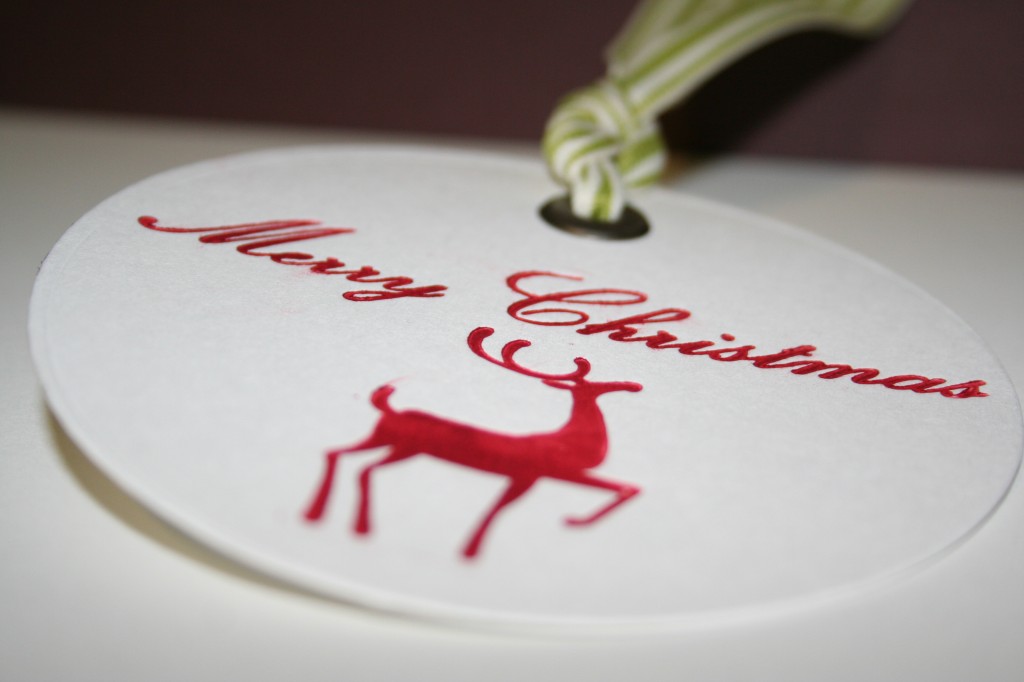
Next, I made a Christmas tag using the Holiday Printing Press. I cut out the circle with my Bigz Clear Circle Die in the Big Shot. I rolled the red letterpress ink onto the images here, then ran it through the Big Shot. At the top, I punched a hole with the cropadile and added a Jumbo Eyelet. The ribbon is Old Olive 1 1/4″ Striped Ribbon.

IMG_1133 copy

Here’s a better view of the impressed images:

IMG_1136

These were my first attempts at letterpress so there’s much to learn.

  • I now know it takes very little ink to get a good impression; it can smudge if you put on too much.
  • Drying time isn’t too bad, but again, the more ink you put on, the more time it takes to dry.
  • I also tried it on different card stocks and the impression is not deep enough. SU Watercolor Paper may work, it has that kind of texture to it.
  • Because the ink is so sticky, it’s a pain to clean off the presses. Clean up is a pain in general, so mass producing is your best bet. This system is not conducive to one of a kind creations–you do not want to wipe the ink off the brayer, the plates, the platform, etc. every time you finish a card!
  • Paper comes in many sizes, A2 cards, A7 cards, Square cards, mini cards, business card size AND there are envelopes that can be letterpressed too!

Overall, I just love the look of letterpress! When I heard about this product over the summer, I checked the website daily for updates. Months passed and I gave up. While shopping the other day I saw it in the craft store and practically screamed! I’ll be making more letterpress projects for sure–I have a lot of ideas in mind! And they work so nicely with other stamps and card stocks!

Someone asked me a few questions about cleaning and using the Letterpress kit. I will post the response below if anyone wants more info:

To answer Glo’s question/comment posted:

At first I used regular baby wipes to clean the ink off the brayer and plates. Then, I went back and bought a container of cleaning cloths made specifically for the letterpress kit. Both are pretty similar so I probably wouldn’t buy the special ones again. I just used old fashioned elbow grease to get the ink off, then dried with an old towel. The plates will not be clear again unfortunately, the ink stains them similar to what happens with clear stamps and ink. I’m not going to let it bother me!!

As for the plates, I really don’t like the sticky sheets they include to stick the plates onto the platform. Aileen’s Tack it Over works great! Sticky enough to hold but then when you put the plate away it’s not sticking to everything else. Storage will need to be addressed soon. I may use clear CD cases and treat the printing plates like acrylic stamps. The plates should come off the platform with no problem. Just be careful to lift around all corners of really large images so you don’t crack it by lifting one side while the other sides are stuck to the platform.

If anyone has any questions, feel free to comment.

Bad Behavior has blocked 408 access attempts in the last 7 days.

css.php