Season of Glitter–Birthday Card

This is another card I made using my beloved Striped Kraft card stock. Instead of a winter scene, this one features a beautiful tree for fall. I’m going to a birthday party in a couple weeks for my dad’s friend, and although this breaks 2 major rule of Male Cards, I think I’m going to give it to him anyway. Rule #1 is NO Glitter for a man card and Rule #2 is NO Bows–Just ask my husband.

The card base is Baja Breeze, layered with chocolate chip textured card stock, which I scalloped the edges using the Scallop Edge Punch. The image layer is Striped Kraft, with the tree from Season of Friendship stamped in chocolate chip ink. The leaves are stamped in Palette Glue Pad and then sprinkled with Supernova Fine Cosmo Glitter in Orange and Green.

I tied some 5/8″ Old Olive Grosgrain Ribbon in a knot around the Kraft layer and attached the whole thing with dimensionals. The sentiment is from Chit Chat Rub Ons.

Happy Halloween–Glittery Spider Webs

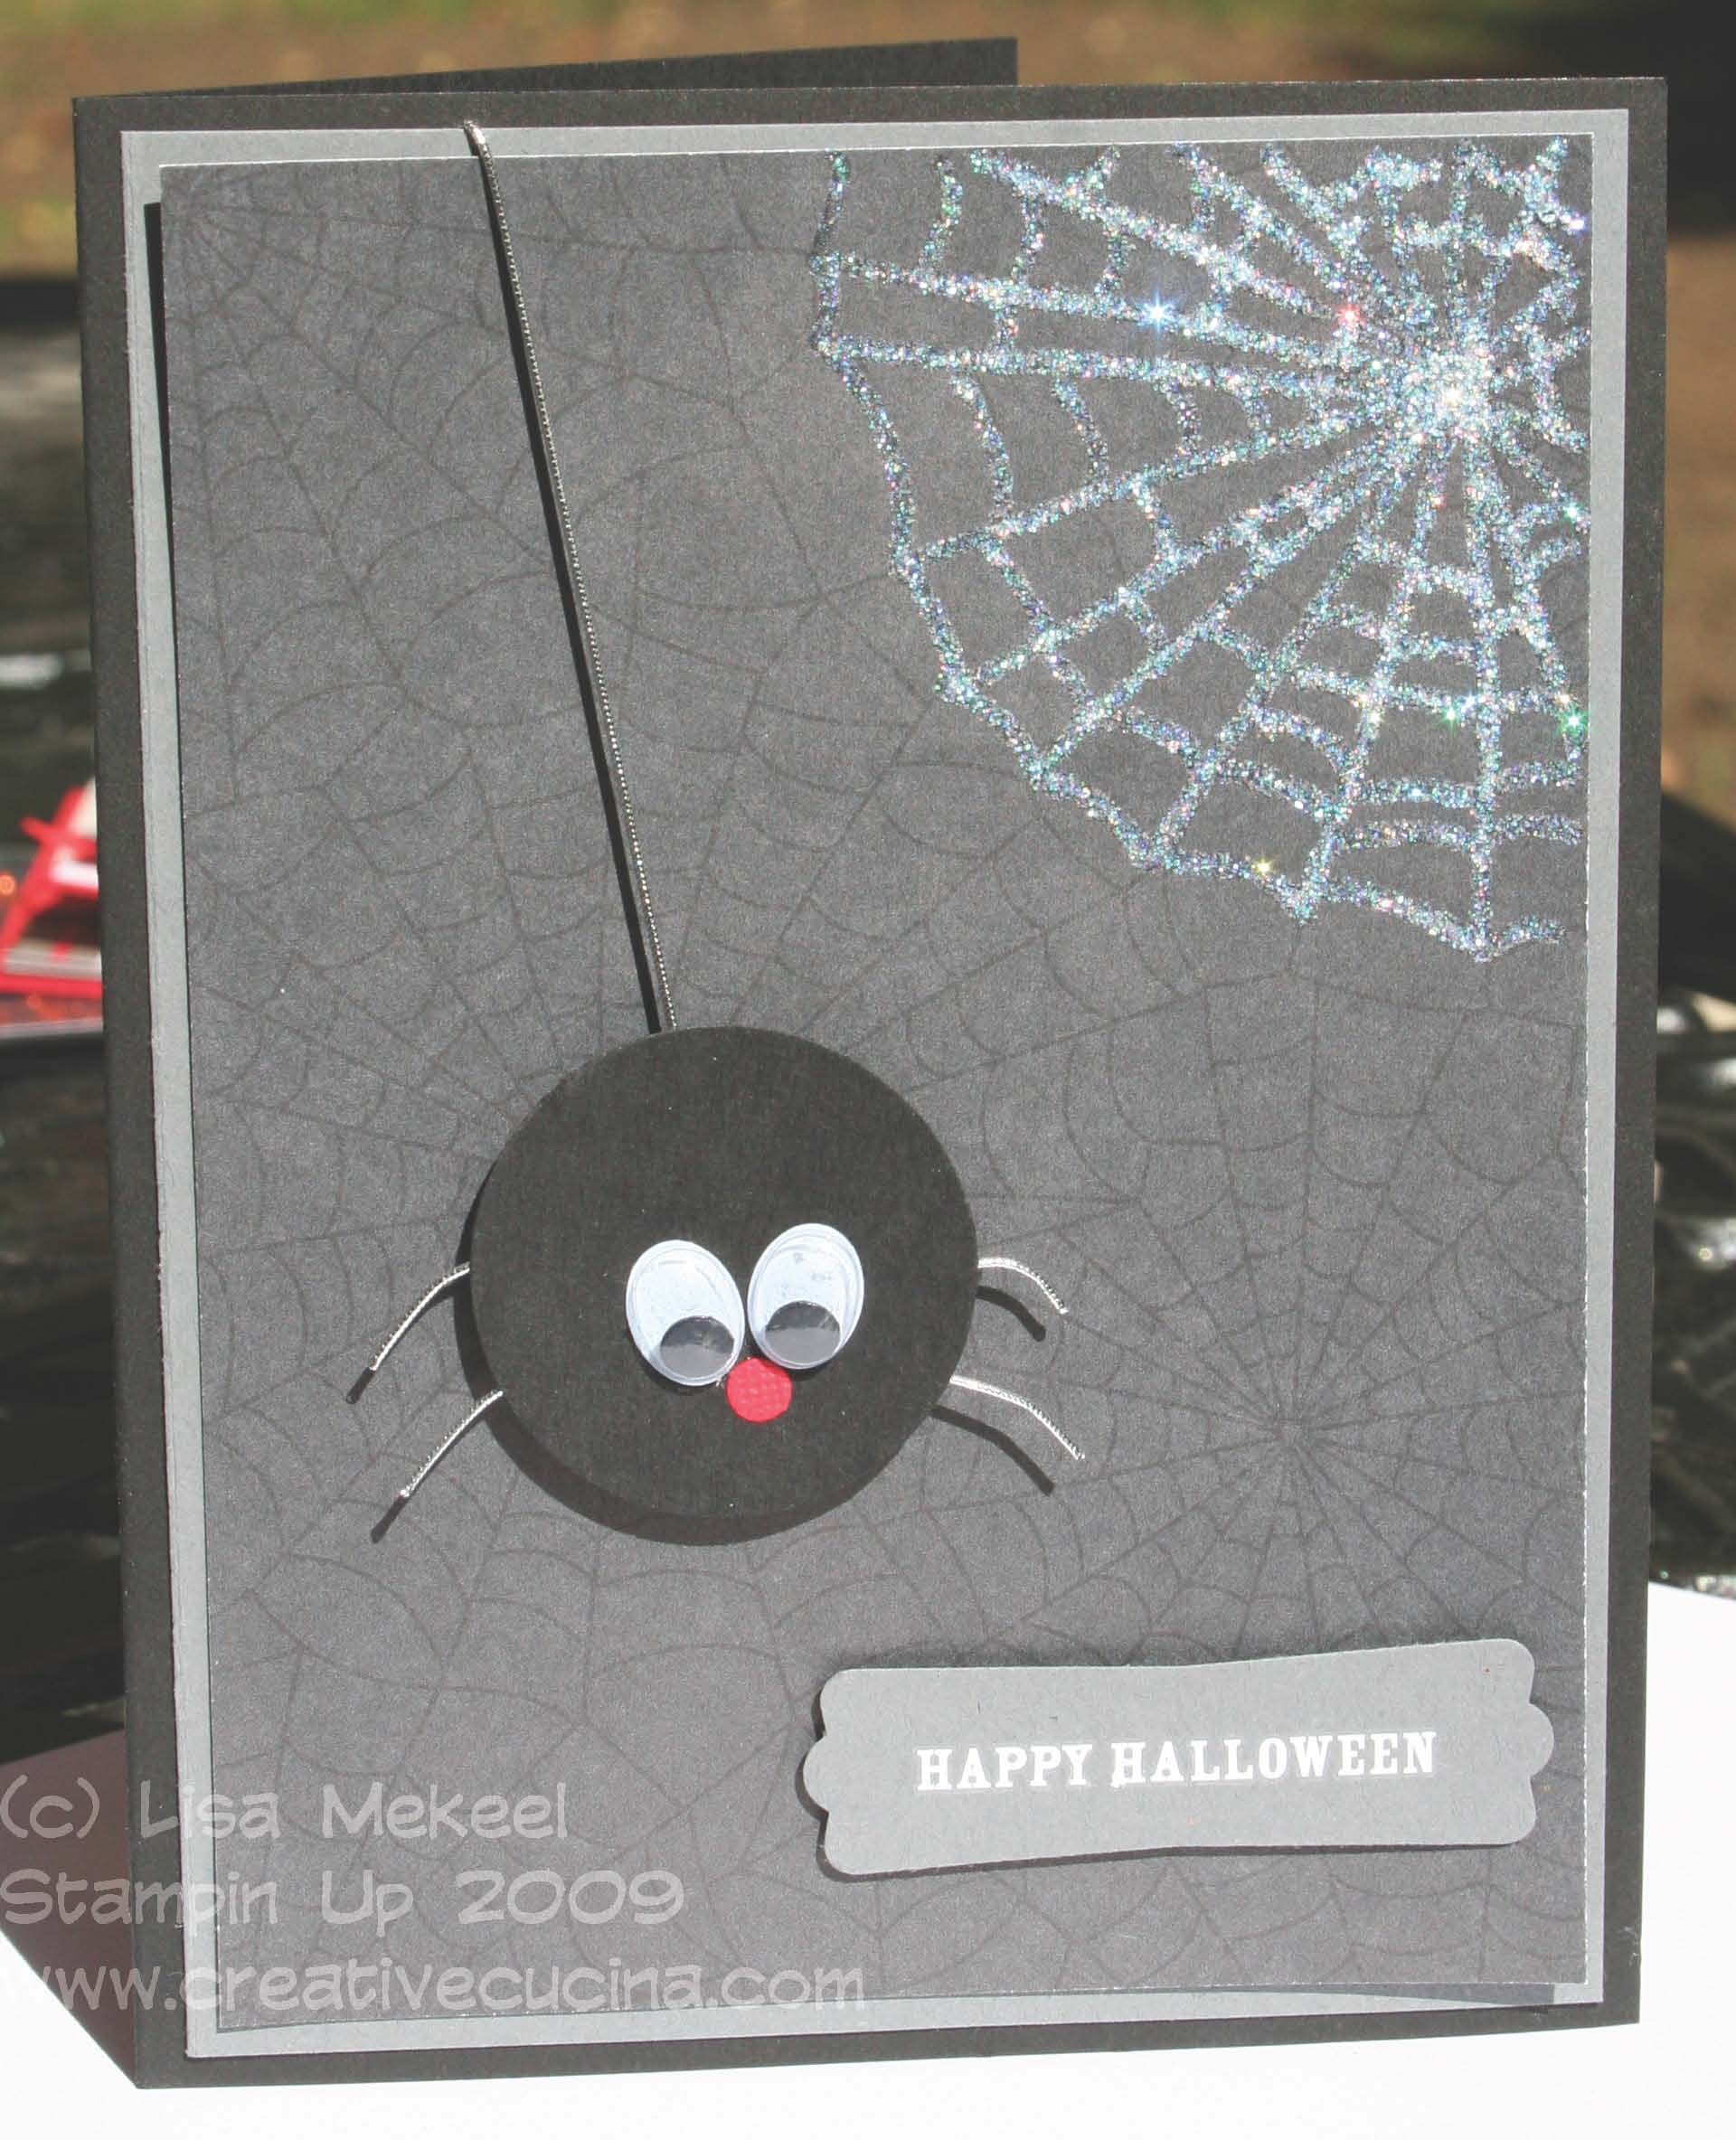
This card turned out so cute! And I’m normally not one to make Halloween cards, but I figured I’d give it a try this year. Base is Basic Black layered with Going Gray. The black spider web DSP is a retired Halloween DSP. I traced over the corner web with my MS Glue pen and sprinkled on Dazzling Diamonds Glitter.

The spider was made from a 1 3/8″ Circle Punch of Basic Black card stock, with googly eyes and red circle nose. The legs are pieces of Silver Elastic Cord, that I pinched to make them bend slightly. The string he’s hanging from is also Elastic Cord. The entire spider is attached using dimensionals.

To finish off the card, I added a rub on from Chit Chat Rub Ons onto Basic Gray card stock punched with the Modern Label Punch, attached with dimensionals.

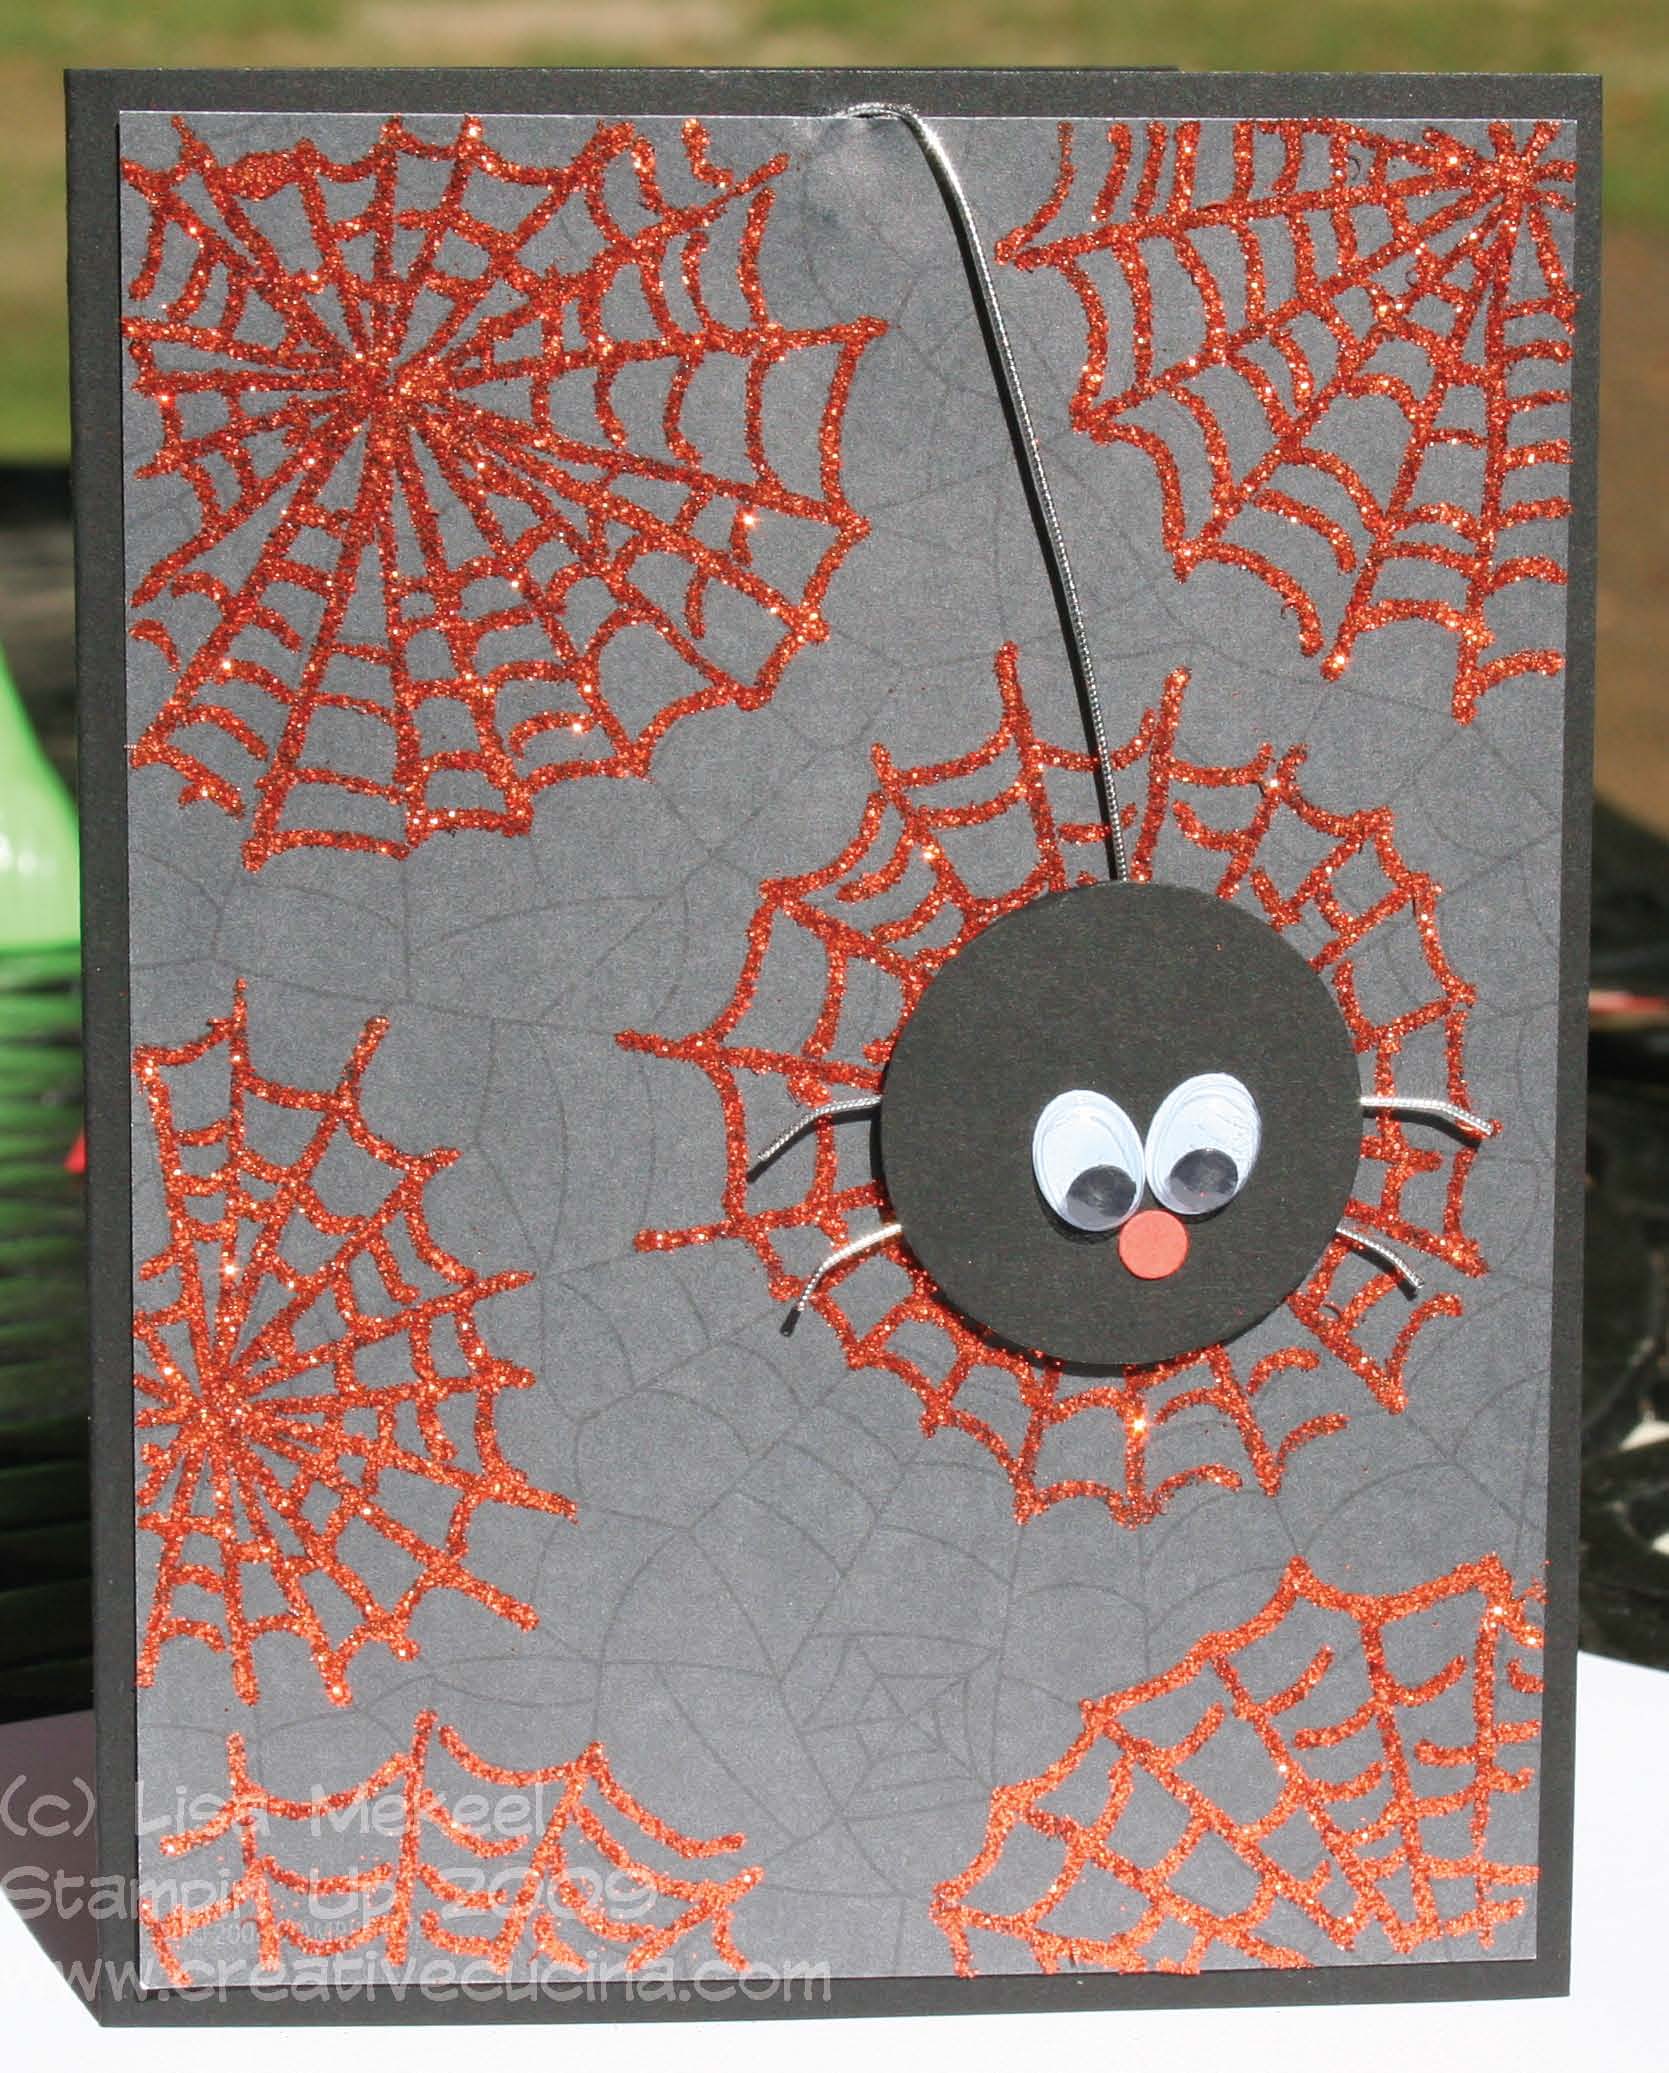
Version 2 of the Spider Web Glitter card uses Supernova Fine Glitter in Orange. Pretty much everything is the same as the card above.

One of the Contenders for this Year’s Christmas Card

I REALLY like how this turned out. While I wait for my Ornament Punch to come, so I can make a card like this, I’m playing with what I do have on hand.

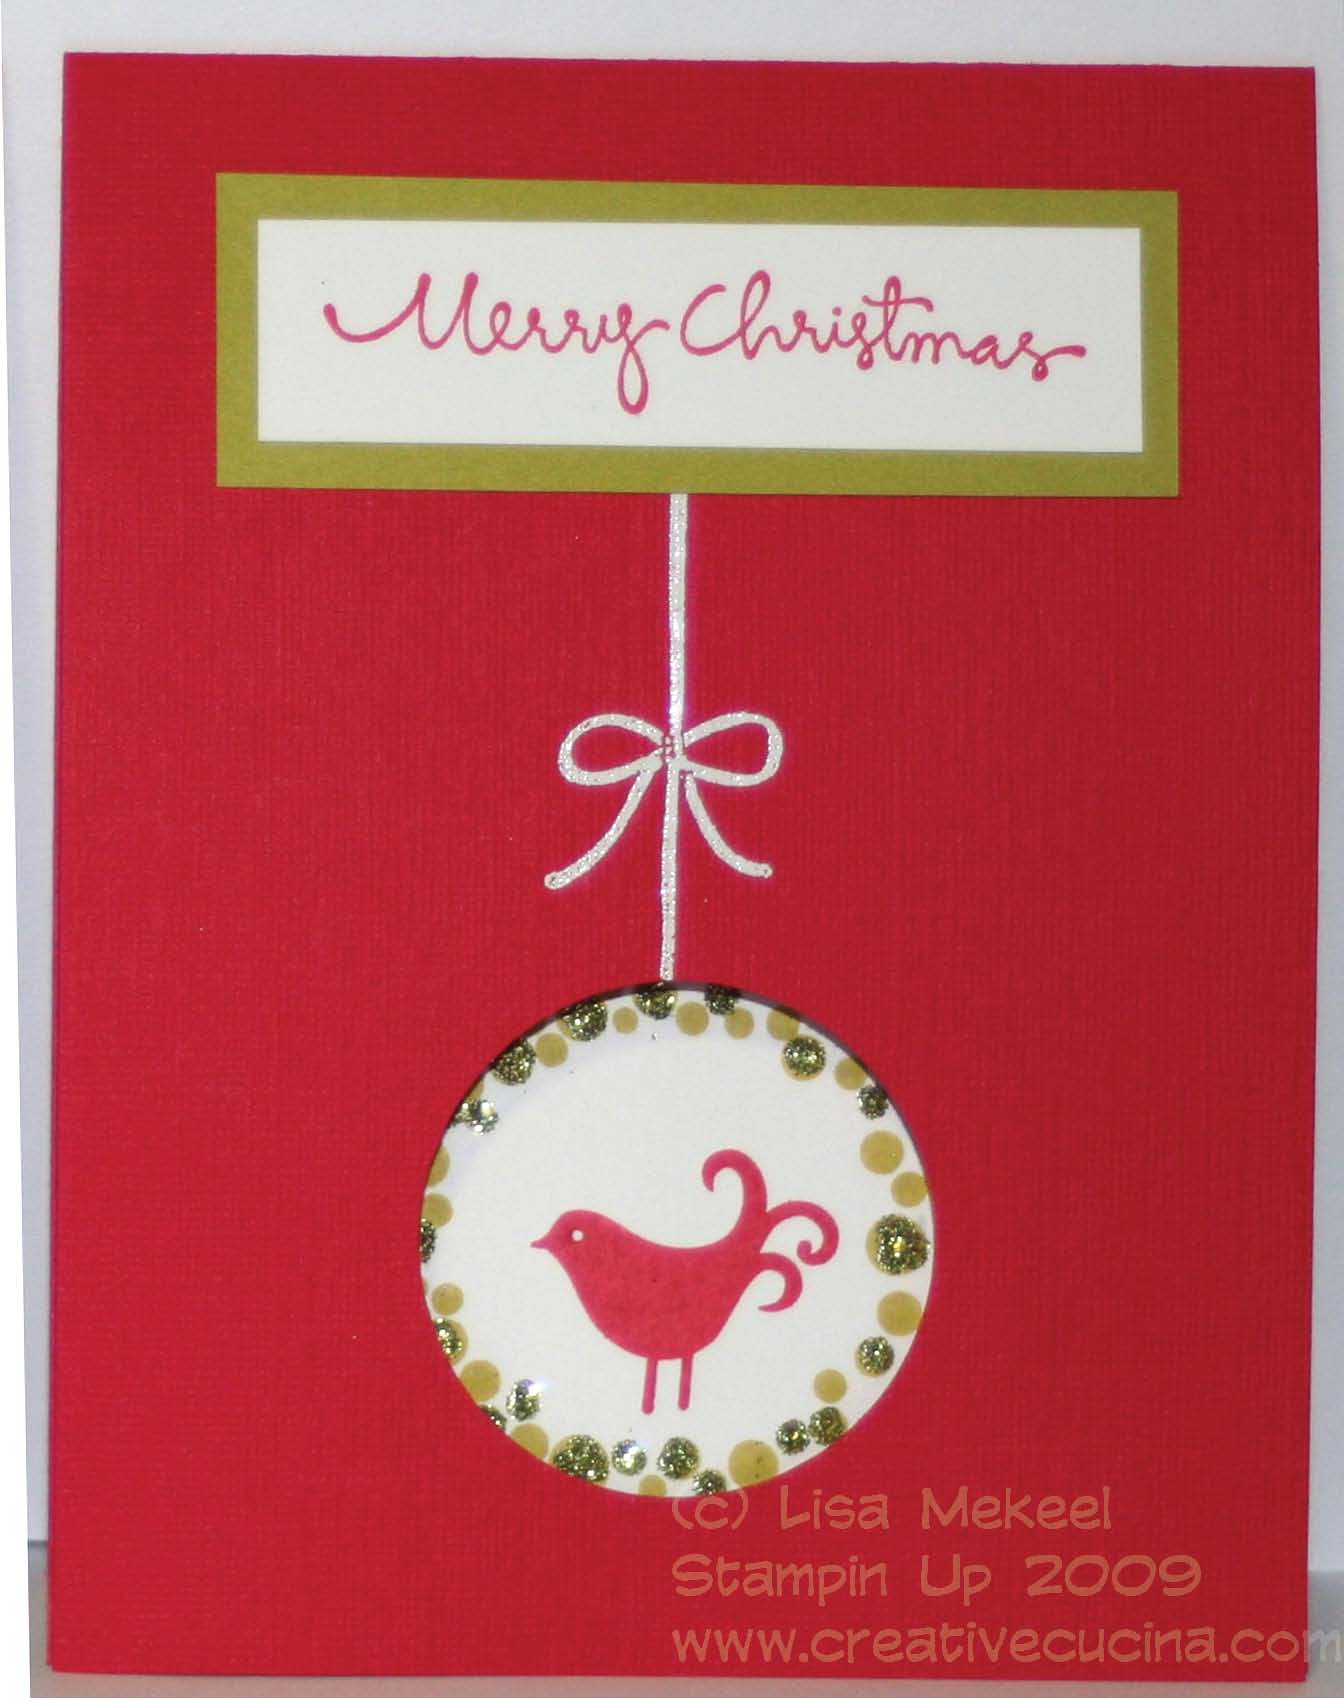
The base is Real Red Textured card stock, with a top fold. I punched out the circle window using my 1 1/4″ Circle Punch. Then I stamped the string/bow from Berry Christmas in Versamark and heat embossed it using White EP. At the top, I stamped Merry Christmas, from Christmas Greetings in Riding Hood Red on Whisper White. Then, I layered it onto a piece of Kiwi Kiss card stock and attached it to the card front.

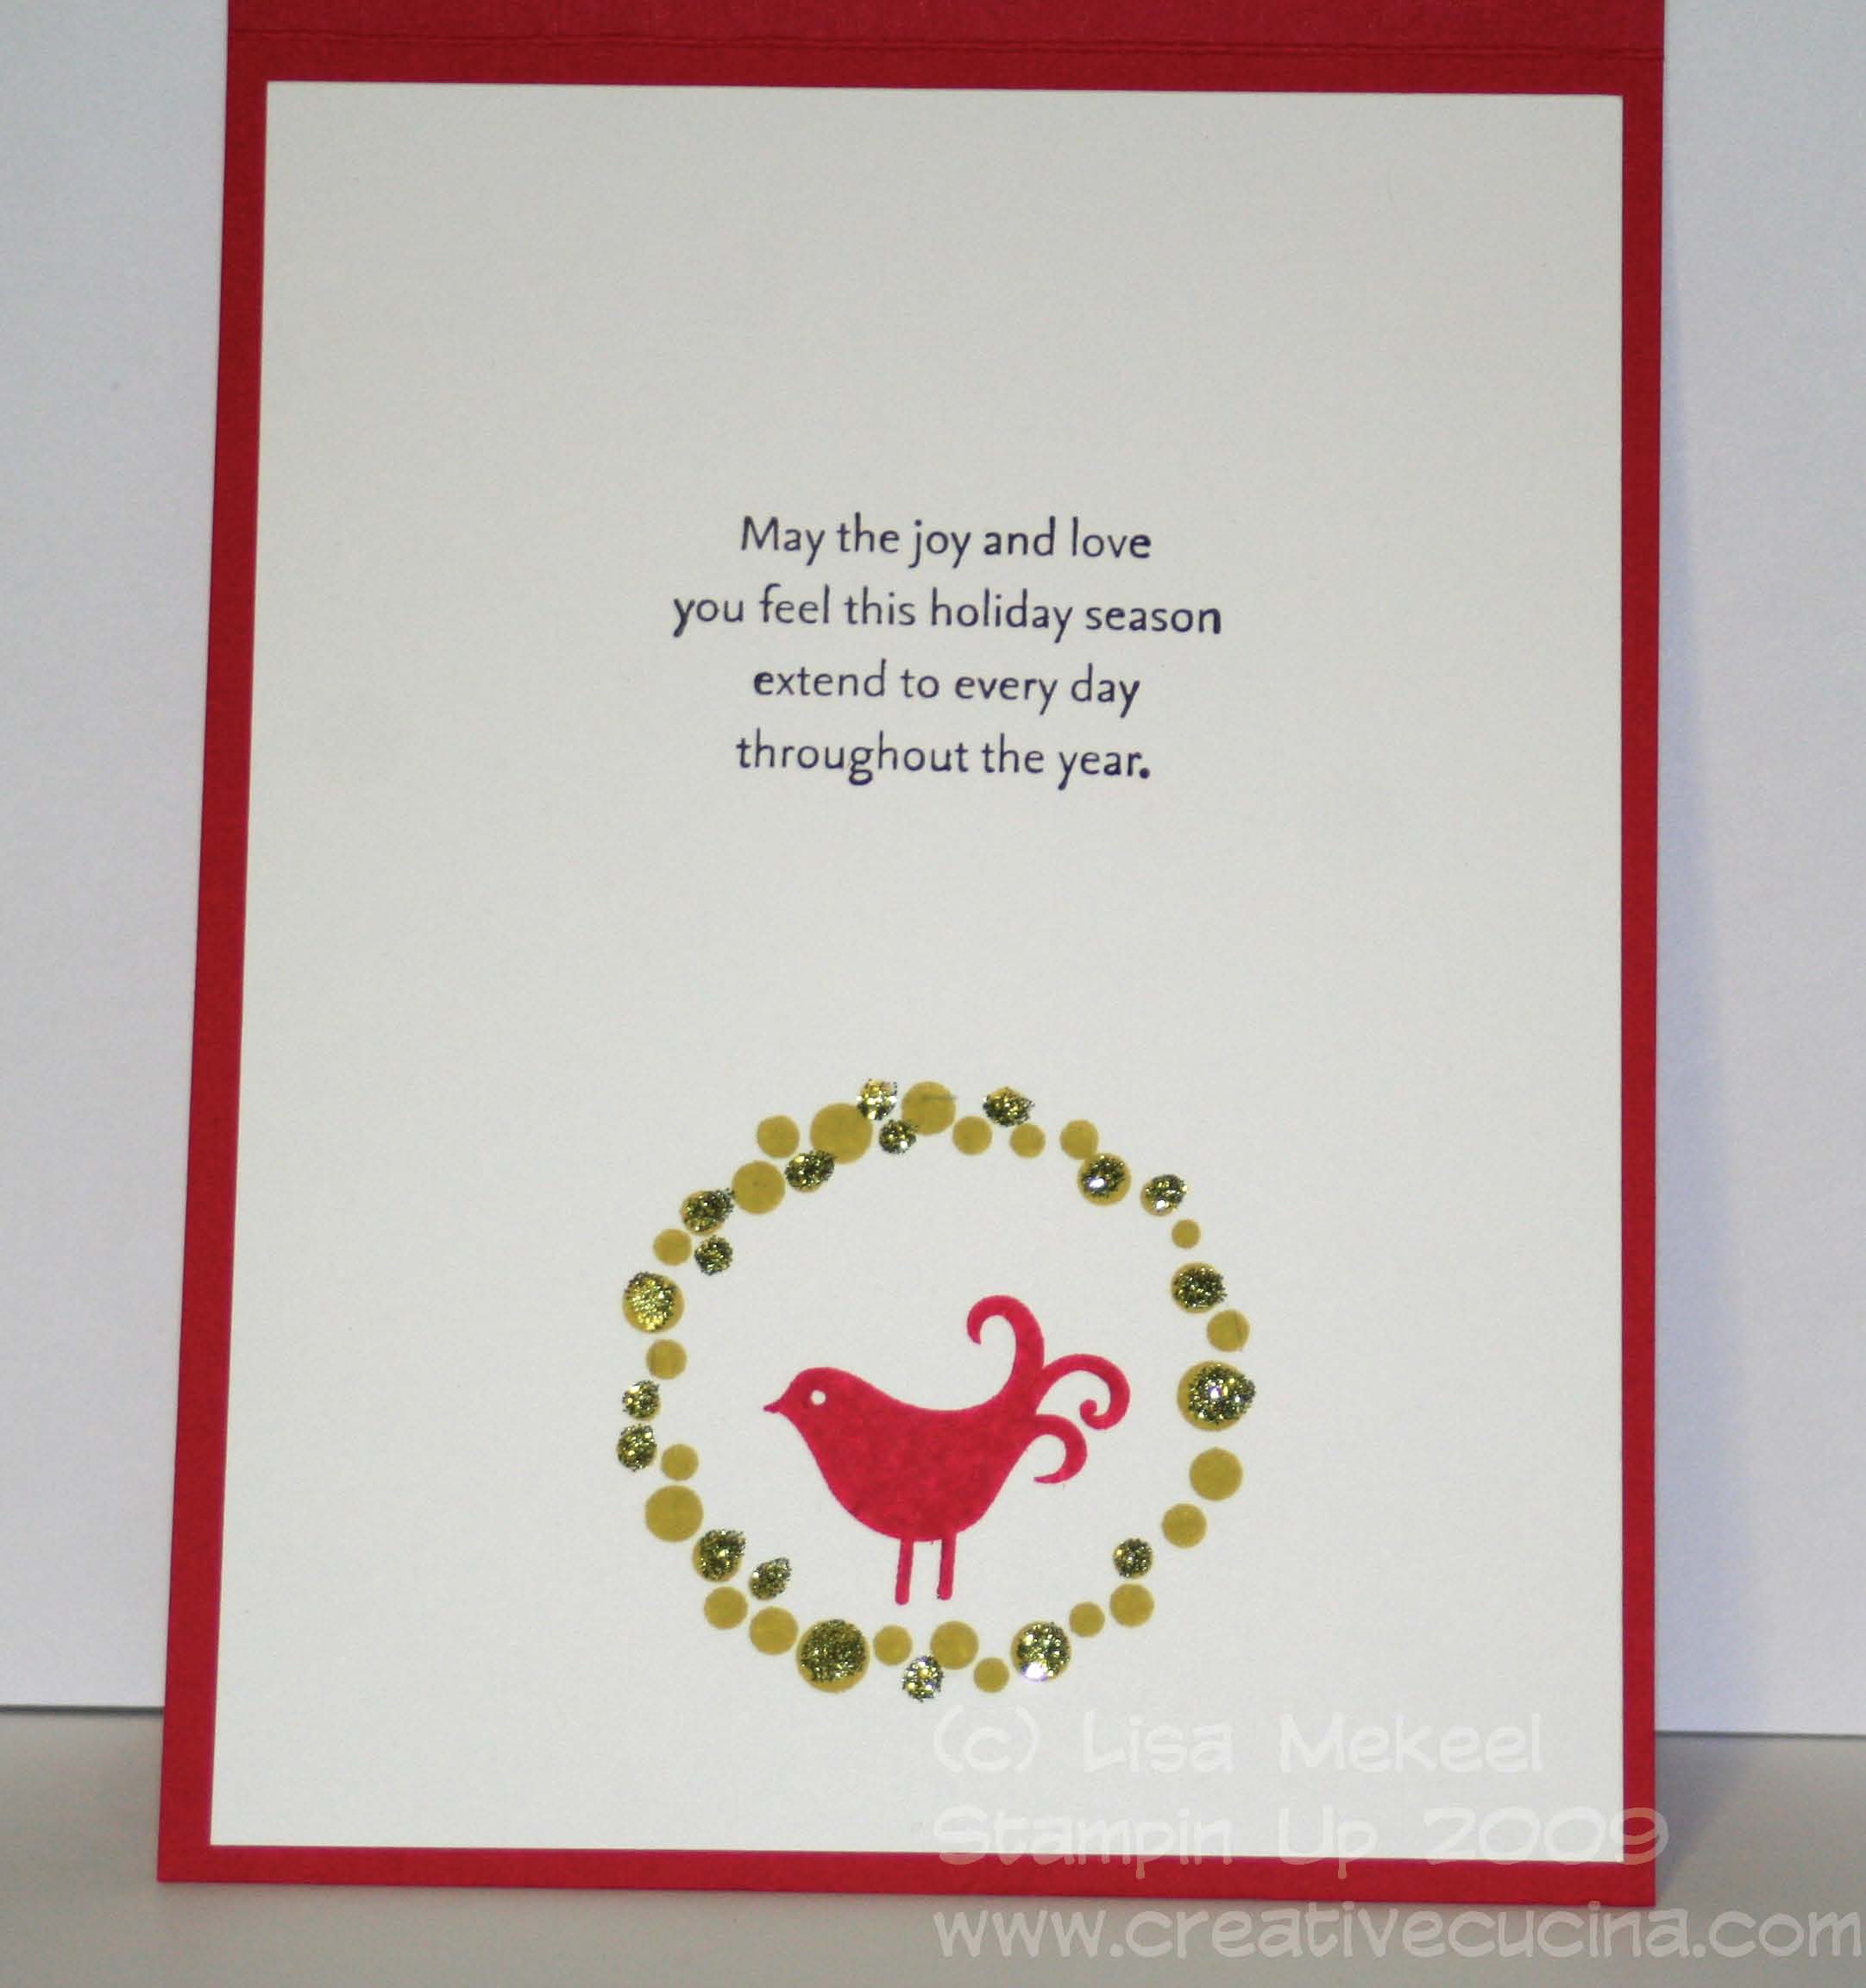
Inside, I layered a piece of Whisper White cut to 4″ x 5 1/4″.  To get correct placement of the wreath, I closed the card and made small marks with a pencil inside the circle. Then, open the card and stamp the wreath inside your guide marks using Kiwi Kiss ink. I LOVE adding glitter to this wreath (see another card I made here). Using a glue pen, add some glue to random spots around the wreath, then using green Superfine Supernova Glitter, sprinkle it on and WOW! Inside the wreath, I stamped the bird in Riding Hood Red ink.

The sentiment inside is also from Christmas Greetings, stamped in Basic Black. If I were trying to be super fancy, I would probably wipe off some of the black using a Qtip and color specific words red and green but it was late and I wasn’t feeling super fancy!

For those of you looking for Christmas card ideas, this is really very simple to do in bulk and has lots of Wow factor for such little time and effort. It’s a serious contender for my cards this year. I may add a wallet size photo of my daughter inside the front cover so when you flip it open you will see it.

Bad Behavior has blocked 473 access attempts in the last 7 days.

css.php