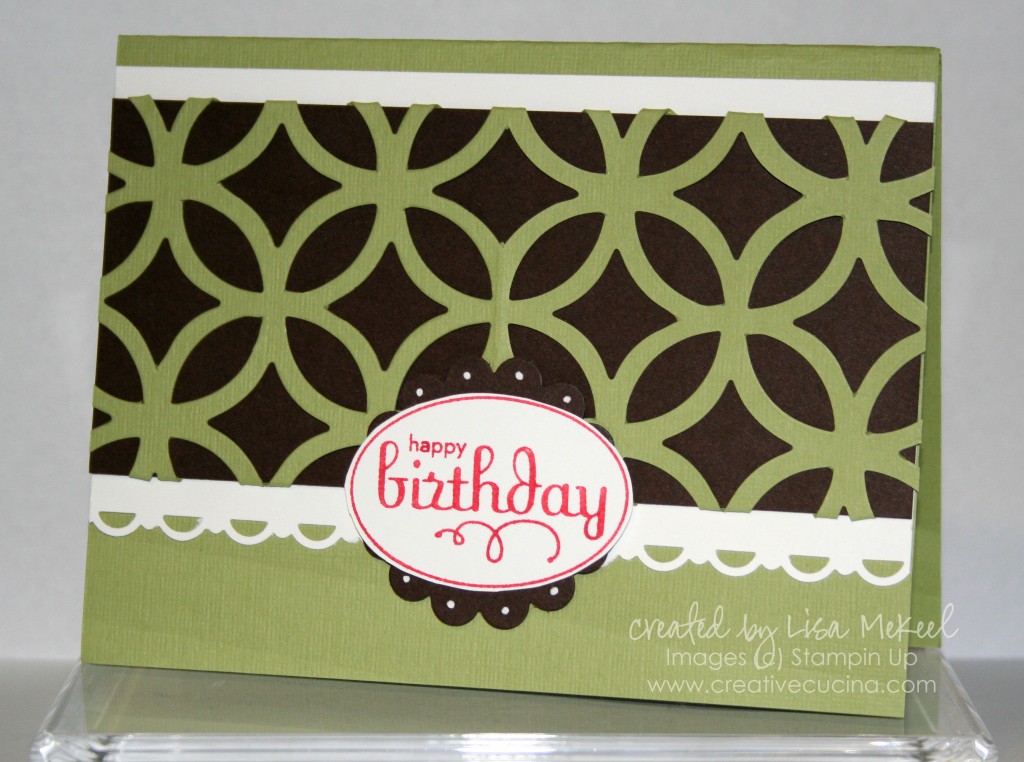
This idea was cased from Connie Collins. I love the look of the Bigz Lattice Die, I just wish it made a bigger piece! In order to make the lattice image span across the entire front of the card, I simply folded my Pear Pizzaz (In Color) card stock in half, placed it on the die, keeping the fold just slightly below the edge of the blades, and ran it through the Big Shot.
I used SNAIL to adhere the lattice design to the Early Espresso base, but you could also use Mini Glue Dots. I cut off the overhang of the lattice design with my paper cutter to give it a really clean look. That was layered onto a wider strip of Whisper White that I used the Scallop Trim Border Punch along the bottom.
The card base is Pear Pizzaz. The sentiment is from Perfect Punches, stamped in Poppy Parade ink and punched out with the Wide Oval Punch. I layered it onto a scalloped Early Espresso circle, made with the Scallop Circle Punch. I added white dots with the Signo Gel Pen and adhered it to the base with Stampin Dimensionals.
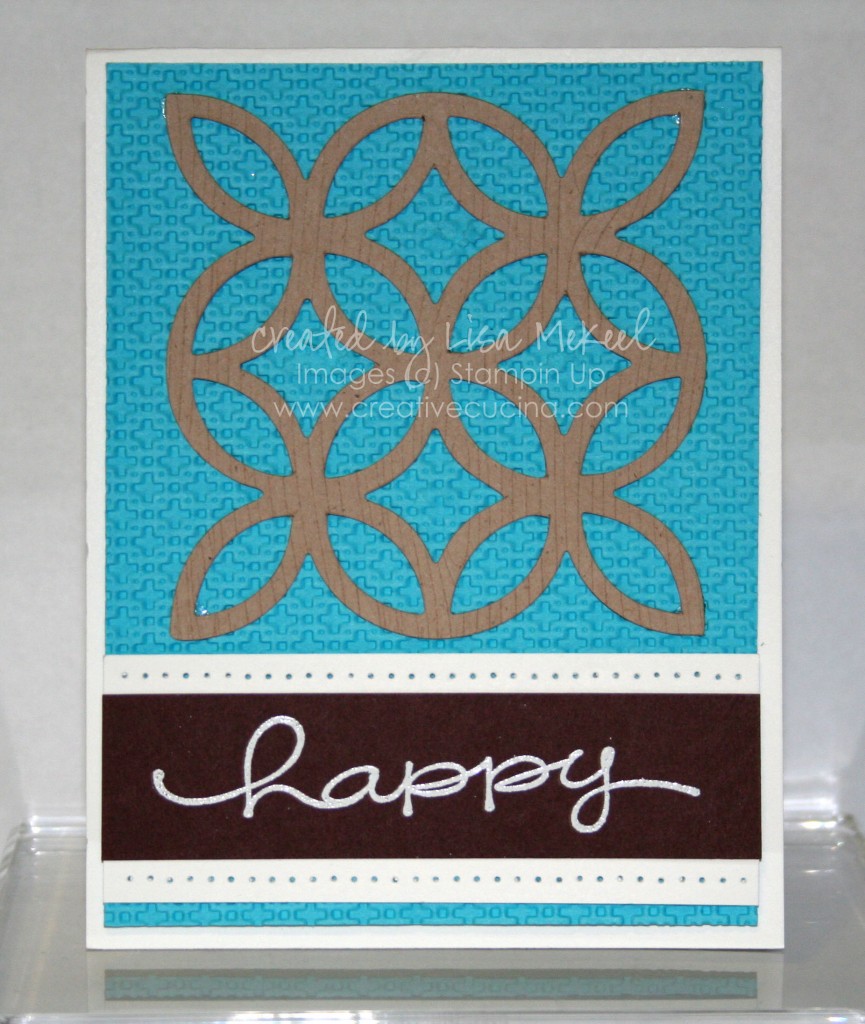 This next card reminds me of being in Aruba or Hawaii–it’s very tropical without trying to be. The card base is Whisper White, with a top fold. I used the Square Lattice Embossing Folder to emboss the Tempting Turquoise card stock and adhered it to the base with Stampin Dimensionals.
Next, I stamped a piece of Crumb Cake (Kraft) card stock with the Woodgrain Background stamp in Crumb Cake ink. That was then put through the Big Shot using the Lattice Bigz Die and attached to the card with Mini Glue Dots.
Underneath, on Chocolate Chip card stock, I stamped “happy” from Happy Everything in Versamark and heat embossed it with White Embossing Powder. I layered that onto a wider strip of Whisper White and with the Paper Piercer, pierced holes along the top and bottom edge before attaching it to the base with Stampin Dimensionals.
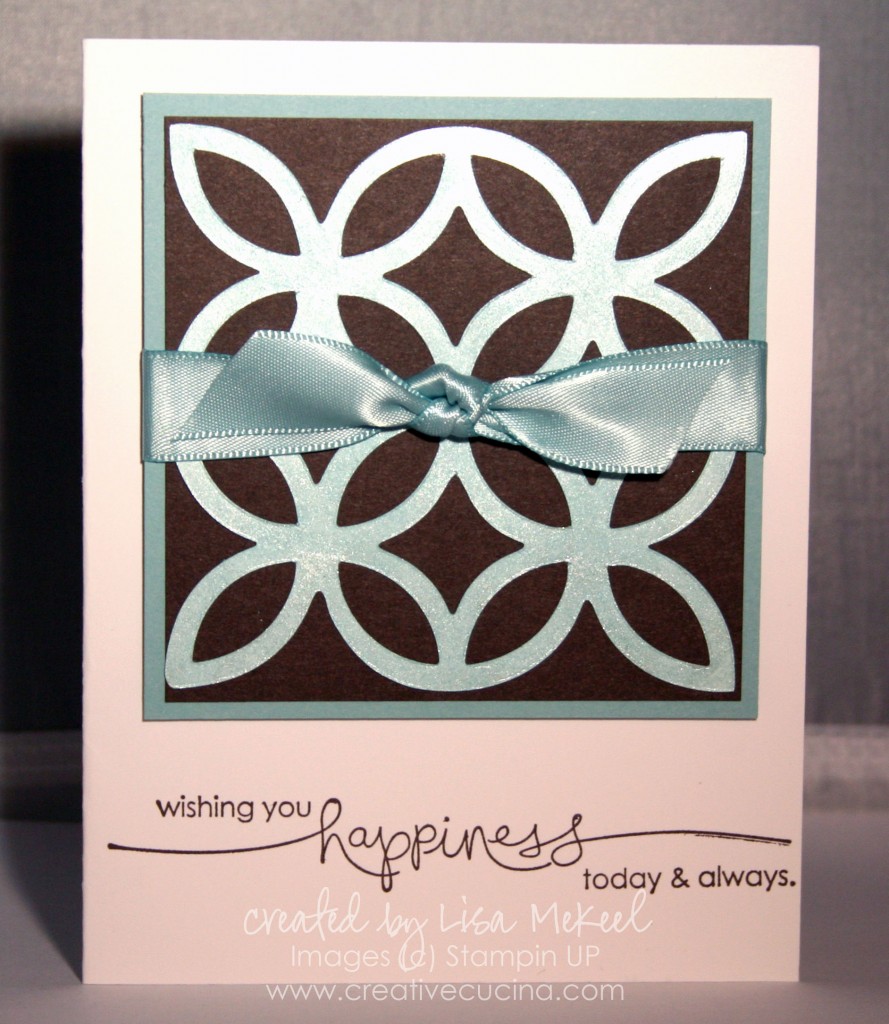
This picture is terrible but it was late and I was in a rush to get this posted so here it is anyway. The card base is Whisper White and I stamped the sentiment from Heard from the Heart directly onto the base with Early Espresso ink.
Above that, the lattice image was made by running Whisper White card stock through the Big Shot with the Lattice Bigz Die and then sponging it with a mixture of Baja Breeze Reinker and Frost Shimmer Paint. I layered it onto a square of Early Espresso and then a slightly larger square of Baja Breeze card stock. The ribbon is from Valet Originals (retired) but it’s Baja Breeze satin ribbon. All of that was attached to the base with Stampin Dimensionals.
