Naughty and Nice Christmas Card

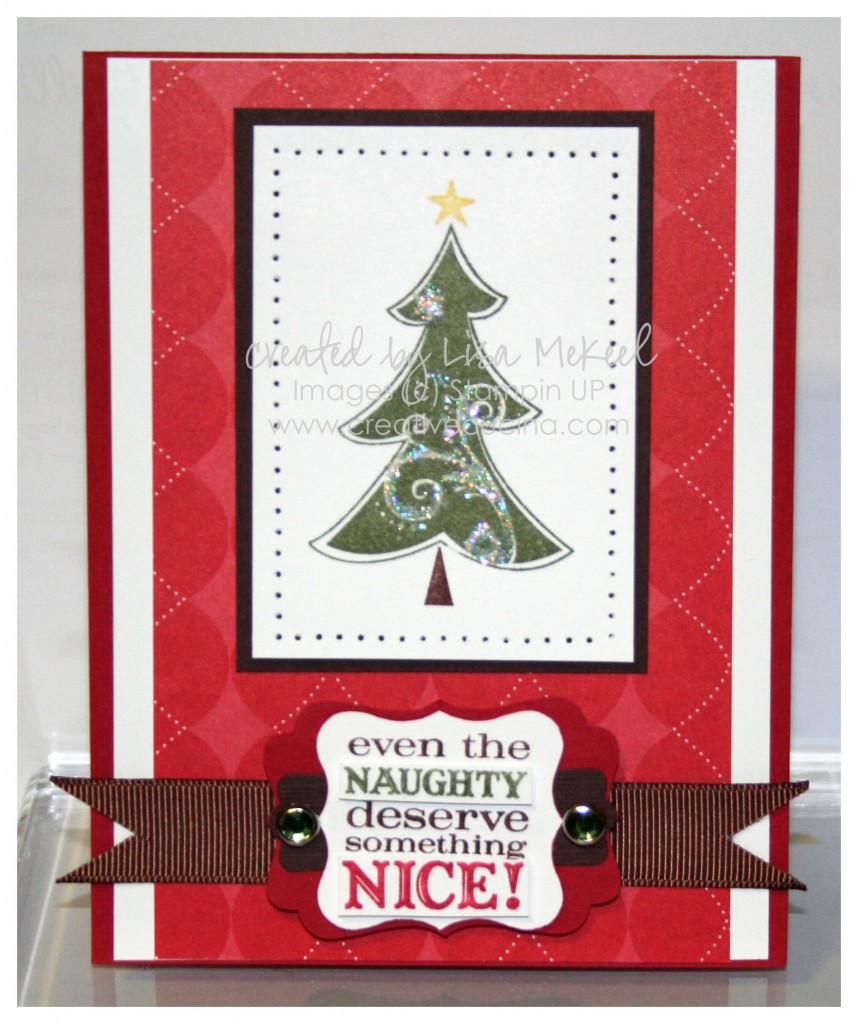
I really like the Tags Til Christmas set, and adding the tags to a card is another great idea for them. Here, I stamped the tree from Season of Joy on Whisper White after coloring the stamp with Always Artichoke, Daffodil Delight, and Chocolate Chip Markers. With a fine tip glue pen and Dazzling Diamonds, I added some glitter to the swirls on the tree. That layer was then matted onto Chocolate Chip card stock and paper pierced around the edges with the paper piercer.

The card base is Real Red, layered with Whisper White and retired Holiday Lounge DSP.

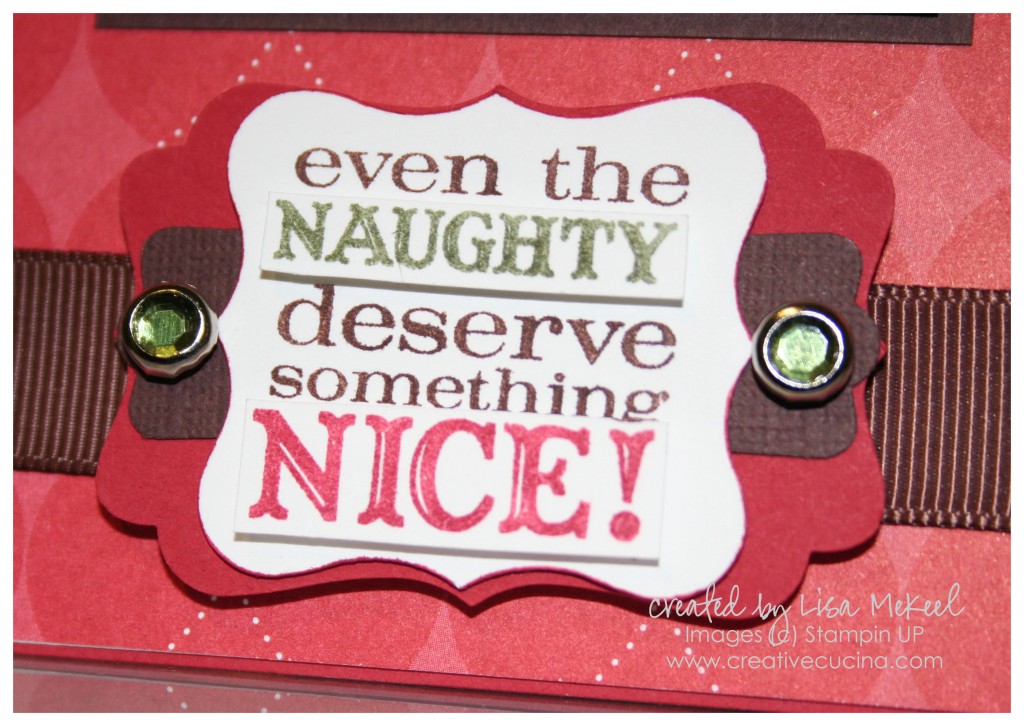
As I mentioned before, the sentiment is from Tags Til Christmas. I colored in the stamp with Chocolate Chip, Cherry Cobbler, and Always Artichoke Markers, stamping it twice. I punched one of them with the Curly Label Punch, and cut out the colored words from the other, attaching them to the Curly Label piece with stampin dimensionals.

Then, I just layered the Curly Label Punch onto a Chocolate Chip Modern Label Punch and Real Red Decorative Label Punch. Two green Circle Ice Rhinestone Brads finish off the tag.

Behind the tag, I added a piece of Chocolate Chip 5/8″ Grosgrain Ribbon, notching the ends with my Craft & Paper Scissors (aka My Ribbon Scissors).
Ornament Suspension Card

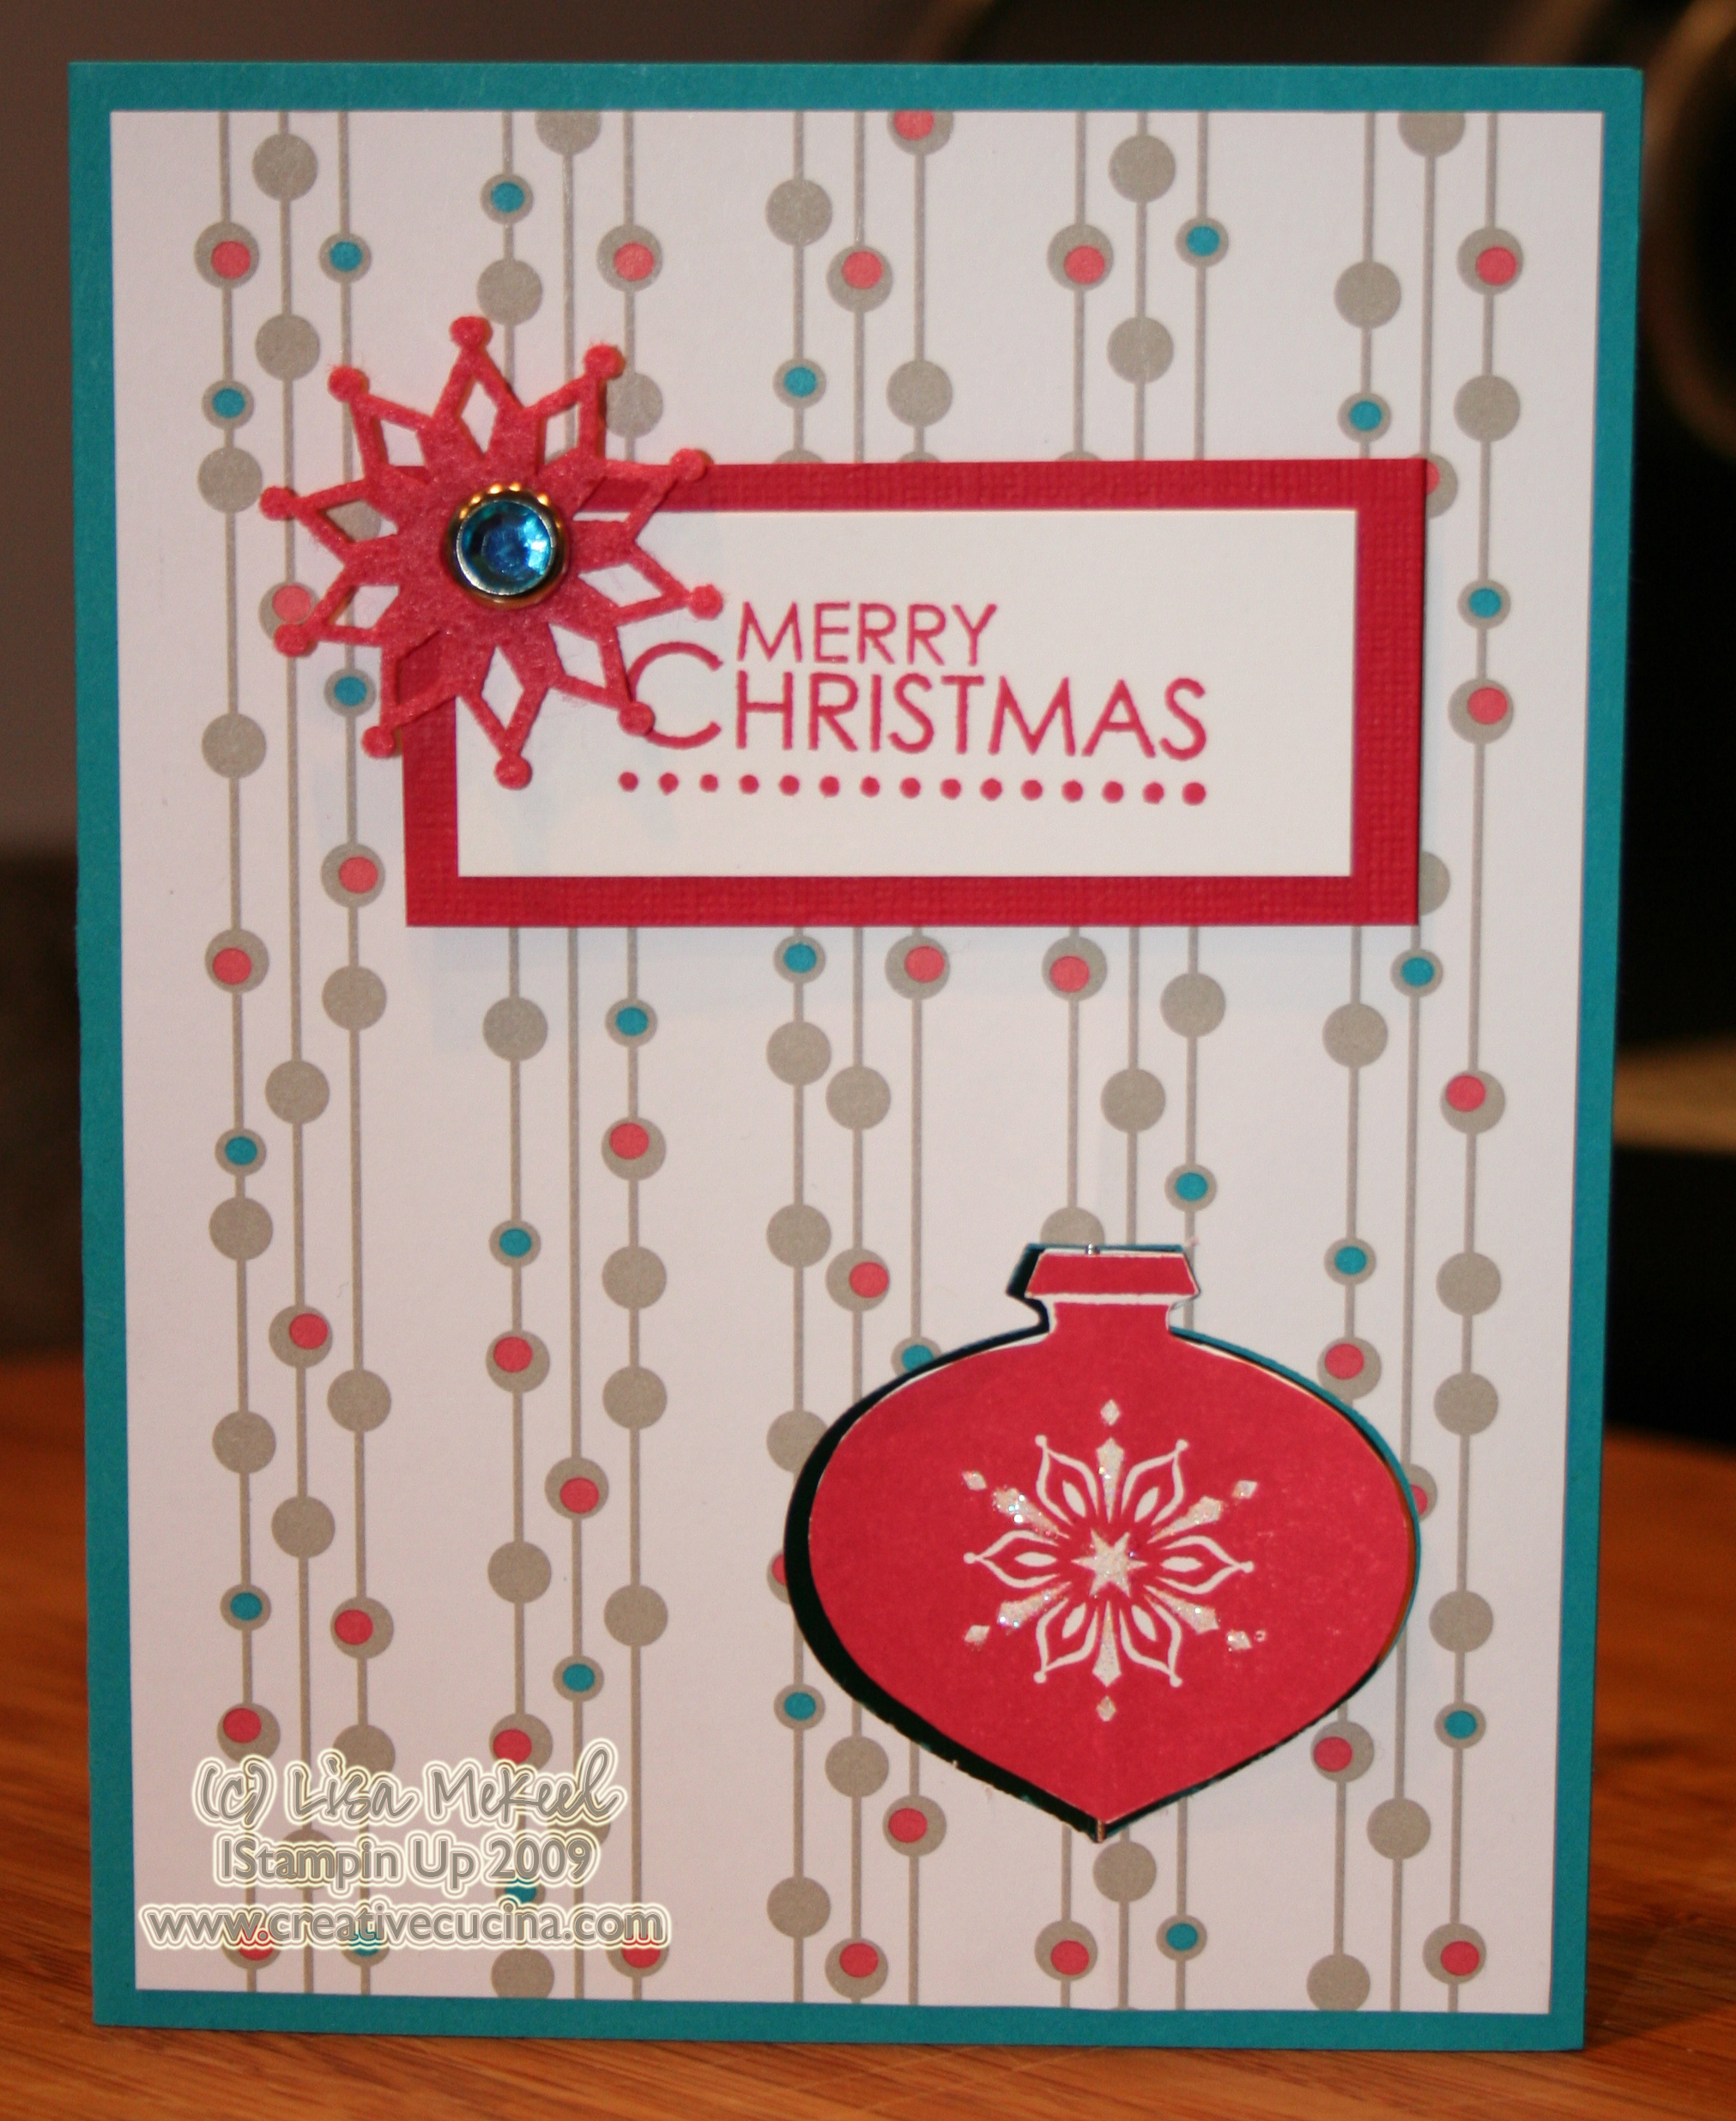
OK, here’s ANOTHER Delightful Decorations card but this time I changed it up a bit and made a suspension card (see tutorial here).

Card base is taken with teal, layered with Holiday Lounge DSP. To make the punch out, I lined up my DSP exactly where it was going to be on the card base and punched the two papers at the same time using the Ornament Punch. Then, I stamped the ornament from Delightful Decorations in Real Red ink on whisper white card stock TWICE, and trimmed them out using my paper snips. Because the punch is slightly larger than the stamp image, the suspension card will work if you trim very close to the image so it will fit in the punched out area.

Next, follow the directions for the suspension card and apply sticky strip to the back side of the DSP, above and below the punch out window. Then, put sticky strip on the back sides of the ornaments you cut out. Attach a piece of dental floss and apply your ornaments. (See tutorial for step by step instructions).

The sentiment is from Season of Joy, stamped in real red ink on whisper white. I layered it with real red textured card stock and then added a Circle Ice Rhinestone Brad and Felt Flurry in the upper corner.

Although hard to see, I added some Dazzling Diamonds to the snowflake on the ornament.

It’s All About the Designer Series Paper

I made three cards tonight, all using designer series paper and the Ornament Punch. The similarities end there, however! I was going to space them out and post one per day but I can’t wait to show them to you!

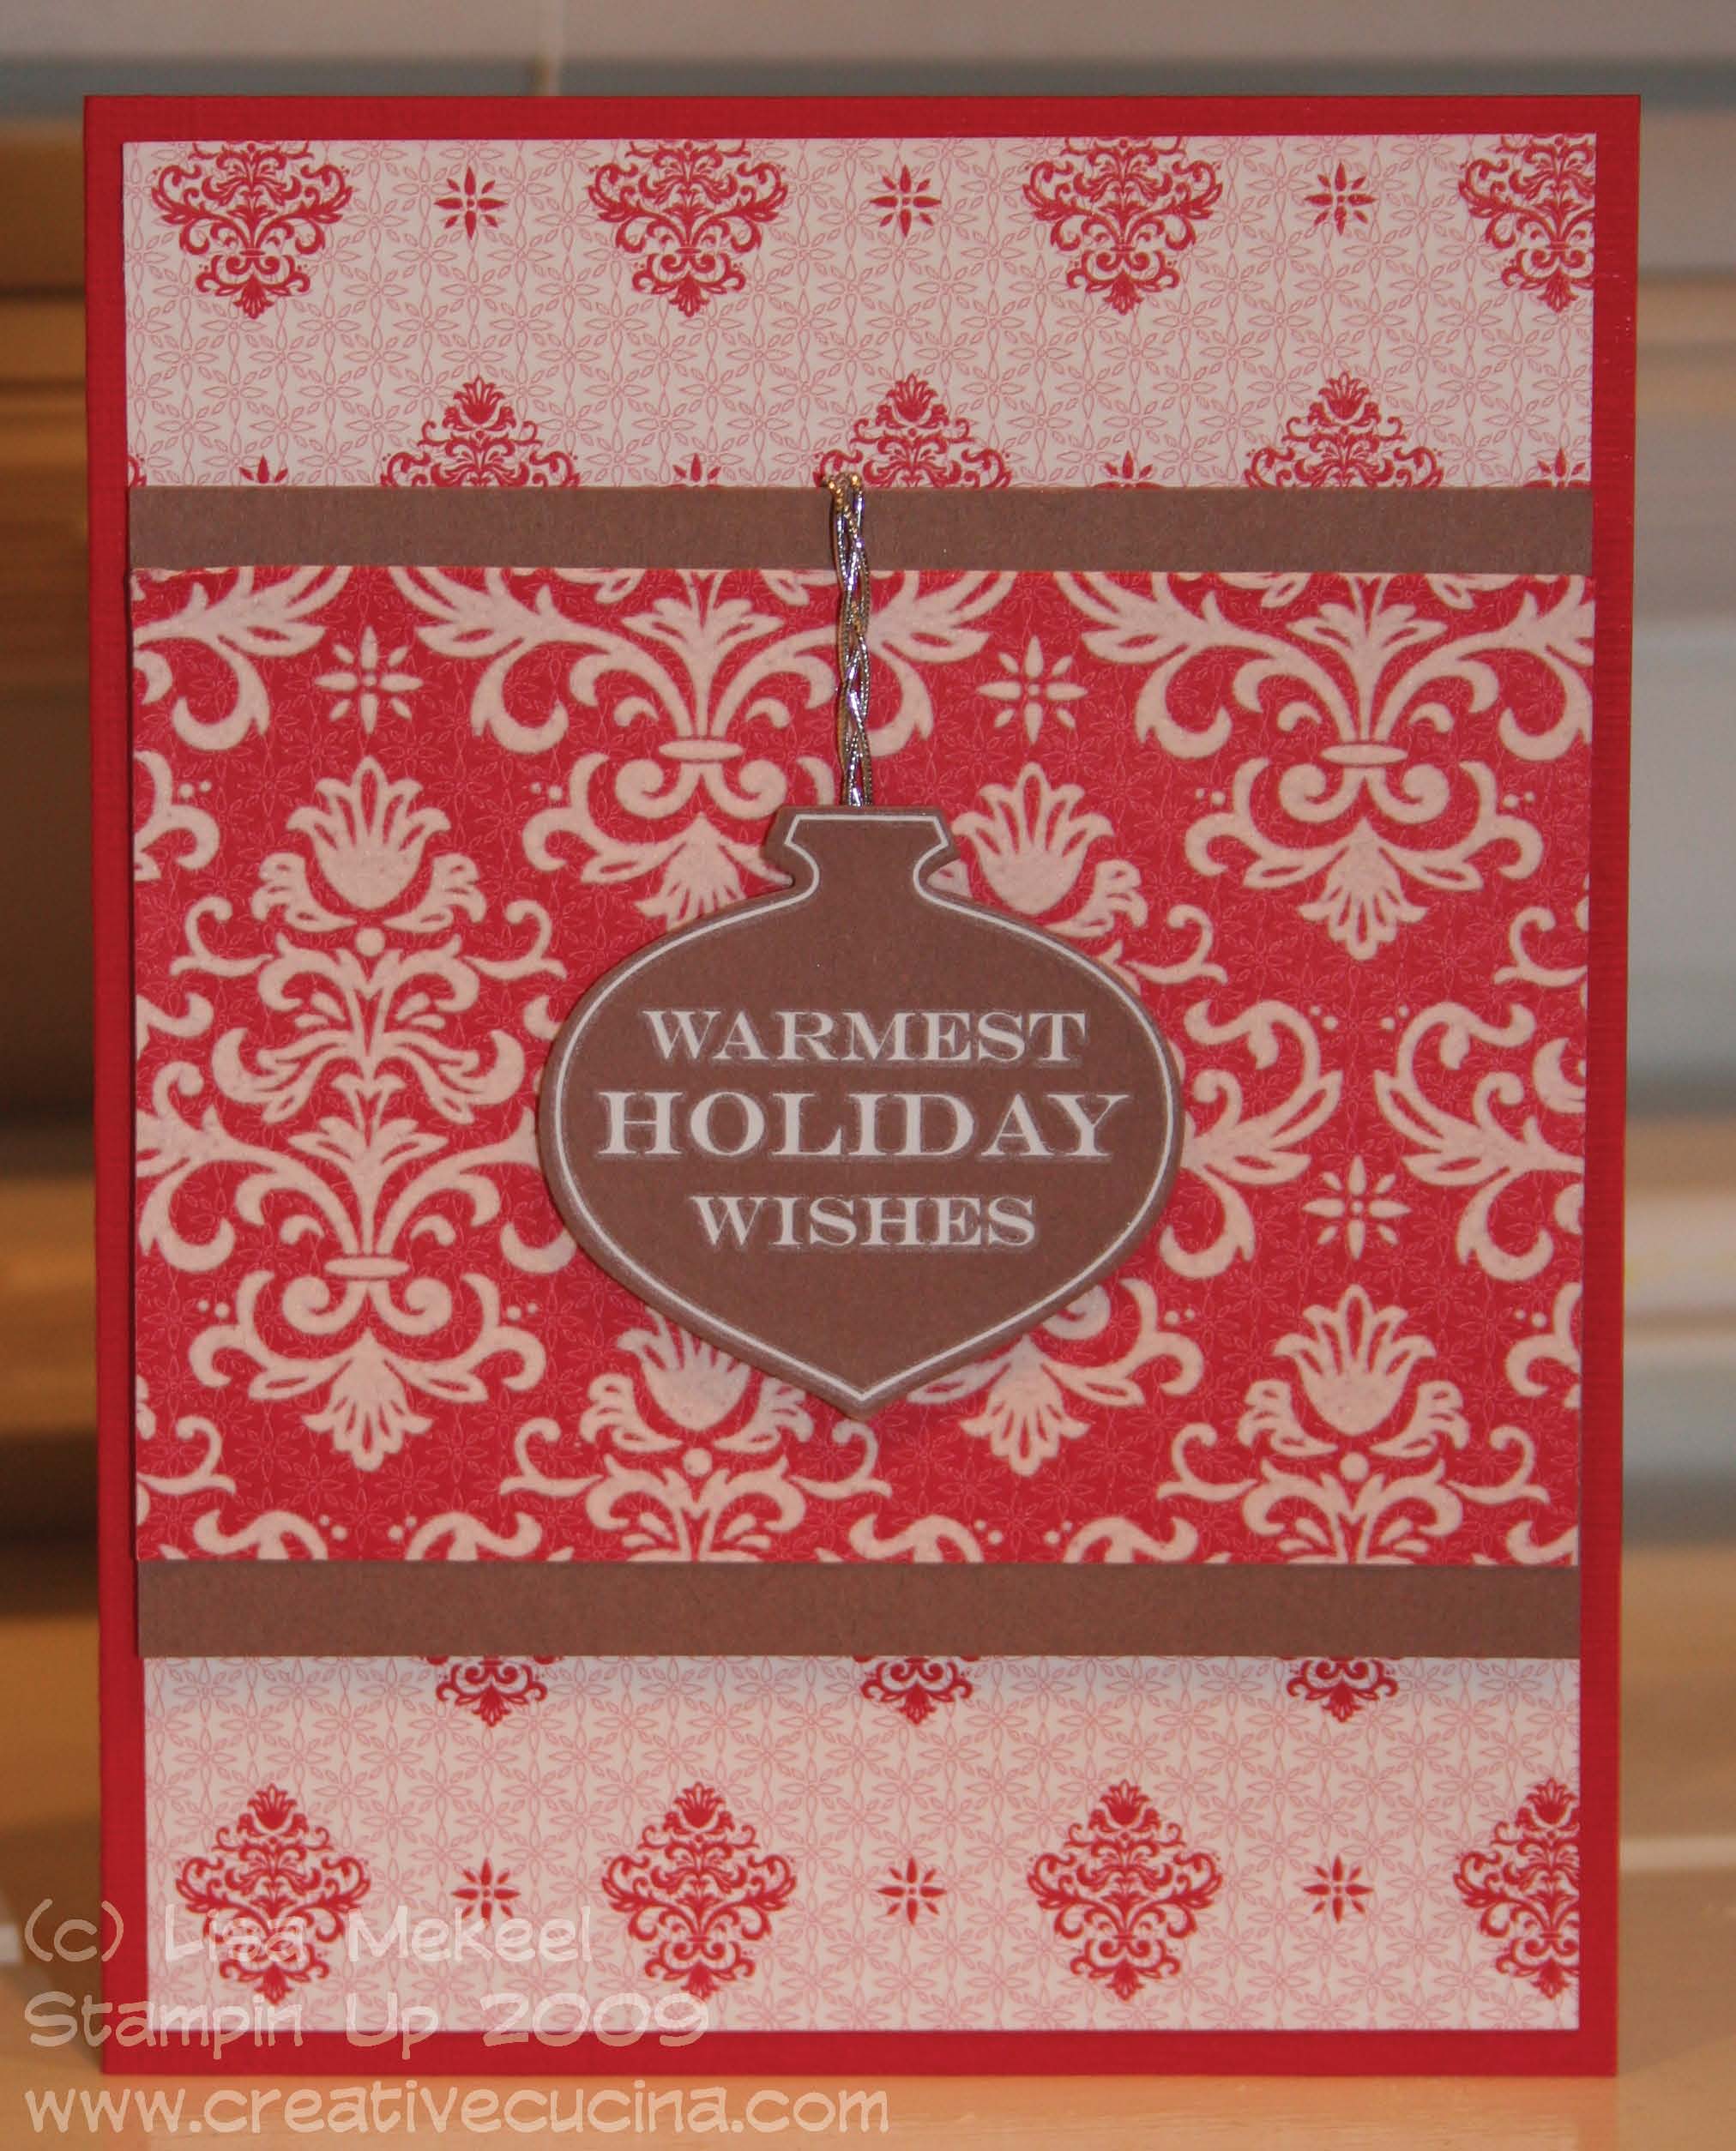
First up is the most traditional card of the three. It uses coordinating Christmas Cocoa DSP with various stencil-like flourish patterns. The base is real red textured card stock, layered with the DSP in red and white flourishes. Next, I layered the flocked DSP (it has a raised felt image and it’s sooo beautiful) onto close to cocoa card stock so that it would pop off the background. In the center, I applied a Merry & Bright Rub On to close to cocoa card stock and punched it out using the Ornament Punch. Then, I braided three pieces of Silver Elastic Cord and adhered it to the back of the ornament, wrapping it up behind the close to cocoa panel. The ornament is then attached using dimensionals.

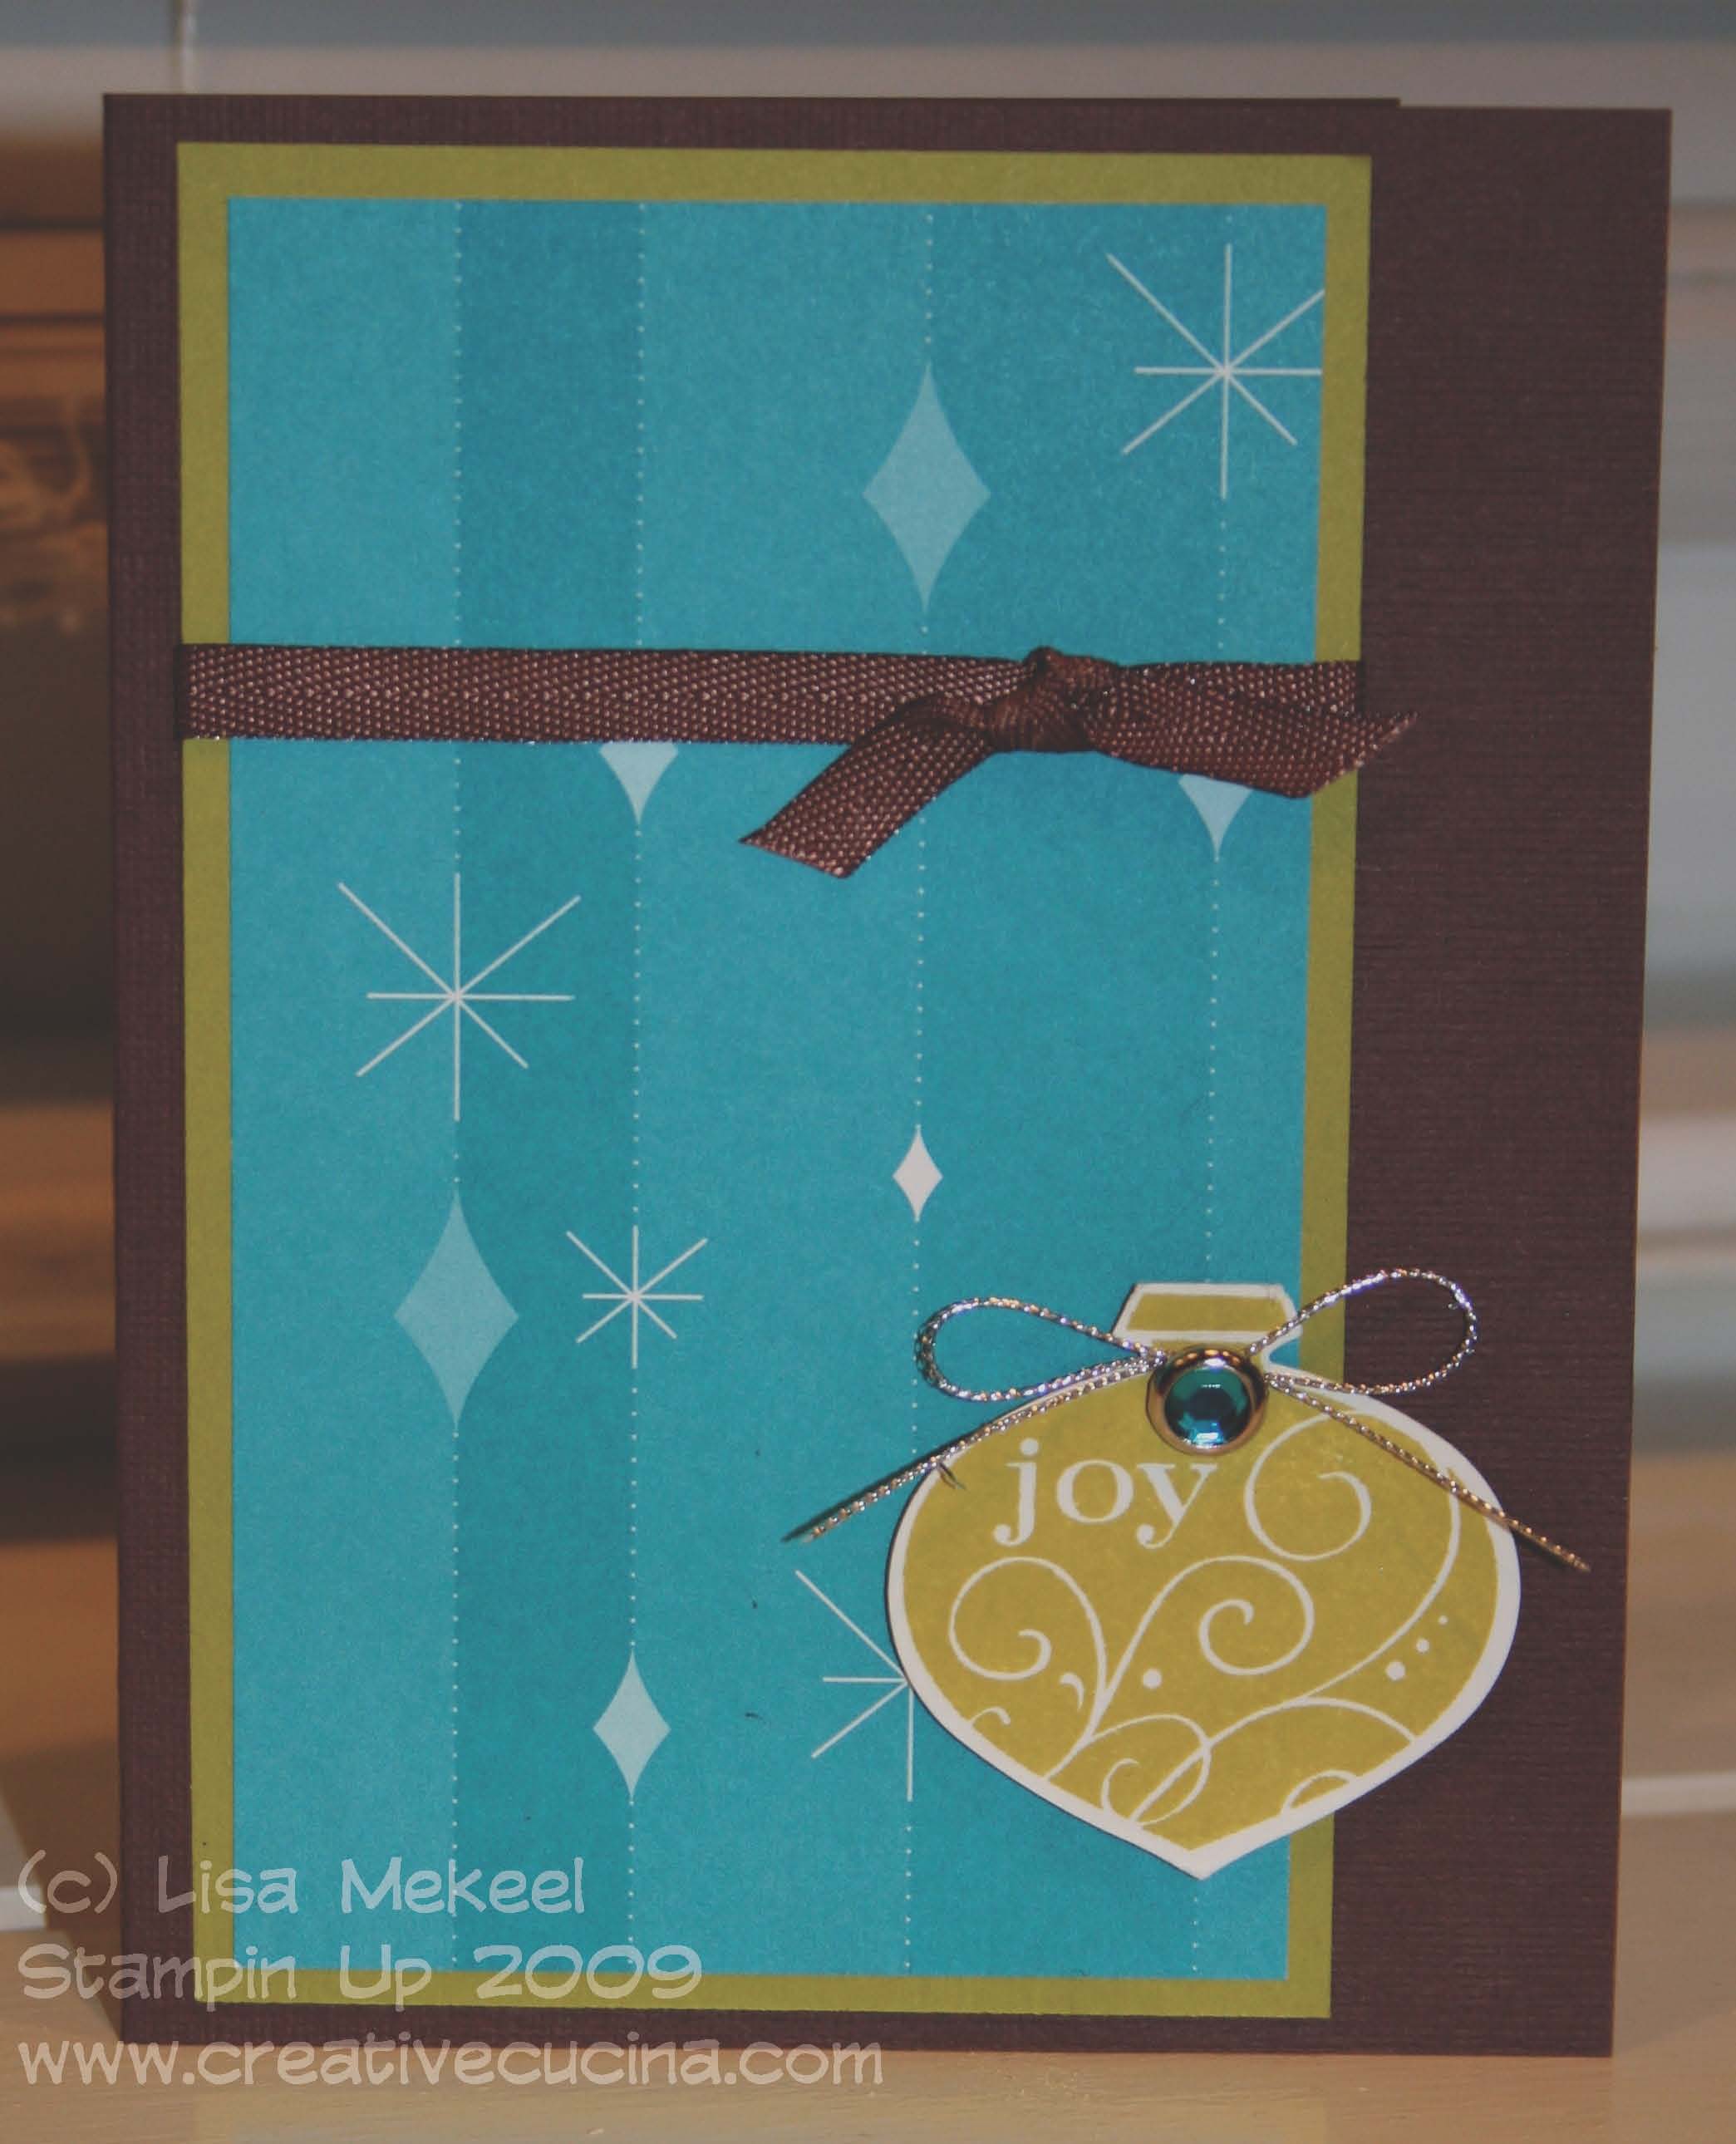
Next is a more retro style card. It uses the Holiday Lounge DSP and some pretty non traditional Christmas colors but it’s still festive. The card base is chocolate chip textured card stock layered with a wide strip of kiwi kiss and Holiday Lounge DSP in a taken with teal color. I then tied a piece of Chocolate Chip Twill Ribbon around the wide panel, and tied a knot to the right side. In the bottom right corner, I stamped the joy ornament from Delightful Decorations in kiwi kiss ink on whisper white card stock and punched it out using the handy dandy Ornament Punch. Then, I added a bright blue Ice Circle Rhinestone Brad to the ornament and tied some Silver Cord around the brad. The ornament is attached to the base using dimensionals.

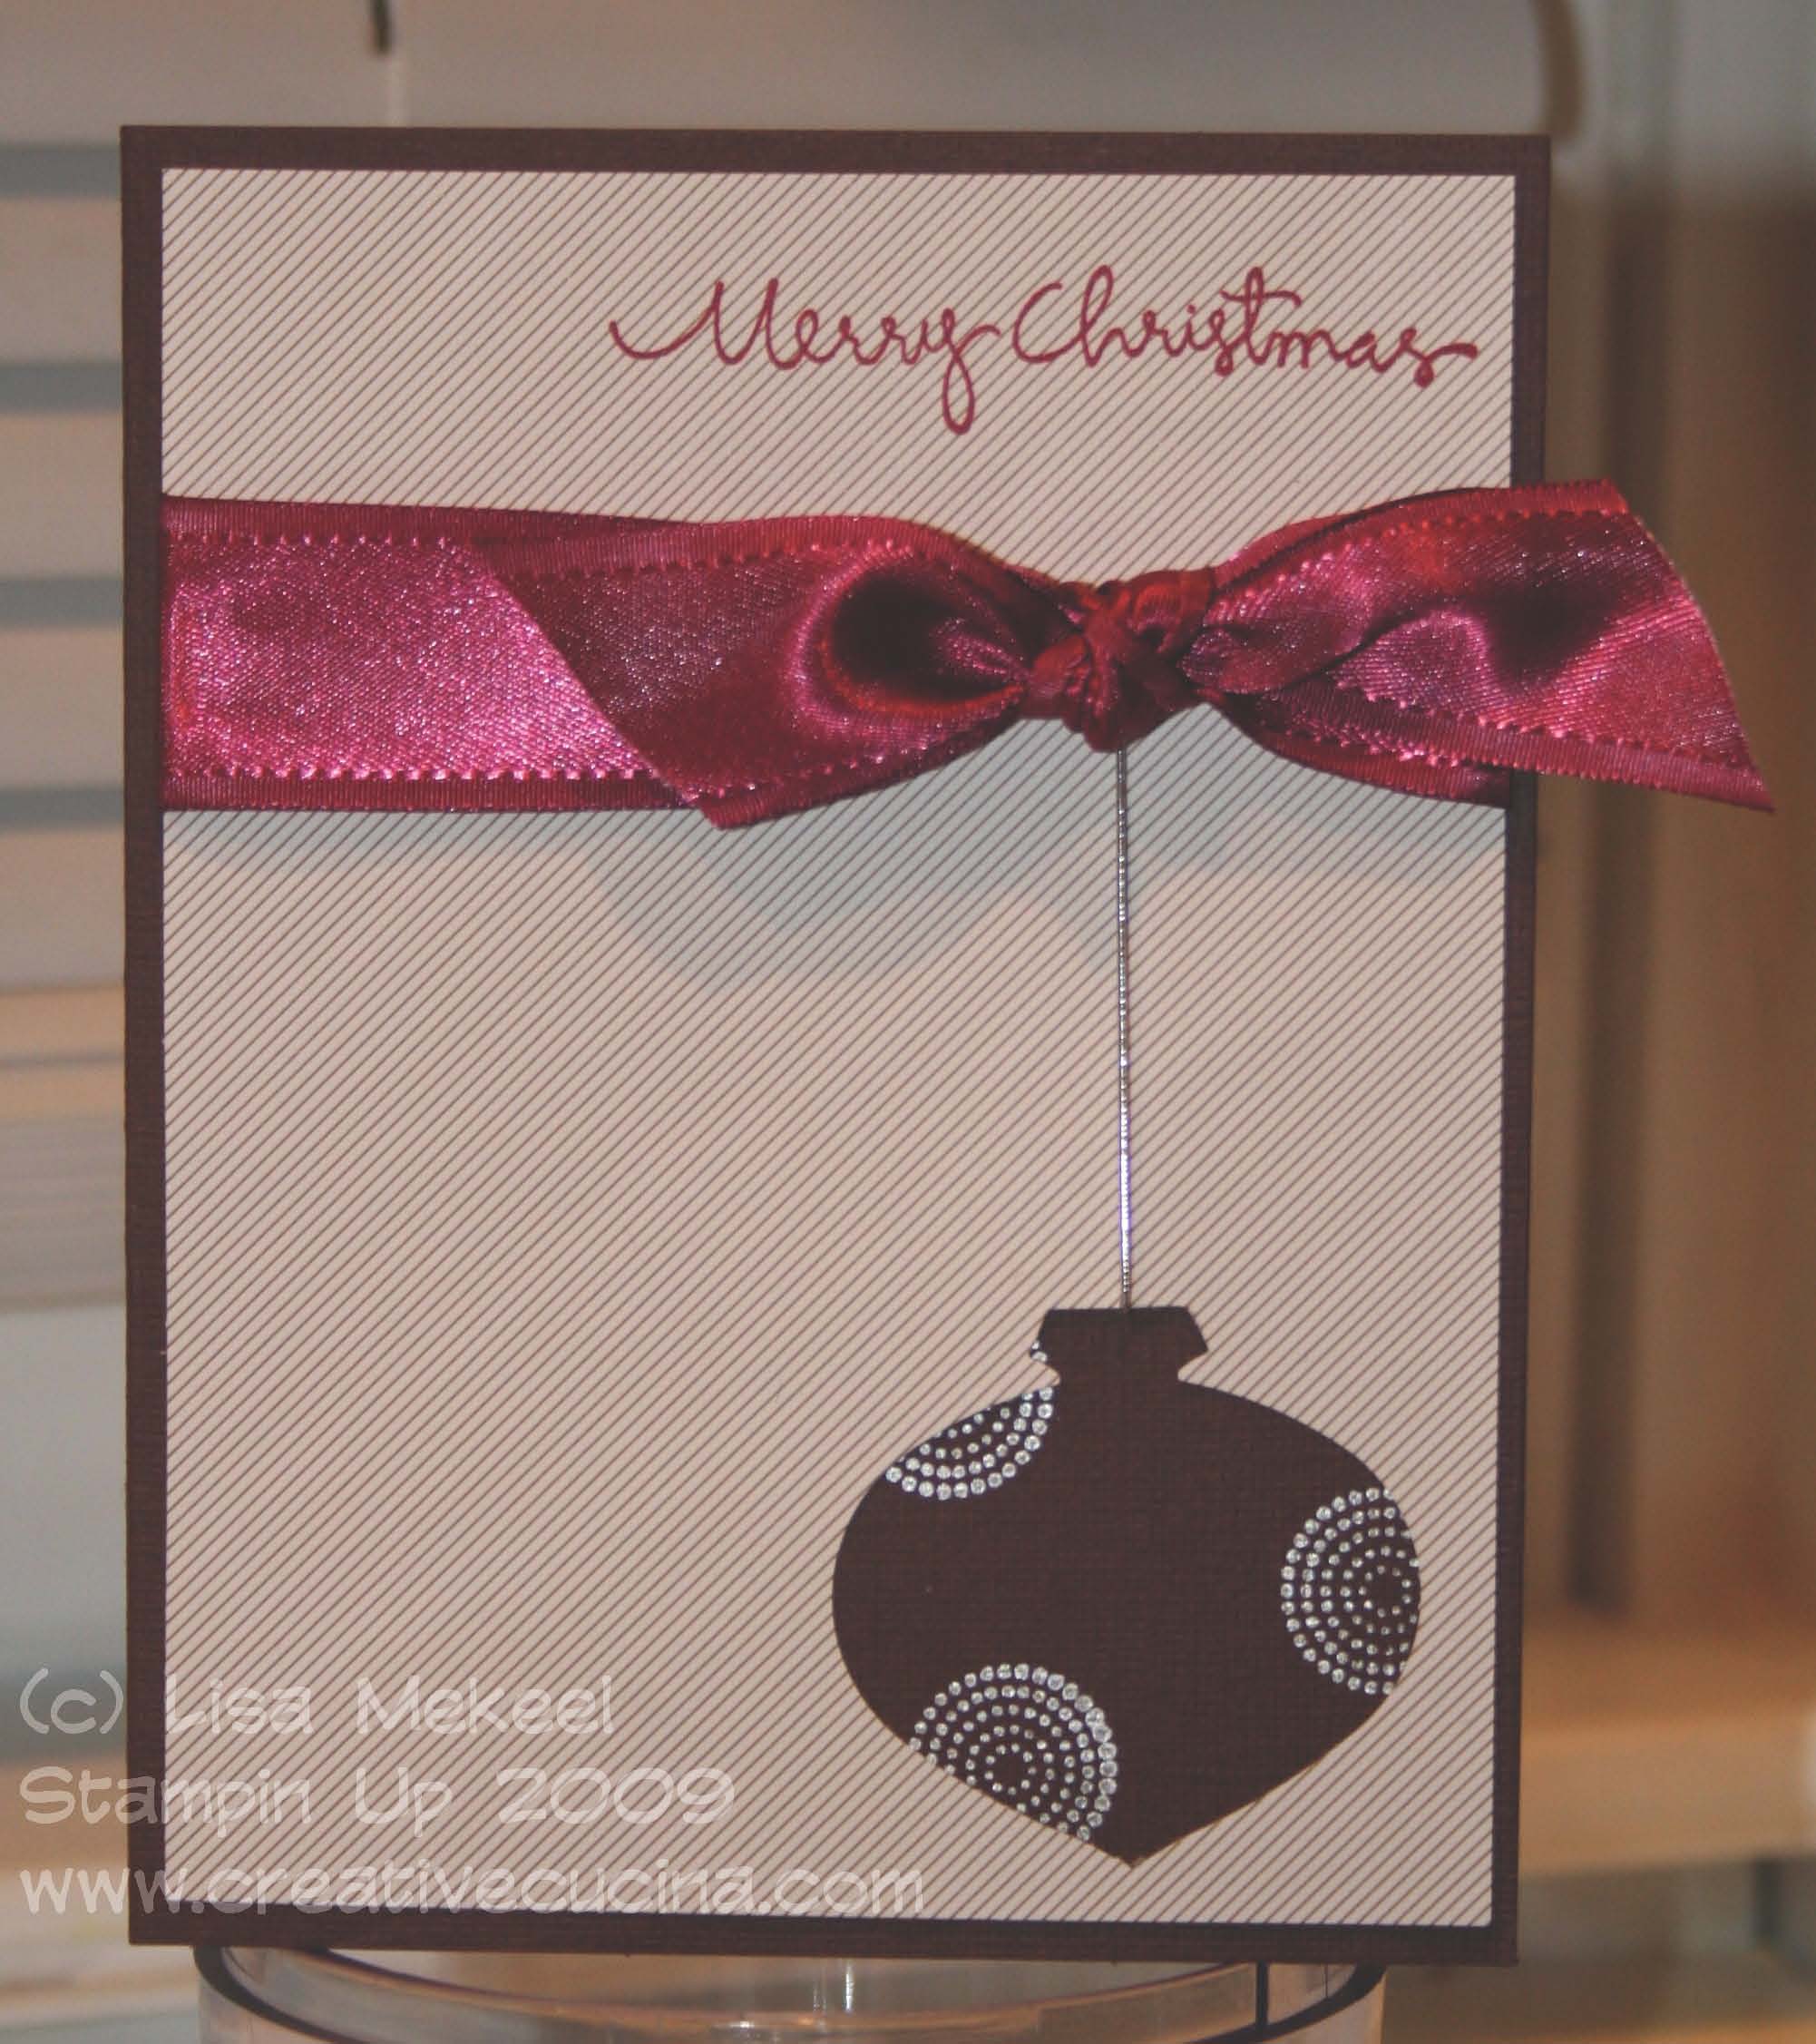
Finally, we have the modern, clean and simple Christmas card. Although it looks really simple, it does require a bit of work. First, the card base is chocolate chip textured card stock. The DSP is also from Christmas Cocoa and is cut to 4″ x 5 1/4″. Using the Ornament Punch, I punched out the ornament shape from the lower right corner. Next, I broke out my new Shimmer Paint in Platinum and sponged it onto the circle stamp from Delightful Decorations. I stamped the image onto chocolate chip textured card stock and then adhered it to the back of the DSP. Across the top of the card, I stamped the Christmas Greetings stamp in Purely Pomegranate ink. Underneath that, I tied a piece of Purely Pomegranate Satin Ribbon into a big knot. Lastly, I slipped a piece of Silver Elastic Cord under the DSP and behind the ribbon, using small glue dots.

Bad Behavior has blocked 383 access attempts in the last 7 days.

css.php