Midnight Sparkle–Navy Blue Christmas Cards

IMG_0892 copy

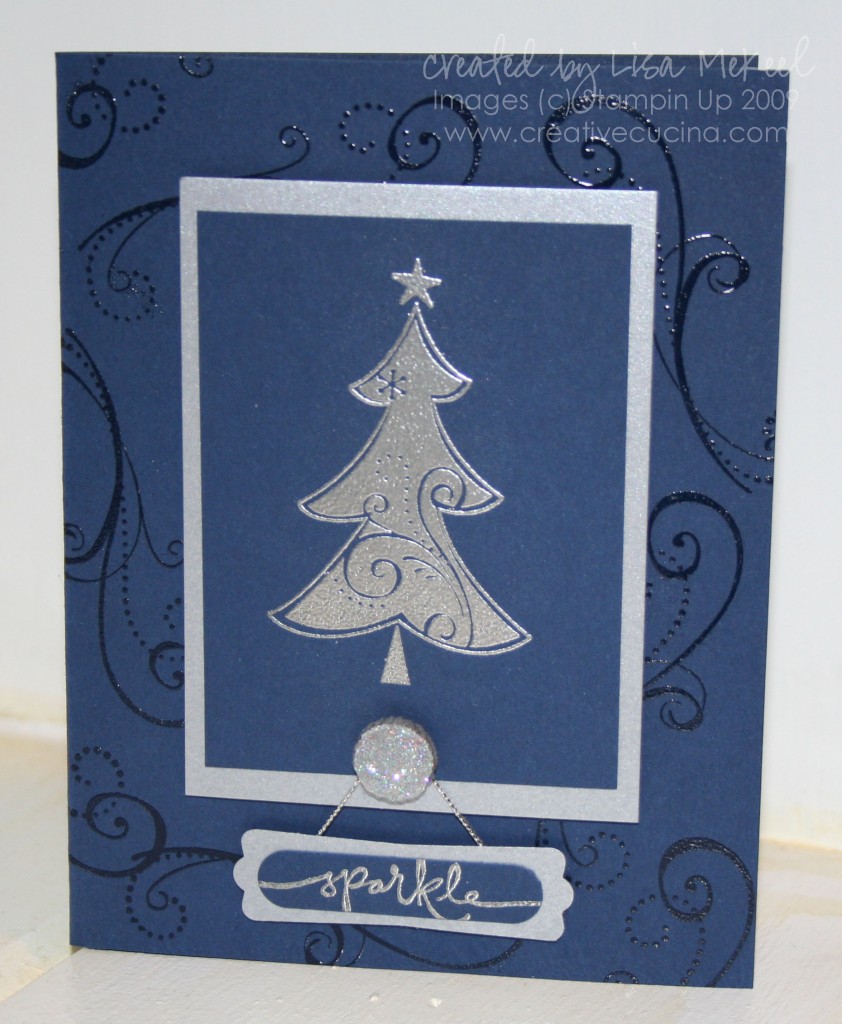
The first card I made uses Night of Navy card stock as the base. I stamped it with the swirl from Season of Joy in Versamark and heat embossed it with clear embossing powder.

The main image is the christmas tree from Season of Joy, again stamped in Versamark, heat embossed with Silver embossing powder on Night of Navy card stock. I layered that onto a piece of Silver card stock. Next, I punched a hole at the bottom of that layer with the crop a dile and added a glittered corduroy brad. I just put a large glue dot over the top of the Basic Gray Corduroy Brad and dipped it in Dazzling Diamonds glitter. It’s that easy!

After attaching the brad and adhering the layer to the base with dimensionals, I stamped “sparkle” from Warm Words in Versamark on Night of Navy card stock and heat embossed it using silver embossing powder. Then, I punched it out with the Word Window Punch and layered it with a silver backing made with the Modern Label Punch.

For a little added touch, I took Silver Cord and looped it above the brad, attaching the ends to the back of the Modern Label with glue dots. Finally, I added some dimensionals to adhere it to the card base.

IMG_0896 copy

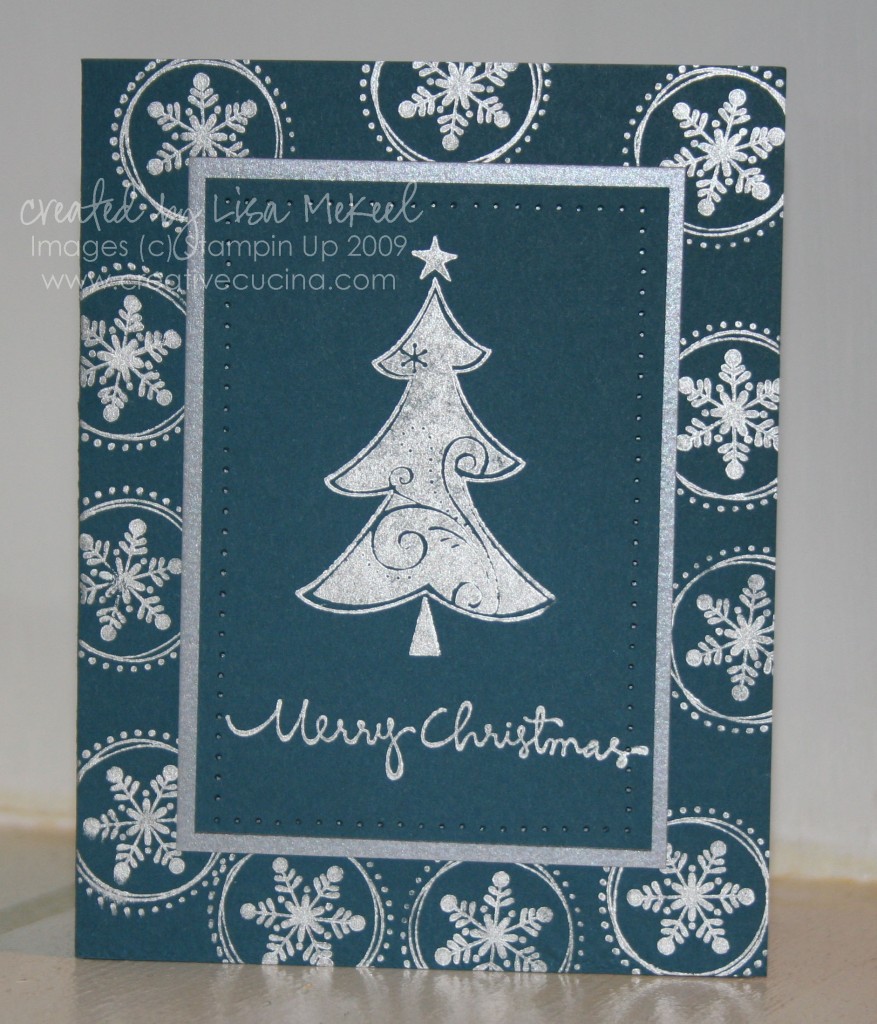
This next card has a lot of sparkle! The card base here is Not Quite Navy, stamped with the snowflake from Season of Joy in Platinum Shimmer Paint. I also sponged the Shimmer Paint onto the christmas tree image from the same stamp set, stamping it on NQ Navy and paper piercing around the edges. That was layered with Silver card stock.

The sentiment is from Christmas Greetings, stamped in Platinum Shimmer Paint as well. Since the shimmer paint dries so quickly, this card took hardly any time to make and assemble. It’s like getting the look of silver embossing in one easy step!
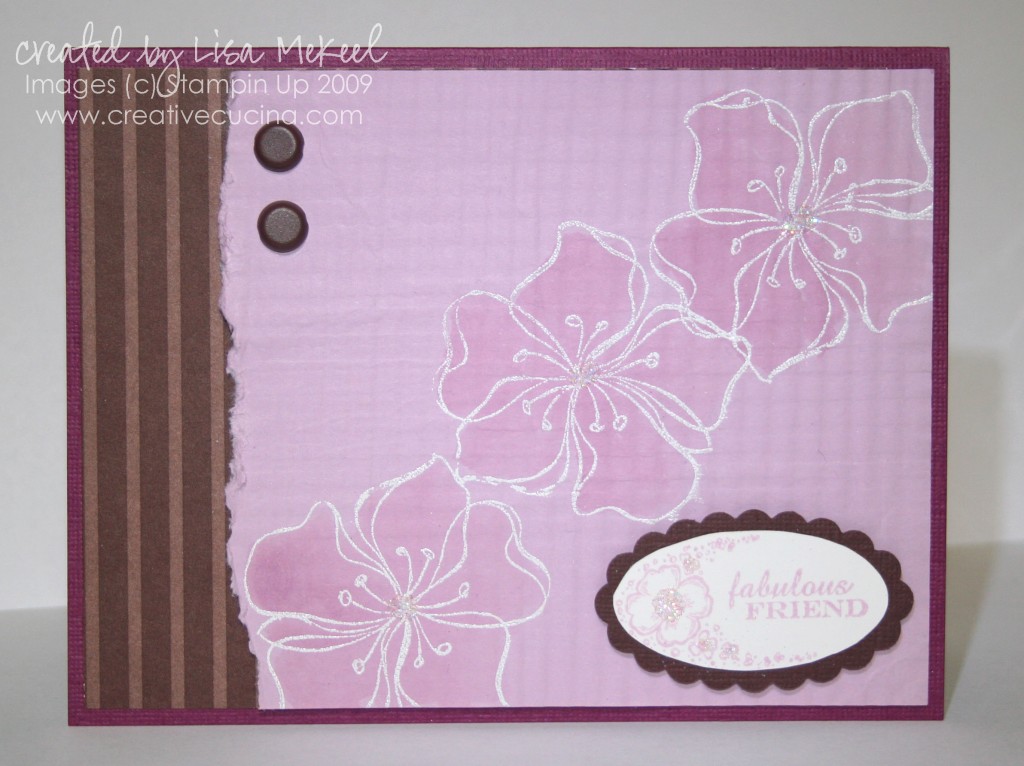
Distressed Flower Card

distressed_flower

I decided to try something a little different than my usual style this time around. I guess I have a hard time with the distressed look because I always want things to be perfect! I’m kidding, but the more clean look is definitely my strong suit.

The base here is textured rich razzleberry, layered with a piece of Chocolate Chip DSP in the striped pattern.

As for the main image, I took a piece of Pale Plum card stock and put it through the Crimper a few times, both the long way and then again the opposite way. This produced a quilted look and really softened up the paper.

Next, I stamped the flower from Embrace Life in white craft ink 3 times, following with White Embossing Powder and heat gun. To color in the flowers, I used Pale Plum ink and Aquapainter just to makethem stand out a little more. In the center of each flower, I added a bit of Dazzling Diamonds.

Before adhering the pale plum layer, I tore the edge and curled it up a bit with my Bone Folder. Then, I adhered it to the Chocolate Chip DSP and using the Cropadile, added 2 Basic 5/16″ Brads in brown. That was then attached to the card base using SNAIL adhesive.

Finally, I stamped the “fabulous friend” from Oval All in Pale Plum ink on Whisper White card stock, punched it out with the Large Oval Punch and layered it with a chocolate chip Scallop Oval Punch. In the center of the pale plum flower, I also added more Dazzling Diamonds and attached the whole thing to the card front with dimensionals.

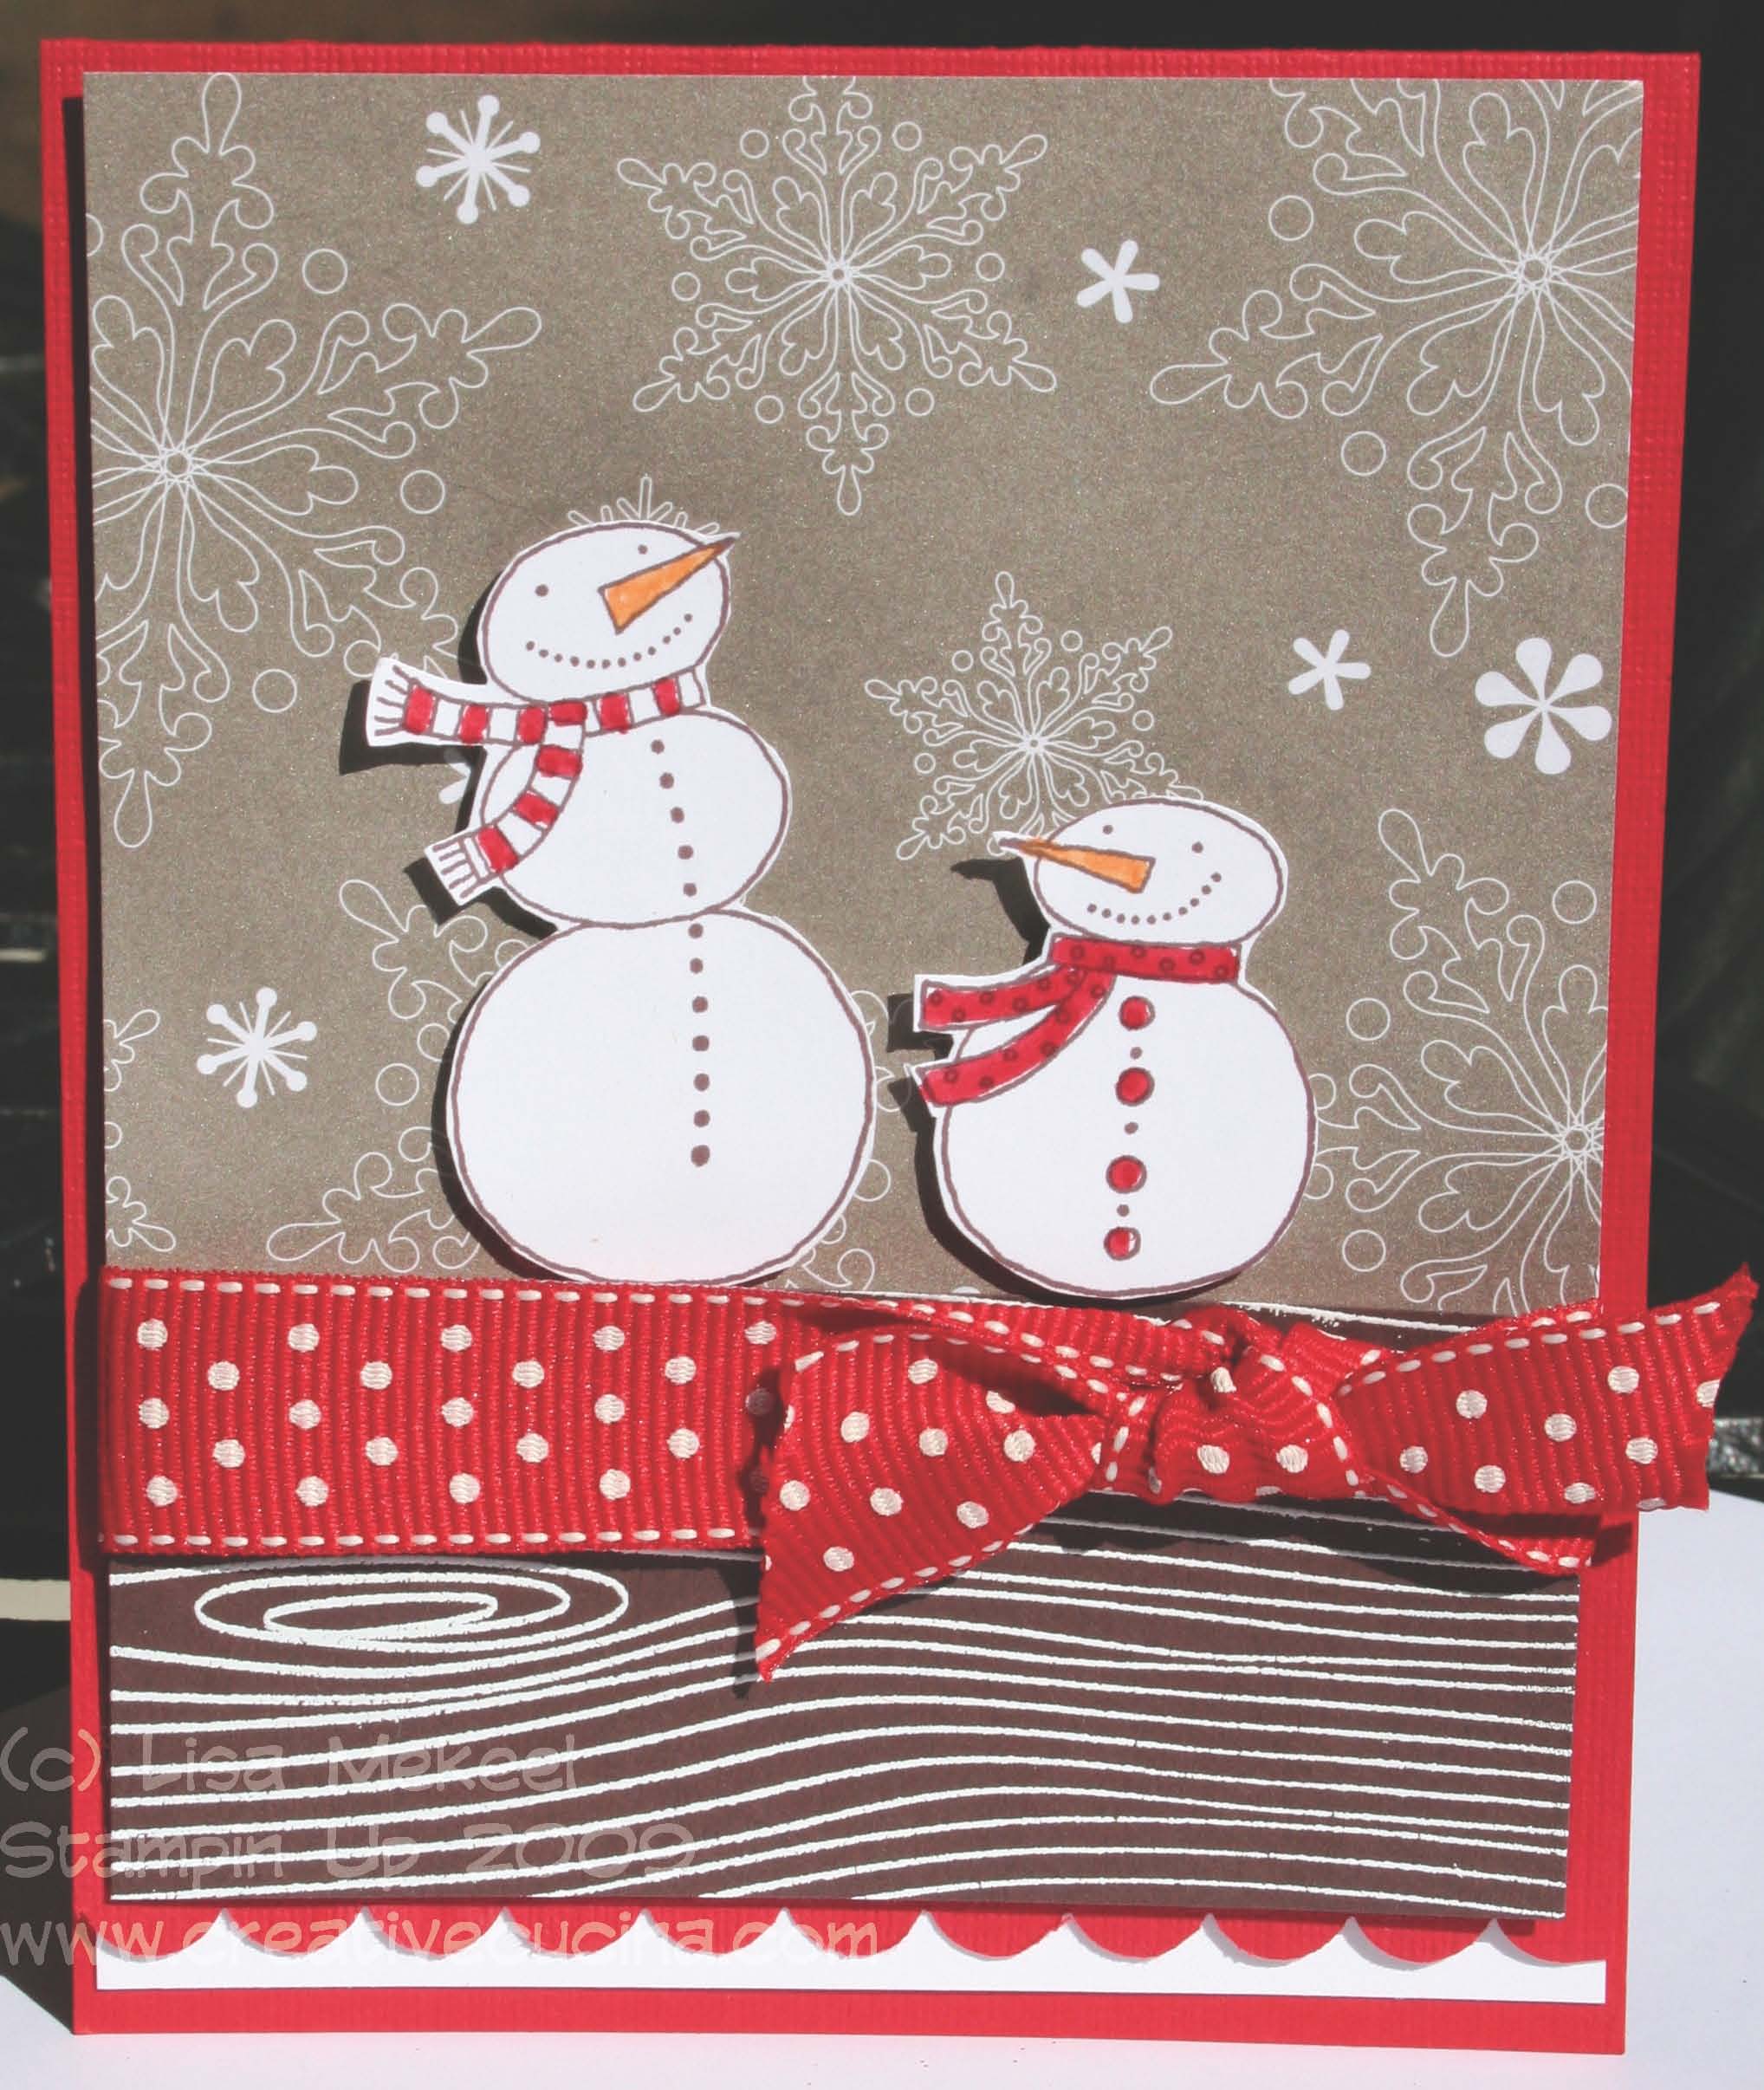
On a Snowy Log

I wanted to try stamping the Woodgrain stamp in white to make it look like a snow covered log. This is the result. Card base is Real Red textured card stock, with a top fold. I scalloped the bottom edge using the Scallop Edge Punch, and layered some whisper white on the inside both to make it easy to write and to make the scallop edge stand out.

The DSP on the front of the card is from Christmas Cocoa. At the bottom of the card, I stamped Woodgrain in Versamark on Chocolate chip card stock and heat embossed it using White Embossing Powder. Where the DSP and card stock meet, I tied some 5/8″ Real Red Polka Dot ribbon.

The snowmen are from Snow Buddies stamp set, stamped in Chocolate chip ink on Whisper White. I colored them in using my Markers, trimmed them out, and adhered them to the base using dimensionals.

Bad Behavior has blocked 183 access attempts in the last 7 days.

css.php