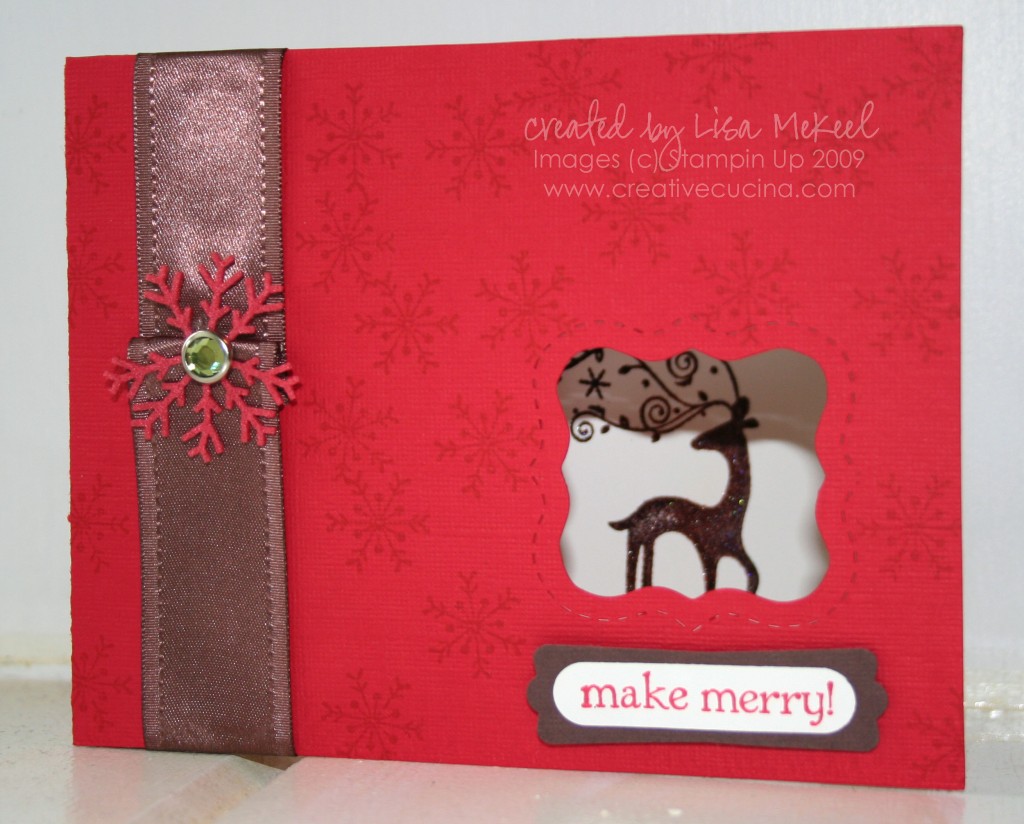
Dasher Embossed-Movers & Shapers Window Card

11_18 001 copy

The idea for this card came about from trying to glitter up the Dasher Reindeer stamp. My brown glitter wasn’t sticking permanently and I almost gave up completely when I decided to try iridescent ice embossing powder.

On whisper white card stock, I stamped the reindeer in chocolate chip craft ink, then heat embossed it  with iridescent ice. Then, using the stampamajig, I stamped the image again in chocolate chip craft ink and heat embossed it with clear embossing powder, which gave it a little more shine. The whisper white card stock was then adhered to the inside of the card. Placement of the reindeer is important, so I made light pencil marks on my white card stock around the curly label window.

The card base is real red textured card stock, cut with the Movers and Shapers die in the Big Shot. I stamped the front randomly with the snowflake from Season of Friendship in real red ink. Along the side, I took some Chocolate Chip Satin Ribbon and added a Felt Flurry and a Circle Rhinestone Brad, which I attached using the cropadile.

Below the curly label window, I stamped the greeting from Berry Christmas in real red ink on whisper white. I punched it out using the Word Window Punch and layered it on chocolate chip card stock I punched with the Modern Label Punch. That is attached to the card using dimensionals.
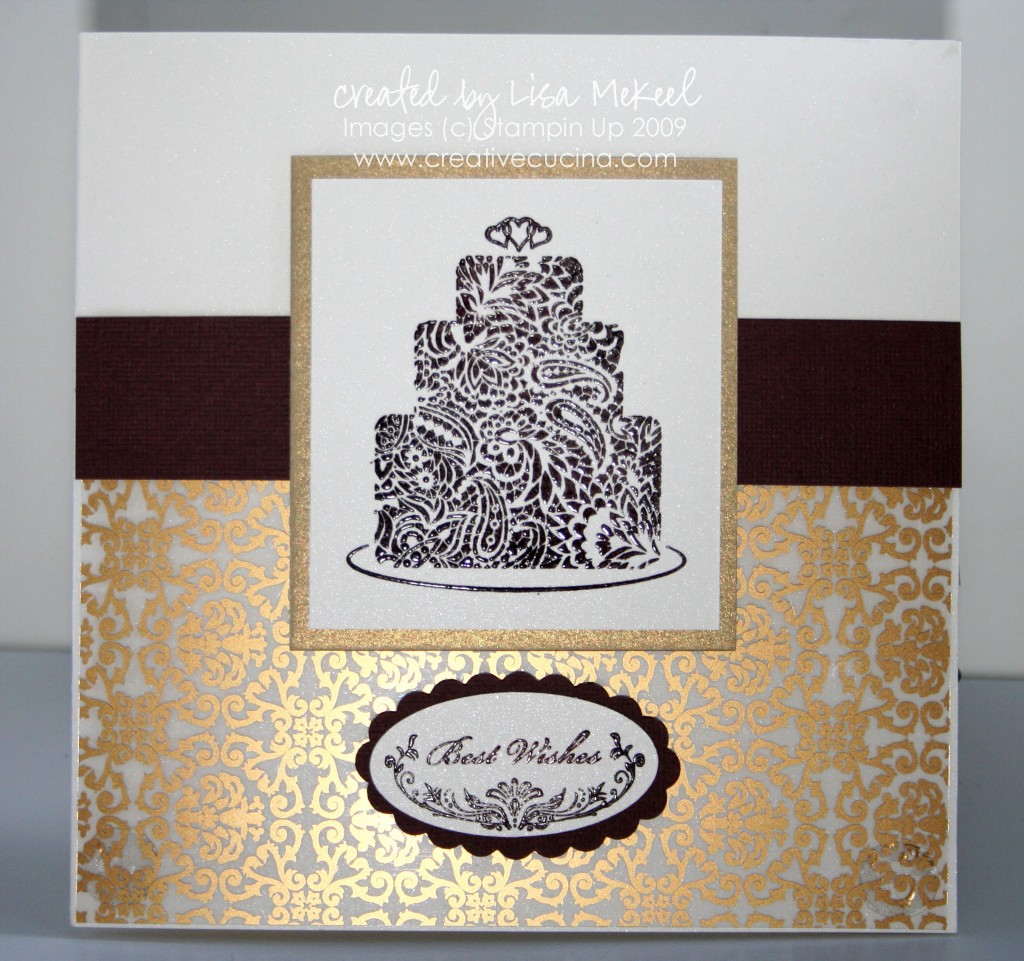
Elegant Brown and Gold Wedding Card

GoldWedding 016 copy

I made this card for a friend’s wedding. The card is actually a 5 1/2″ square, just shy of 6″x6″ because the base is Shimmery White card stock, which only comes in 8 1/2″x11″. If I used another color, I would have cut a 12″x12″ piece in half and then scored it at 6″.

The gold patterned acetate was from a craft store, adhered with glue dots to the base. I stamped the cake from For the Bride in chocolate chip craft ink and heat embossed it with clear embossing powder, also on shimmery white card stock. That was layered on a piece of gold card stock.

Above the acetate, I added a strip of textured chocolate chip card stock running across the front of the card. Then, I adhered my cake image to the base with dimensionals.

Underneath the cake, I stamped “best wishes” from Oval All in chocolate chip craft again, heat embossing with clear embossing powder and punched it out with the Large Oval Punch. That shimmery card stock oval was layered onto a textured chocolate chip Scallop Oval and adhered to the base with dimensionals.

Inside, I stamped “Congratulations” from For the Bride in chocolate chip craft ink and heat embossed it with clear e.p. as well.

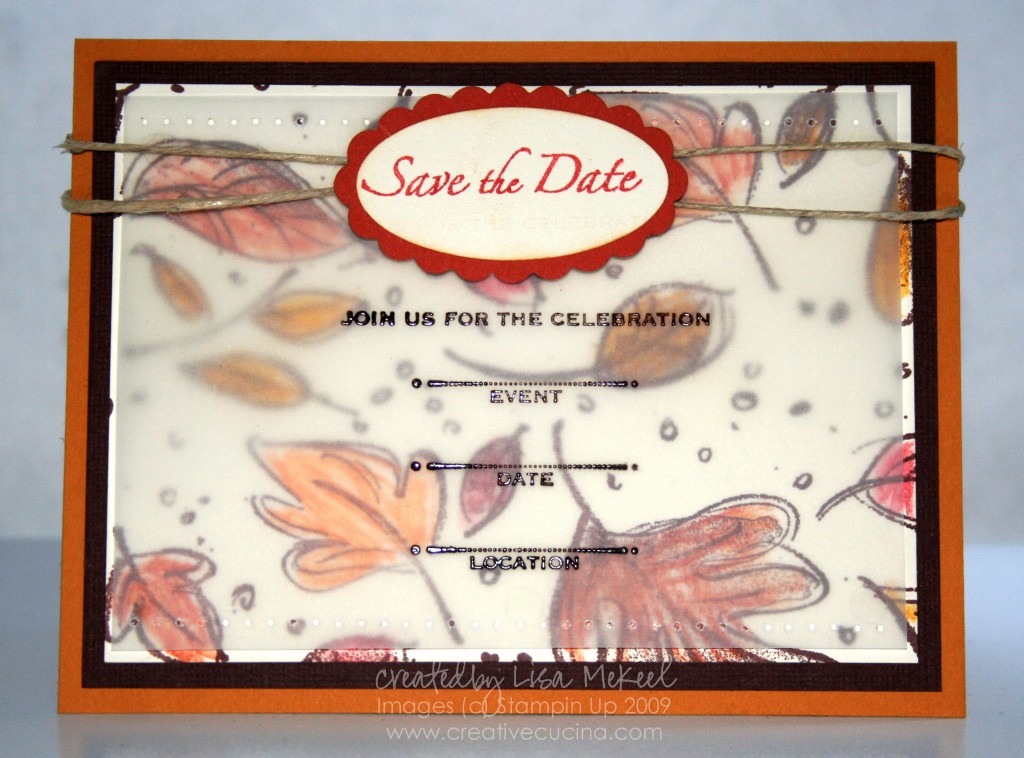
Fall Wedding Save the Date Card

IMG_1228 copy

My brother in law and his fiancee are getting married next year in October and I thought I might make a few samples of save the date cards and possible wedding invitations to give them ideas.

This is just a card front, more mustard base layered with chocolate chip textured card stock and very vanilla, which I stamped using the Jumbo Wheel Leaves Awash in Chocolate chip ink. Then, I colored in the leaves using my Earth Elements Watercolor Crayons and Aquapainter just to blend a bit.

On top, I stamped a piece of vellum with the “Save the Date” stamp from Please Come in chocolate chip craft ink and heat embossed it with Clear Embossing Powder. Along the top and bottom border, I paper pierced the vellum and adhered it to the base with mini glue dots.

To finish the card, I tied some Hemp Twine around the top and added a Scallop Oval in Dusty Durango layered with a Very Vanilla Large Oval. I stamped “save the date” in dusty durango ink and sponged some creamy caramel ink over top.

Bad Behavior has blocked 252 access attempts in the last 7 days.

css.php