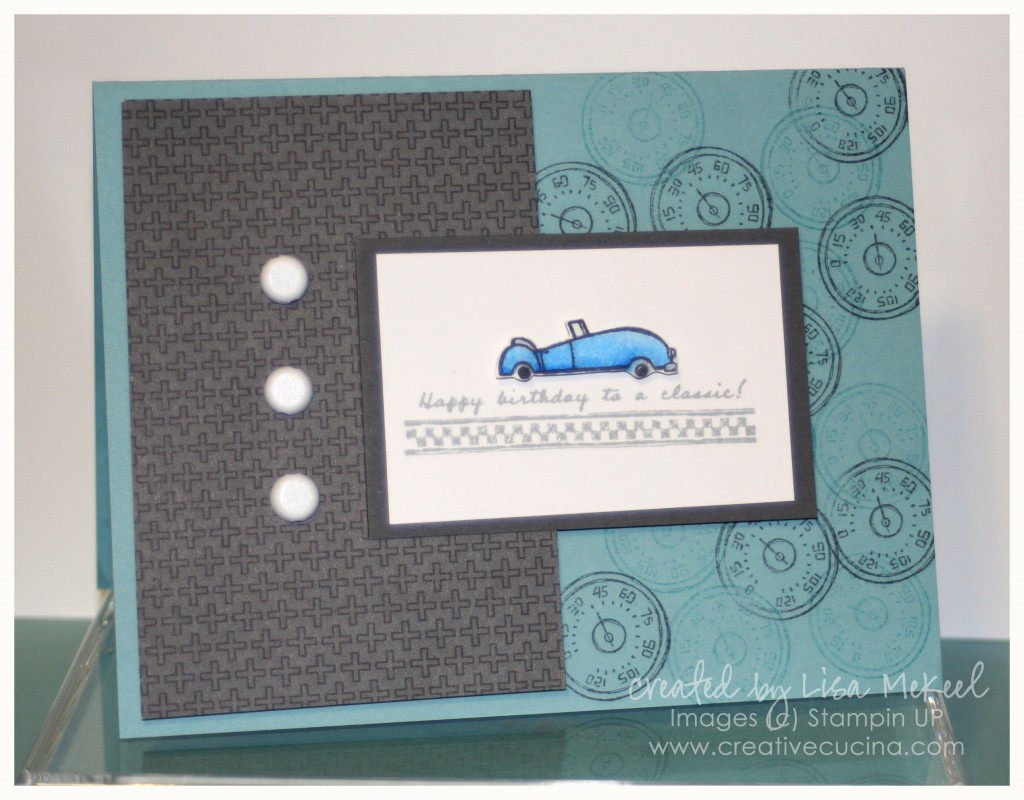
Happy Birthday to a Classic {Masculine Card}

Time for another masculine card. The guys I know like cars, so I knew I would get a lot of mileage out of this stamp set, To a Classic.

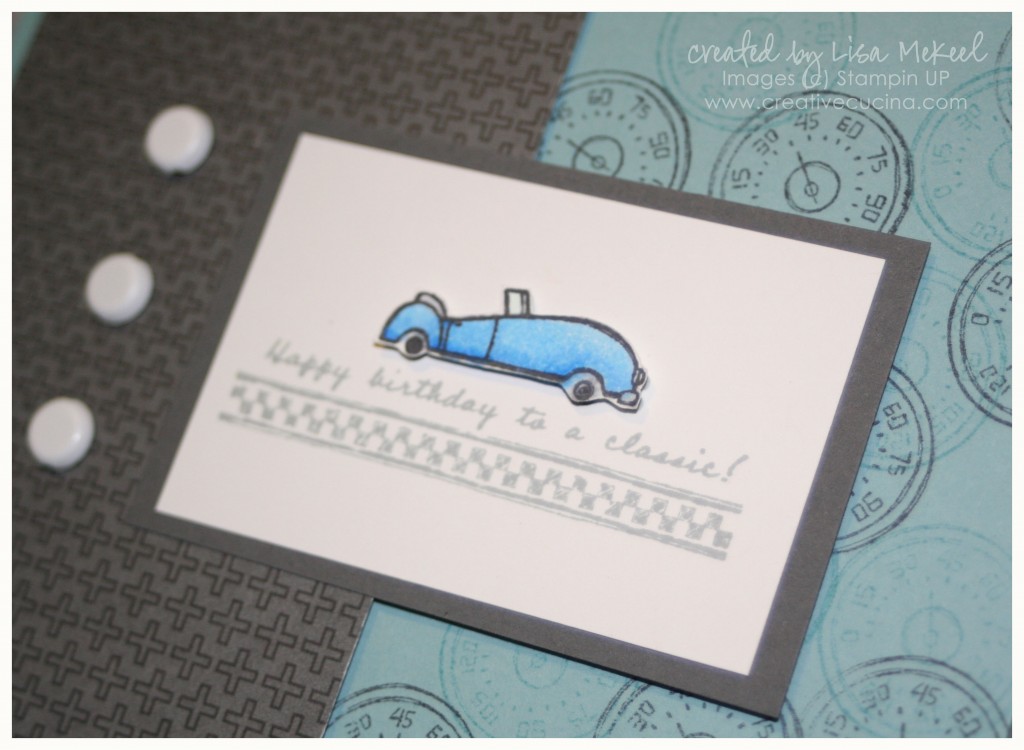
I stamped the Baja Breeze card base with the little speedometer from To a Classic in Baja Breeze and Basic Gray ink. The main image was stamped in Memento Gray ink, on Whisper White card stock. Then, I stamped the image again on scrap White card stock and colored the car with Copic Markers. I cut out the car and attached it to the main image with stampin dimensionals.

The white was matted on a piece of Basic Gray card stock. The gray patterned paper is from Urban Oasis DSP (retired). I attached the stamped layer to the base with stampin dimensionals. The white brads are 5/8″ Basic Brads.
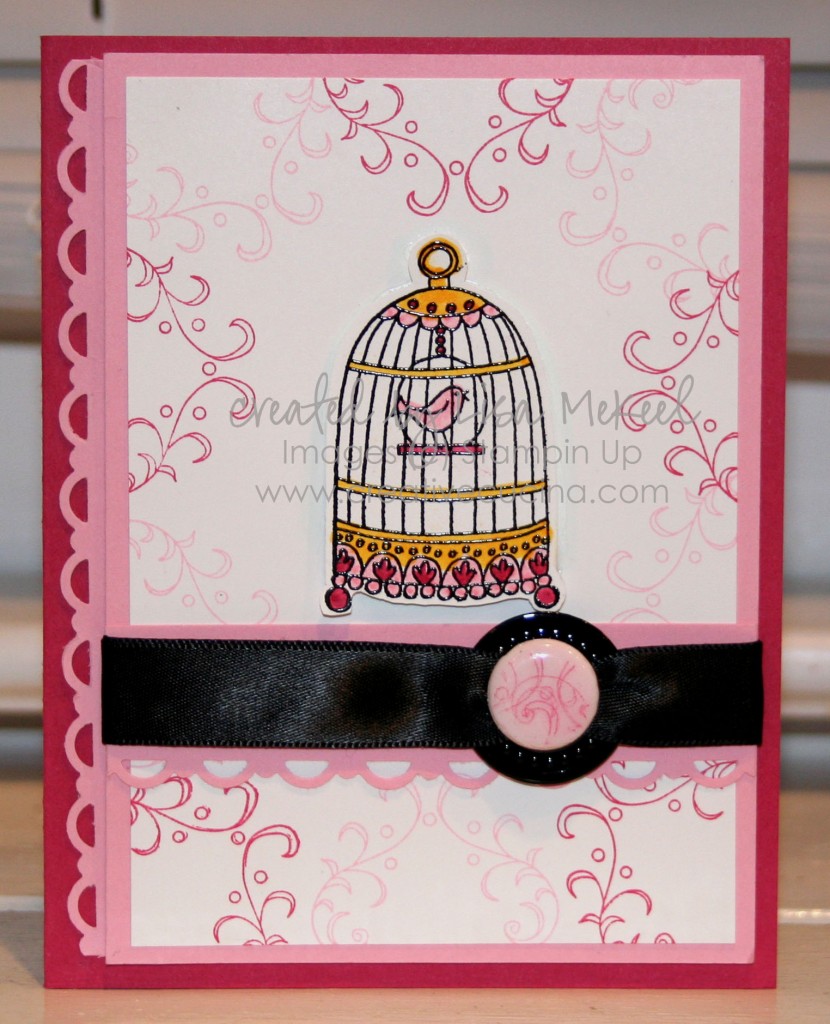
Splitcoast Sketch Challenge {Chic Boutique}

This was the weekly Wednesday Card Sketch from Splitcoast Stampers. I have only participated in a few challenges so far, but when one catches my eye, I jump into it.

The card base here is Rose Red. I layered it with Pretty in Pink and Whisper White. The Pink panel is cut to 3 3/4″ x 5 1/4″ and the White is 3 1/2″ x 5″. I popped it up with Stampin Dimensionals and added a strip of Pretty in Pink cut with the Scallop Trim Border Punch along the left side of the card.

I stamped the bird cage from Chic Boutique on the Whisper White and then stamped it again on White scrap in Versamark and heat embossed it with Black Embossing Powder. Then, I colored it in with Stampin Up Markers and attached it to the card with Stampin Dimensionals.

Around the edges of the Whisper White, I also stamped the filigree stamp from Chic Boutique in Pretty in Pink and Rose Red. I love using that stamp as sort of a background stamp!

Underneath the bird cage, as per the sketch, I added a strip of Pretty in Pink that I punched with the Scallop Trim Border Punch and wrapped Black Satin Ribbon through a Large Black Grommet.

Instead of piercing the grommet through the paper, I just folded back the tabs on the underside of the grommet with my Bone Folder. This way, I can use it more like a ribbon slide than a grommet. I looped both ends of the black ribbon through the hole of the grommet and then pulled each end around the back of the card stock, adhering it with SNAIL.

The 5/8″ Basic Brad in White was sponged with Pretty in Pink ink, then stamped with the filigree image in Rose Red ink. Next, I dipped the brad head in Glassy Glaze and heated, repeating once to get a more even coating of shine. I slipped that into the grommet hole and put a Glue Dot behind the brad to keep it from sliding around.

Bad Behavior has blocked 385 access attempts in the last 7 days.

css.php