Make a Wish Birthday Cards

make a wish 1

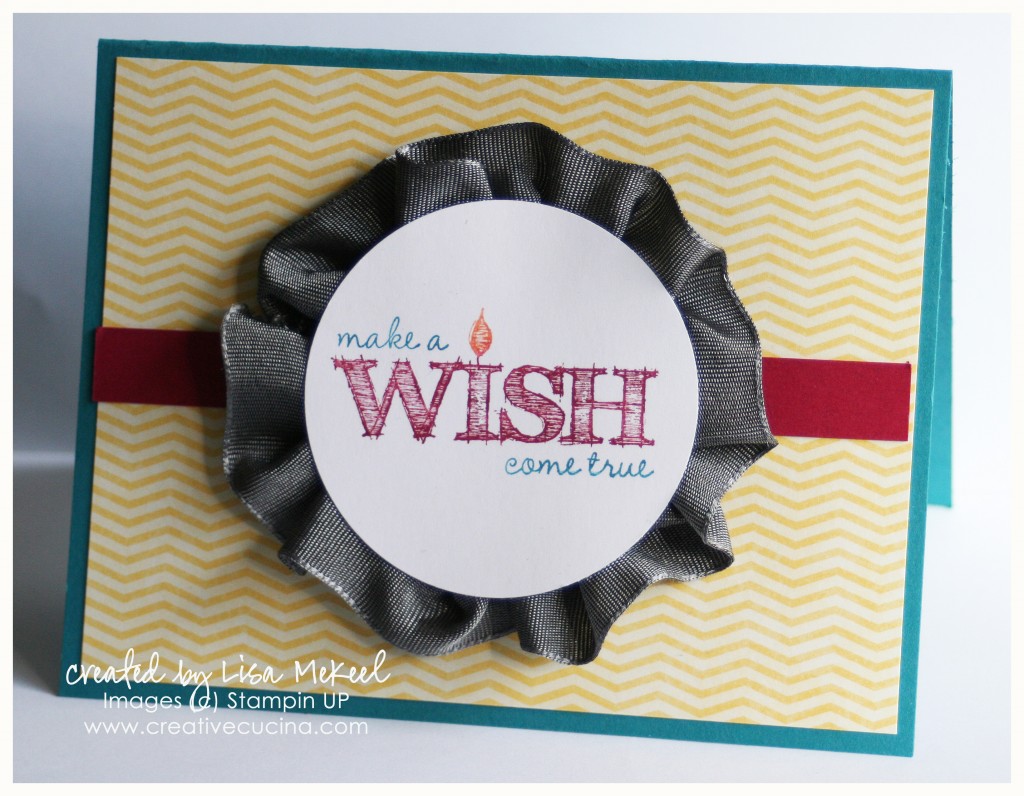
When I saw this make a wish stamp, I had to have it. Funny enough, it’s from the Make a Wish stamp set in the Occasions Mini 2013 catalog. I like it so much I made 2 cards with it! Actually 3 cards but I gave one away already before taking a picture!

First up is the card pictured above. I used markers to color different parts of the stamp different colors. I stamped it on Whisper White card stock and punched out the circle with the 2 1/2″ Circle Punch.

The base is tempting turquoise, layered with chevron print paper from Rain or Shine Designer Series Paper. The strip of paper is Raspberry Ripple.

For the Basic Gray/Basic Black 1 1/4″ Two-Tone Grosgrain Ribbon medallion, I used the Jumbo Sticky Rounds. Apply the Sticky Round to the back of the Whisper White circle, then take your ribbon and stick the end onto the back of the card stock. Go around the circle, pleating and folding the ribbon as you go. I added a stampin dimensional to the center and a smaller 1” Circle on the back for added stability. Then adhere the medallion to the card base.

make a wish 2

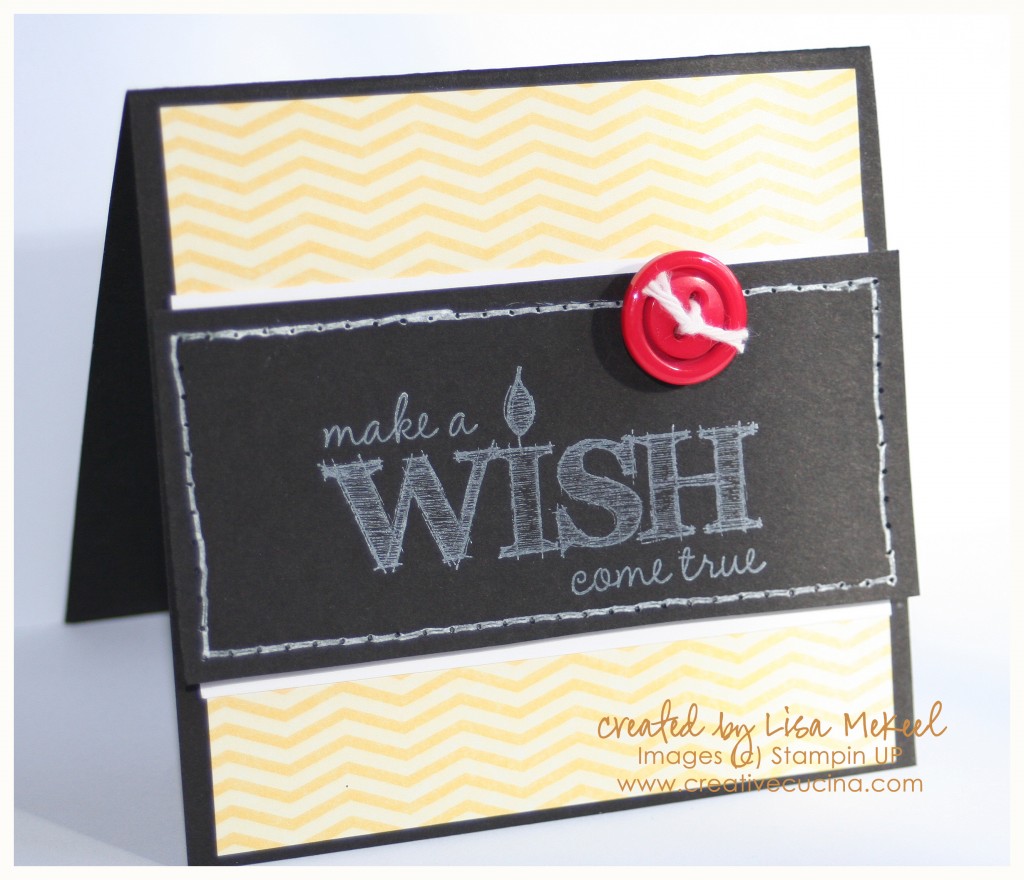
The next card I made is a smaller 3″x3″ square card. I used Basic Black card stock for the base, and another piece of the Daffodil delight chevron DSP from Rain or Shine Designer Series Paper.

This time, I used White Craft ink stamped on Basic Black card stock. Then, I paper pierced around the edge and used a white gel pen to connect the dots and give it a “stitched look”. The black card stock is layered on a piece of Whisper white with stampin dimensionals.

To finish off the card, I added a red button threaded with Bakers Twine.
Cute Cupcake Birthday Card

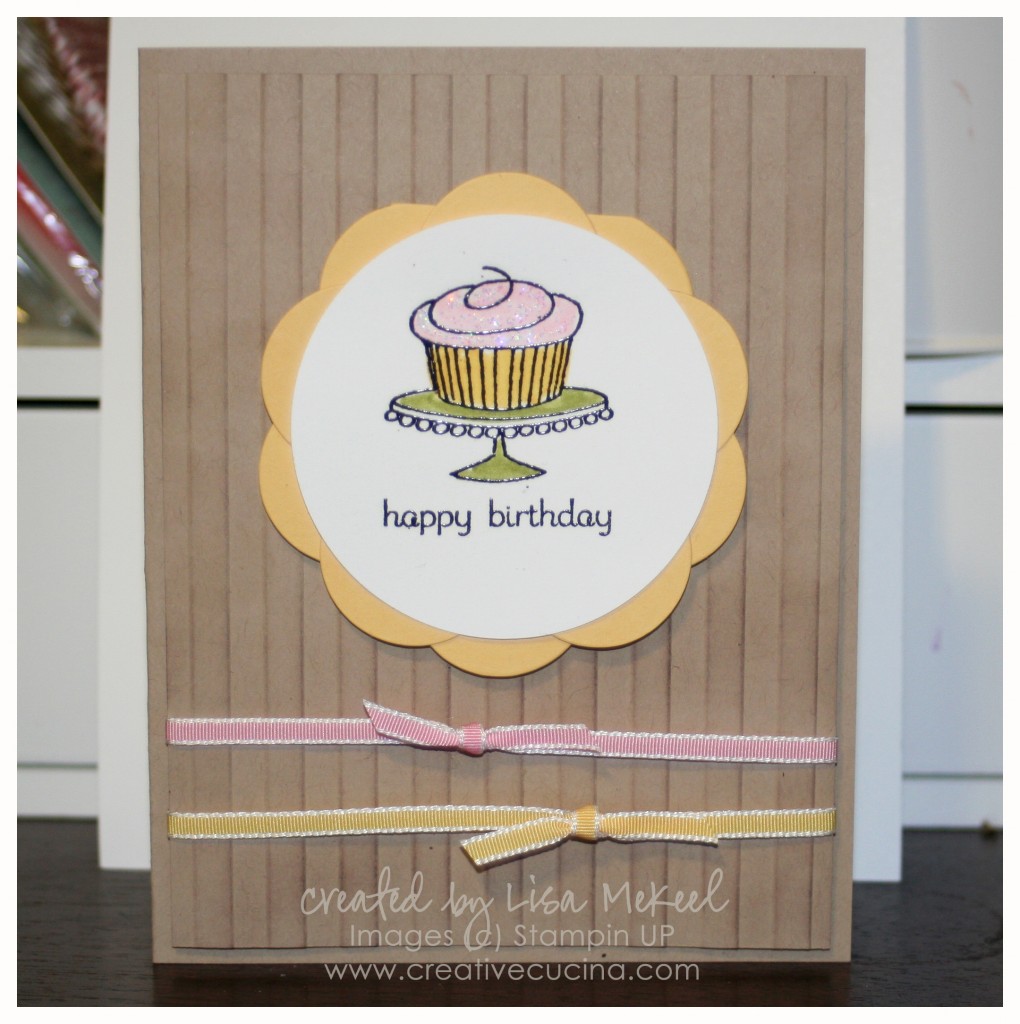
I made this card for a swap last month, but I’m just getting around to posting it now. It features Easy Events, an all occasion stamp set with cute line drawn images perfect for coloring.

The card base is Crumb Cake card stock. I used the same color, cut to 4″ x 5 1/4″, and embossed it with the Stripes Embossing Folder and the Big Shot. To give it more dimension, I used Crumb Cake ink and a sponge dauber to highlight the embossed image.

As for the stamped image, I used Versamark ink and black embossing powder on Whisper White card stock, punched with the 2 1/2″ Circle Punch. After heat embossing, I colored in the image with various Stampin UP Markers. The frosting on the cupcake was embellished with Dazzling Details.

Behind the stamped image, I made a scalloped circle by cutting 2 So Saffron flowers from the Island Floral Bigz Die and layering them. Be sure to alternate the petals to achieve the scalloped effect. Adhere the scallops together, then the white circle on top. I used stampin dimensionals to attach the scallop to the card front.

The ribbon is 1/8″ Taffeta Ribbon in Regal Rose and Daffodil Delight. Tie it around the Embossed Stripes layer, then adhere that to the card base with stampin dimensionals.

Out on a limb Halloween Card

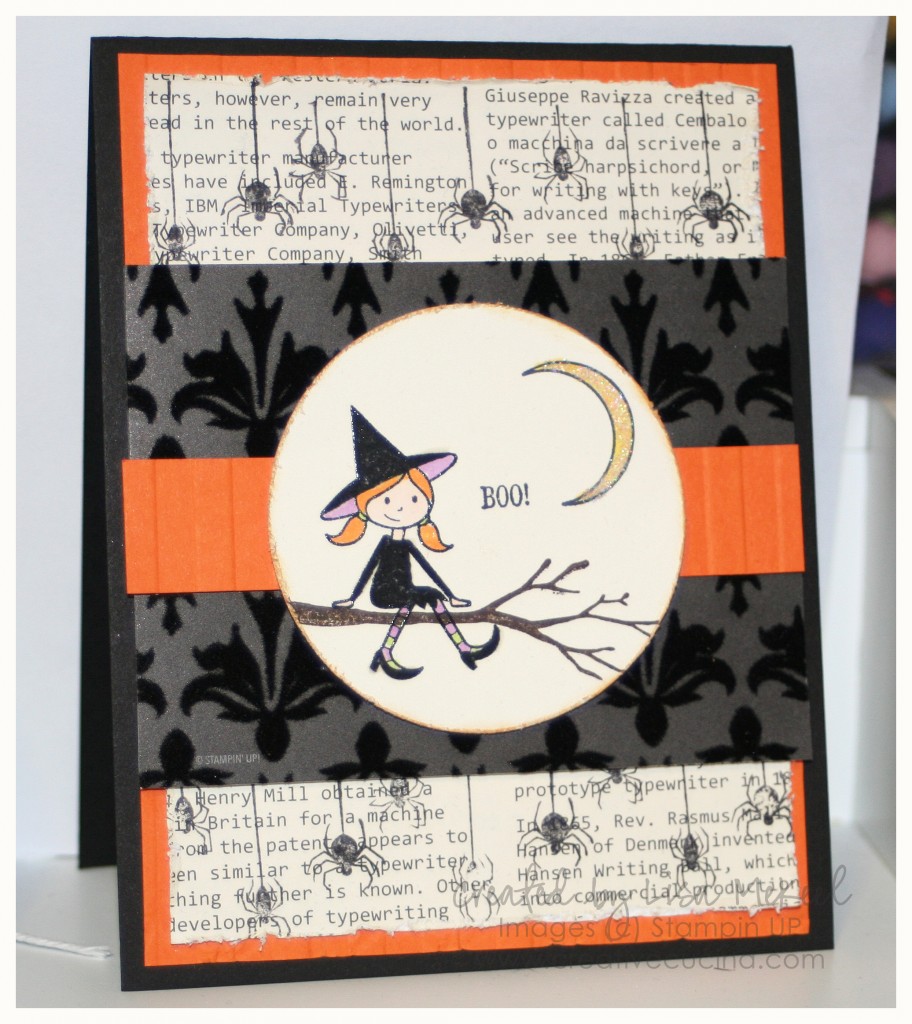
I made this card for a Halloween swap. It features the Out on a Limb stamp set from the Holiday Mini Catalog. The card base Basic Black, layered with Pumpkin Pie card stock textured with the Stripes Textured Embossing Folder for the Big Shot.

Next, I opted to stamp the hanging spiders (also from Out on a Limb) in Black ink over top of First Edition Specialty DSP. To give it more texture, I distressed the edges with the Distressing tool in the Cutter Kit.

The black flocked paper is from Mocha Morning Specialty DSP. The package contains, among other designs, 2 styles of flocked paper. It’s really pretty and elegant. This is cut to 3″ x 4″.

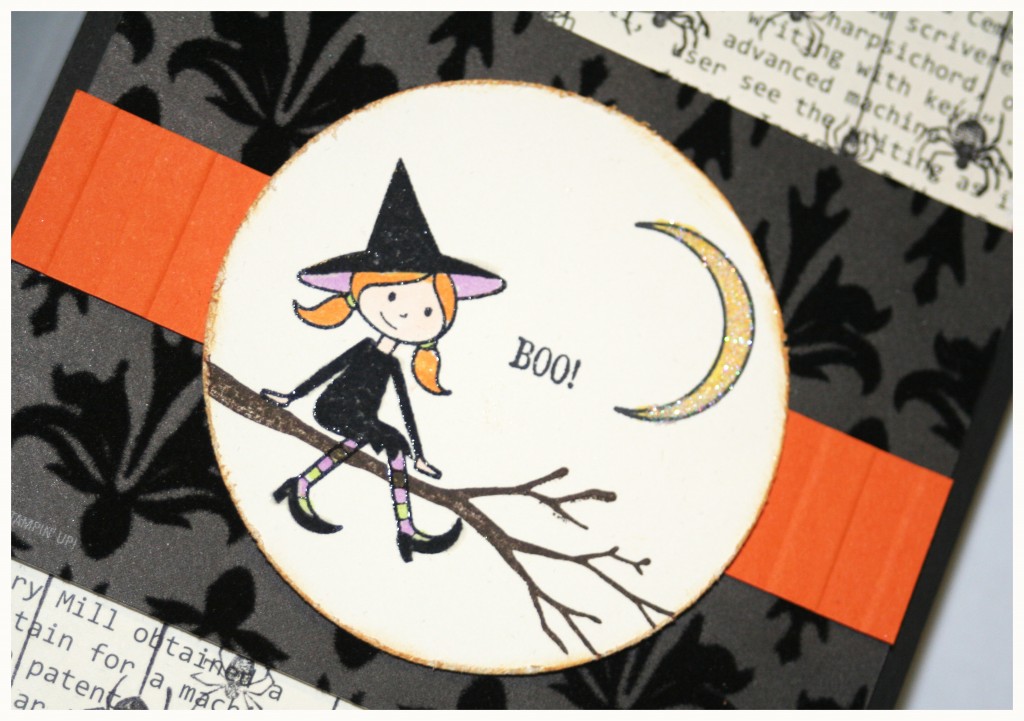
I stamped the branch on Very Vanilla card stock with Early Espresso ink. Then, using the stampamajig, I stamped the witch in Black craft ink and heat embossed it with clear embossing powder. I colored in the witch and the moon with Copic Markers, then added dazzling diamonds glitter to the moon with 2-way glue pen. The “Boo” sentiment is from Tiny Tags.

Using the 2 1/2″ Circle Punch, I punched out the stamped image and distressed the edges with the Cutter Kit, then sponged So Saffron ink around the edges with a sponge dauber. To give a little more sparkle, I sprayed the card stock with shimmer spray (made with shimmer paint and 70% rubbing alcohol).

I added another strip of Pumpkin Pie card stock embossed with the Stripes Textured Embossing Folder across the front behind the focal image to finish off the card.


Bad Behavior has blocked 397 access attempts in the last 7 days.

css.php