Archives for January 2010

Thank You “Merci” Card {Chic Boutique} in Pinks

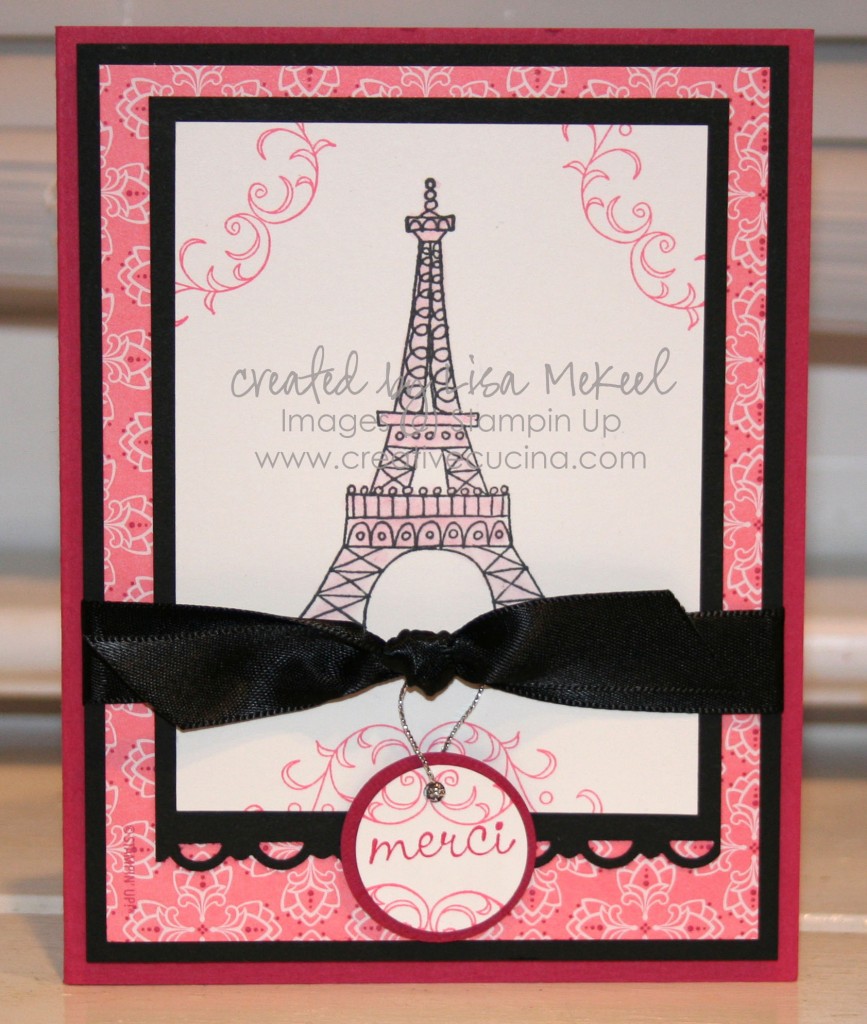
When I saw this stamp, I knew I would love it. Every time I use it, I just love it more and more. Especially that filigree stamp, and the birdcage, and the dress form, and of course the Eiffel Tower.

The card base is Rose red, layered with Basic Black and Raspberry Tart DSP. I stamped the Eiffel Tower in Basic Black on Whisper White and colored it with a light wash of Pretty in Pink ink and my Aquapainter.  Around the edges of the White layer, I stamped the filigree stamp from Chic Boutique in Pretty in Pink. The White is layered on Basic Black, which I trimmed along the bottom with the Scallop Trim Border Punch.

I tied some Black Satin Ribbon around the top two layers and before tying my knot, added my “merci” tag. The tag was made by stamping merci in Rose Red ink, then stamping the filigree in Pretty in Pink above and below the sentiment on Whisper White. Next, I punched the white out with the 1″ Circle Punch and layered it onto a 1 1/8″ Circle of Rose Red. Then, I punched a hole at the top with the Cropadile and threaded some Silver Cord through. I knotted the cord and then slipped the Black Satin Ribbon through the loop. To keep the tag flat, I opted to add a Stampin Dimensional behind it, but you could also leave it hanging.
A Whale of a Valentine {Fox & Friends}

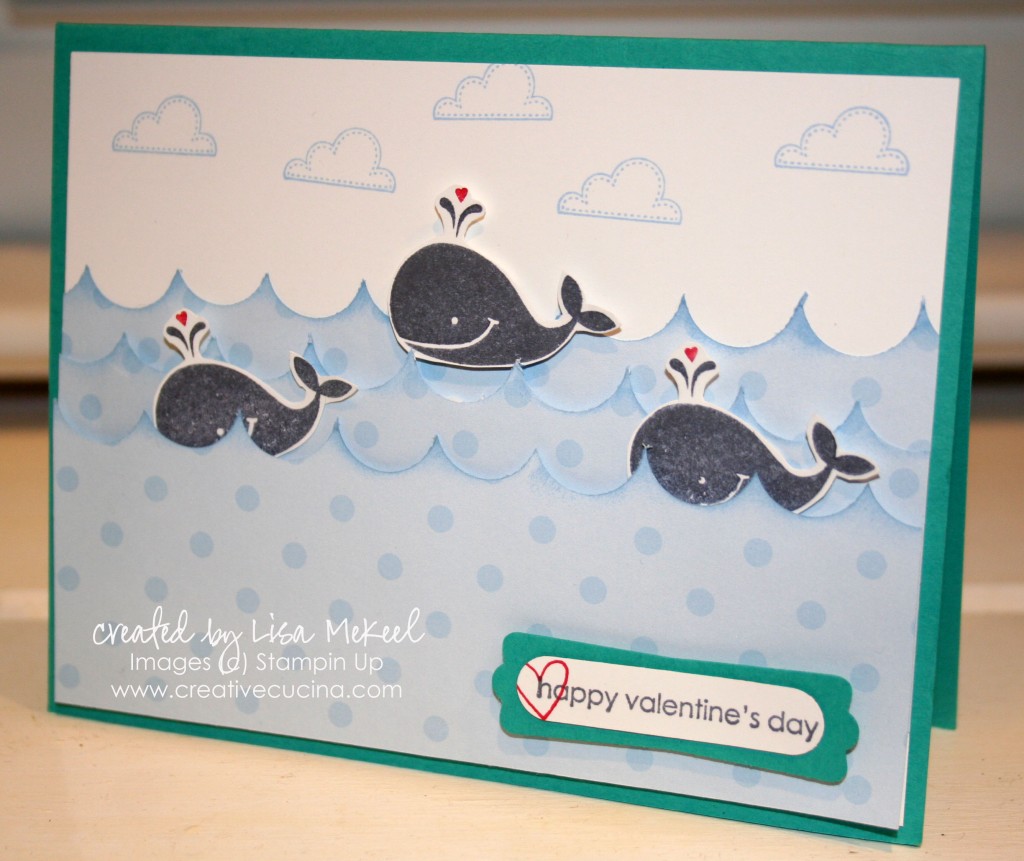
This card is too cute! I’m sure you’ve seen this type of card before, using the Slit Punch to make waves, but I’ve been anxious to try it with the whale from Fox and Friends in a Valentine’s Day format. I think I will give this one to my little nephew for his first Vday.

The card base is Bermuda Bay, layered with a 4″x5 1/4″ piece of Whisper White. I used Bashful Blue DSP from a Prints Pack in this polka dot pattern. (Side note: I admit it, I know I need to stop using the polka dots, but I just can’t!)

I made the “waves” by lining up the Slit Punch along the bottom edge of the Bashful Blue DSP. Keep punching, making sure all the slits touch one another slightly. Then, flip the paper upside down and you have your “waves”. I sponged the waves with Bashful Blue ink and a Sponge Dauber. Next, I layered 3 pieces of the “wave” DSP using Stampin Dimensionals and SNAIL adhesive. Here is a side view so you can see the layering:

The whales, from Fox and Friends were stamped in Basic Gray ink on Whisper White card stock. I wiped off the heart using a toothpick and colored it in with Real Red marker before stamping. Then, I trimmed each one out and adhered them to the card.

At the bottom, I stamped “happy valentine’s day” from A Happy Heart in Basic Gray ink on Whisper White and stamped the little heart from Goody Goody Gumdrops in Real Red ink on top. Then, I punched it out with the Word Window Punch and layered it onto Bermuda Bay punched with the Modern Label Punch. That is attached to the base with Stampin Dimensionals.

Finally, I added some clouds from Good Neighbors in Bashful Blue ink to make a sky.

Thanks for looking, it was a fun card to make and I’m happy to share it with you!

Splitcoast Sketch Challenge {Chic Boutique}

This was the weekly Wednesday Card Sketch from Splitcoast Stampers. I have only participated in a few challenges so far, but when one catches my eye, I jump into it.

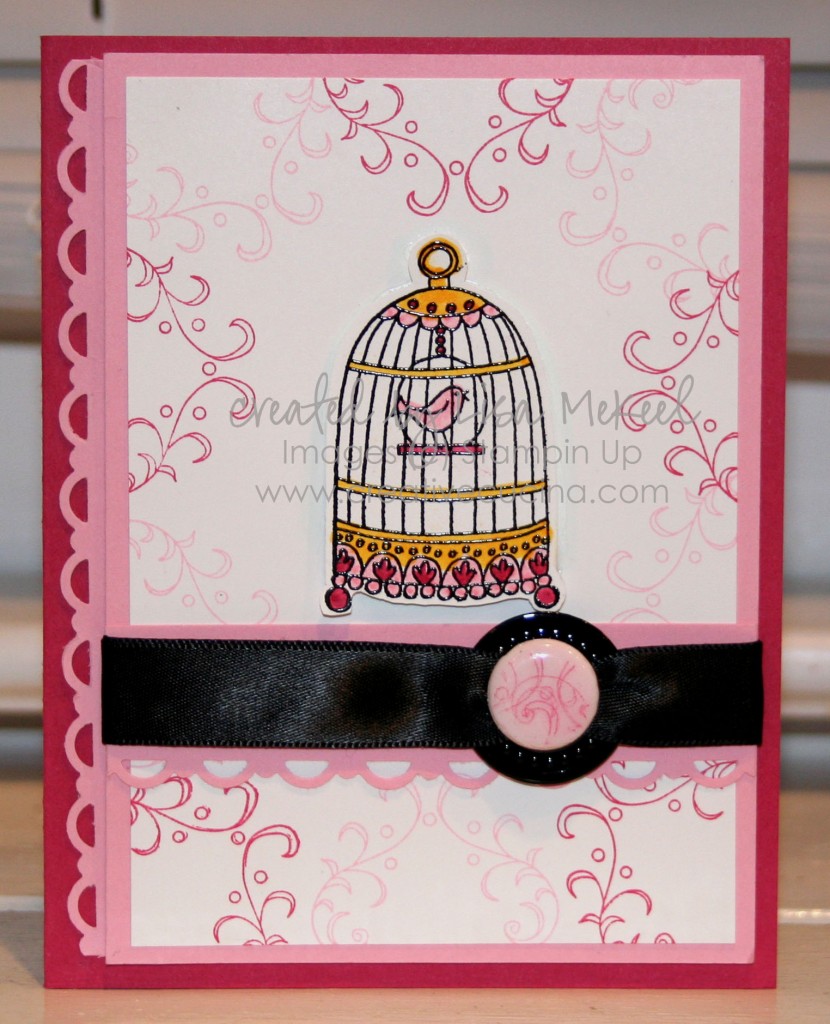
The card base here is Rose Red. I layered it with Pretty in Pink and Whisper White. The Pink panel is cut to 3 3/4″ x 5 1/4″ and the White is 3 1/2″ x 5″. I popped it up with Stampin Dimensionals and added a strip of Pretty in Pink cut with the Scallop Trim Border Punch along the left side of the card.

I stamped the bird cage from Chic Boutique on the Whisper White and then stamped it again on White scrap in Versamark and heat embossed it with Black Embossing Powder. Then, I colored it in with Stampin Up Markers and attached it to the card with Stampin Dimensionals.

Around the edges of the Whisper White, I also stamped the filigree stamp from Chic Boutique in Pretty in Pink and Rose Red. I love using that stamp as sort of a background stamp!

Underneath the bird cage, as per the sketch, I added a strip of Pretty in Pink that I punched with the Scallop Trim Border Punch and wrapped Black Satin Ribbon through a Large Black Grommet.

Instead of piercing the grommet through the paper, I just folded back the tabs on the underside of the grommet with my Bone Folder. This way, I can use it more like a ribbon slide than a grommet. I looped both ends of the black ribbon through the hole of the grommet and then pulled each end around the back of the card stock, adhering it with SNAIL.

The 5/8″ Basic Brad in White was sponged with Pretty in Pink ink, then stamped with the filigree image in Rose Red ink. Next, I dipped the brad head in Glassy Glaze and heated, repeating once to get a more even coating of shine. I slipped that into the grommet hole and put a Glue Dot behind the brad to keep it from sliding around.

Bad Behavior has blocked 475 access attempts in the last 7 days.

css.php