Archives for September 30, 2009

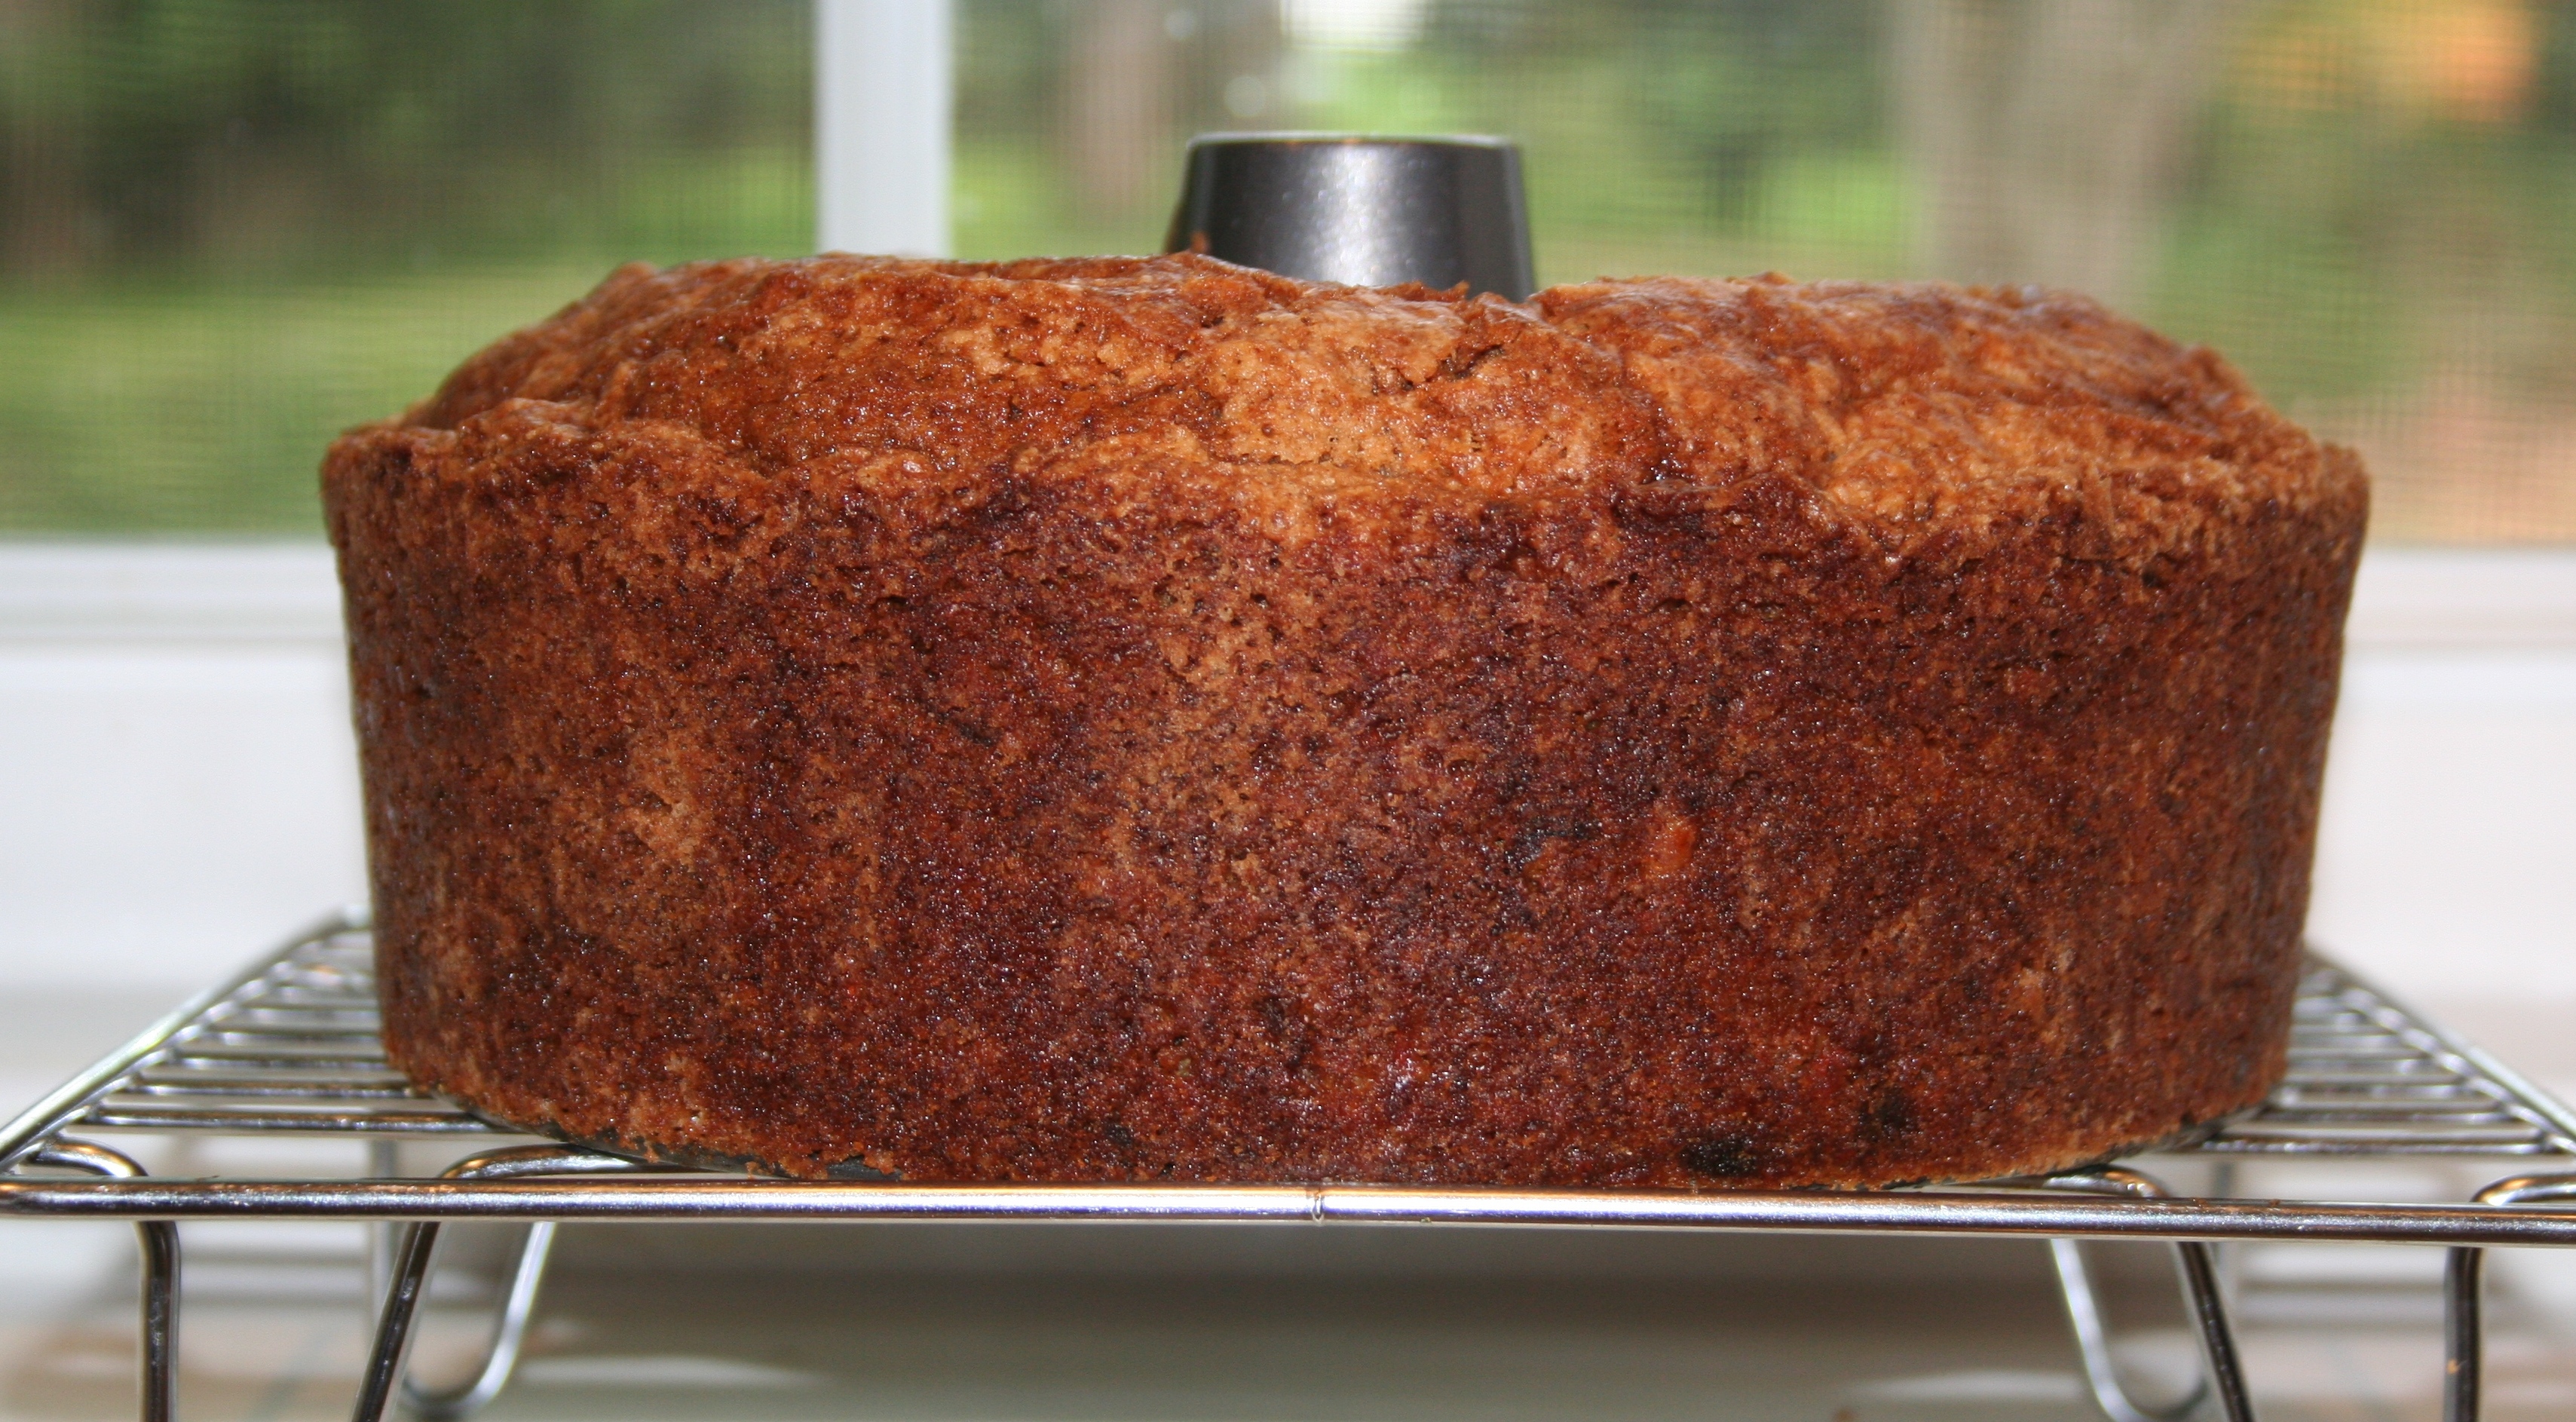
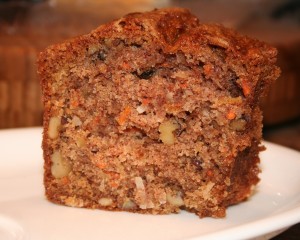
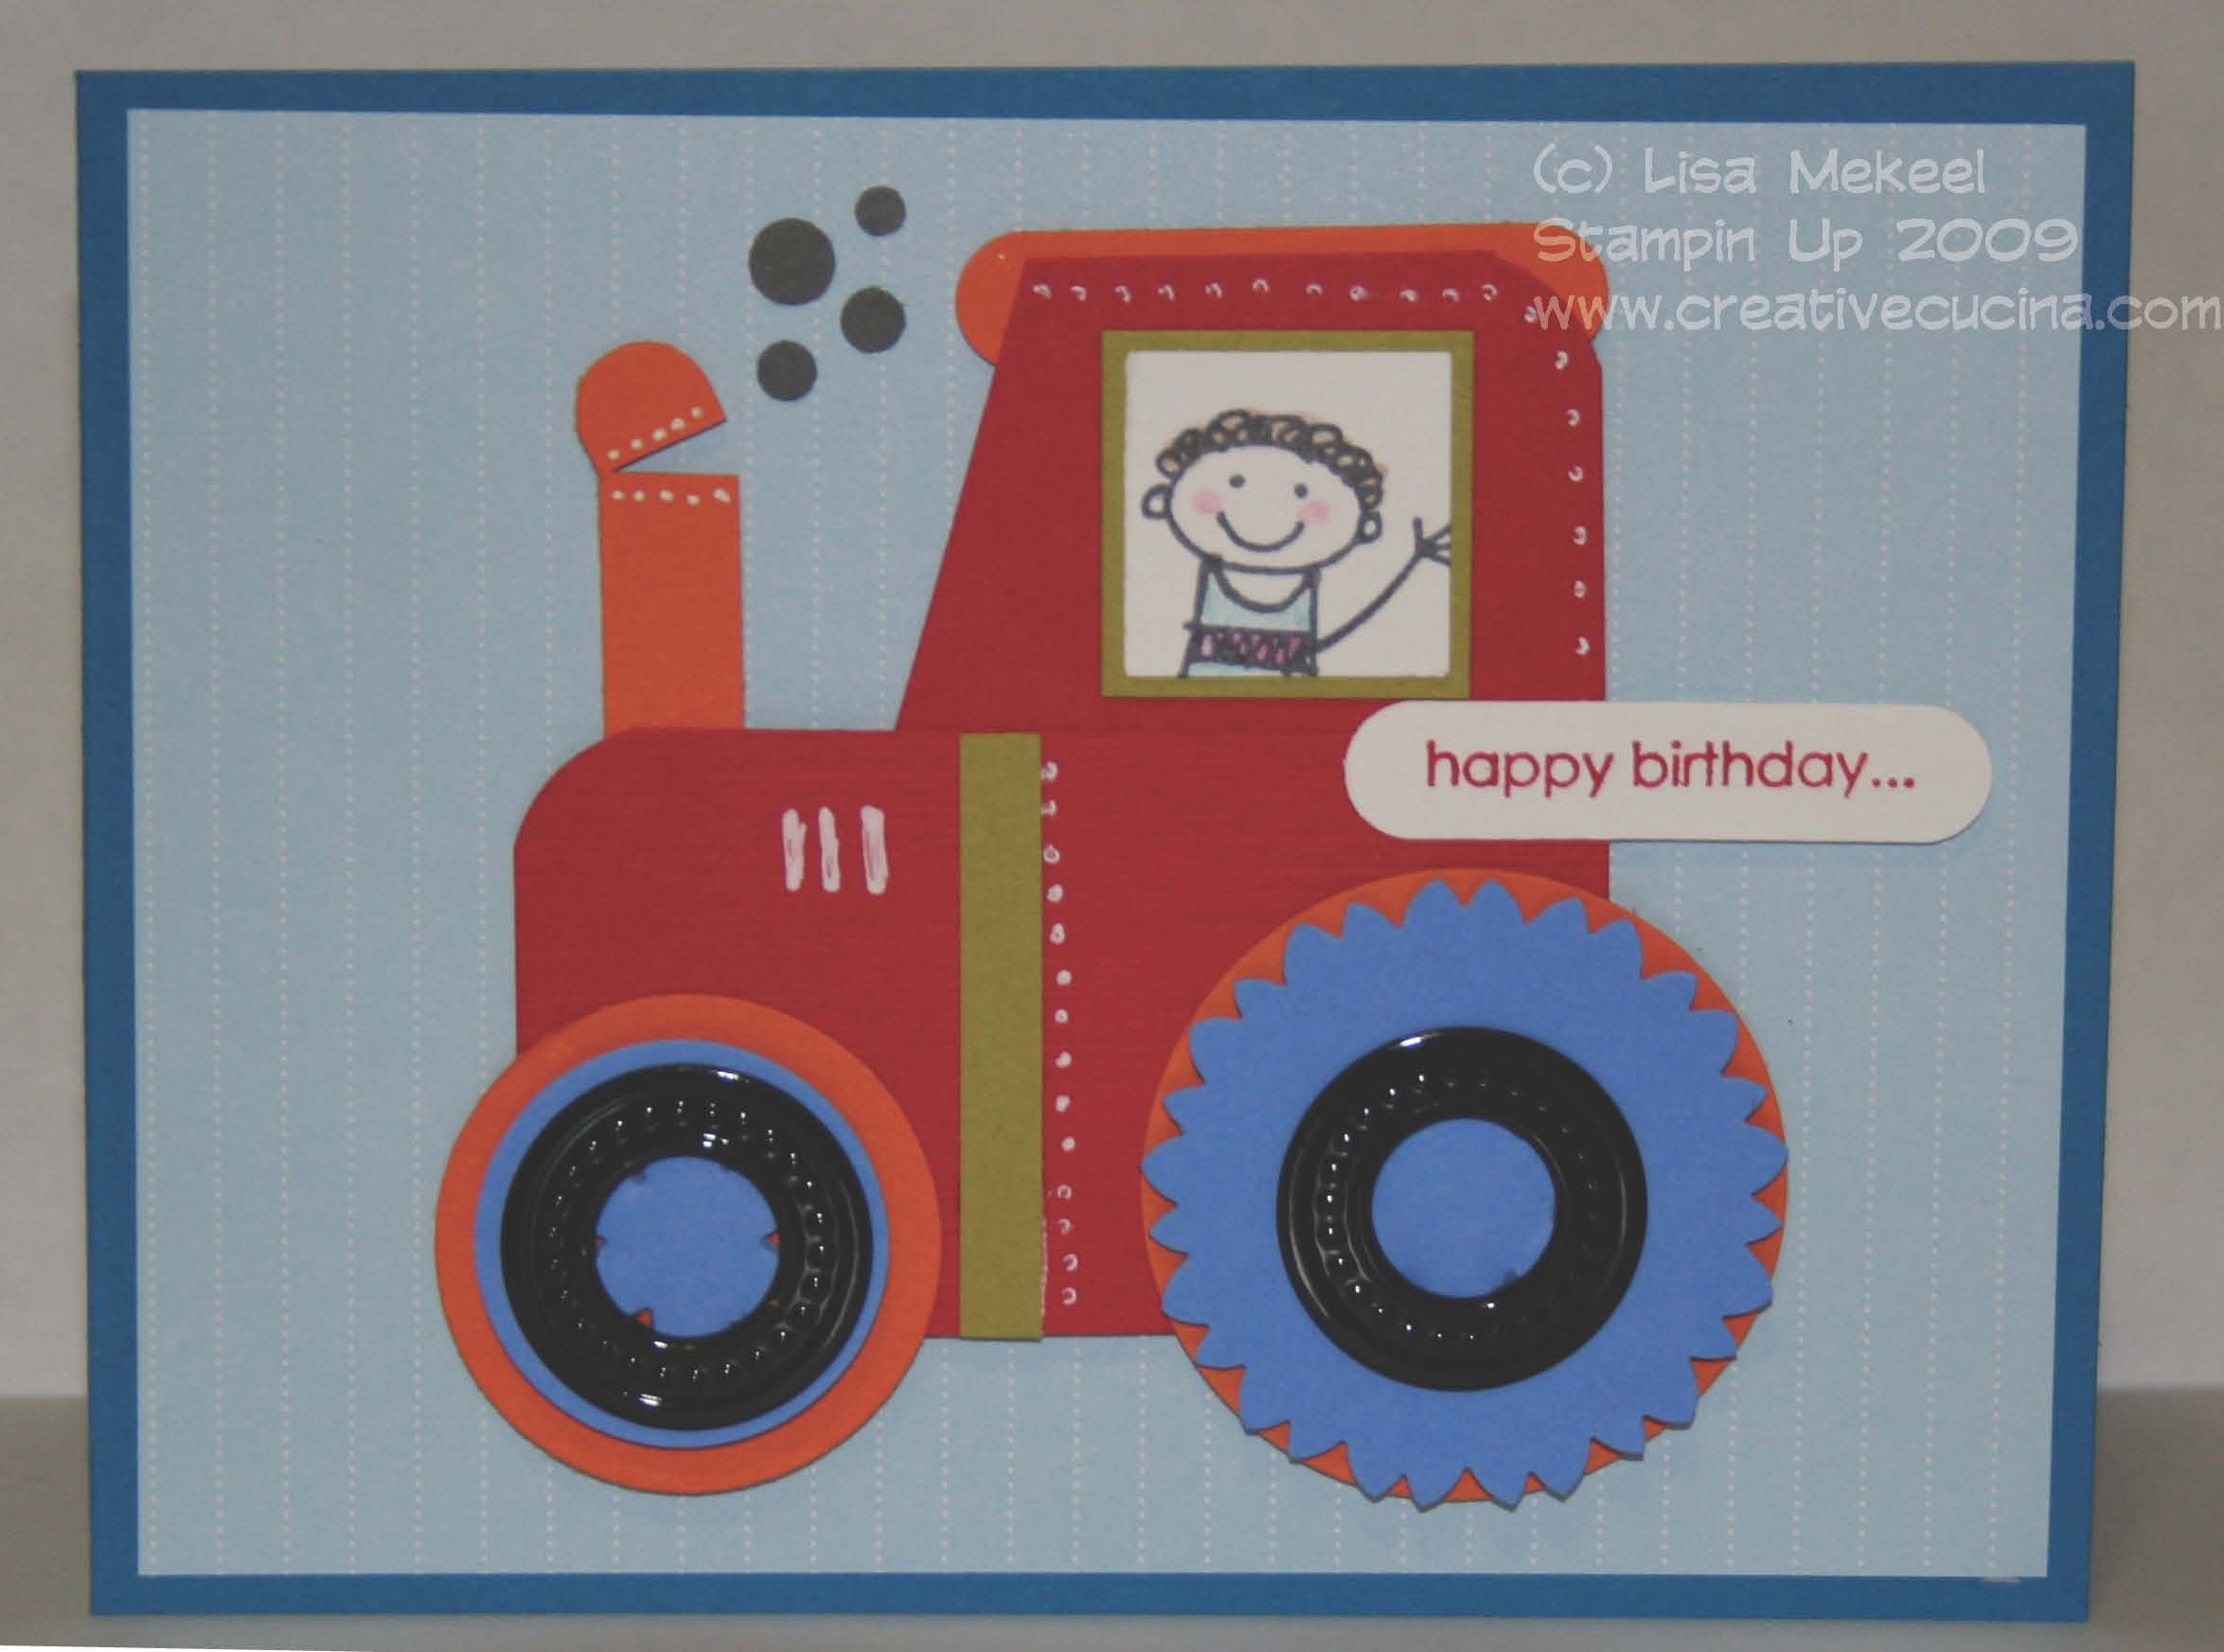
Fall’s First Carrot Cake

I really love carrot cake. The denser the better. And it has to have coconut–an absolute must. I started to bake this very late last night–just before 11 pm. The next day, I was reading another blog (SeriousEats.com) and came across an article titled “Are You a Night Baker?” and it made me laugh because I have always done my baking late at night. It probably started out as a means of relaxing after doing hours of reading and writing in law school. The house was quiet, my husband (fiancee at the time) was asleep; it really was therapeutic. Our neighbors must have either really loved me or really hated me for filling the air with the smell of brownies, butter cookies, and cake at 2am!

This recipe turned out great. I did use pre-shredded carrots (I know, I know) but I didn’t feel like lugging out the food processor, shredding blade, etc. when I had a bag of them ready to go staring at me in the fridge! I hope you’ll forgive me!

Recipe for Fall’s First Carrot Cake

(See the leaves turning colors outside my window?)

  • 2 cups flour
  • 2 teaspoons baking powder
  • 1 1/2 teaspoons baking soda
  • 1/2 teaspoon salt
  • 2 teaspoons cinnamon
  • 4 eggs
  • 1 1/2 cups vegetable oil
  • 2 cups sugar
  • 1 teaspoon vanilla extract
  • 3 cups shredded carrots (pre-shredded works fine)
  • 1 8 oz. can crushed pineapple, drained
  • 1 cup chopped walnuts
  • 1 cup flaked coconut

Directions:

Preheat oven to 350 degrees. Spray or grease a 9″ Tube pan. A deep Bundt pan will work also.

1. Mix eggs, sugar, vegetable oil, and vanilla extract in a stand mixer with paddle attachment. Beat until well combined.

2. In a small bowl, sift all dry ingredients (flour, baking powder, baking soda, salt, and cinnamon) together using a whisk until blended.

3. Add dry ingredients to wet mix and beat until incorporated.

4. Add shredded carrots, crushed pineapple, coconut, and chopped walnuts to the batter. Beat to combine.

5. Pour cake batter into the prepared pan and bake for 1 hour to 1 hour 15 minutes. Test with a wooden skewer (moist crumbs are what you’re looking for) and the cake will spring back slightly when touched.

6. Allow to cool in pan for 20 minutes, then remove the outside ring of the tube pan (if using) and let the cake rest on a rack until completely cool.

Enjoy!
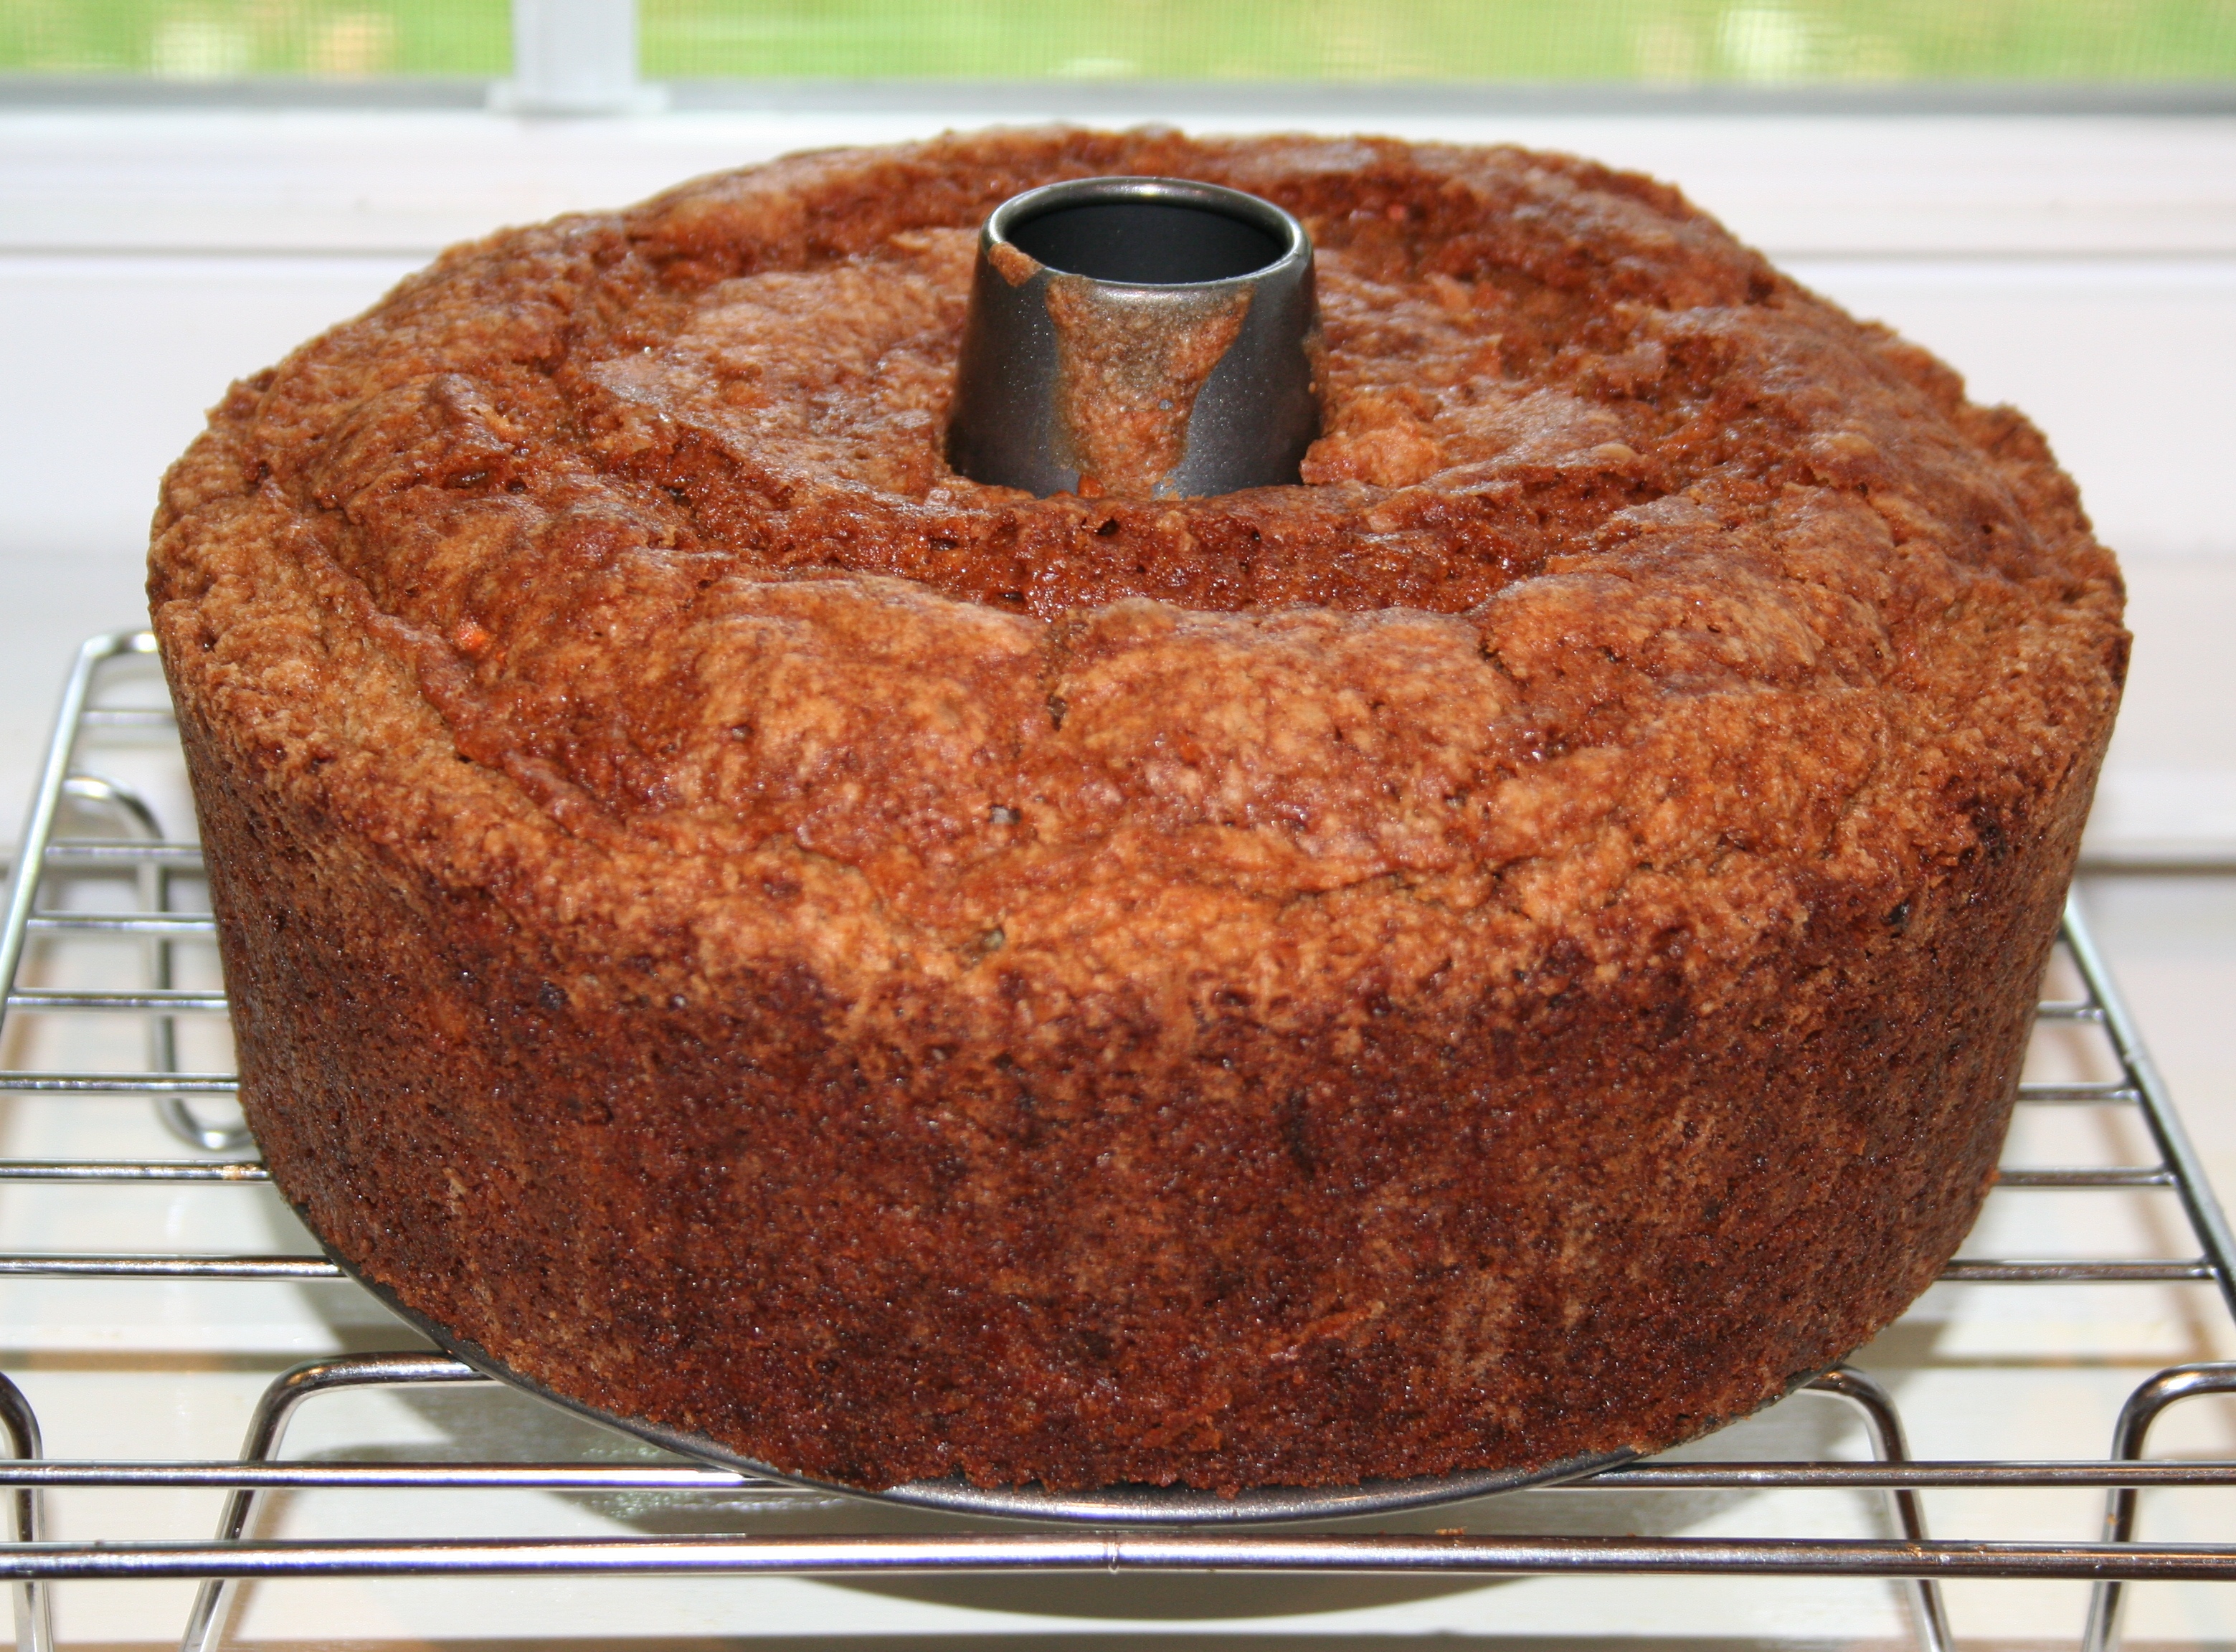
Riding the Birthday Tractor!

There are several cute cards out there using punches to make a tractor, and that is what inspired me. In addition, the wrapping paper I bought for the birthday boy inspired this particular tractor’s colors and style.

Card base is Pacific Point (last year’s In Color that I never seemed to use–at least I’m getting some good out of it now!) I layered it with some Bashful Blue DSP from the 6″x6″ Prints Pack.

The tractor body was made with Real Red Textured card stock, which I turned over to use the slightly more smooth side. I cut a rectangle and rounded the left top edge with the Corner Rounder Punch. The cab portion was made by cutting a Real Red square, rounding the top right corner with the Corner Rounder Punch and cutting the left corner on a diagonal.

Pumpkin pie card stock punched with the Word Window Punch makes up the exhaust pipe and hood detail. I cut the tip of the exhaust pipe with scissors almost all the way, and raised it to look like it’s opening up to let out smoke. A small piece of dimensional keeps the flap open when adhered to the card. The smoke is Basic Gray card stock circles which I cut using the Fiskars Swiss Cheese Edge Punch.

I stamped the boy from All in the Family in Basic Gray ink on Whisper White, which I punched out using a 7/8″ Square Punch. I colored him in with Watercolor Pencils and Blender Pen. The white square is layered on a 1″x1″ Kiwi Kiss square to make it stand out.

The body of the tractor has some white accents, which I made using the Signo Gel Pen. The large tire was made using a 1 3/4″ Circle Punch of Pumpkin Pie, layered with a Scallop Circle Punch of Ballet Blue card stock. I punched the scallop circle first, adhering it temporarily to a piece of computer paper. Then, I lined up the punch again by putting the points in the center of each scallop. Punch again and you get the “toothy” effect shown here. A Black Jumbo Grommet was poked through the center of the Ballet Blue tire and then adhered to the Pumpkin Pie circle using dimensionals. The tire was then attached to the tractor using SNAIL. The smaller tire was made using 1 3/8″ Circle Punch pumpkin pie card stock layered with 1 1/8″ Circle Punch Ballet Blue with another Black Jumbo Grommet in the center.

The sentiment is from Goody Goody Gumdrops and I just inked up the words I needed with my Real Red Marker, stamped on Whisper White and punched it out using the Word Window Punch. It’s adhered to the card using dimensionals.

Bad Behavior has blocked 476 access attempts in the last 7 days.

css.php