Ornament Suspension Card

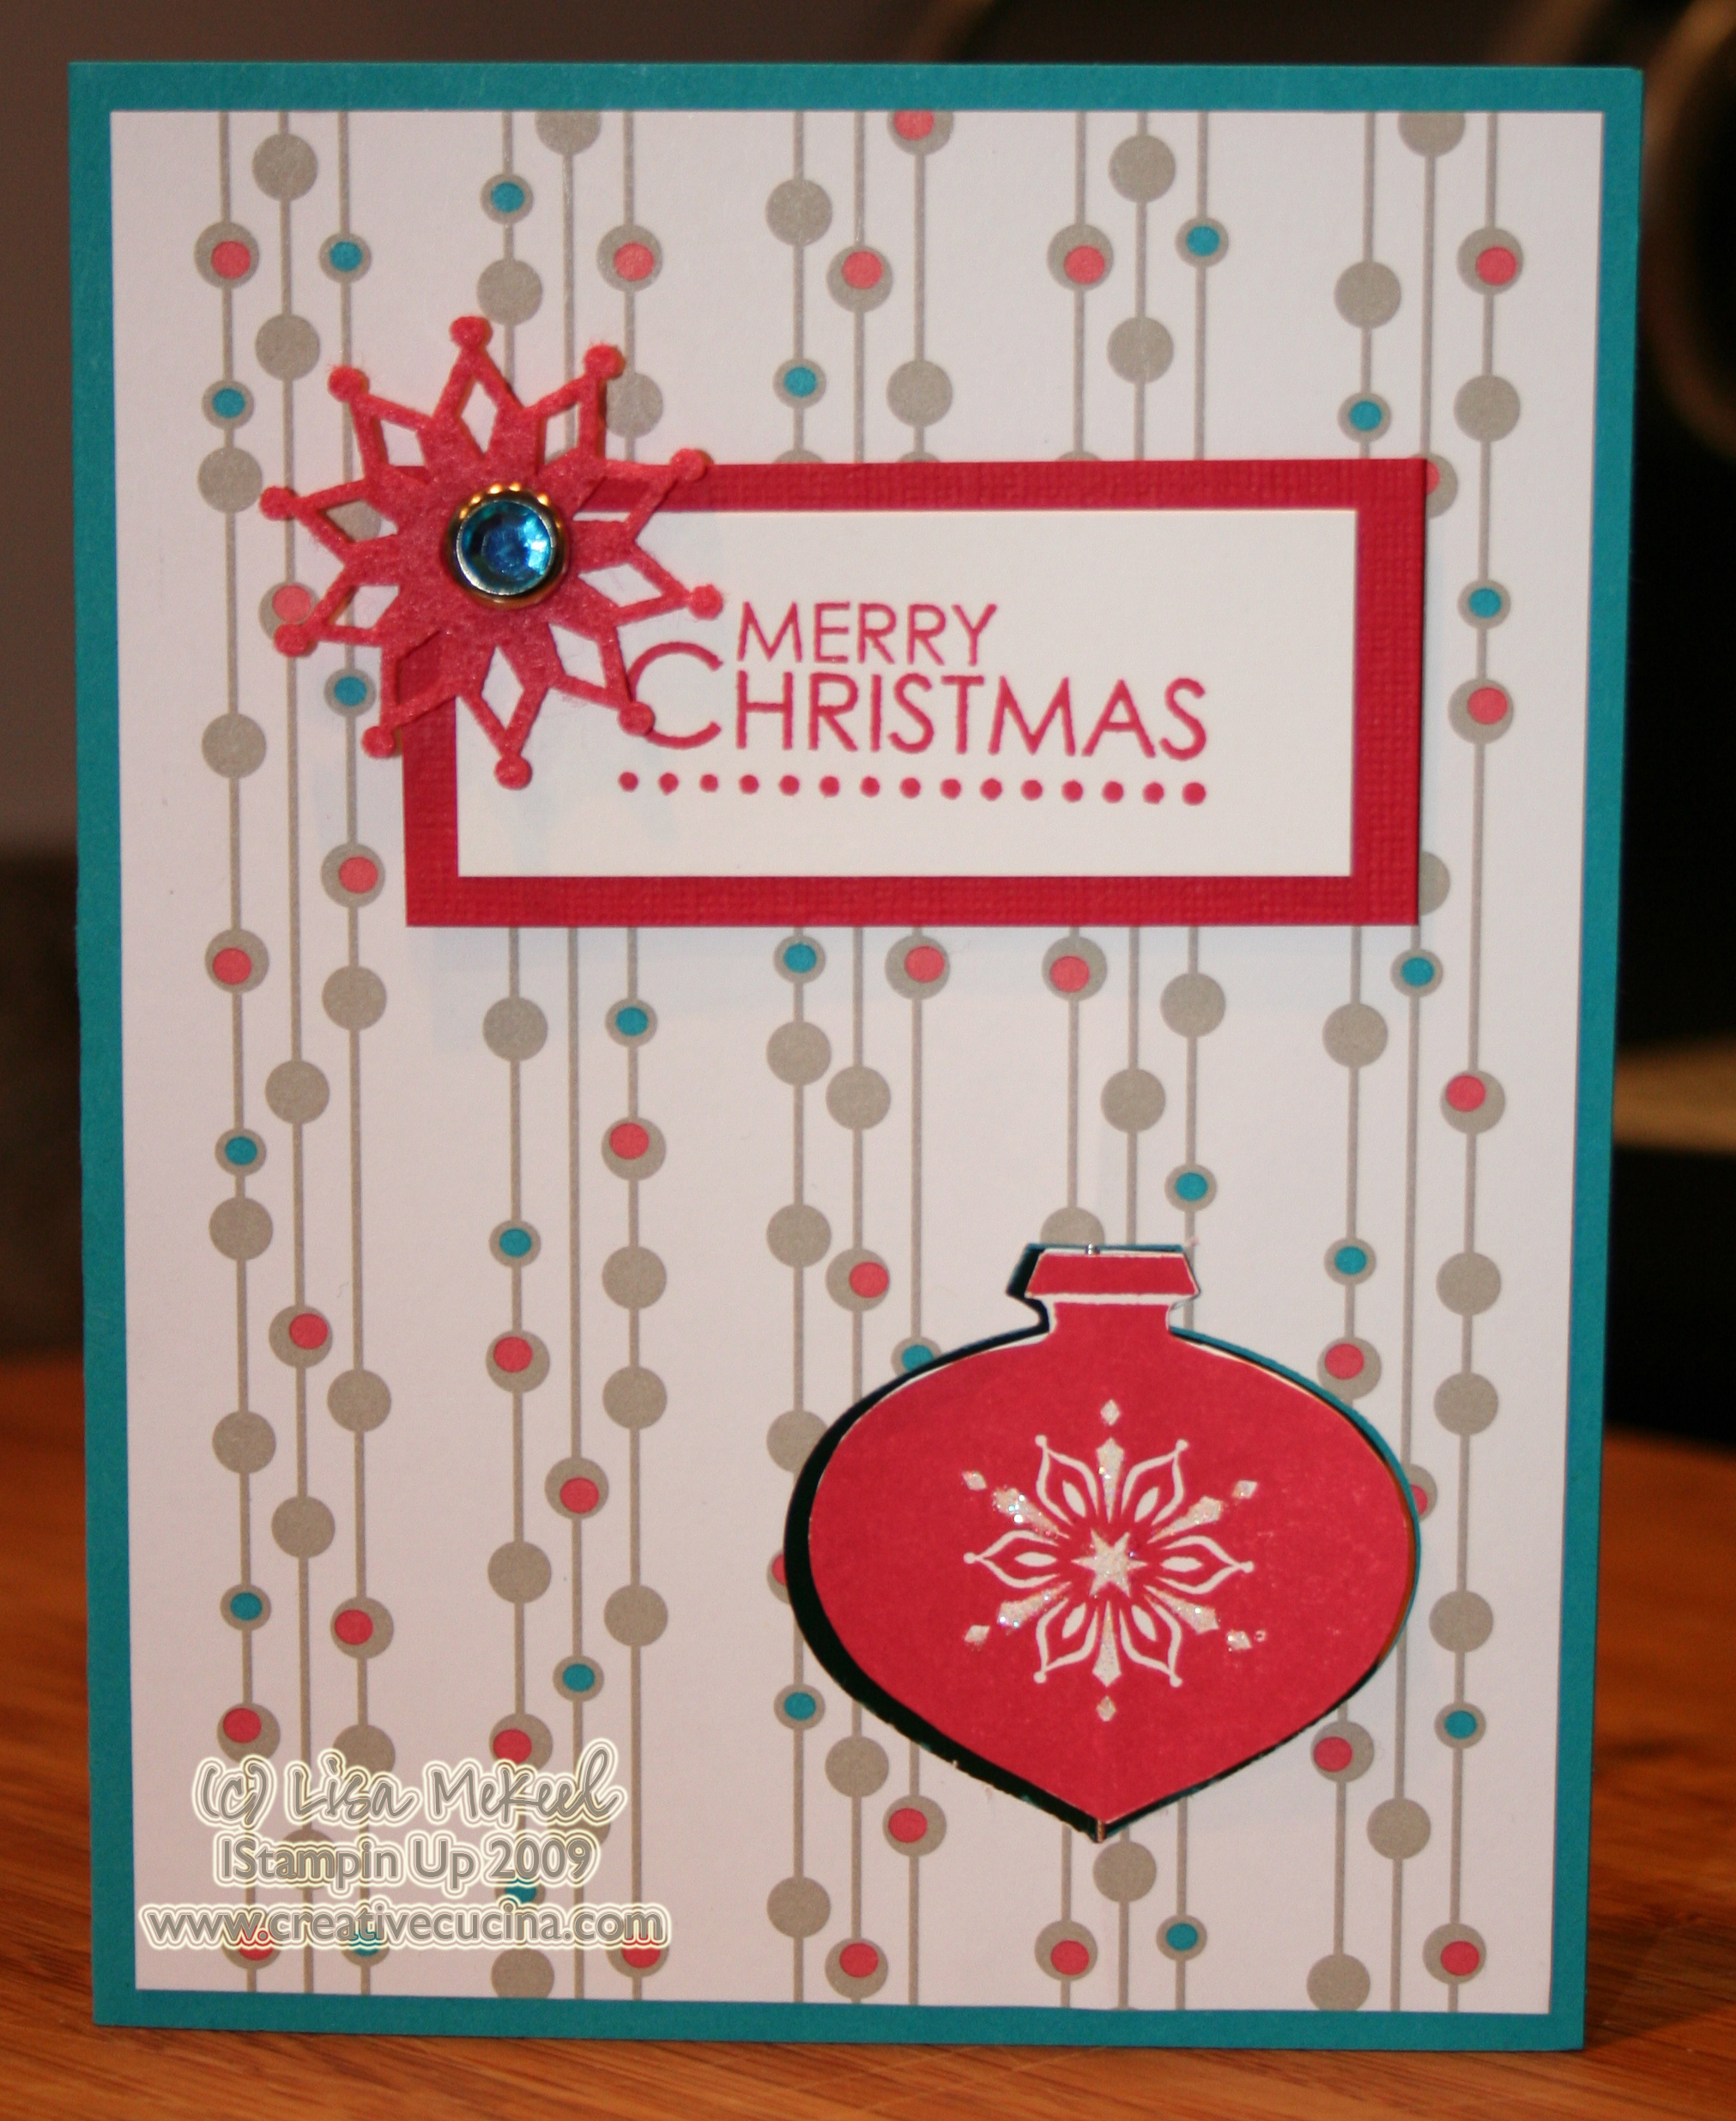
OK, here’s ANOTHER Delightful Decorations card but this time I changed it up a bit and made a suspension card (see tutorial here).

Card base is taken with teal, layered with Holiday Lounge DSP. To make the punch out, I lined up my DSP exactly where it was going to be on the card base and punched the two papers at the same time using the Ornament Punch. Then, I stamped the ornament from Delightful Decorations in Real Red ink on whisper white card stock TWICE, and trimmed them out using my paper snips. Because the punch is slightly larger than the stamp image, the suspension card will work if you trim very close to the image so it will fit in the punched out area.

Next, follow the directions for the suspension card and apply sticky strip to the back side of the DSP, above and below the punch out window. Then, put sticky strip on the back sides of the ornaments you cut out. Attach a piece of dental floss and apply your ornaments. (See tutorial for step by step instructions).

The sentiment is from Season of Joy, stamped in real red ink on whisper white. I layered it with real red textured card stock and then added a Circle Ice Rhinestone Brad and Felt Flurry in the upper corner.

Although hard to see, I added some Dazzling Diamonds to the snowflake on the ornament.
Love is in the air–His & Hers versions

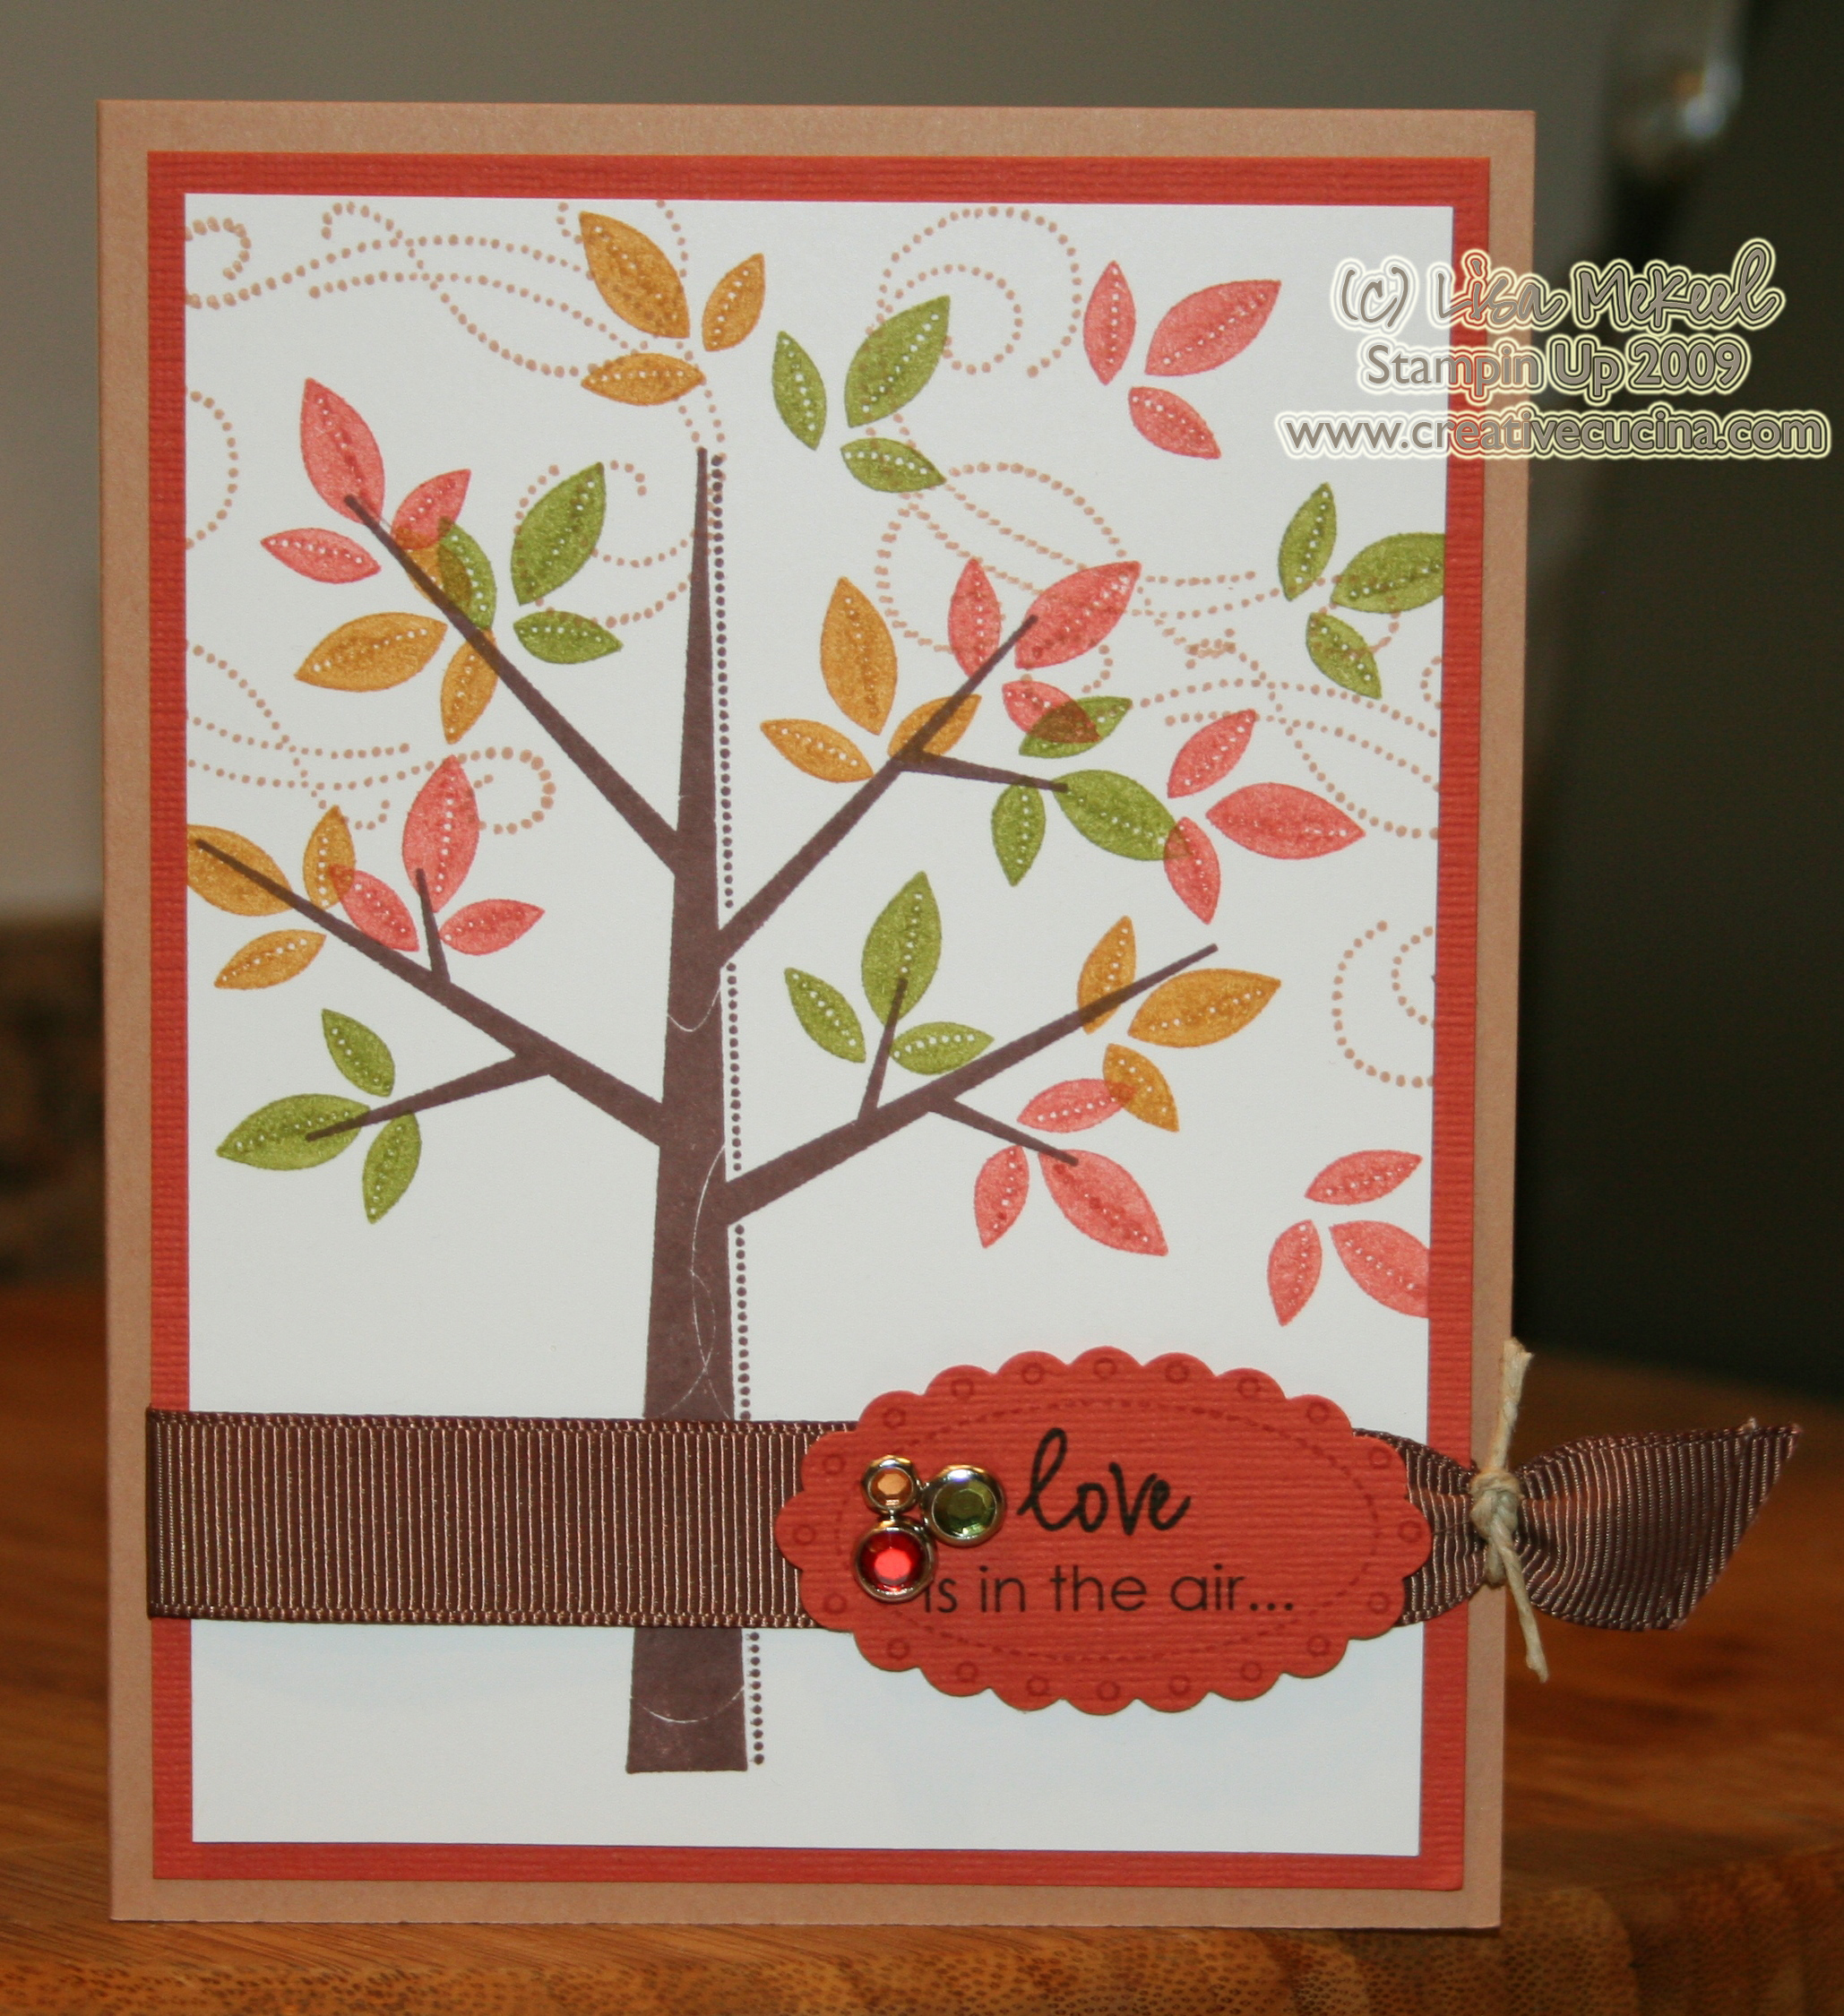
October is our anniversary month. Next week we will celebrate 4 years of marriage. Since we had a fall wedding, I picked the stamp set Season of Friendship to make an anniversary card.

I made 2 versions–one for me (with lots of color and bling) and one for my husband (a little more plain).

The above card uses creamy caramel card stock for the base, layered with dusty durango textured card stock. As for the images, I stamped the tree in chocolate chip ink on whisper white card stock. The leaves are stamped in Dusty Durango, More Mustard, and Old Olive. After I finished stamping the leaves, I looked over and saw my Snow Buddies set on the desk and used the swirl image, stamped in creamy caramel ink, to create a fall breeze. Then, I stamped a few falling leaves in the “breeze”.

Across the bottom of the card, I looped a piece of 5/8″ Chocolate Chip Grosgrain Ribbon around the dusty durango/whisper white layer, tying the ends together with Hemp Twine.

The sentiment is my own, printed from my computer, on dusty durango textured card stock and punched out using the Scallop Oval Punch. I also stamped the outline from one of the Oval All stamps in dusty durango ink using the stampamajig to get it perfectly set. To finish off the oval, I punched 3 holes using the cropadile and used Circle Rhinestone Brads in the same colors as the leaves. That was then attached to the card base using dimensionals. Tip: I like to cut the ends of the brad tabs off by using my Craft and Rubber Scissors so they don’t stick out. Then, I put small glue dots over the backs to keep them from spinning.

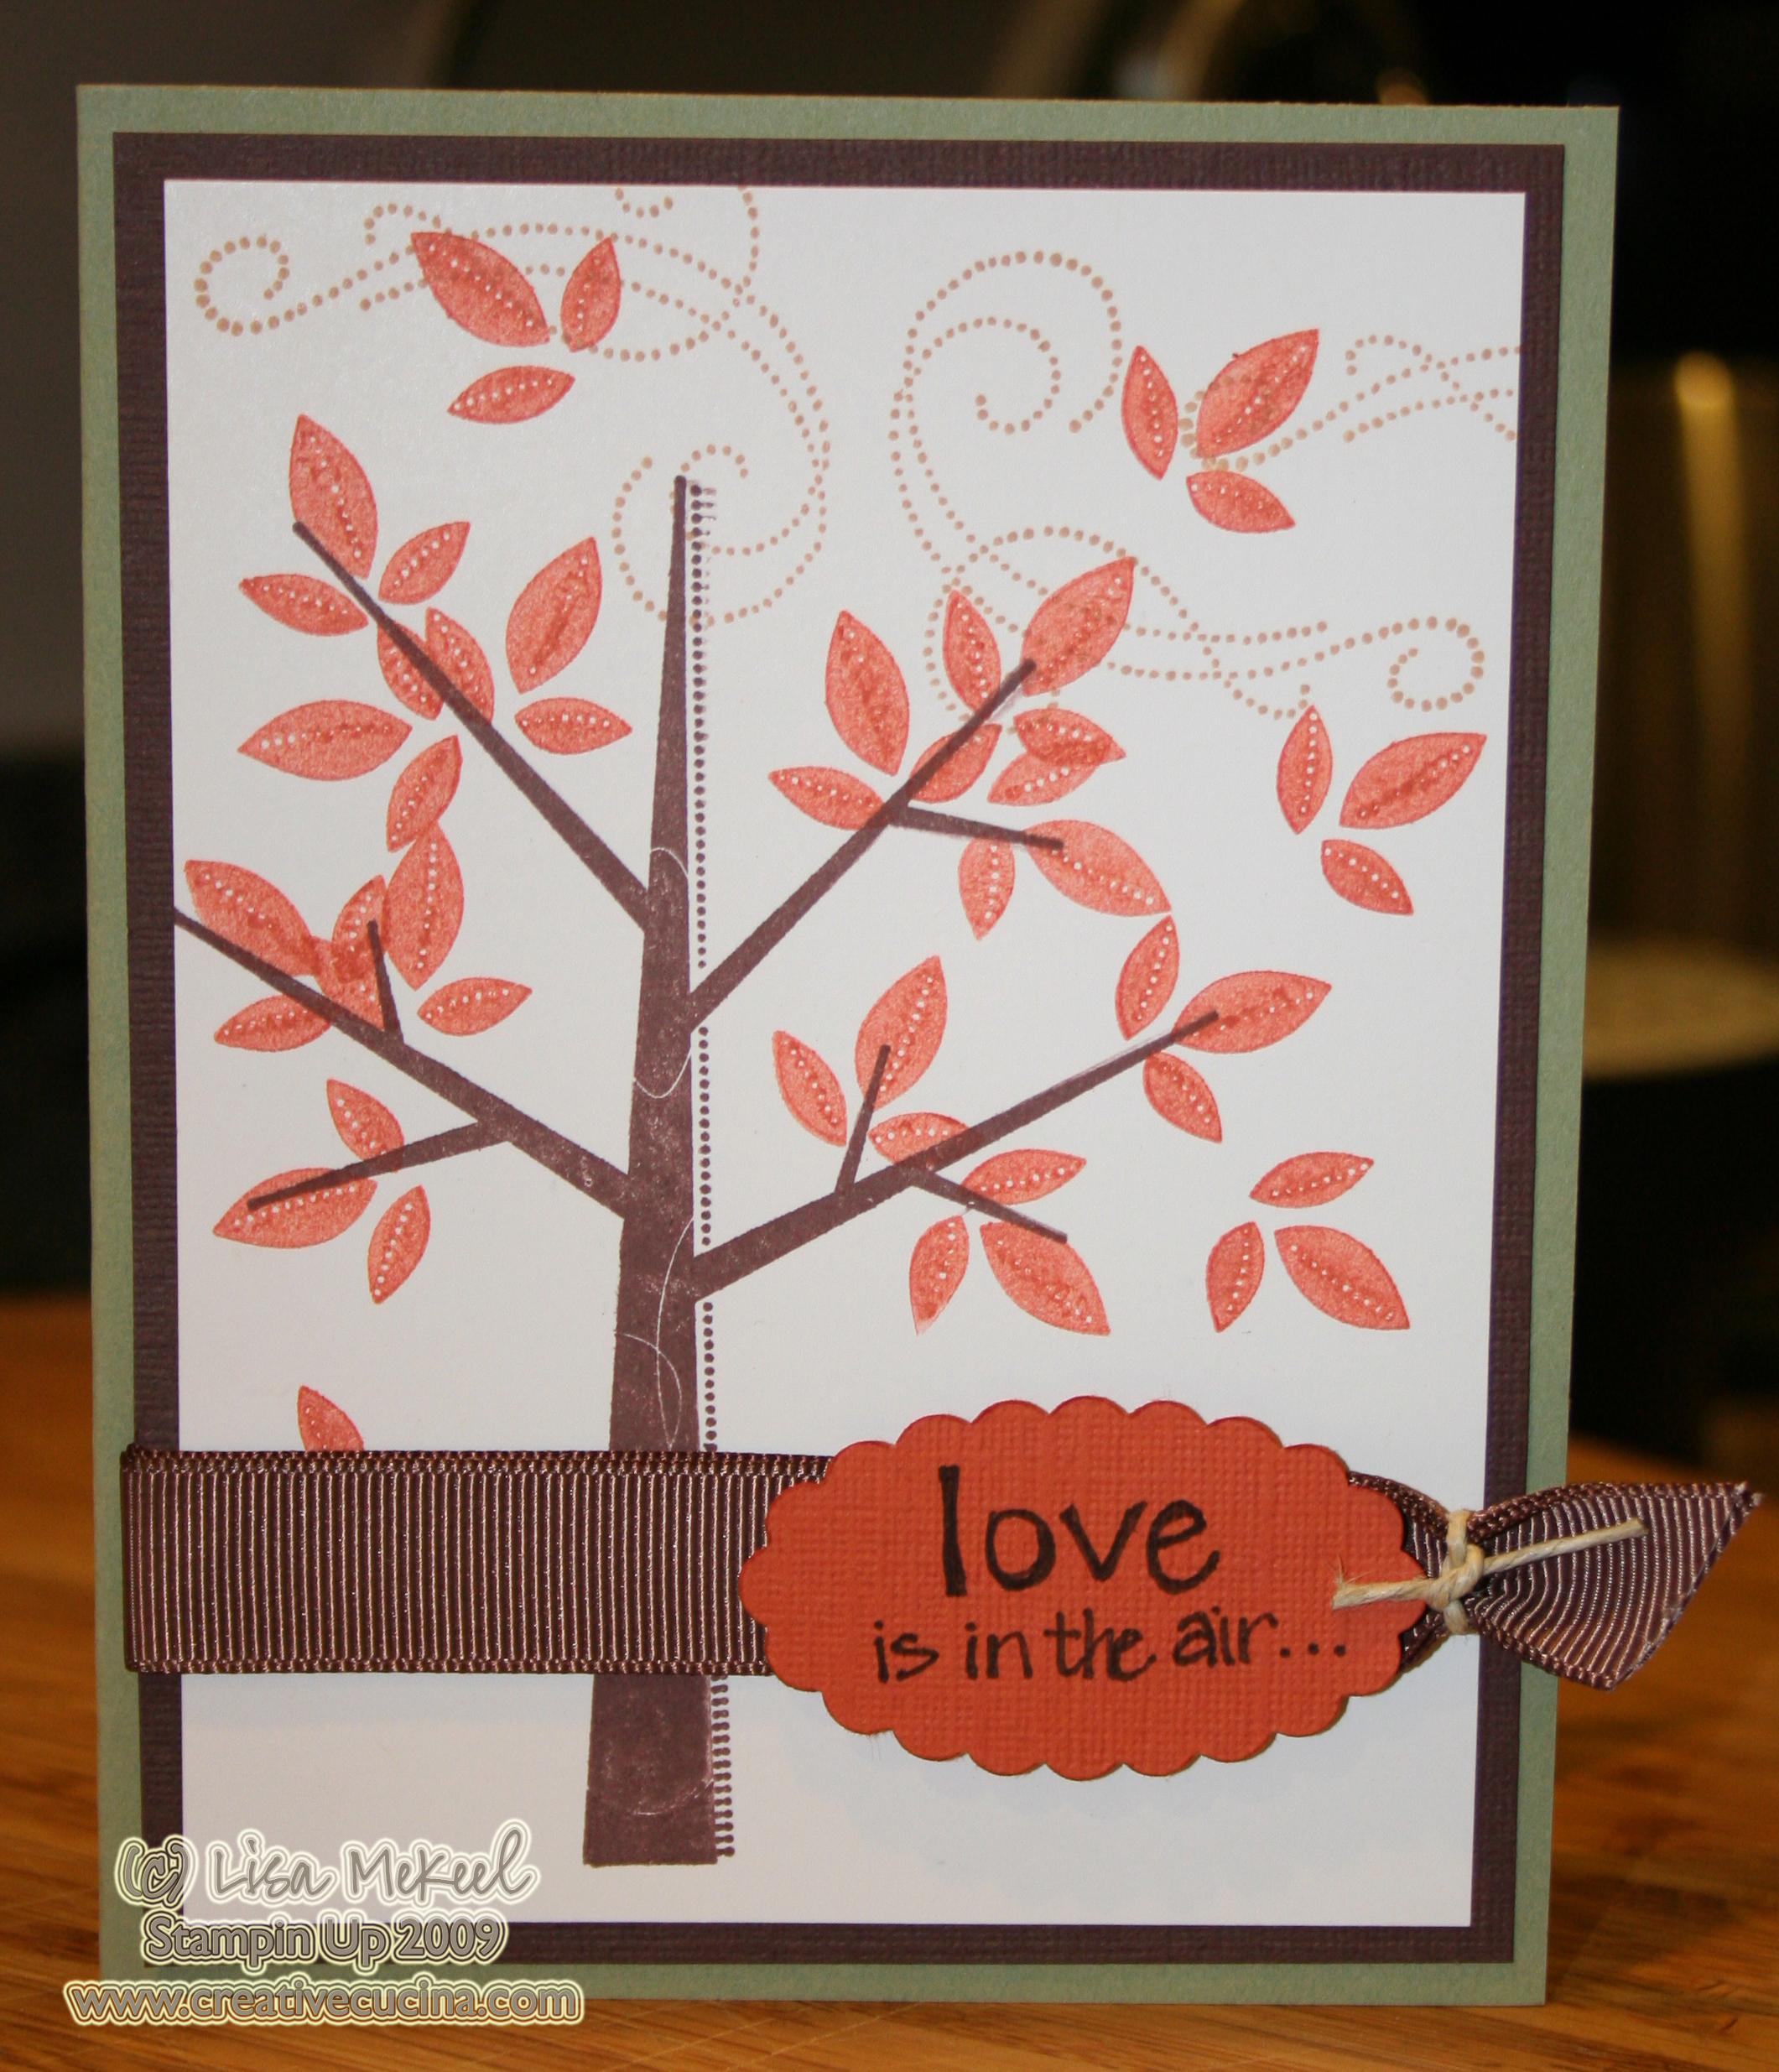
This is the male version of the anniversary card! For this one, the base is mellow moss, layered with chocolate chip textured card stock and whisper white. I stamped the tree in chocolate chip ink again, and the leaves are all stamped in dusty durango. Everything else is the same except that I wrote the sentiment in chocolate chip marker and then punched it out. No brads, no bling, just the way he would like it 🙂

Fluffy Snowflake Card

I know, terrible name for this post, but you can’t really tell from the picture that this DSP is textured. The snowflake is actually a felt-like material raised onto the paper, part of the Christmas Cocoa DSP.

Card base is Rich Razzleberry textured card stock, layered with piece of the DSP. I wanted to keep it kind of simple but my Ice Circle Rhinestone Brads were screaming out to me so I added one in the center of the snowflake, with a 1/4″ Circle Punch of rich razzleberry behind it to give it added pop.

To finish off the card, I stamped “Merry Christmas” from Christmas Greetings (I love this stamp–it’s like the handwriting I always wanted to have) in Rich Razzleberry ink.

Inside, I layered the base with a piece of White card stock and stamped it with the other stamp in Christmas Greetings, perfect for inside sentiments.

Bad Behavior has blocked 1027 access attempts in the last 7 days.

css.php