Cheers! It’s a Party! {Summer Party Invitations}

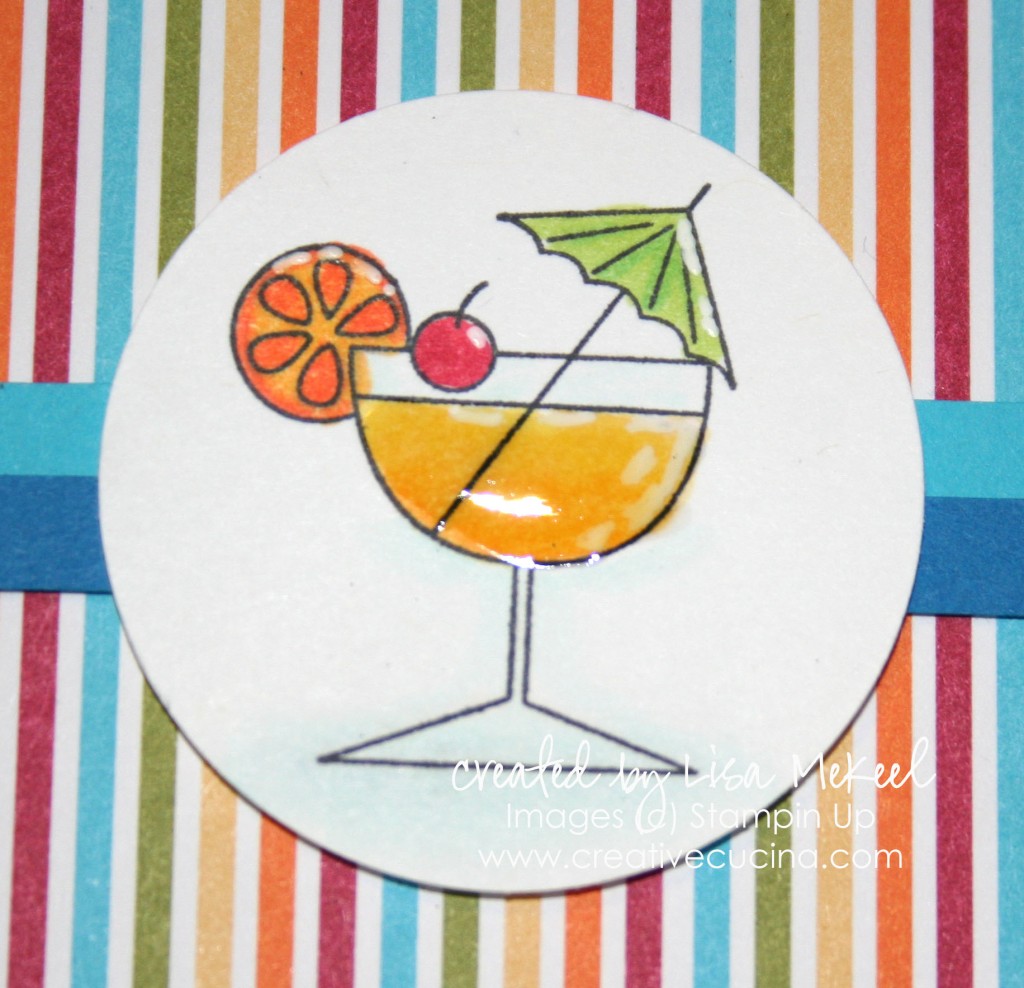
I’m working on some summer themed party invitations using the Cheers to You stamp set. I like them all for different reasons but the last one is my favorite. This stamp set looks especially good embossed and colored in with Copics. Crystal Effects gives an added 3D effect that also makes the drinks stand out.

Party Invite #1:
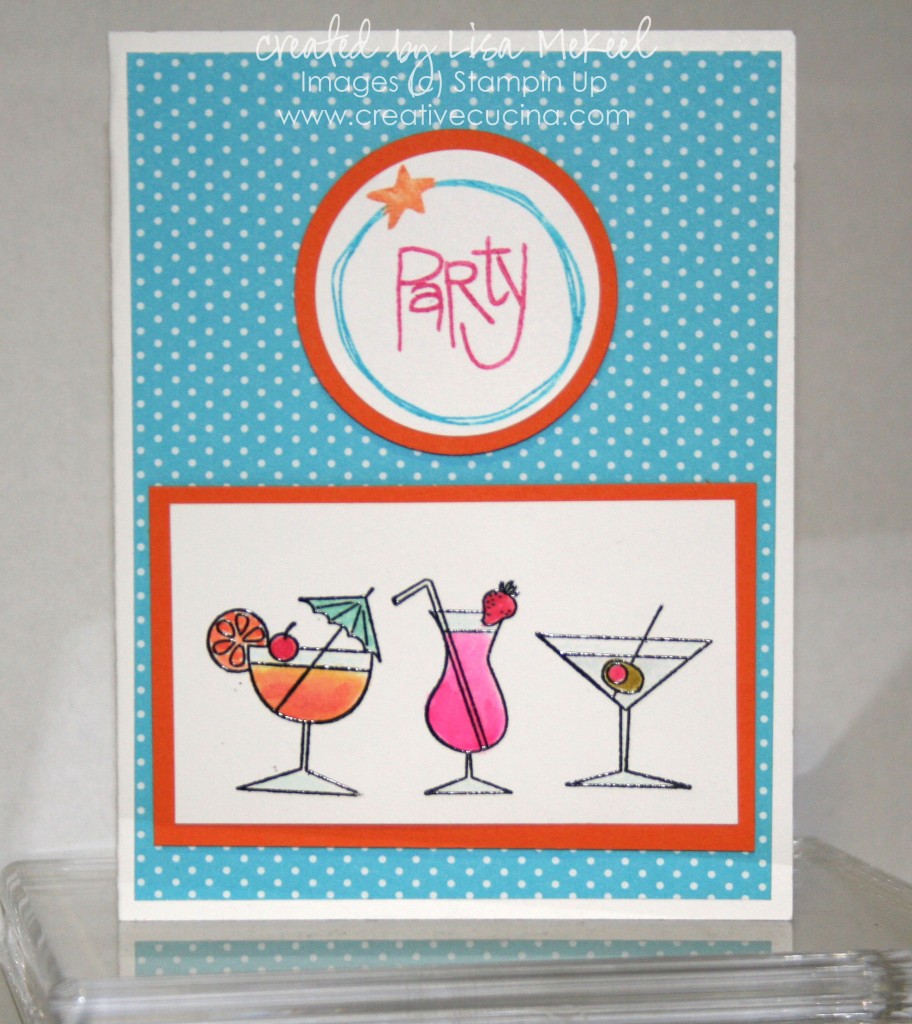
Stamps: Cheers to You, non SU party stamp; Card stock: Whisper White, Pumpkin Pie, Island Oasis DSP; Ink: Versamark, Tempting Turquoise, Pumpkin Pie, Melon Mambo Markers; Accessories: Aquapainter, Black Embossing Powder, 1 3/4″ Circle Punch, 2″ Circle Punch, Stampin Dimensionals.

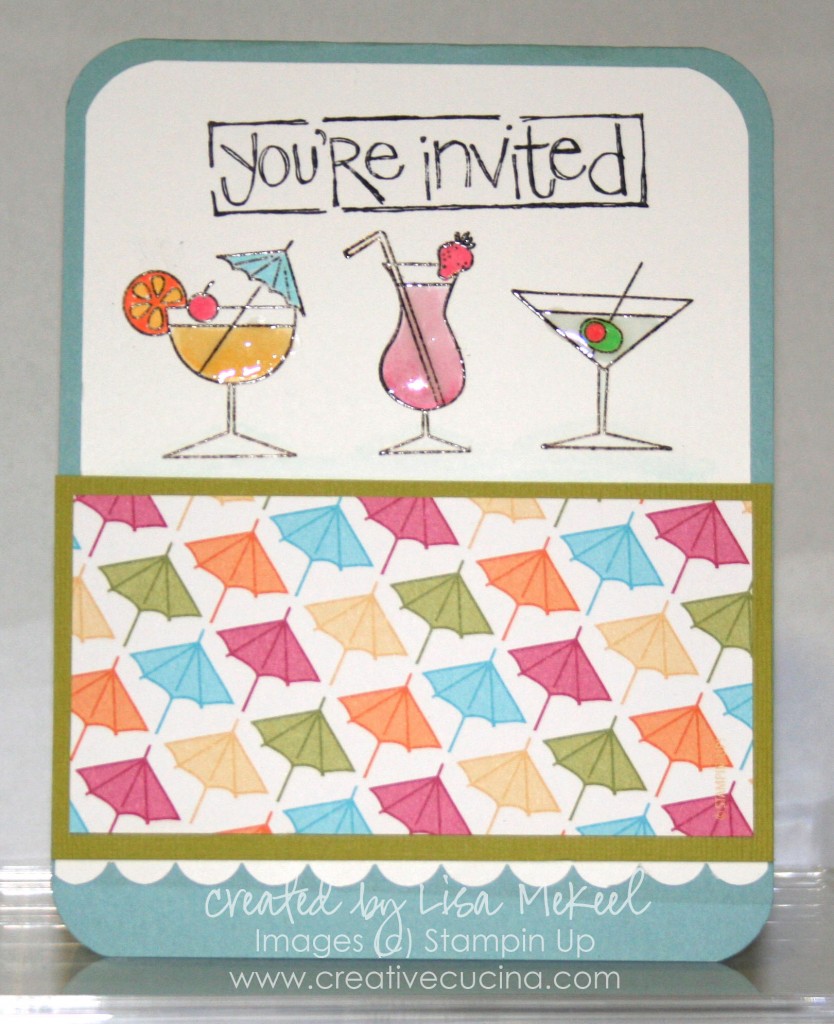
Party Invite #2:

Stamps: Cheers to You, non SU invitation stamp; Card stock: Baja Breeze, Kiwi Kiss, Whisper White, Island Oasis DSP; Ink: Basic Black, Versamark; Accessories: Copic Markers, Scallop Edge Punch, Corner Rounder, Crystal Effects.

Party Invite #3:
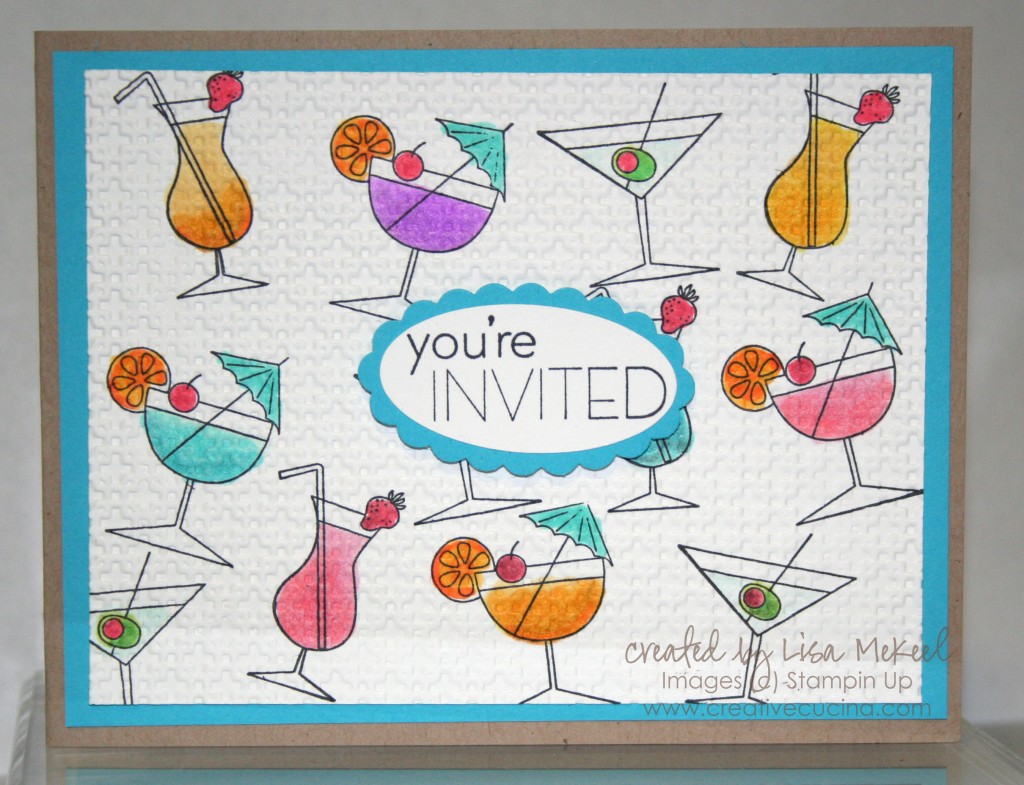
Stamps: Cheers to You, Introducing; Card stock: Crumb Cake, Tempting Turquoise, Whisper White; Ink: Memento Black; Accessories: Scallop Oval Punch, Large Oval Punch, Copic Markers, Square Lattice Embossing Folder, Big Shot, Stampin Dimensionals.

Party Invite #4:
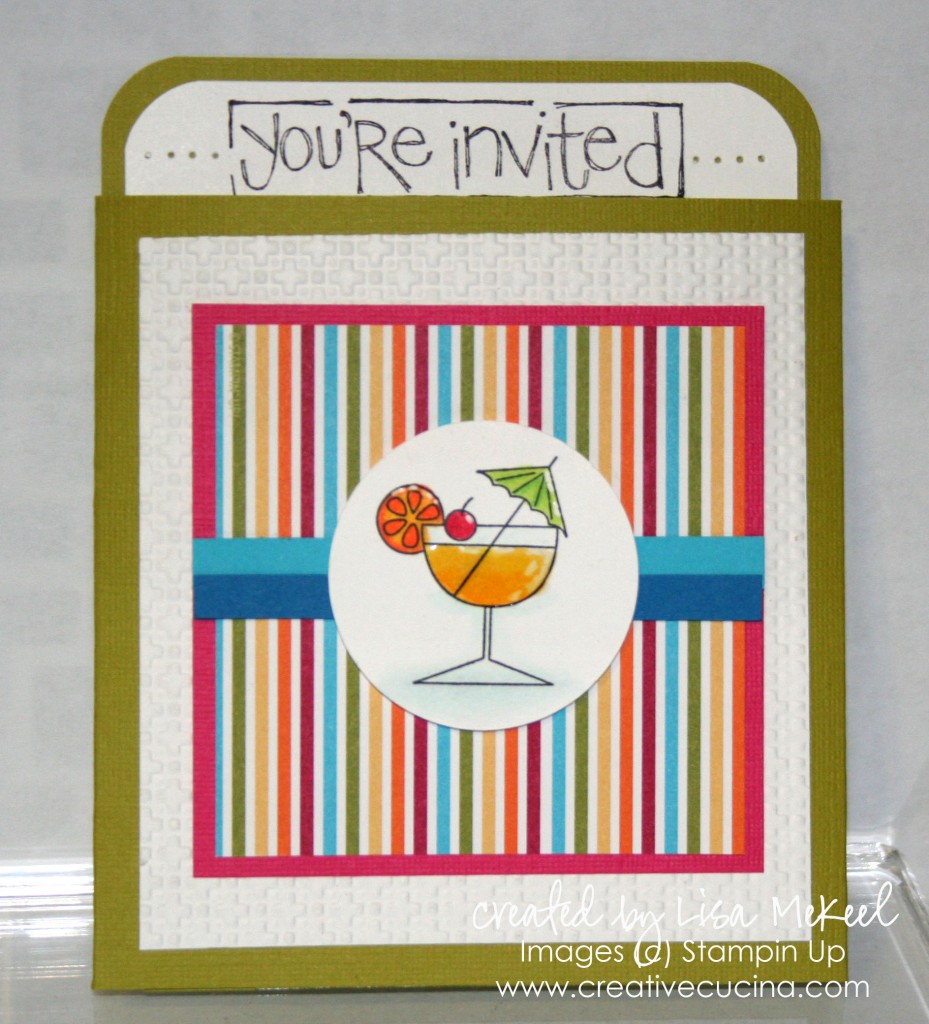
Stamps: Cheers to You, non SU invitation stamp; Card stock: Kiwi Kiss Textured, Whisper White, Melon Mambo, Island Oasis DSP, Tempting Turquoise, Pacific Point; Ink: Memento Black; Accessories: Copic Markers, Crystal Effects, Signo White Gel Pen, 1 3/4″ Circle Punch, Square Lattice Embossing Folder, Big Shot.
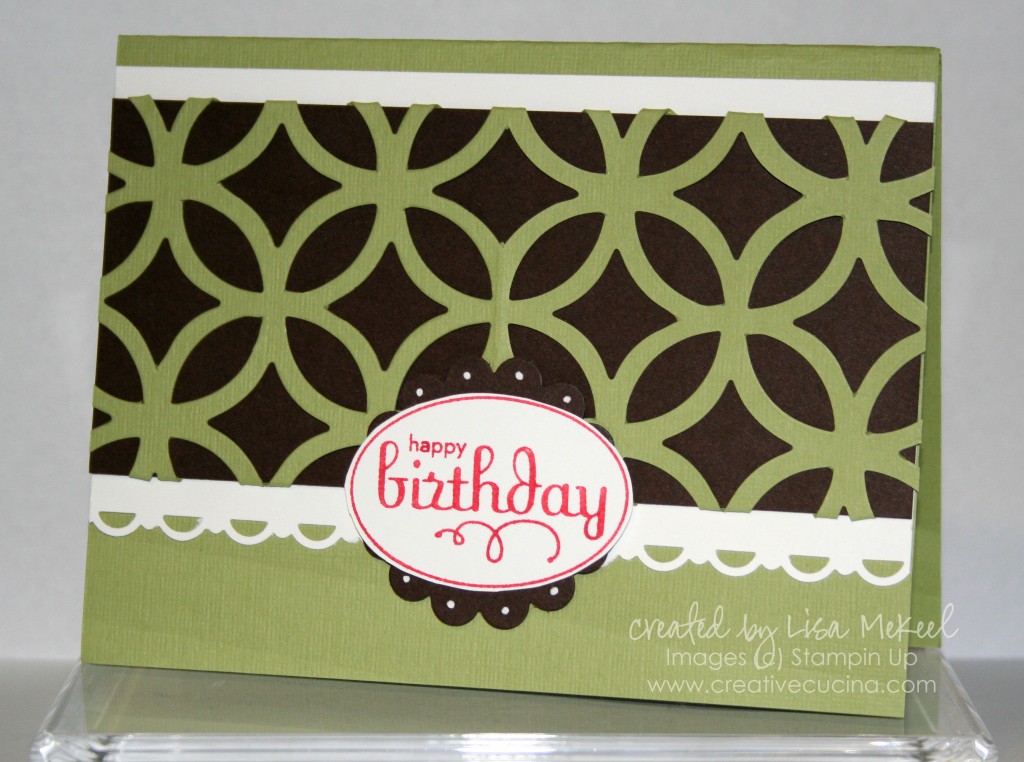
Stampin Up Lattice Cards {Big Shot}

This idea was cased from Connie Collins. I love the look of the Bigz Lattice Die, I just wish it made a bigger piece! In order to make the lattice image span across the entire front of the card, I simply folded my Pear Pizzaz (In Color) card stock in half, placed it on the die, keeping the fold just slightly below the edge of the blades, and ran it through the Big Shot.

I used SNAIL to adhere the lattice design to the Early Espresso base, but you could also use Mini Glue Dots. I cut off the overhang of the lattice design with my paper cutter to give it a really clean look. That was layered onto a wider strip of Whisper White that I used the Scallop Trim Border Punch along the bottom.

The card base is Pear Pizzaz. The sentiment is from Perfect Punches, stamped in Poppy Parade ink and punched out with the Wide Oval Punch. I layered it onto a scalloped Early Espresso circle, made with the Scallop Circle Punch. I added white dots with the Signo Gel Pen and adhered it to the base with Stampin Dimensionals.

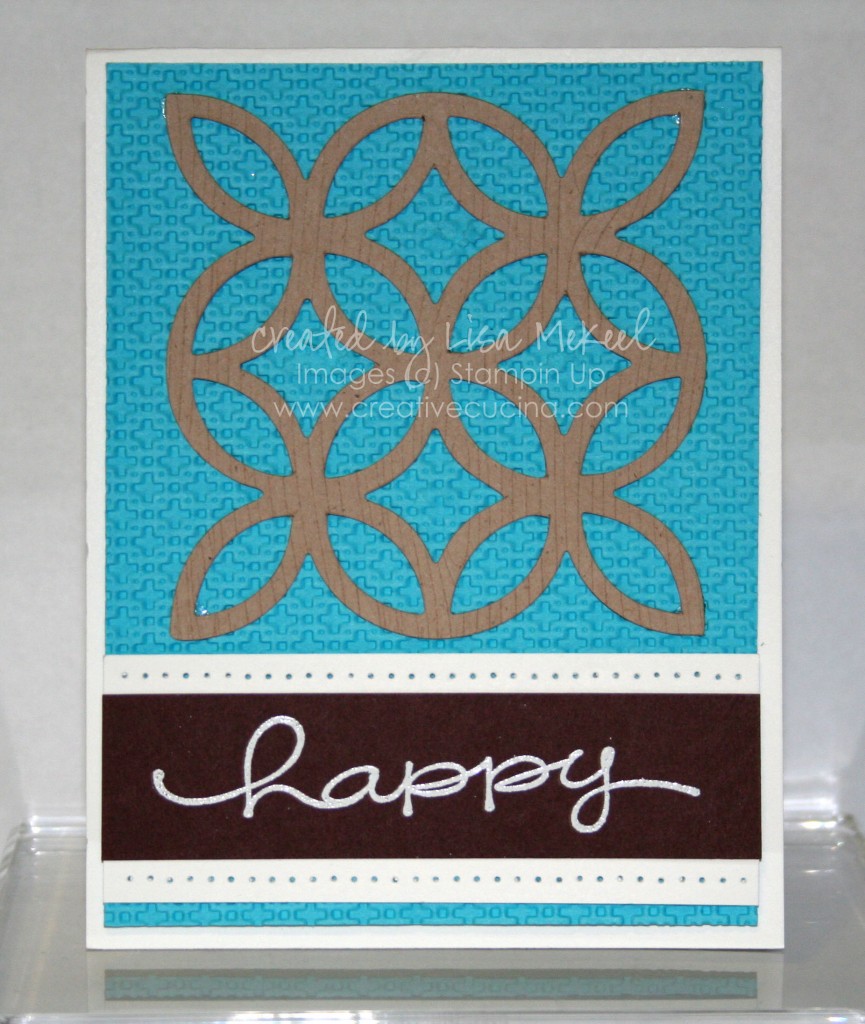
This next card reminds me of being in Aruba or Hawaii–it’s very tropical without trying to be. The card base is Whisper White, with a top fold. I used the Square Lattice Embossing Folder to emboss the Tempting Turquoise card stock and adhered it to the base with Stampin Dimensionals.

Next, I stamped a piece of Crumb Cake (Kraft) card stock with the Woodgrain Background stamp in Crumb Cake ink. That was then put through the Big Shot using the Lattice Bigz Die and attached to the card with Mini Glue Dots.

Underneath, on Chocolate Chip card stock, I stamped “happy” from Happy Everything in Versamark and heat embossed it with White Embossing Powder. I layered that onto a wider strip of Whisper White and with the Paper Piercer, pierced holes along the top and bottom edge before attaching it to the base with Stampin Dimensionals.

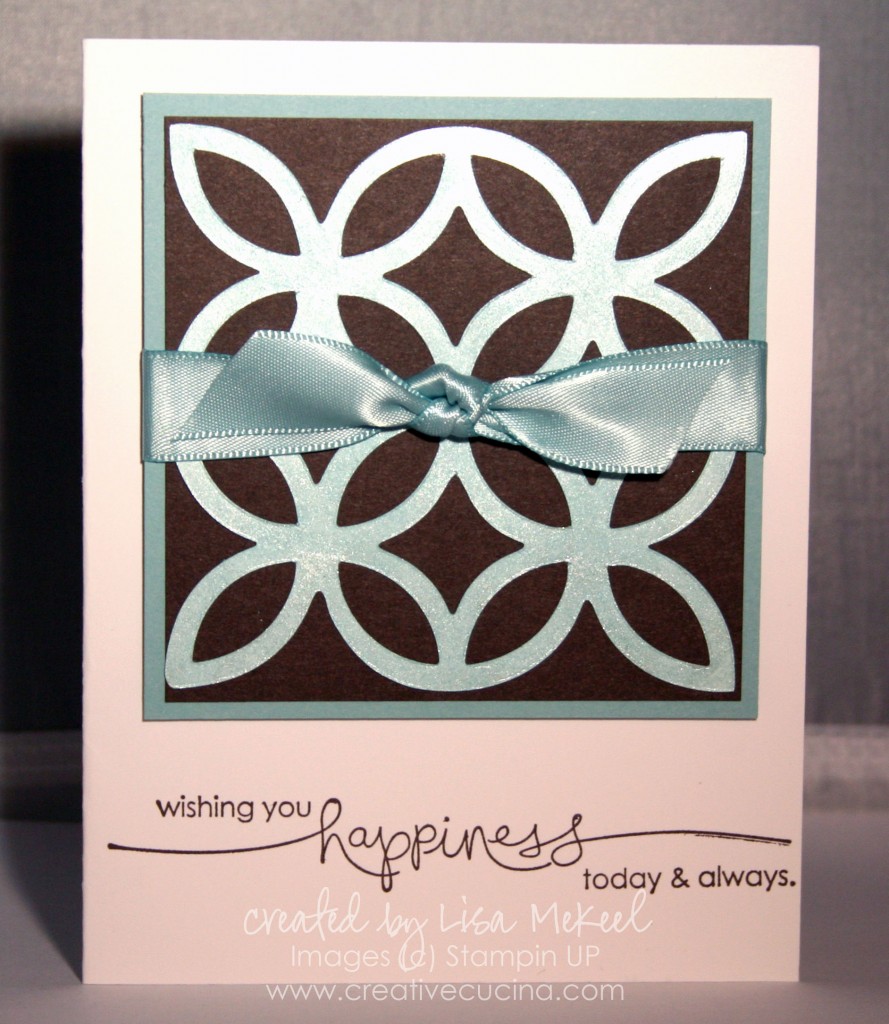
This picture is terrible but it was late and I was in a rush to get this posted so here it is anyway. The card base is Whisper White and I stamped the sentiment from Heard from the Heart directly onto the base with Early Espresso ink.

Above that, the lattice image was made by running Whisper White card stock through the Big Shot with the Lattice Bigz Die and then sponging it with a mixture of Baja Breeze Reinker and Frost Shimmer Paint. I layered it onto a square of Early Espresso and then a slightly larger square of Baja Breeze card stock. The ribbon is from Valet Originals (retired) but it’s Baja Breeze satin ribbon. All of that was attached to the base with Stampin Dimensionals.

Splitcoast Sketch Challenge {Chic Boutique}

This was the weekly Wednesday Card Sketch from Splitcoast Stampers. I have only participated in a few challenges so far, but when one catches my eye, I jump into it.

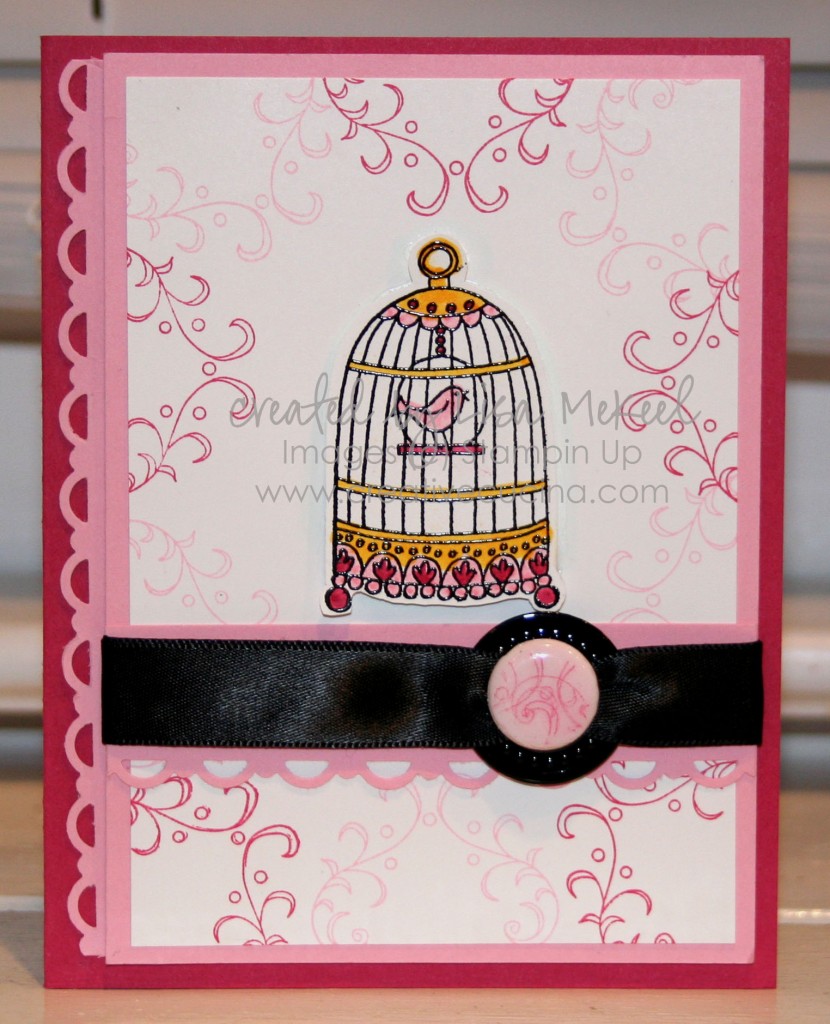
The card base here is Rose Red. I layered it with Pretty in Pink and Whisper White. The Pink panel is cut to 3 3/4″ x 5 1/4″ and the White is 3 1/2″ x 5″. I popped it up with Stampin Dimensionals and added a strip of Pretty in Pink cut with the Scallop Trim Border Punch along the left side of the card.

I stamped the bird cage from Chic Boutique on the Whisper White and then stamped it again on White scrap in Versamark and heat embossed it with Black Embossing Powder. Then, I colored it in with Stampin Up Markers and attached it to the card with Stampin Dimensionals.

Around the edges of the Whisper White, I also stamped the filigree stamp from Chic Boutique in Pretty in Pink and Rose Red. I love using that stamp as sort of a background stamp!

Underneath the bird cage, as per the sketch, I added a strip of Pretty in Pink that I punched with the Scallop Trim Border Punch and wrapped Black Satin Ribbon through a Large Black Grommet.

Instead of piercing the grommet through the paper, I just folded back the tabs on the underside of the grommet with my Bone Folder. This way, I can use it more like a ribbon slide than a grommet. I looped both ends of the black ribbon through the hole of the grommet and then pulled each end around the back of the card stock, adhering it with SNAIL.

The 5/8″ Basic Brad in White was sponged with Pretty in Pink ink, then stamped with the filigree image in Rose Red ink. Next, I dipped the brad head in Glassy Glaze and heated, repeating once to get a more even coating of shine. I slipped that into the grommet hole and put a Glue Dot behind the brad to keep it from sliding around.

Bad Behavior has blocked 260 access attempts in the last 7 days.

css.php