Construction Truck Theme Boy’s Birthday Party {My Digital Studio}

I used My Digital Studio (MDS) to create my son’s birthday invitations, decorations, and thank you cards. I used the Under Construction Birthday Ensemble download. This first one is the invitation I decided on, but I also made a few other versions using the ensemble.

Truck Birthday sample

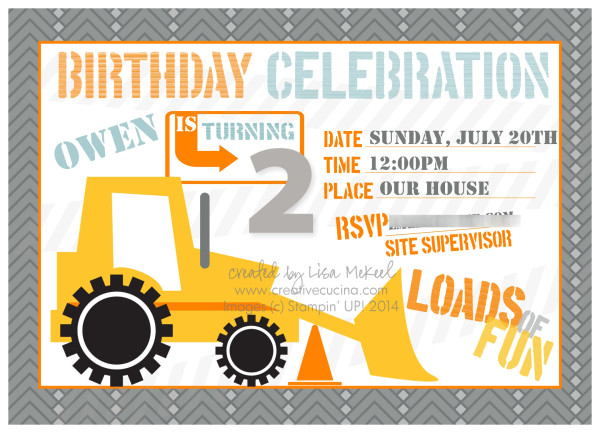
Here is another option for the construction theme invitation.

Truck Birthday sample2

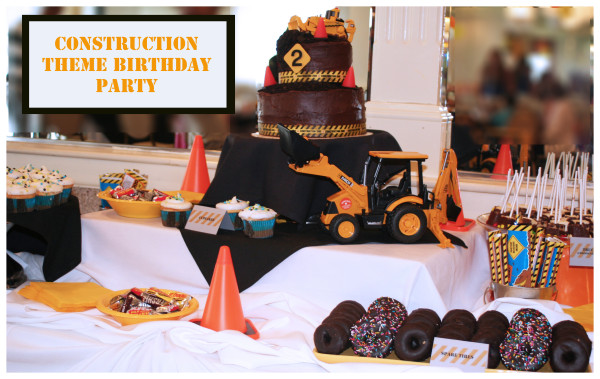
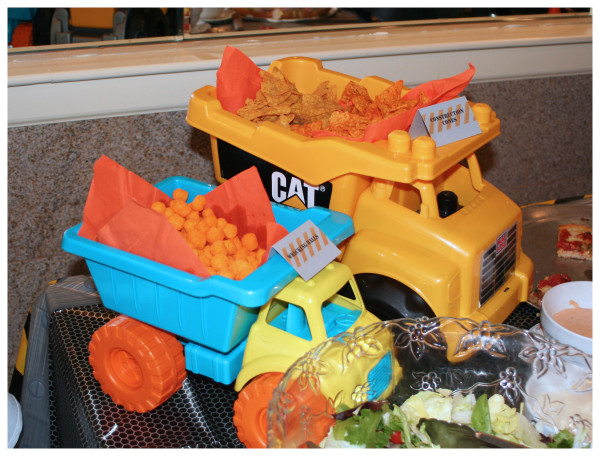
I made food labels in MDS also, printed on Soft Slate card stock. The font used was Stencil Std. We used trucks to hold the chips and snacks. I got many of the ideas on Pinterest.

truck party cake table

trucks

I jazzed up a banner I purchased by adding my son’s name on “tires”. I made the tires by making rosettes or accordion folded paper pinwheels with black card stock, scoring it every 1/2″, folding it back and forth. Each “tire” used one sheet of 8 1/2″ x 11″ card stock

truck party banner

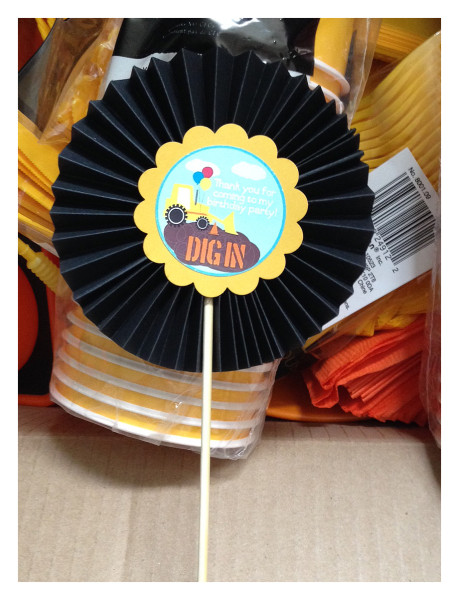
For the centerpieces, I filled little metal pails (from Target Dollar Spot) with candy and added another accordion fold pinwheel. Orange, white and yellow balloons were tied to the pails as well. I don’t have a picture of them in tact but this is the pinwheel. I printed the image in MDS also.

truck party pinwheel

My Digital Studio 2nd Birthday Party Invitations

I love using My Digital Studio (MDS) to create invitations. Sometimes I create a project digitally first and then copy it “in real life”. Other times, I print straight from the computer (as was the case with this year’s Christmas cards).  I’ve gotten really comfortable using the MDS program, and I find it allows me to be just as creative as if I were sitting at my desk surrounded by all my papers, ink, and stamps.

My nephew is turning 2 soon, and my sister asked me to make invitations for his birthday party. I made some samples for her using MDS, and I thought I would share some of them with you.

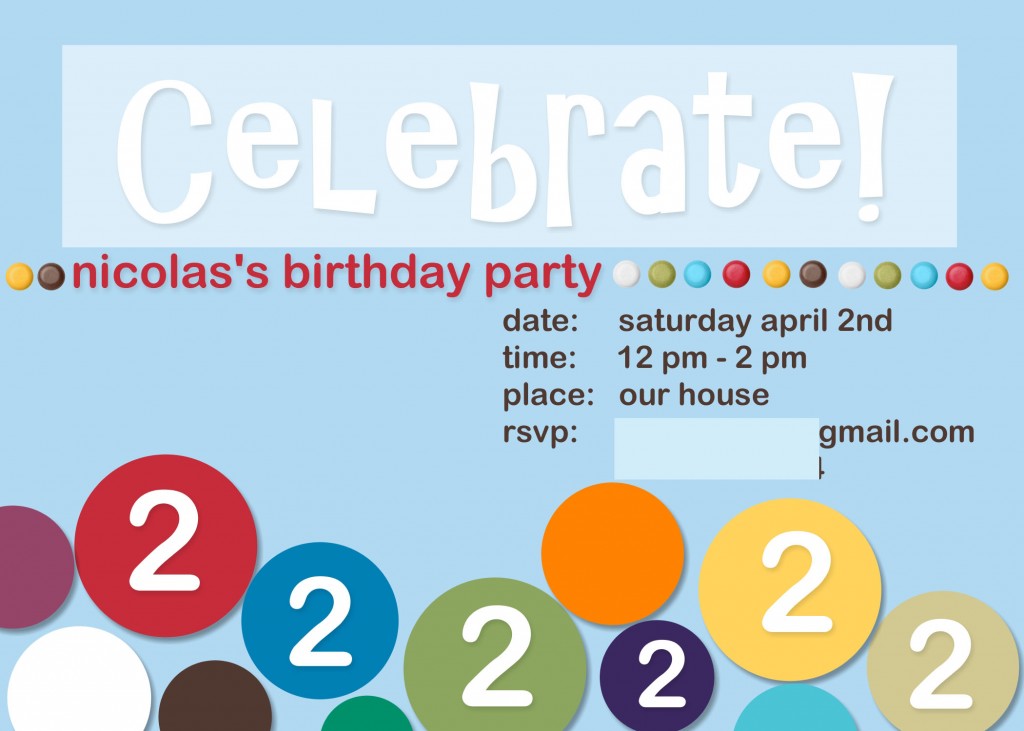
I love how bright and cheerful this one turned out!  To begin, I opened MDS and chose CARDS in the New Project Options, POSTCARD, 7″ X 5″ LANDSCAPE and the CREATE YOUR OWN option.  The background was made by choosing Bashful Blue card stock as the background. Then, I added a TEXT BOX and wrote “Celebrate”. To create that transparent box around the text, I added a PUNCH in the square shape, and stretched it out to frame the text. I chose to FILL the punch shape with Whisper White and then lowered the OPACITY to make it more transparent.

I added brads in coordinating colors from the EMBELLISHMENT menu, lining them up across the front of the invitation. Here is a tip: I always add a DROP SHADOW to my embellishments to give them the look of being 3D.

The party information was added using TEXT BOX again. Below that, I created the circles along the bottom by adding the CIRCLE PUNCH in various sizes–resizing, copying, and pasting as I went along. The colors were added using the FILL function, and I added DROP SHADOWS to them so they would pop off the page. In some of the circles, I added the number 2 using the TEXT BOX.

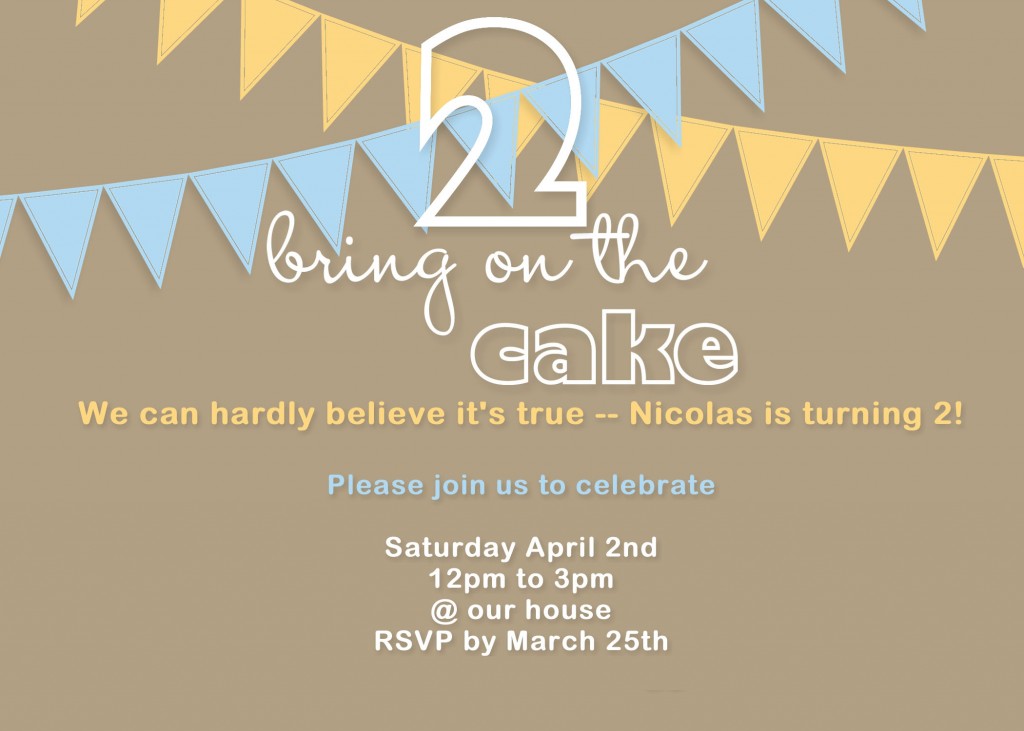
This invitation is a little more clean and simple. Personally, I liked this one very much but my sister did not. The number 2 and the “bring on the cake” digital stamps are from Bring on the Cake in the Occasions Mini Catalog and I LOVE LOVE LOVE IT. I’m a font freak and this stamp set has so many awesome fonts. I also ordered it in clear mount so I can use it for birthday cards and other projects too.

I made this the same way as the invitation above, except the background color is Crumb Cake card stock. The Celebrations Pennants are digital stamp images that come with the Celebrations Digital Kit. I chose Bashful Blue and So Saffron for the pennants.

The rest of the information was added using the TEXT BOXES and that’s it. Quick and easy, modern, but fun. I could see changing the blue to pink and it would make a sweet little girl’s birthday invitation.

My Digital Studio {First Birthday Invitations}

I am working on some invitation ideas for 1st birthdays. This round is for boys, and I’m going to come up with some for girls as well.

I like to start by looking at online invitation sites for ideas and layouts, then using the My Digital Studio program (MDS), I make my own version.

Sometimes I will make the design by hand and sometimes I’ll print it out on card stock or glossy card stock. Of course I prefer the 3D handmade version most times, but sometimes both are nice.

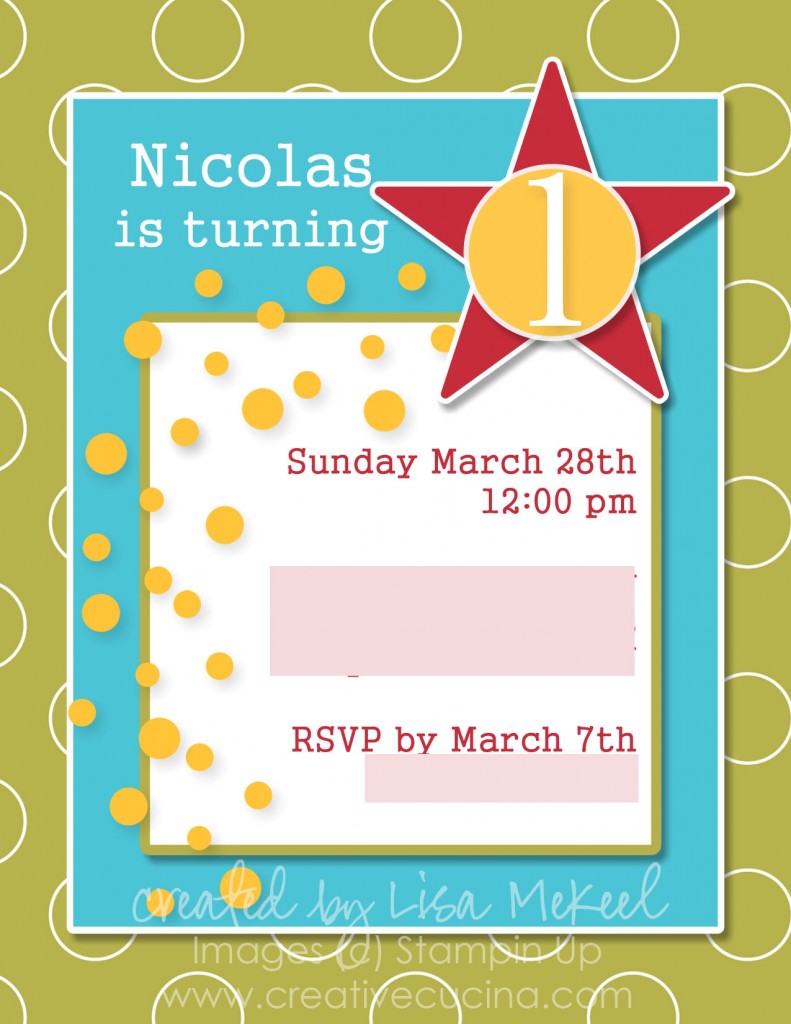
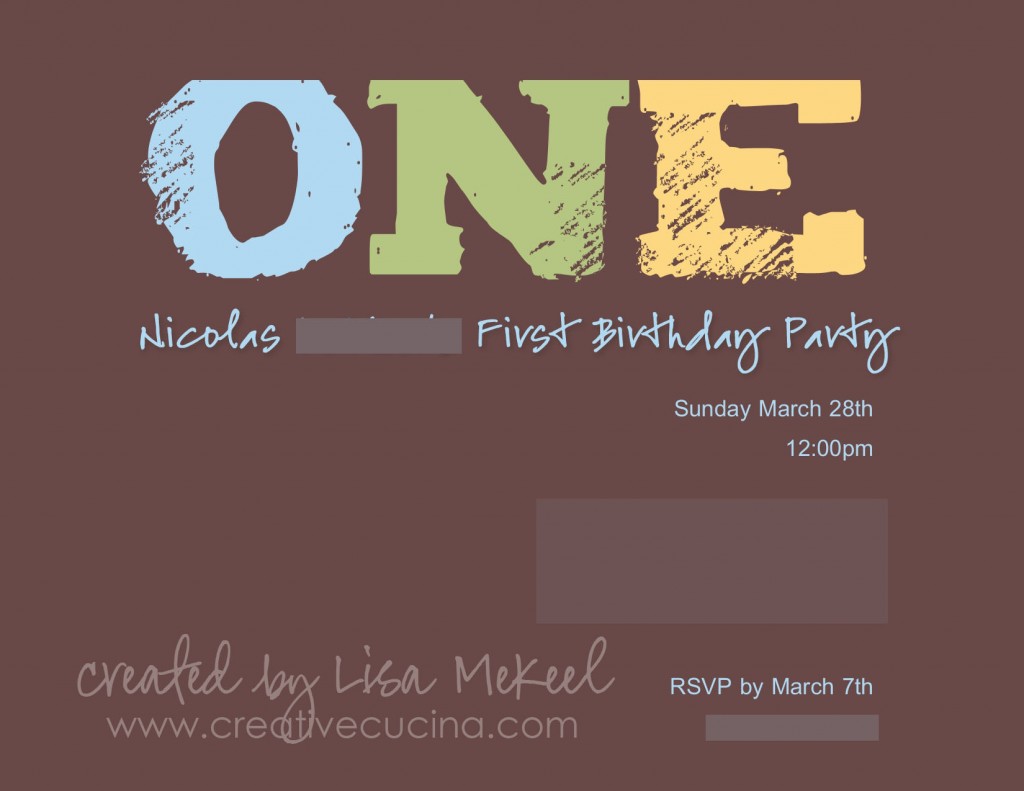
Version 1: Created in MDS using Hoppy Memories DSP, tempting turquoise, star punch, circle punch, serif numbers, big bold birthday


Version 2: Based on design from tinyprints.com. Created in MDS with chocolate chip background, TIZA font in bashful blue, certainly celery, and so saffron.


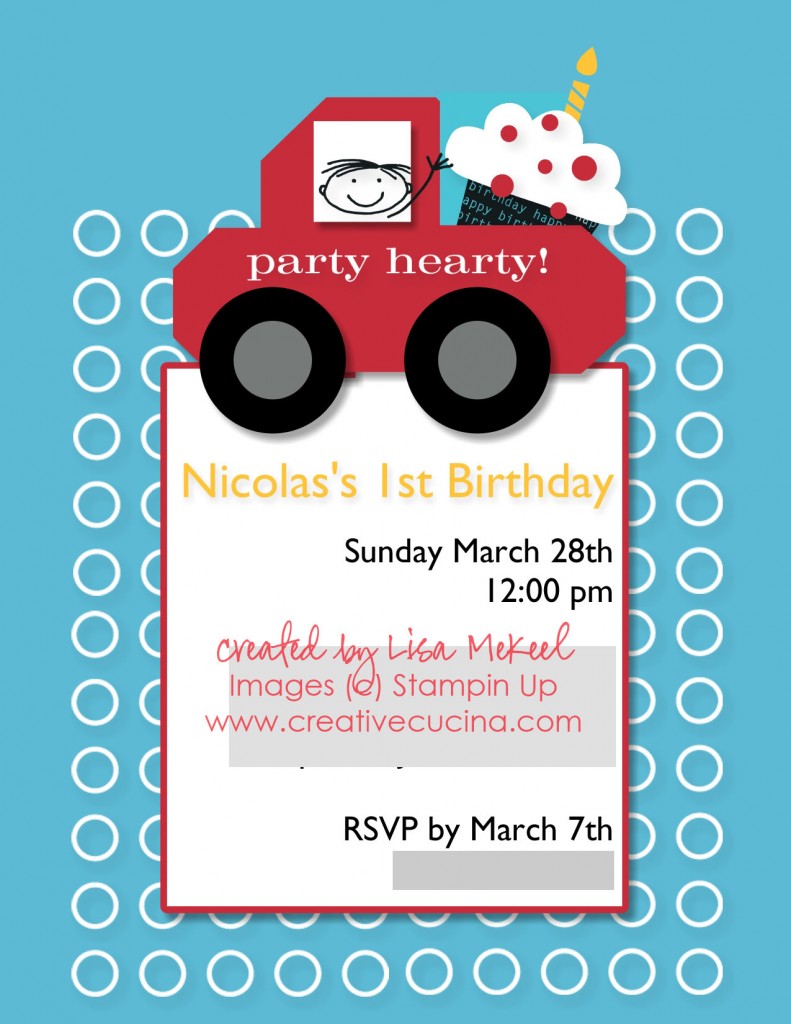
Version 3: Created in MDS using tempting turquoise background, Big Bold Birthday circles; truck made from tag punch, circle punch, square punch; All in the family stamp set


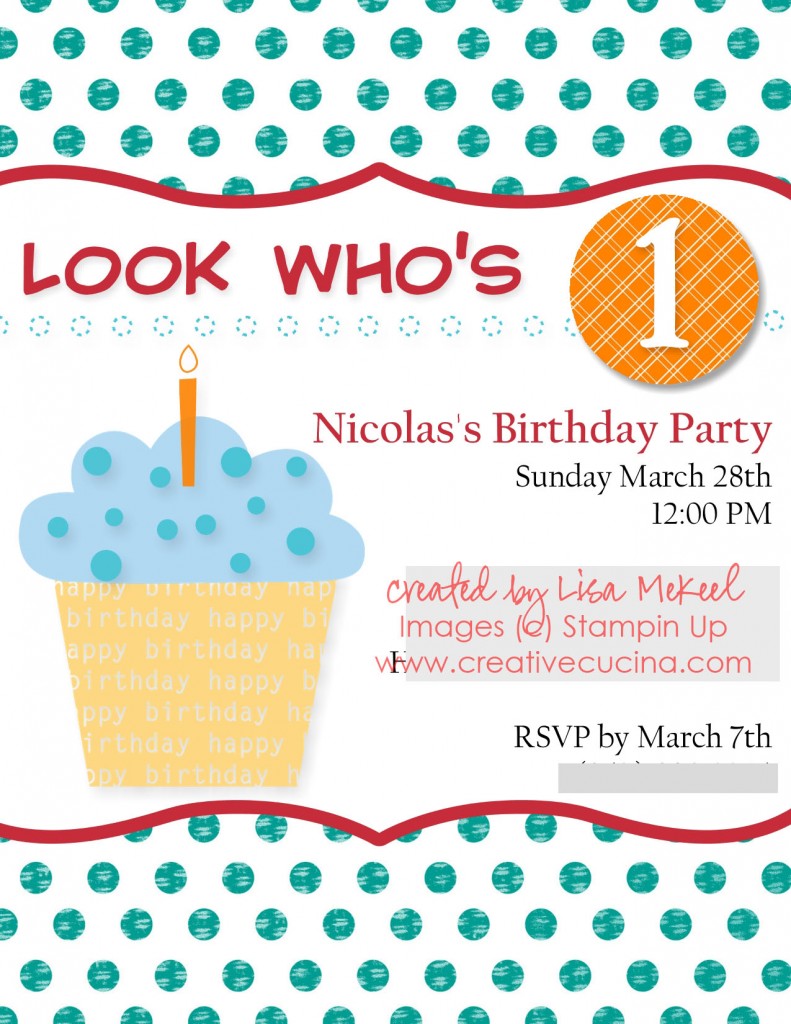
Version 4: MDS created using My Sweet Pea Digital Kit, Curly label punch, circle punch, big bold birthday.

Bad Behavior has blocked 473 access attempts in the last 7 days.

css.php