Dasher Christmas Cards

IMG_1029 copy

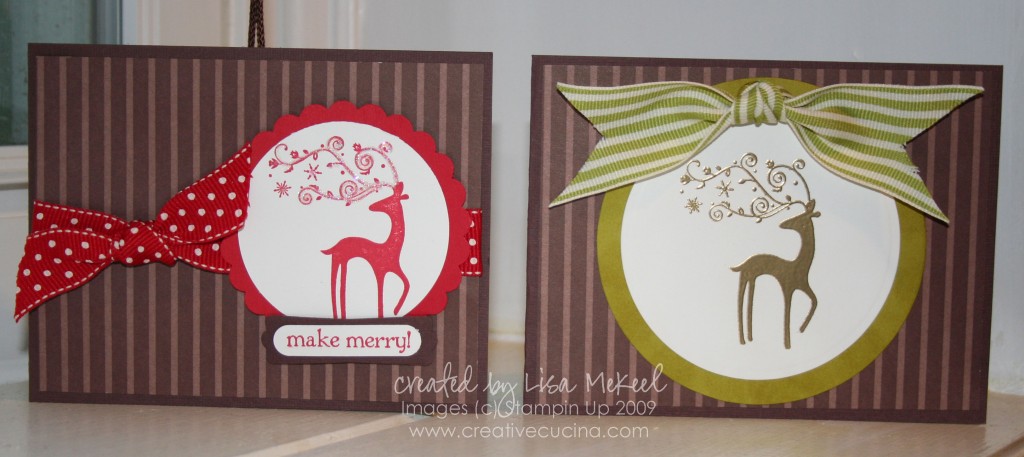
This Dasher reindeer is my new favorite image. I ordered the Decor Element as part of my hostess benefits and I plan on putting it in a frame as shown in the catalog. As soon as I do that, I’ll be sure to post pictures! For now, these cards will have to do.

IMG_1024 copy

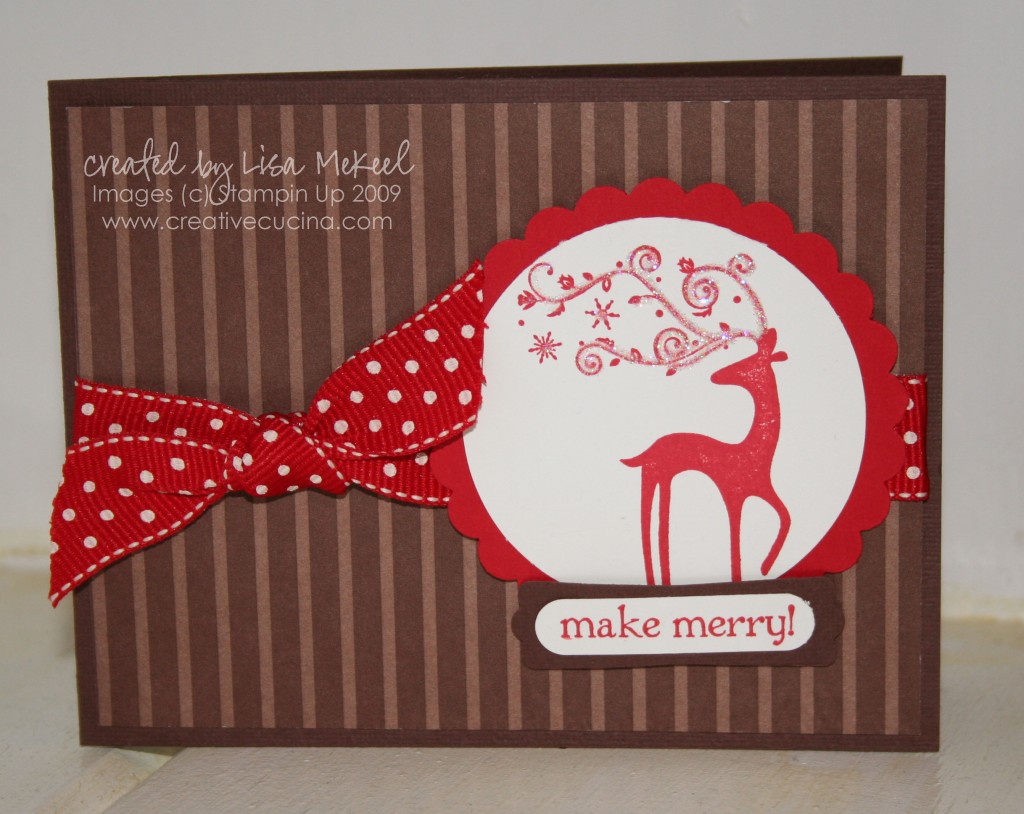
The above card uses chocolate chip card stock for the base, layered with Chocolate Chip DSP in a striped pattern. I stamped Dasher in Real Red in on whisper white and punched it out using a large circle punch. Behind that, I layered real red card stock punched with the giga scallop punch.

I traced the reindeer’s antlers with my fine tip glue pen and sprinkled on Dazzling Diamonds. Then, I stamped “make merry” from Berry Christmas in real red ink on whisper white. I punched it out using the Word Window Punch, layered with chocolate chip Modern Label Punch.

Lastly, I tied some Real Red polka dot grosgrain around the front, with the knot over on the left side.

IMG_1027 copy

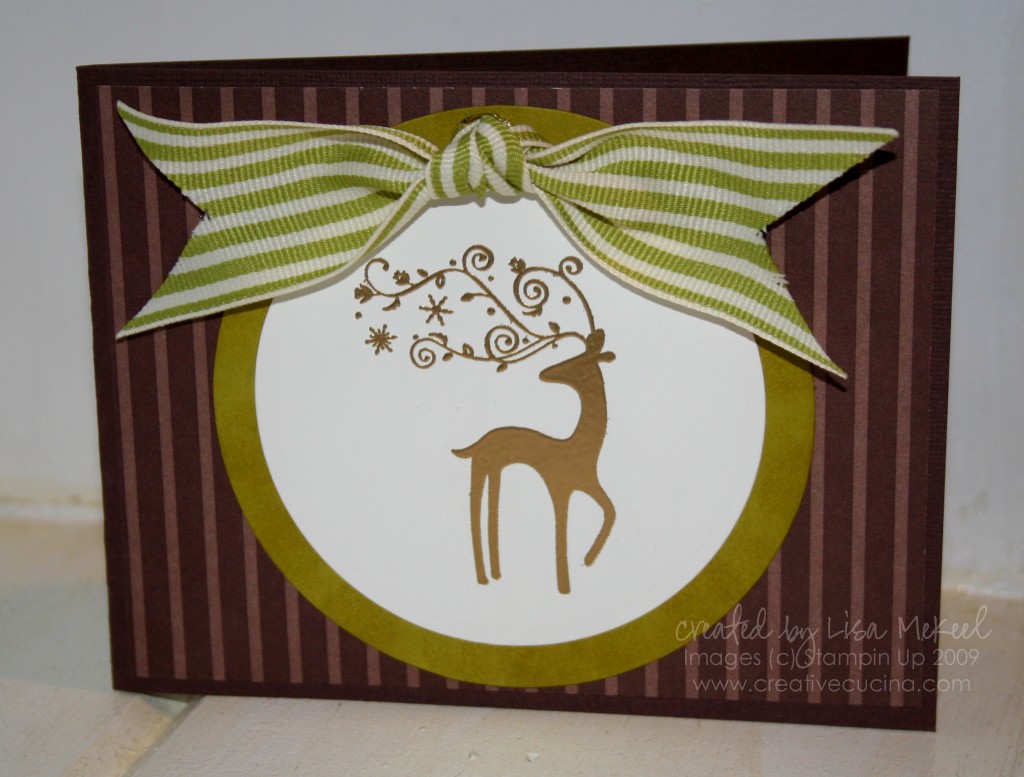
The second card uses the same base card stock and DSP. This time, I stamped Dasher in Versamark and heat embossed it using Gold Embossing Powder. Then, using Nestabilities, I cut/embossed the white circle around the stamped image. That was layered on kiwi kiss card stock cut with a larger Nestabilities circle die and the edges sponged with Kiwi Kiss ink.

At the top of the card, I tied some Old Olive 1 1/4″ Striped Ribbon in a knot and attached it to the base with a glue dot. I also put small glue dots behind each “tail” of the bow to keep it lying flat.
One of the Contenders for this Year’s Christmas Card

I REALLY like how this turned out. While I wait for my Ornament Punch to come, so I can make a card like this, I’m playing with what I do have on hand.

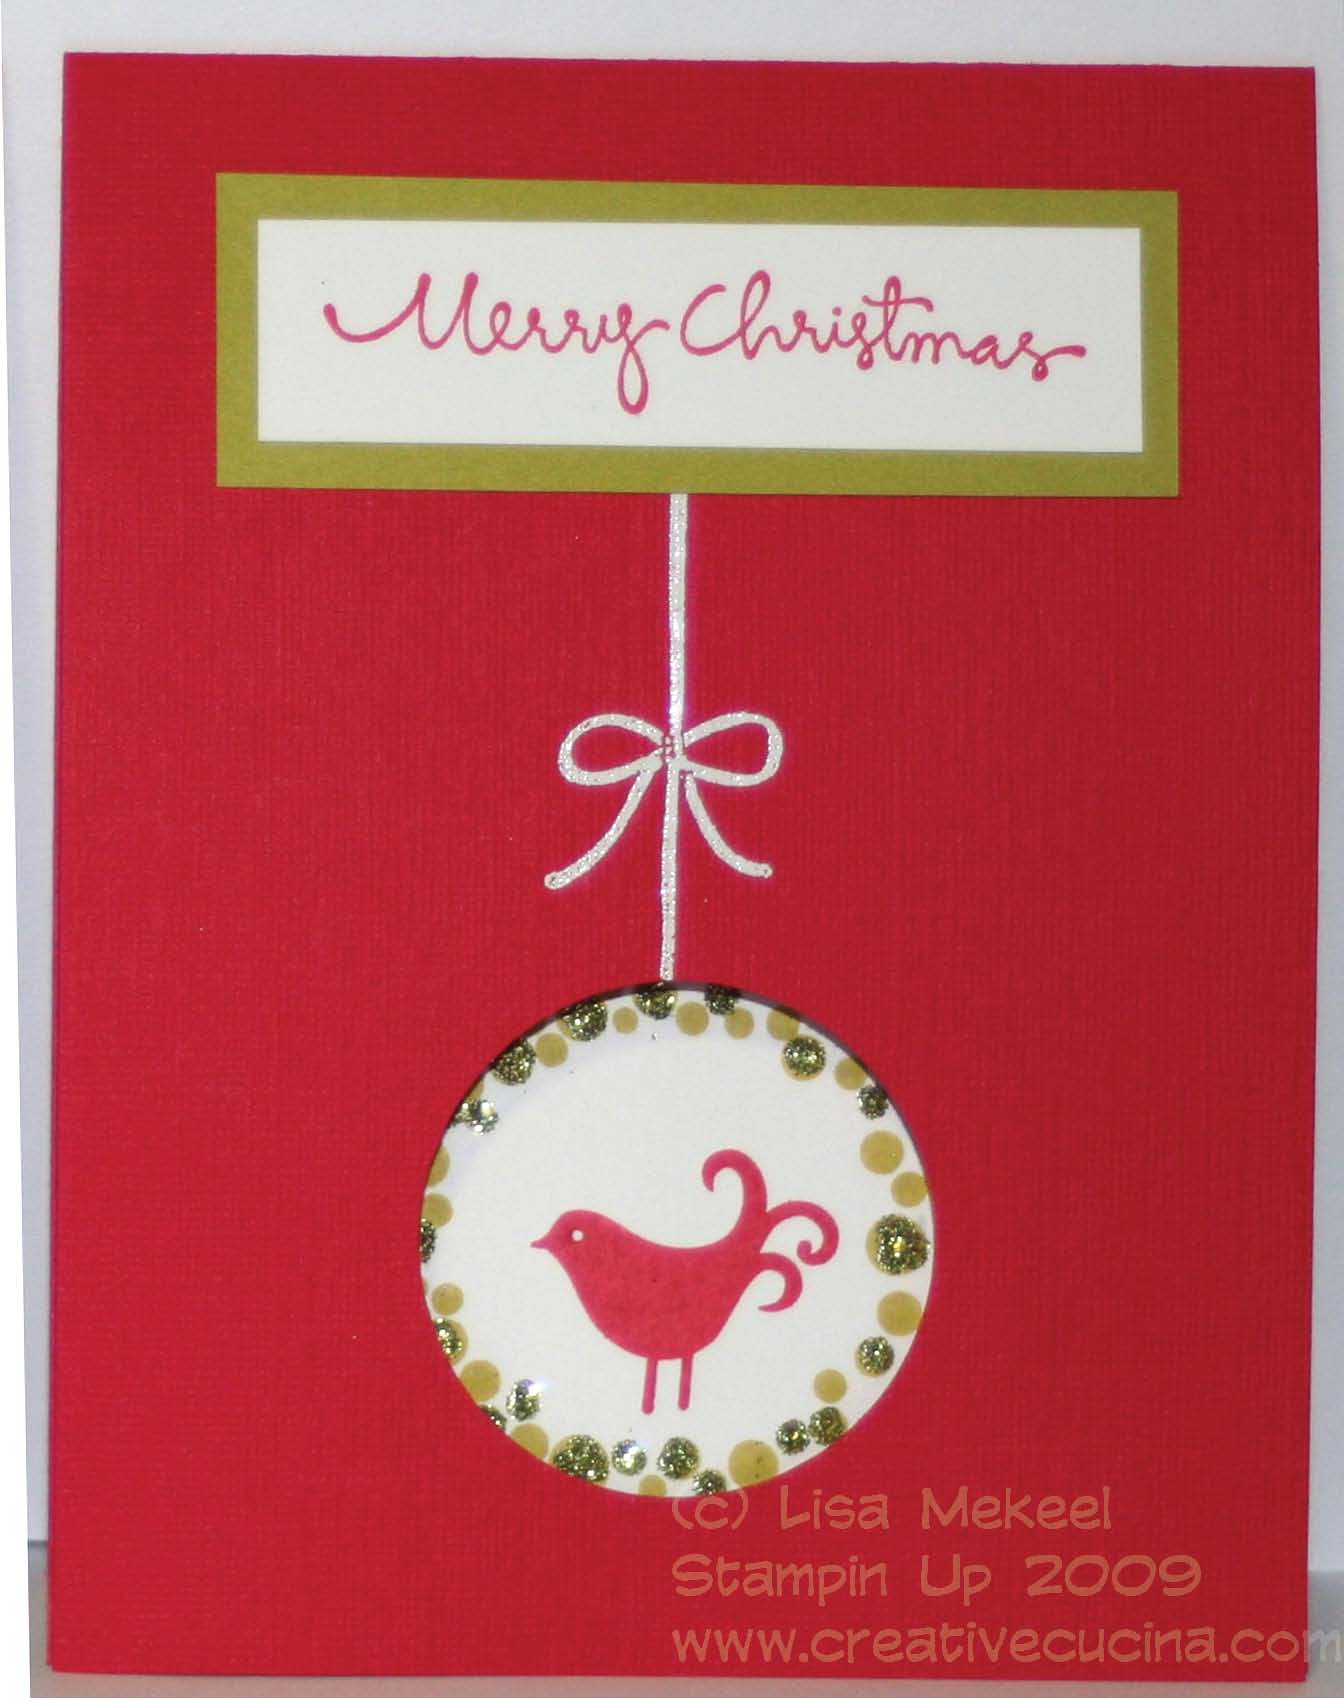
The base is Real Red Textured card stock, with a top fold. I punched out the circle window using my 1 1/4″ Circle Punch. Then I stamped the string/bow from Berry Christmas in Versamark and heat embossed it using White EP. At the top, I stamped Merry Christmas, from Christmas Greetings in Riding Hood Red on Whisper White. Then, I layered it onto a piece of Kiwi Kiss card stock and attached it to the card front.

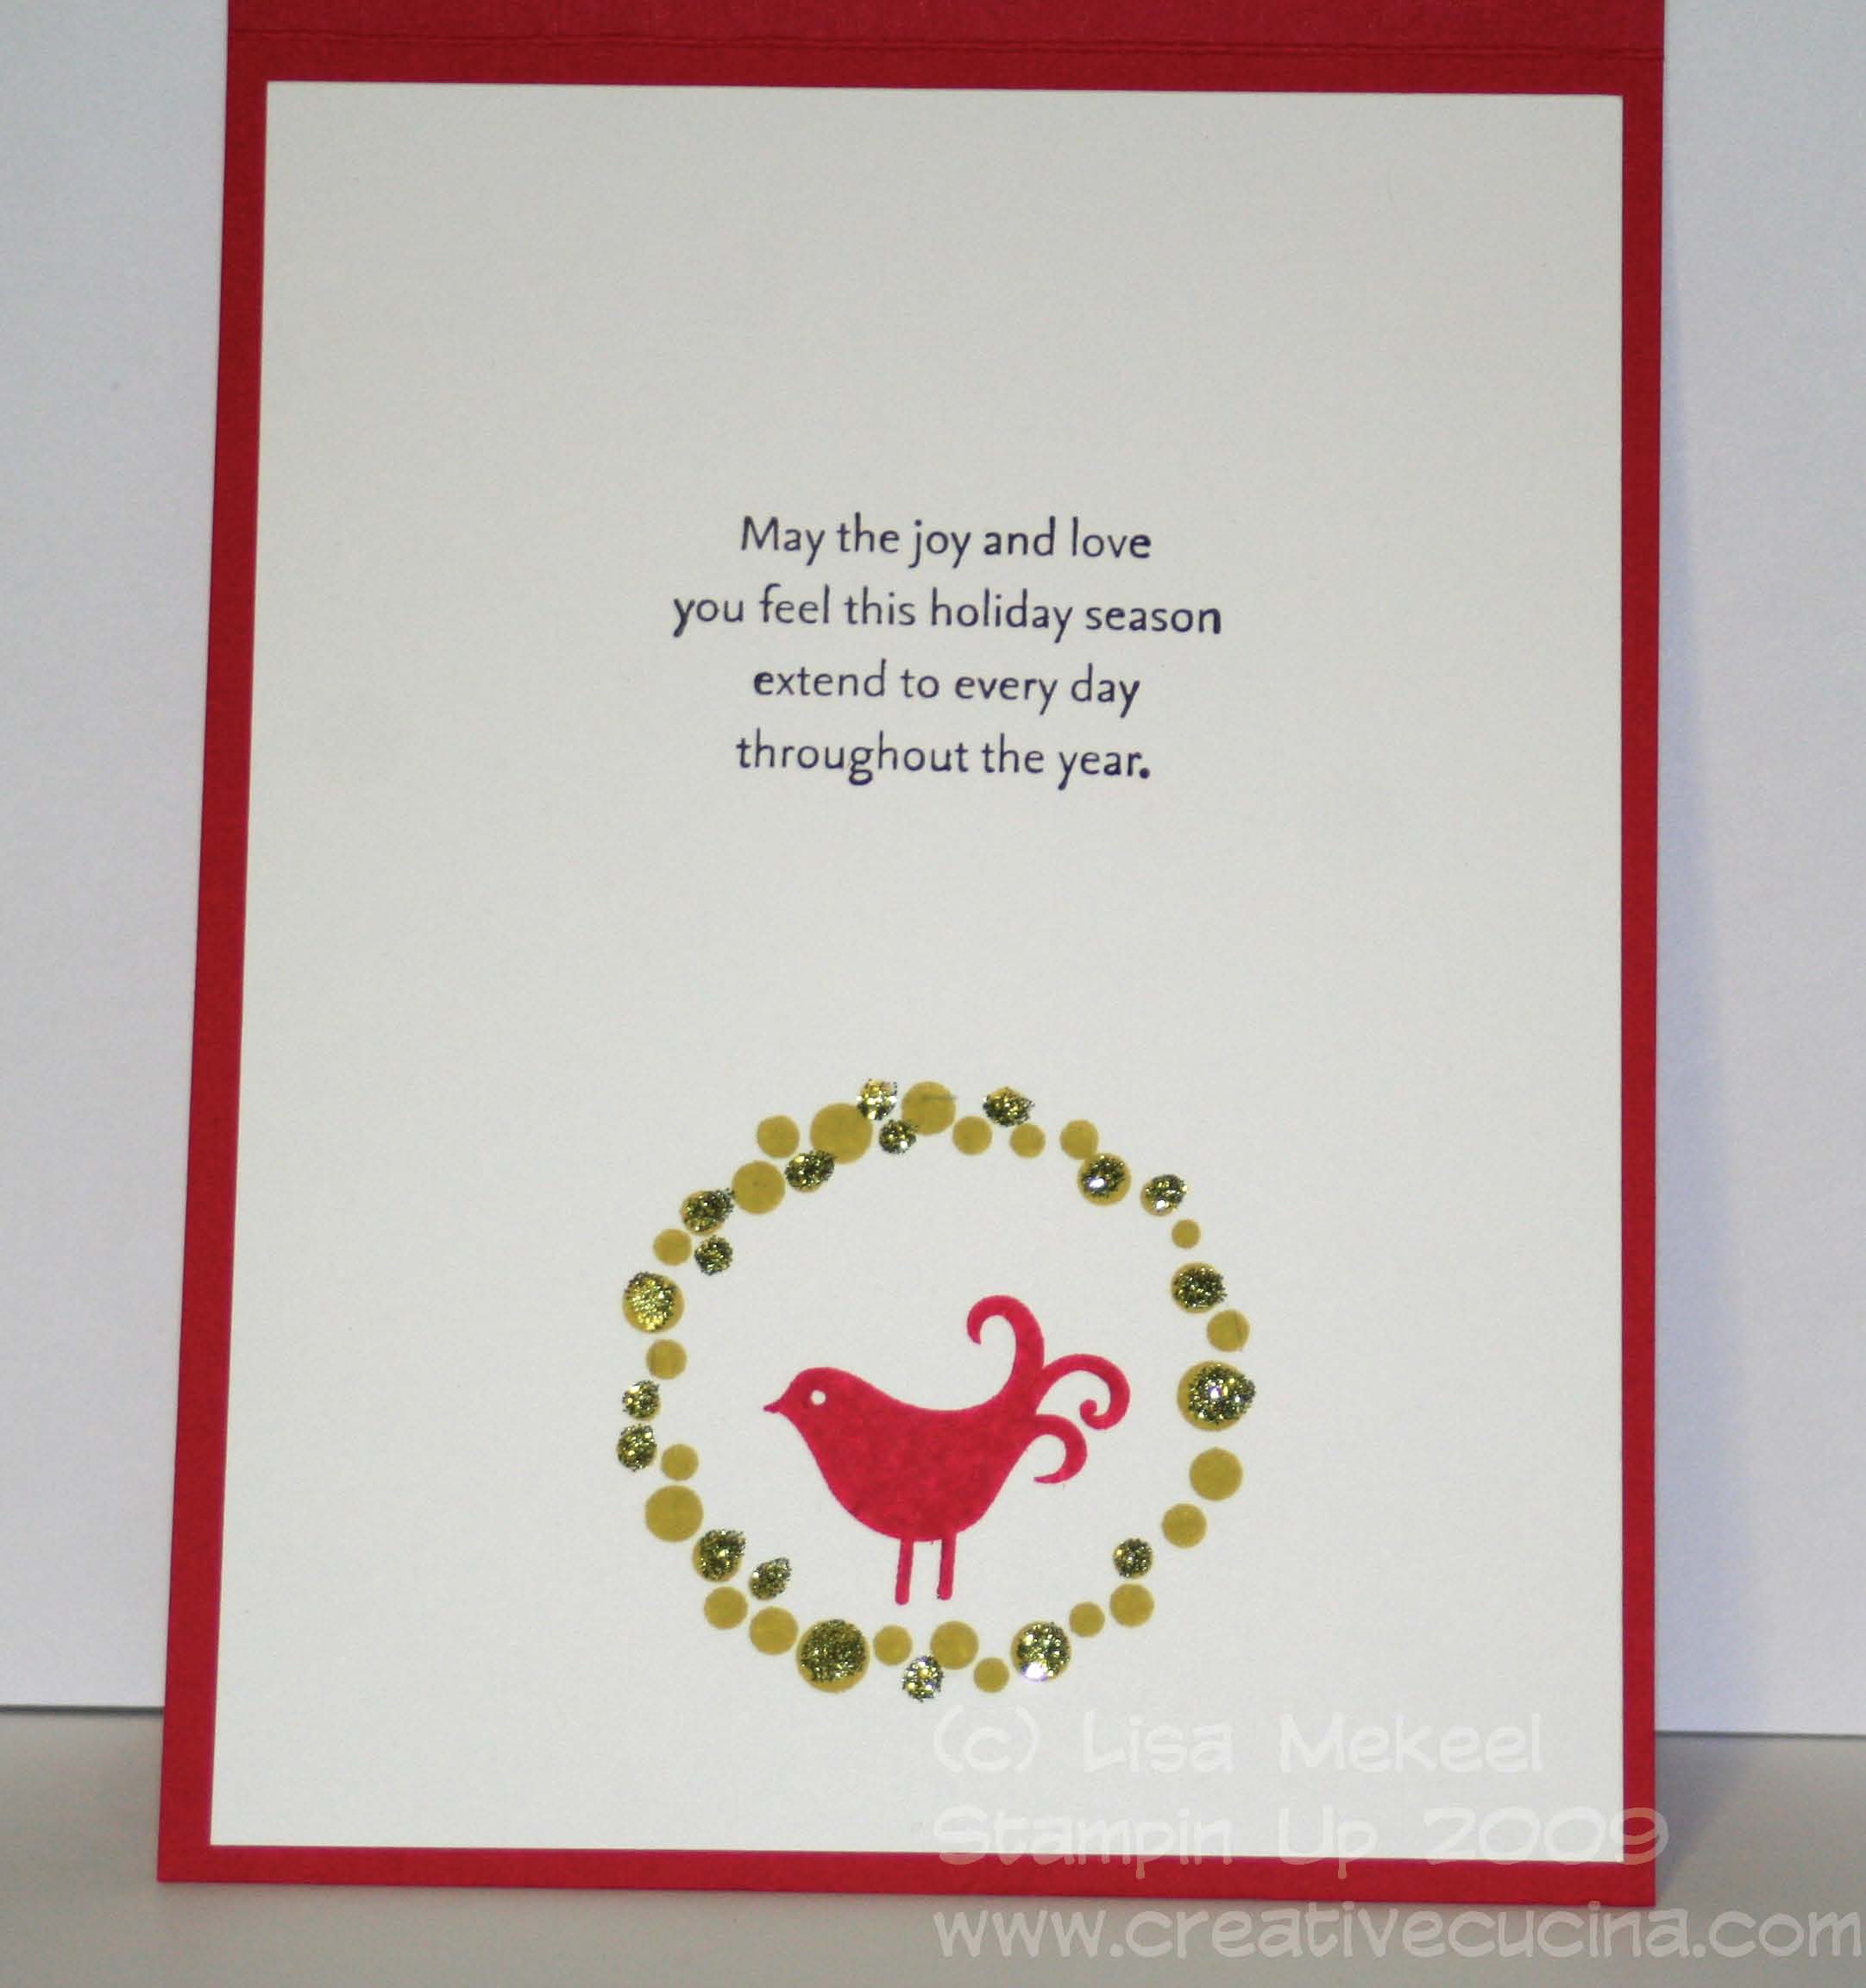
Inside, I layered a piece of Whisper White cut to 4″ x 5 1/4″.  To get correct placement of the wreath, I closed the card and made small marks with a pencil inside the circle. Then, open the card and stamp the wreath inside your guide marks using Kiwi Kiss ink. I LOVE adding glitter to this wreath (see another card I made here). Using a glue pen, add some glue to random spots around the wreath, then using green Superfine Supernova Glitter, sprinkle it on and WOW! Inside the wreath, I stamped the bird in Riding Hood Red ink.

The sentiment inside is also from Christmas Greetings, stamped in Basic Black. If I were trying to be super fancy, I would probably wipe off some of the black using a Qtip and color specific words red and green but it was late and I wasn’t feeling super fancy!

For those of you looking for Christmas card ideas, this is really very simple to do in bulk and has lots of Wow factor for such little time and effort. It’s a serious contender for my cards this year. I may add a wallet size photo of my daughter inside the front cover so when you flip it open you will see it.

Golden Ornaments

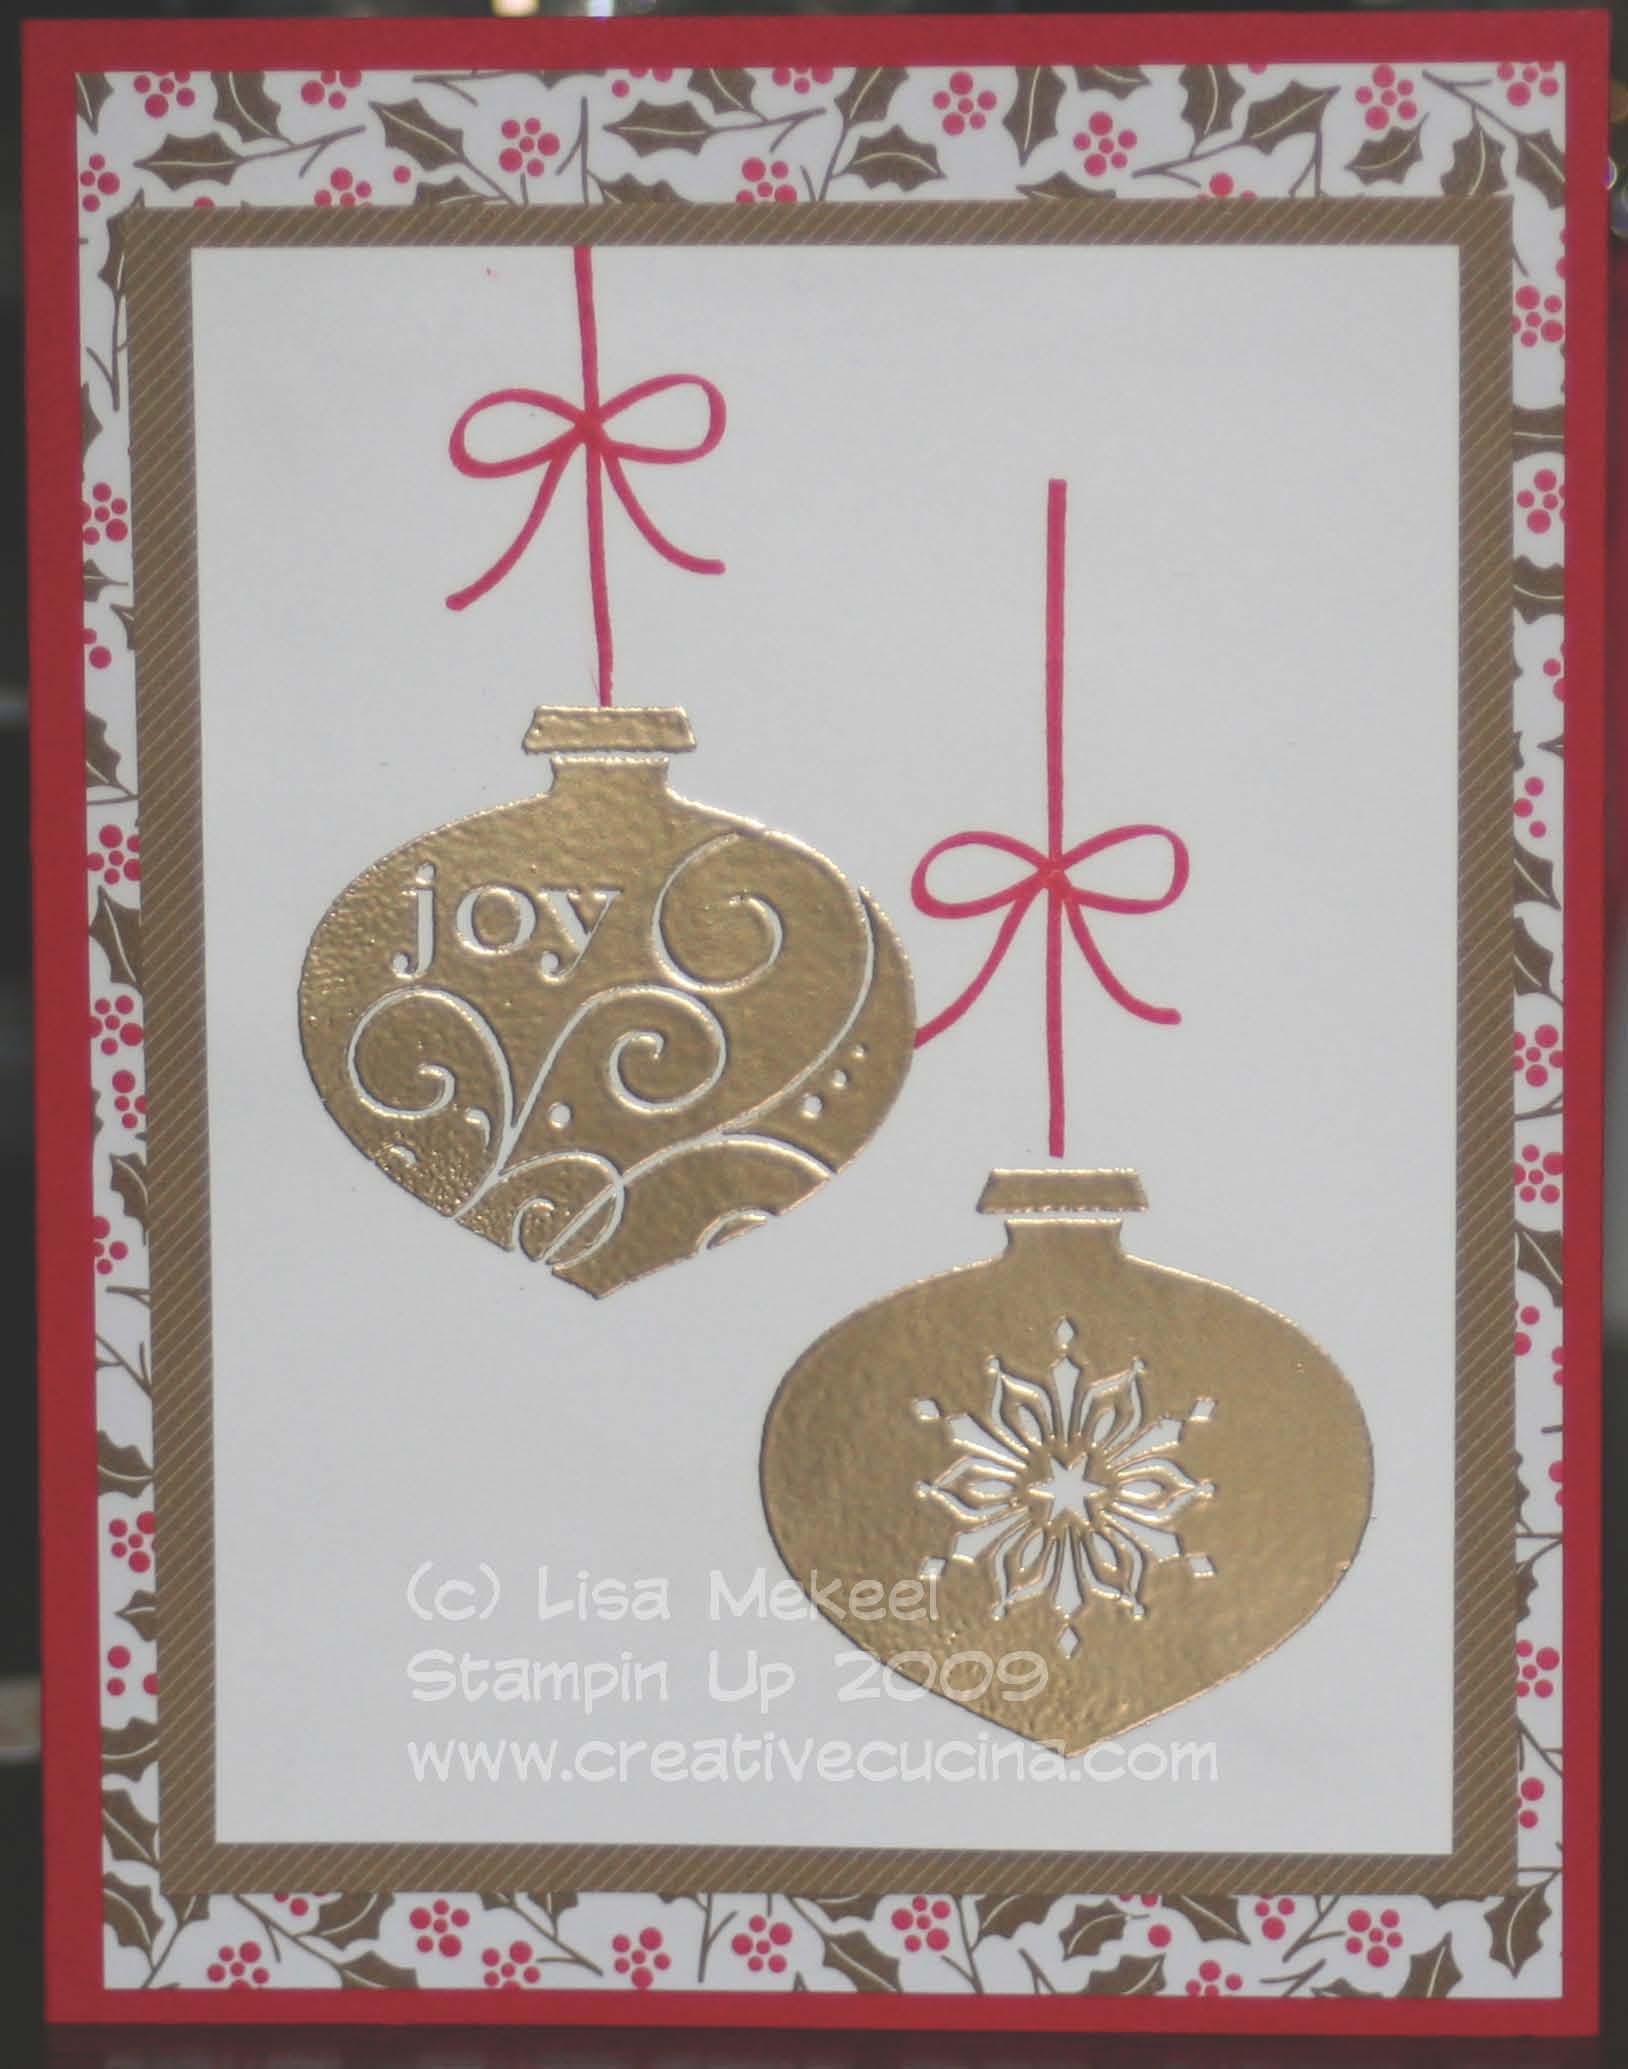
I have a feeling I’m going to be skipping over Fall cards and crafts this year because the Christmas stuff from SU is just so cool! This stamp set is called Delightful Decorations. I stamped the ornaments on Whisper White with Versamark and embossed them with Gold Embossing Powder. The bow/string stamp is from Berry Christmas but I think it goes great with this set too! I stamped the string in Riding Hood Red ink.

The card base is Real Red, layered with two pieces of Christmas Cocoa DSP. The DSP is so beautiful–many of the papers have a shimmery effect and the Soft suede looks almost gold in some of the papers.

Bad Behavior has blocked 385 access attempts in the last 7 days.

css.php