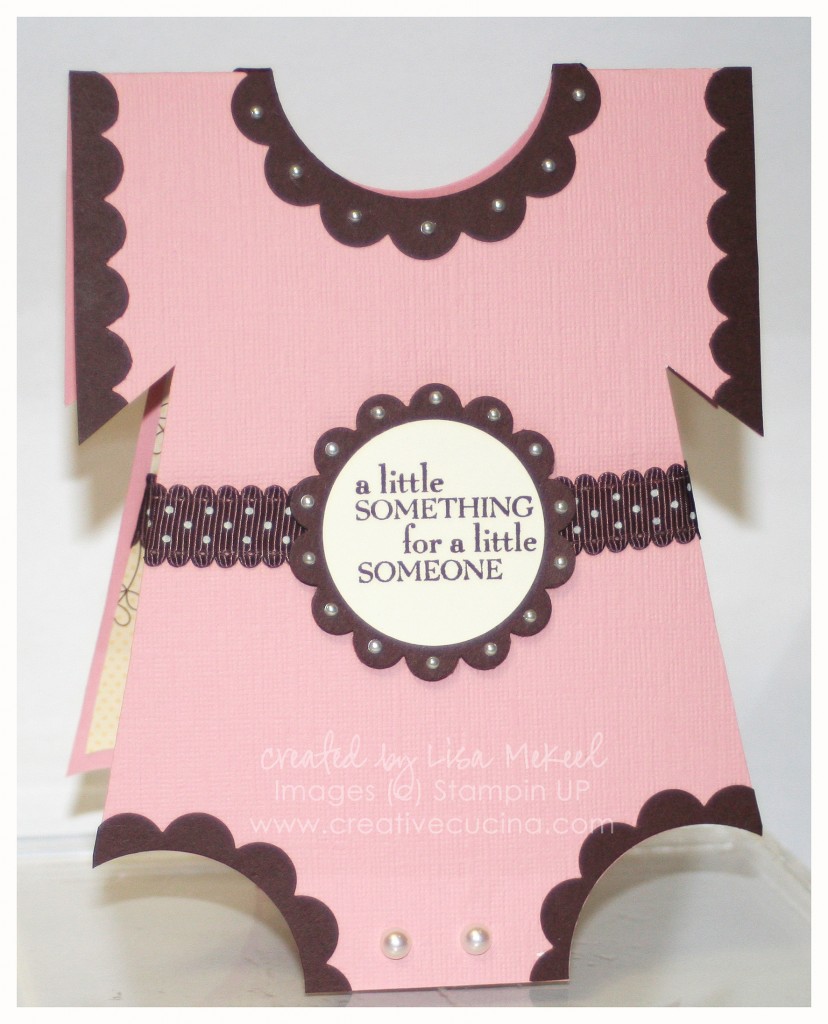
Here is a cute card idea for a baby shower or baby gift. My friend Cindy had a baby girl a few months ago and this was the card I gave her. I found some tutorials available online, but in the end, I just eyeballed it and made my own version of the Baby Onesie card.
I started with a standard size card–Blushing Bride textured card stock cut to 4 1/4″ x 11″ folded in half. Then, I used the 2 1/2″ Circle Punch for the neck and leg openings. Using scissors, I cut a line from the leg opening to about 3/4 of the way up the card, then notched out the area under the sleeve. I kept the card folded when I punched the holes and cut the lines to ensure it was the same on the front and back.
Around the leg and neck openings I added some Chocolate Chip trim with the 2 3/8″ Scallop Circle Punch. An easy way to do this is to punch a 2 1/2″ Circle out of the card stock first. You will actually not need the circle for this. Then, take the 2 3/8″ Scallop Circle Punch and line it up around the open circle on the sheet of card stock. Use this scalloped ring around the neck opening and cut another one for the legs.
Along the sleeves, I used the Scallop Edge Border Punch and Chocolate Chip card stock. Some Basic Pearls were added around the neck just to make it extra girly. Basic Pearls also were used for the buttons at the bottom.
The sentiment is from Best Yet, a retired hostess set. I stamped it on Very Vanilla and punched it out with the 1 3/8″ Circle Punch, layered with the Scallop Circle Punch. The ribbon around the waist is Chocolate Chip Scallop Dot Ribbon.
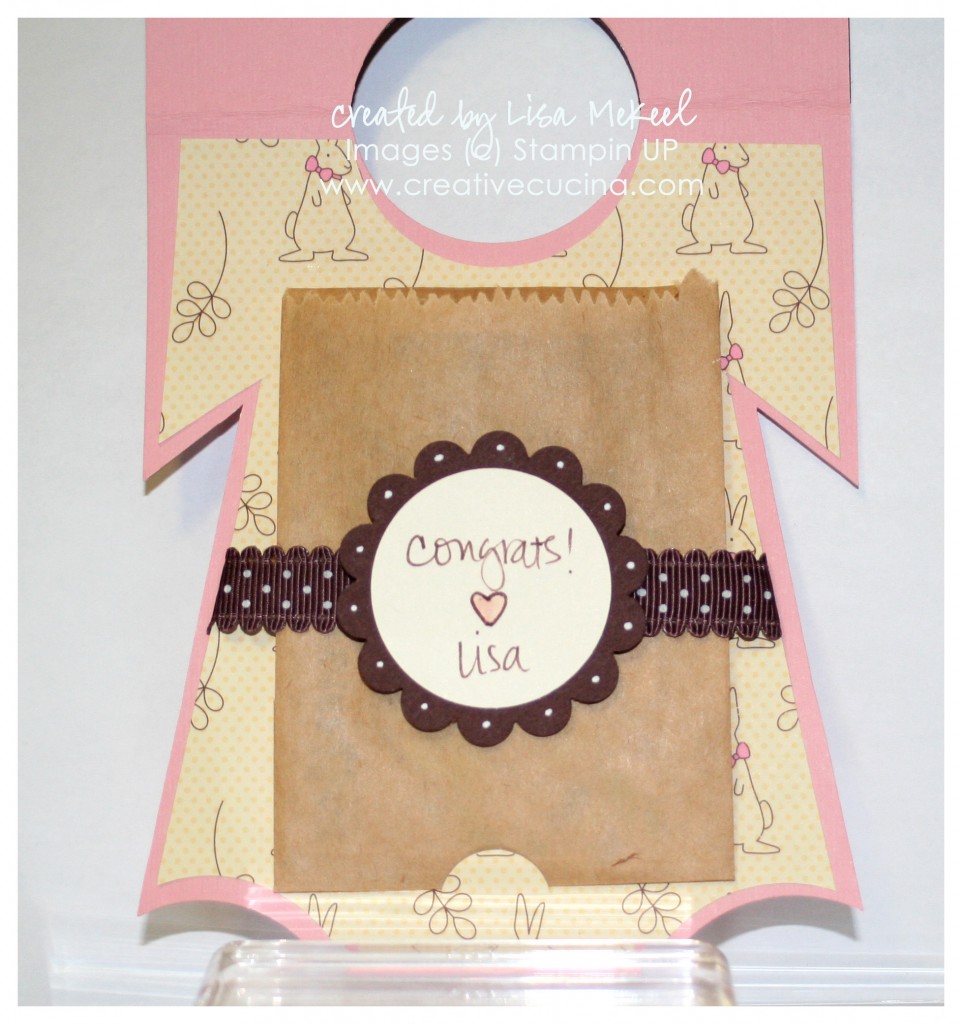
Inside, I lined the card with a cute bunny patterned paper from retired Nursery Suite DSP. To hold a gift card, I used the Slit Punch on the inside to create a little half circle to slide in and hold a gift card. The ribbon helps hold the gift card as well.
