Clean and Simple Delightful Decorations Ornament Christmas Card

IMG_1118 copy

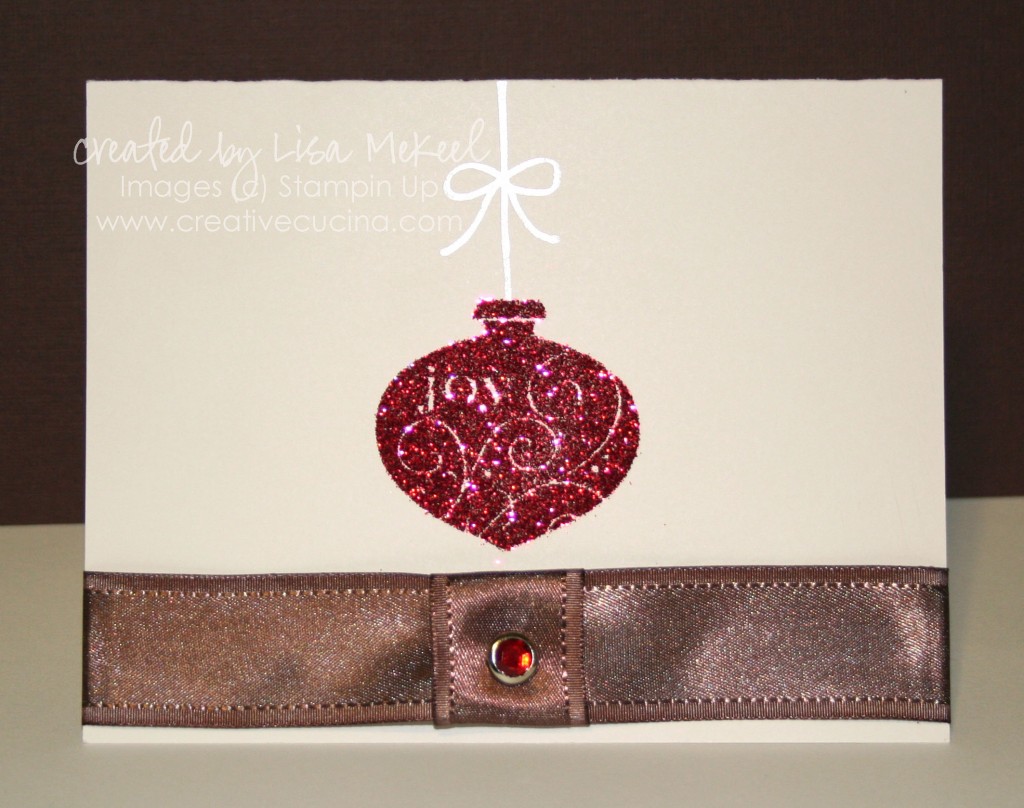
I made this card a couple of days ago but just got around to posting it today. This is a clean and simple (CAS) card, one layer only. I stamped the ornament from Delightful Decorations in Versamark ink, then applied Heat and Stick Powder and heat set it. Next, I sprinkled on Romantic Red Glitter and shook off the excess.

Above the ornament, I stamped the string from Berry Christmas in Platinum Shimmer Paint that I sponged onto the stamp. At the bottom of the card, I tied a piece of Chocolate Chip Satin Ribbon, making a little loop on the front and attaching a Fire Rhinestone Circle Brad.

The card base is Gina K Luxury Base Weight White card stock.
Dasher Christmas Cards

IMG_1029 copy

This Dasher reindeer is my new favorite image. I ordered the Decor Element as part of my hostess benefits and I plan on putting it in a frame as shown in the catalog. As soon as I do that, I’ll be sure to post pictures! For now, these cards will have to do.

IMG_1024 copy

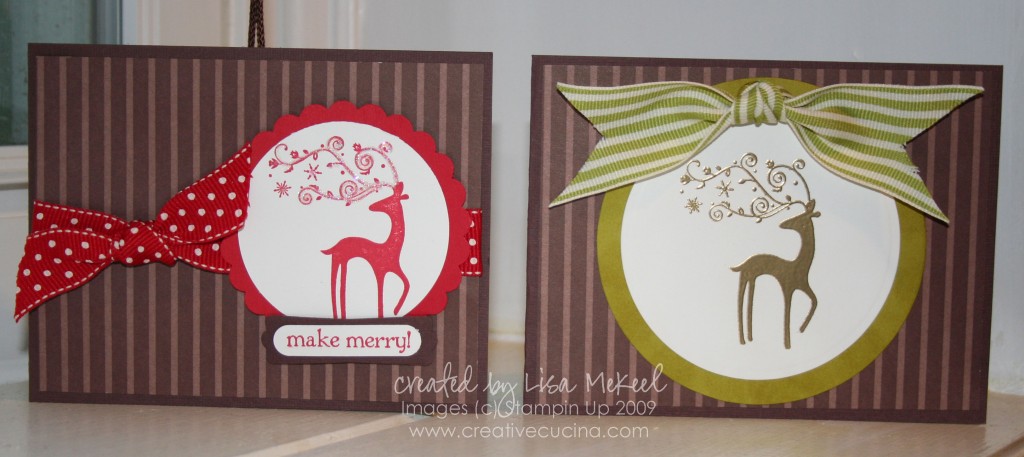
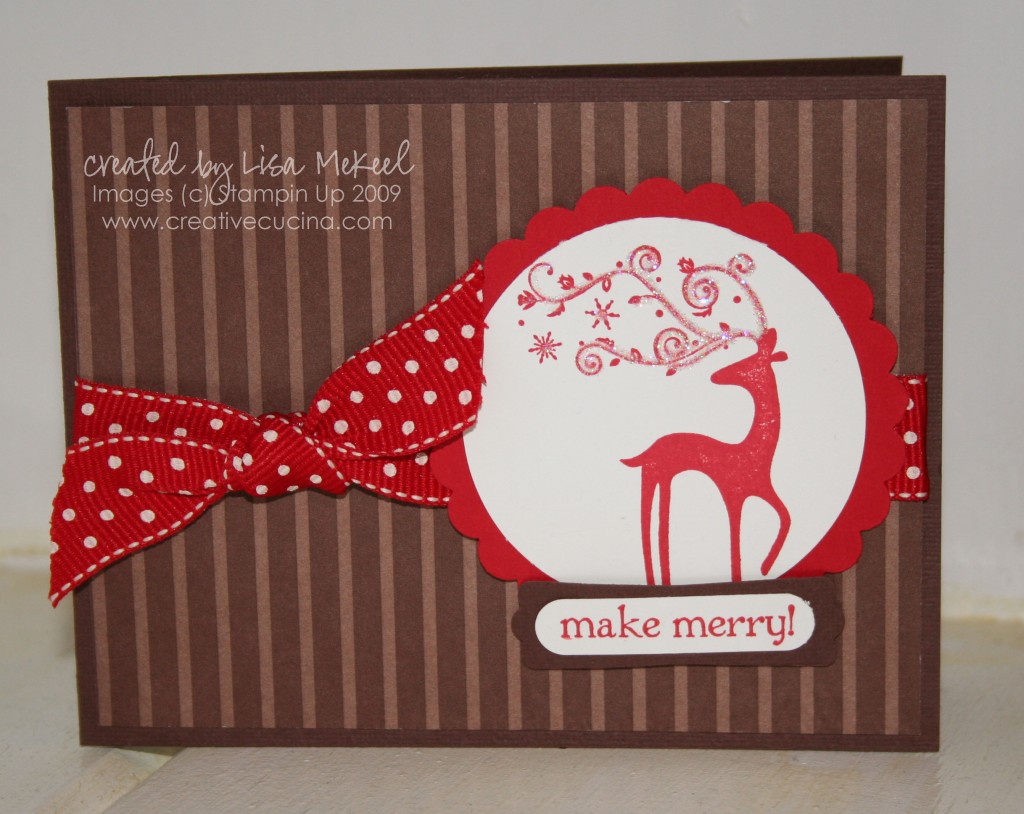
The above card uses chocolate chip card stock for the base, layered with Chocolate Chip DSP in a striped pattern. I stamped Dasher in Real Red in on whisper white and punched it out using a large circle punch. Behind that, I layered real red card stock punched with the giga scallop punch.

I traced the reindeer’s antlers with my fine tip glue pen and sprinkled on Dazzling Diamonds. Then, I stamped “make merry” from Berry Christmas in real red ink on whisper white. I punched it out using the Word Window Punch, layered with chocolate chip Modern Label Punch.

Lastly, I tied some Real Red polka dot grosgrain around the front, with the knot over on the left side.

IMG_1027 copy

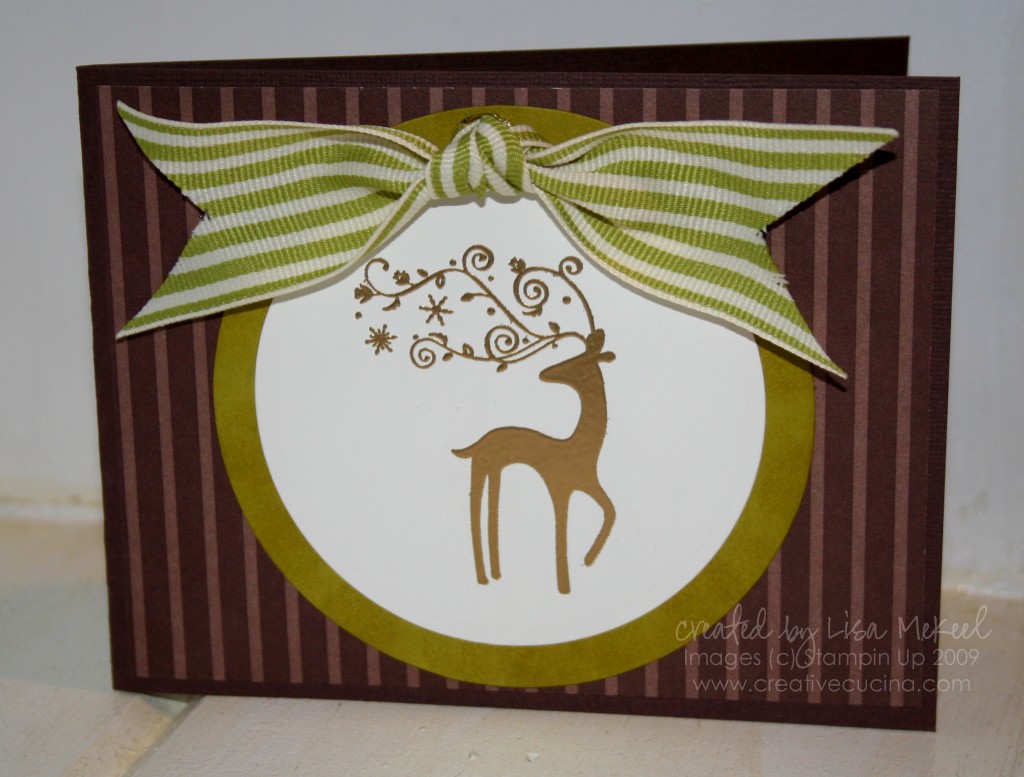
The second card uses the same base card stock and DSP. This time, I stamped Dasher in Versamark and heat embossed it using Gold Embossing Powder. Then, using Nestabilities, I cut/embossed the white circle around the stamped image. That was layered on kiwi kiss card stock cut with a larger Nestabilities circle die and the edges sponged with Kiwi Kiss ink.

At the top of the card, I tied some Old Olive 1 1/4″ Striped Ribbon in a knot and attached it to the base with a glue dot. I also put small glue dots behind each “tail” of the bow to keep it lying flat.

Halloween Scrapbook Pages-Cast A Spell DSP

Halloween-001 copy

Page 1: This is before we went out trick or treating with Ella. The elephant costume was a leftover from last year. I took it out just for the heck of it and made my husband try it on. Then I couldn’t resist taking his picture. He didn’t find it as funny as I did. I’m still laughing…

Halloween-002 copy

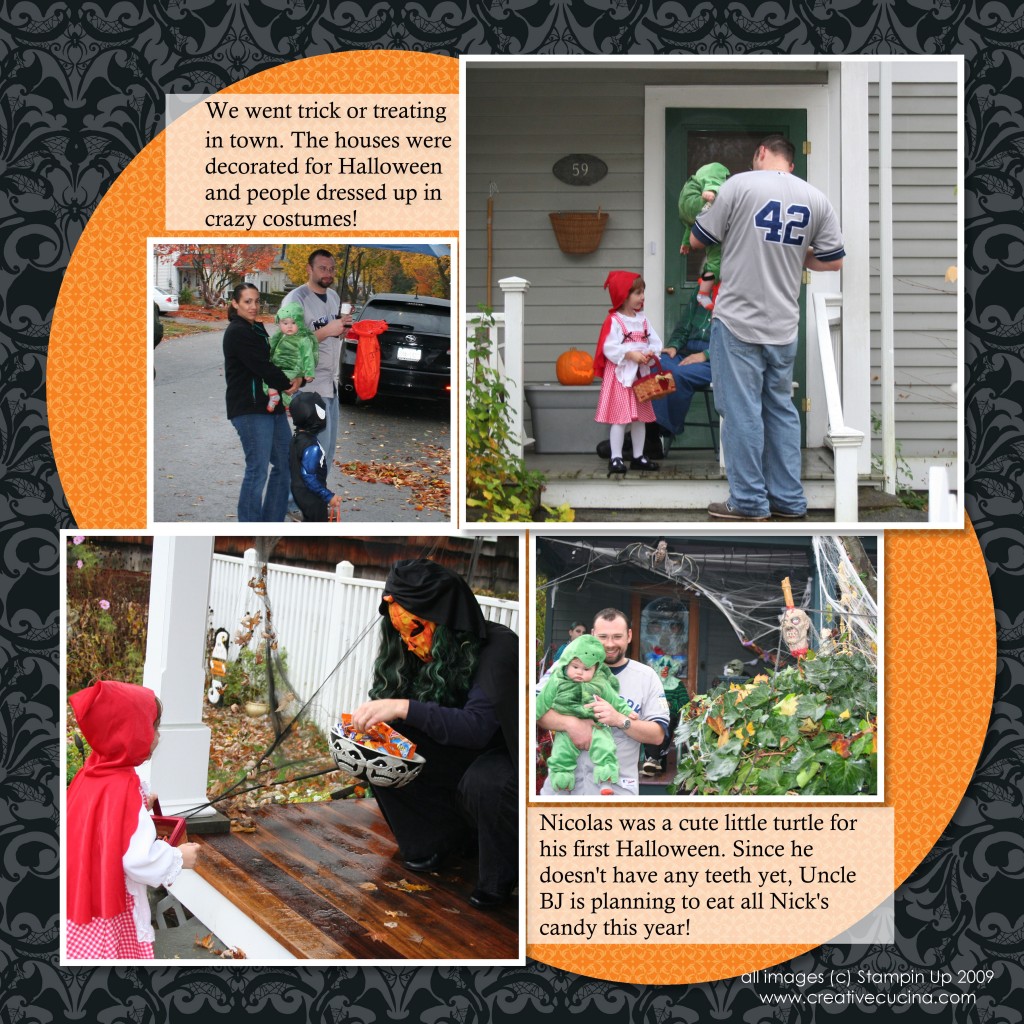
Page 2: Scenes from trick or treating. The street we went to is known for its decorations and everyone goes all out. My nephew was a turtle–poor kid. At least he didn’t cry like mine did her first halloween. These pages were made with My Digital Studio using one of the photo layouts and then I added paper from Cast A Spell (one of the latest downloads available).

Halloween-003 copy

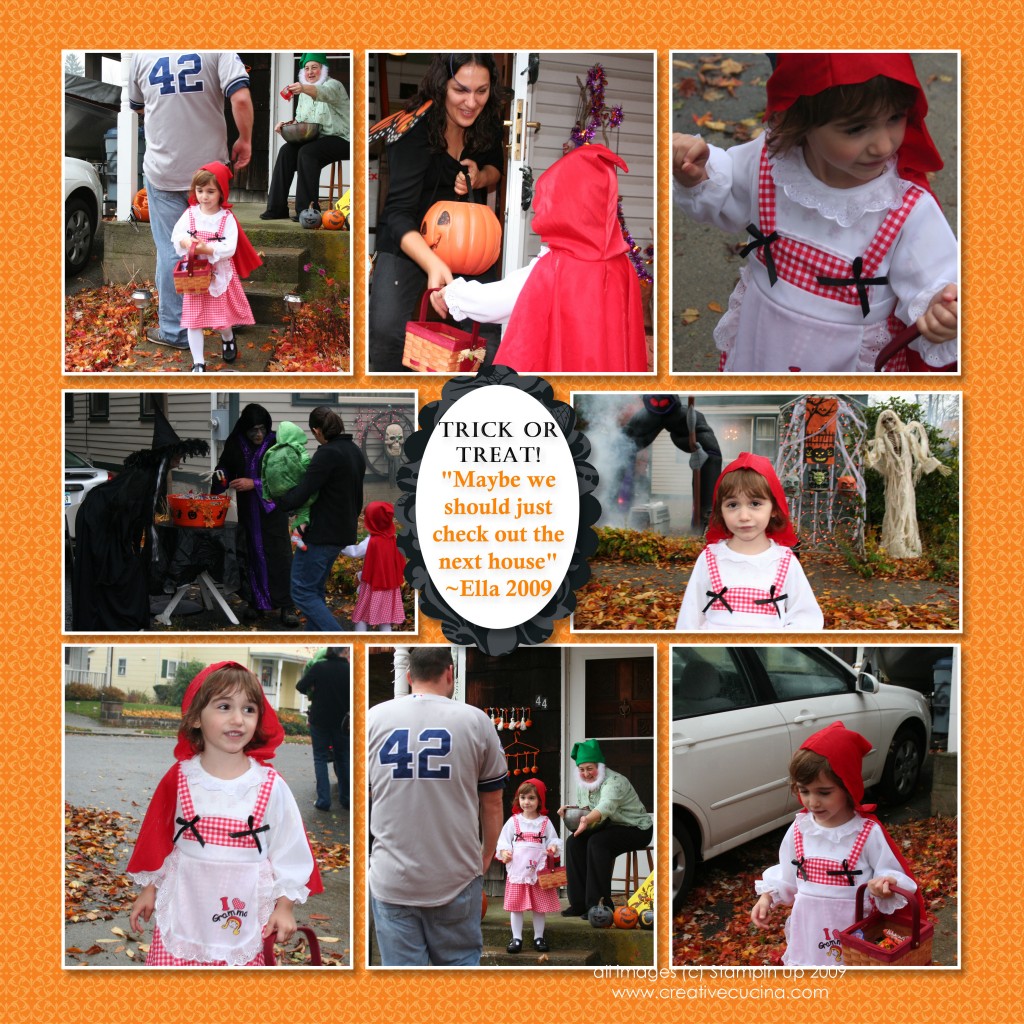
Page 3: More scenes from trick or treating. Ella got the concept pretty early on that she had to say “Trick or Treat”, then take a candy. “Thank You” was hit or miss, we had to remind her a few times. And after every house she left, she would say “Maybe we should just check out the next house”. I guess she was really excited and couldn’t wait to get some more candy!

Halloween-004 copy

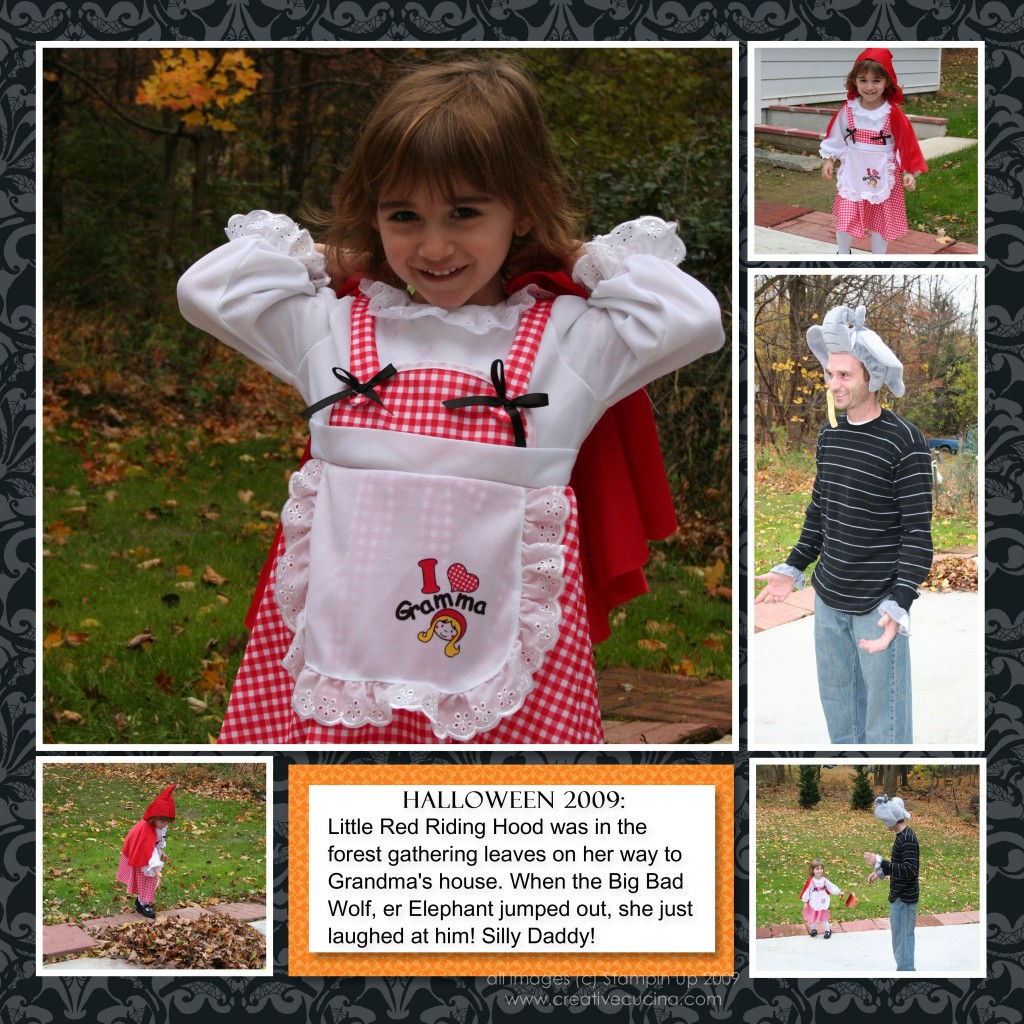
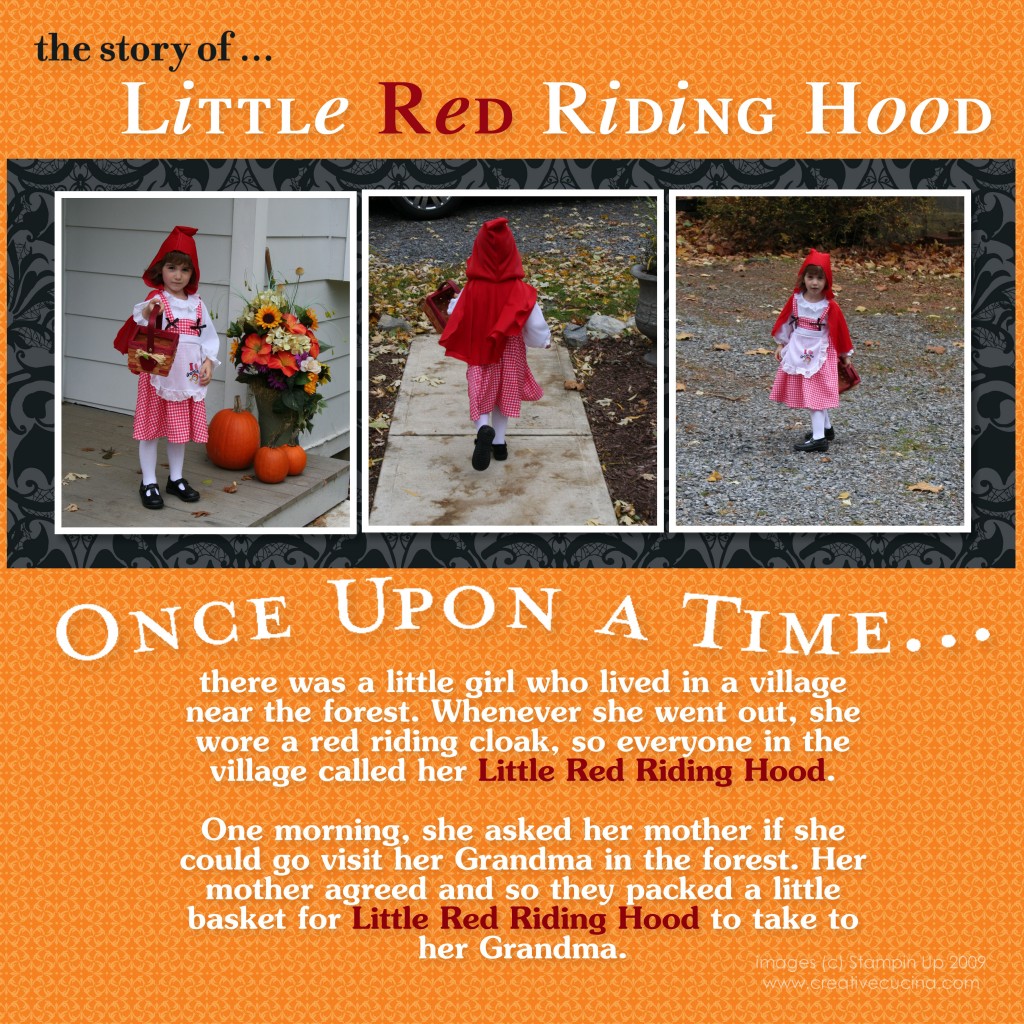
Page 4: The story of Little Red Riding Hood. This page has a few pictures of her skipping along and I couldn’t resist putting part of the story in. She had her little basket and her costume apron said “I love Gramma”. It was all just too cute!

Bad Behavior has blocked 411 access attempts in the last 7 days.

css.php